


Paper Mache Pumpkins

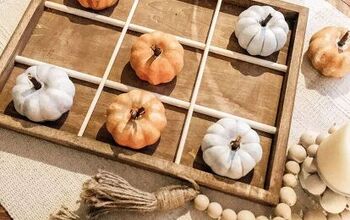
One of my favorite parts about fall is the awesome decor selection at the dollar store. I love to hoard their mini pumpkins and florals and create unique DIYs for my home. This year I tried my hand at paper mache.
Paper mache is the method of gluing paper pieces to form an object. I wanted to take one of the Styrofoam pumpkins I had purchased and do some paper mache magic to create a musical pumpkin to top my piano.
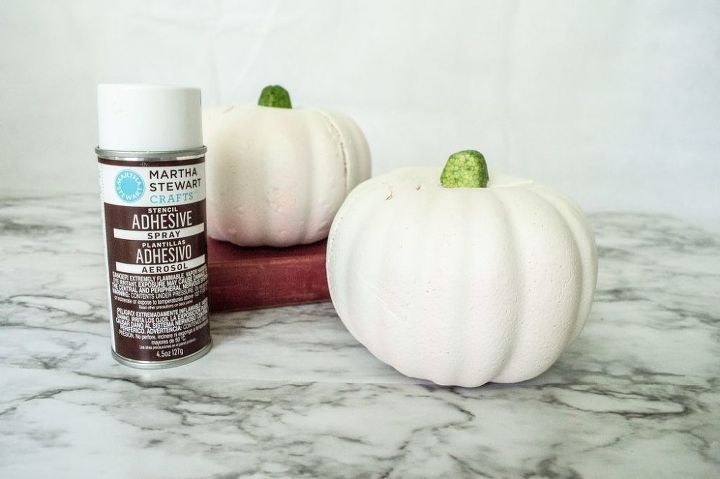
1 | Spray Paint the Pumpkins
I had already started with white pumpkins, but this is an important step. If you have a nice white base, to begin with you won't notice holes or bleeding as much.
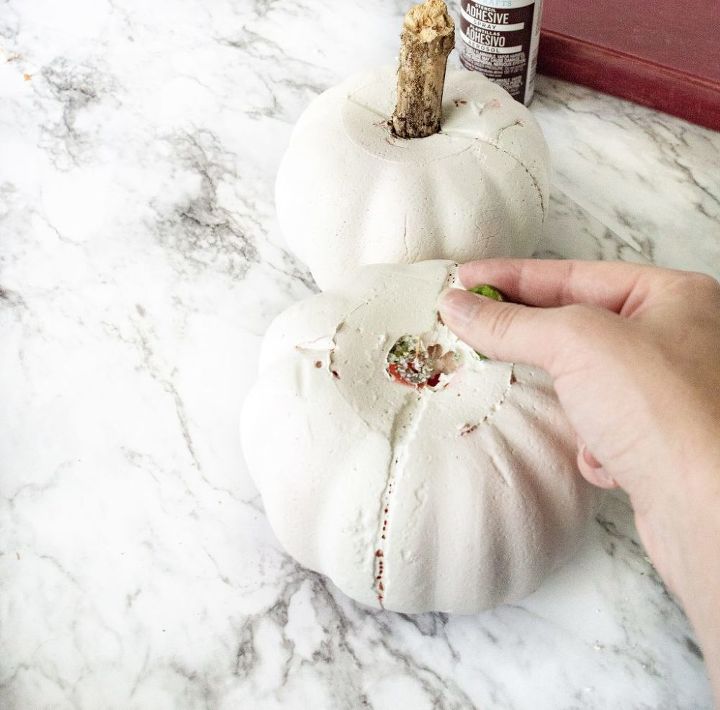
2 | Replace the Stem
I didn't love the thick Styrofoam stems on these pumpkins. I wanted something a little more rustic. So I ventured out in our yard and found a stick to use as the stem.
3 | Rip Your Pages
I had a little helper with this step, ripping all the pages into thin strips so that we could glue them on. I think she may have gotten a little carried away, but she was too cute to stop.
4 | Paper Mache
I mixed one part mod podge and two parts water to create my paste. Then I simply dipped the pages into the watered down glue, soaking it enough that the pages molded to the pumpkin, and smoothed them over they Styrofoam. Finally I let this dry outdoors for thirty minutes to an hour.
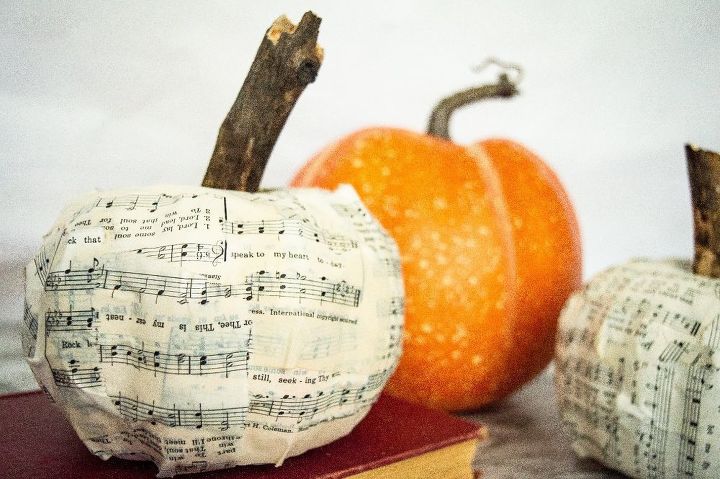
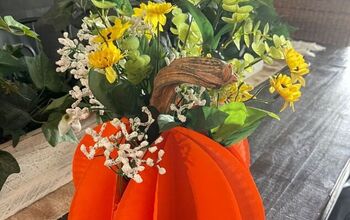
Here is my finished paper mache pumpkins. This project was totally easy and really changed the look of my pumpkin. You can use any type of vintage book page to create an antiqued looking pumpkin this fall.


Frequently asked questions
Have a question about this project?