


DIY: Fall Tassel Hoop Wreath
8 Materials
$20
30 Minutes
Easy
It’s officially fall so that means it is time to get my autumn decor out!
Lately I am drawn to more neutral seasonal colors, as my holiday decor has become more minimal. Stepping away from what is thought to be more traditional colors also allows me to use the decor all year long if I desire.
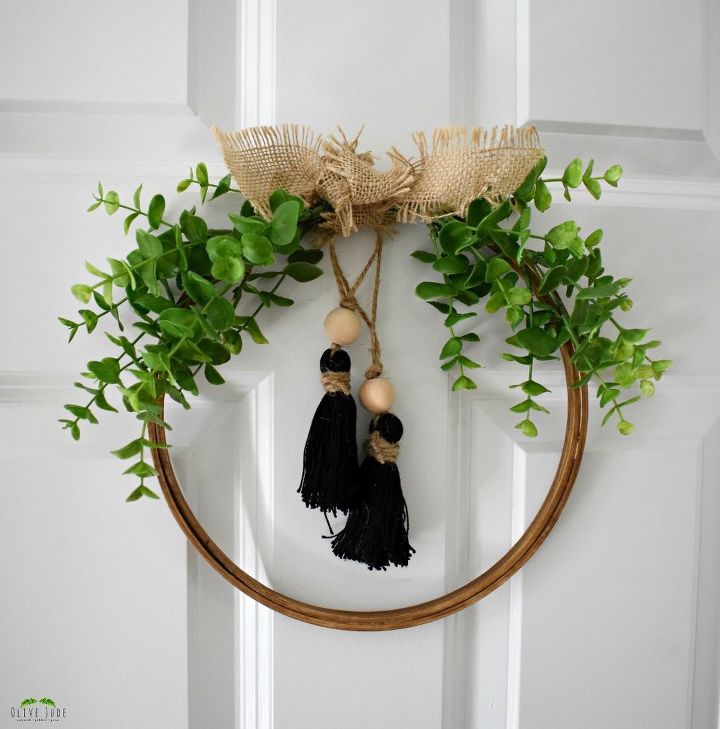
So, today I share with you my simple, goes-with-everything Fall Tassel Hoop Wreath.
Minimal, yes. And a little bit modern meets Bohemian meets farmhouse. Whatever you want to call it, it reads simplicity and I am loving it.
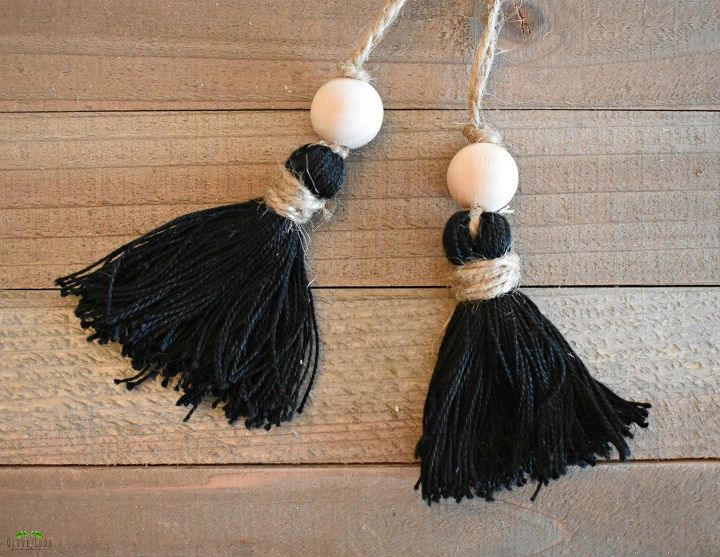
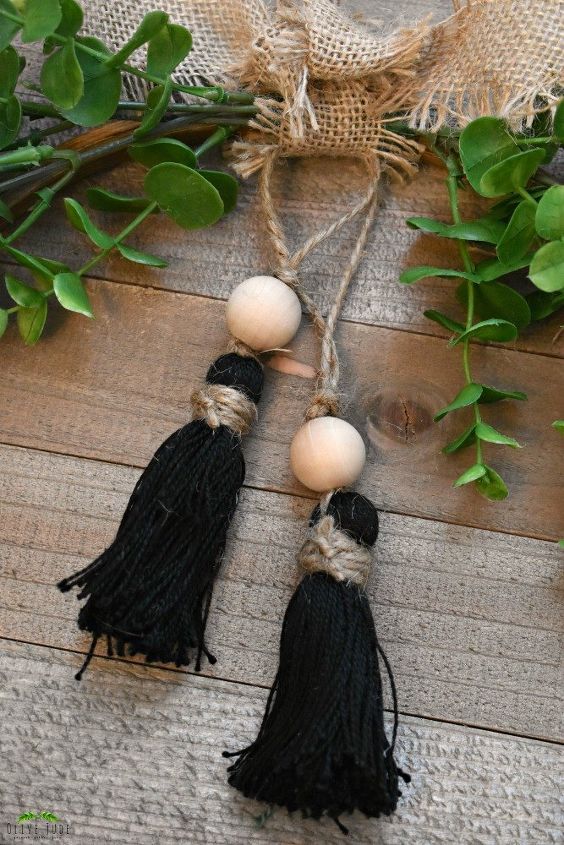
I followed my own easy tutorial for DIY: The Easiest Embroidery Floss Tassels using black thread, wood beads and jute twine.
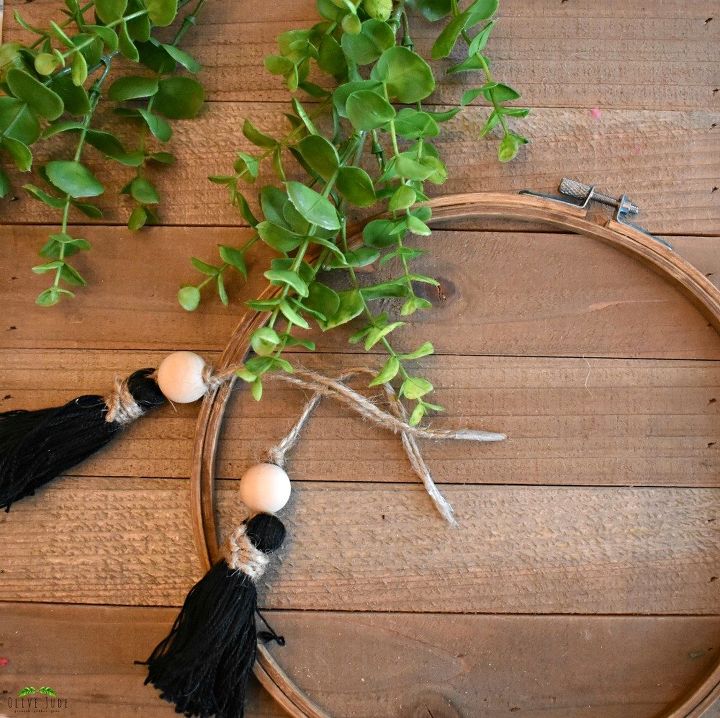
The wreath is a fresh and simple statement that I can hang anywhere in my home. The beauty of the simple wood silhouette shines and the stylish black tassels offer a funky feel to the wreath.
Paired with some fall goodies like pops of orange pumpkins, it takes on a seasonal flair, but is also equally welcoming year-round on a hallway door.
What is your decorating style this fall season?
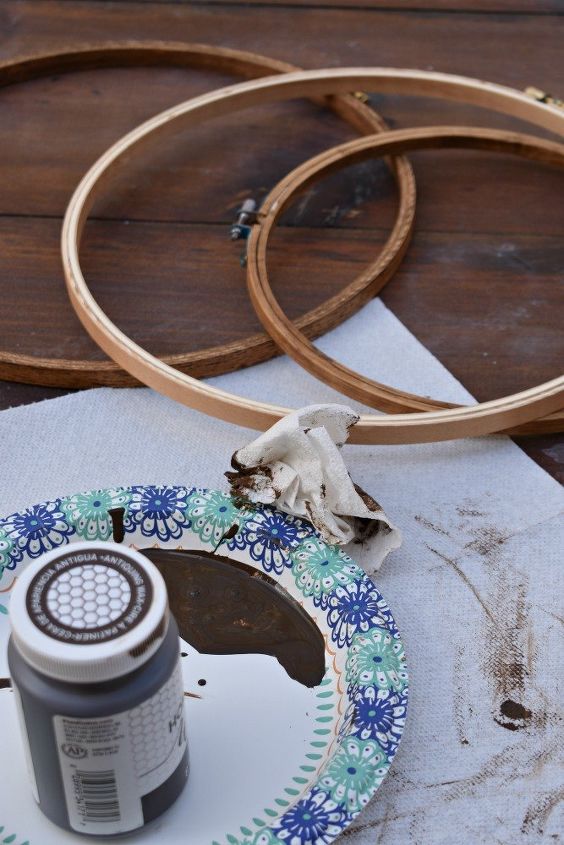
Stain the hoop wreath with antique wax. (optional) to give it some richness. Set aside to let it dry.
Get your materials organized.
Using green floral tape, attach the stems of two faux greenery stems together so that they are going away from each other. This will rest at the top of your wreath giving it a natural feel.
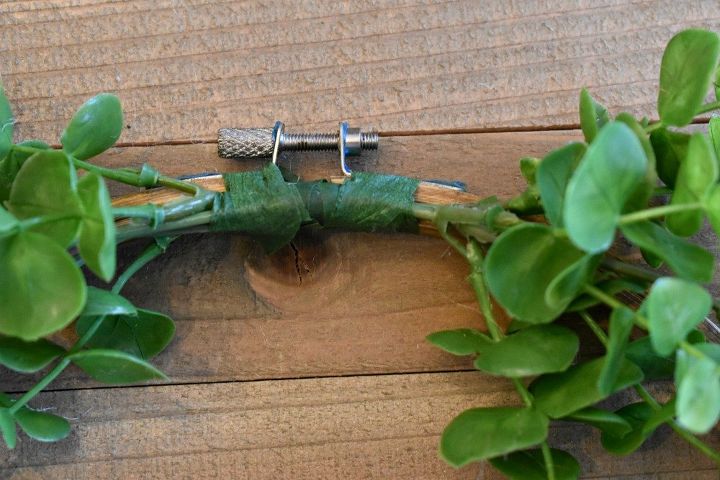
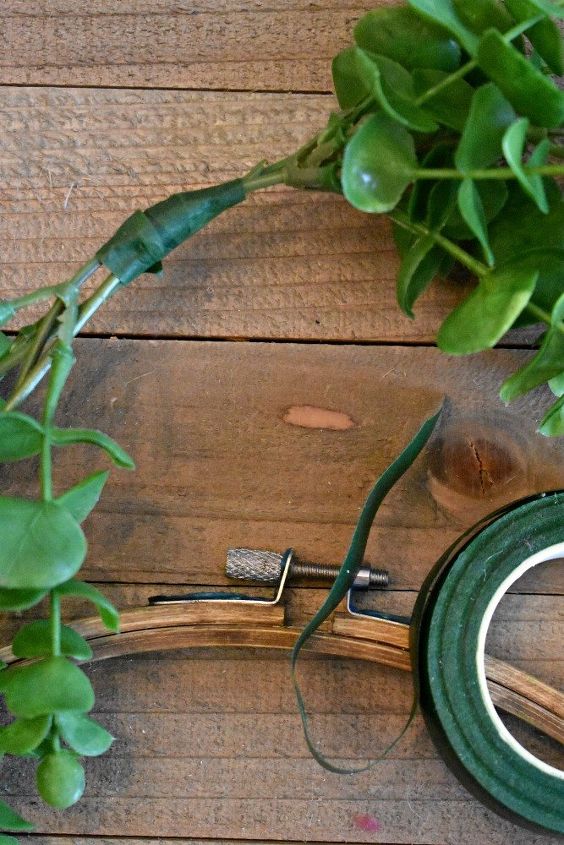
Use more floral tape to secure the greenery to the hoop wreath.
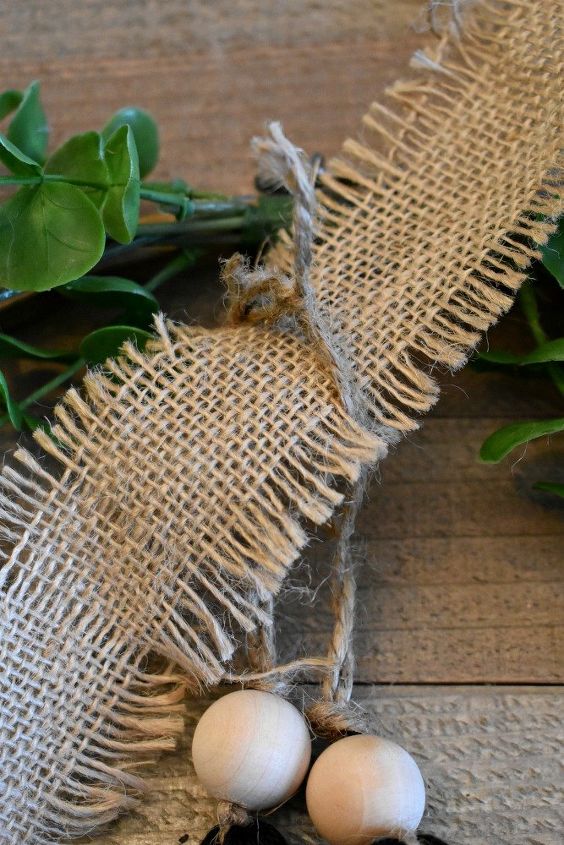
Thread your burlap ribbon through the twine hoop on the tassels. There is something about burlap that feels so fall-like to me.
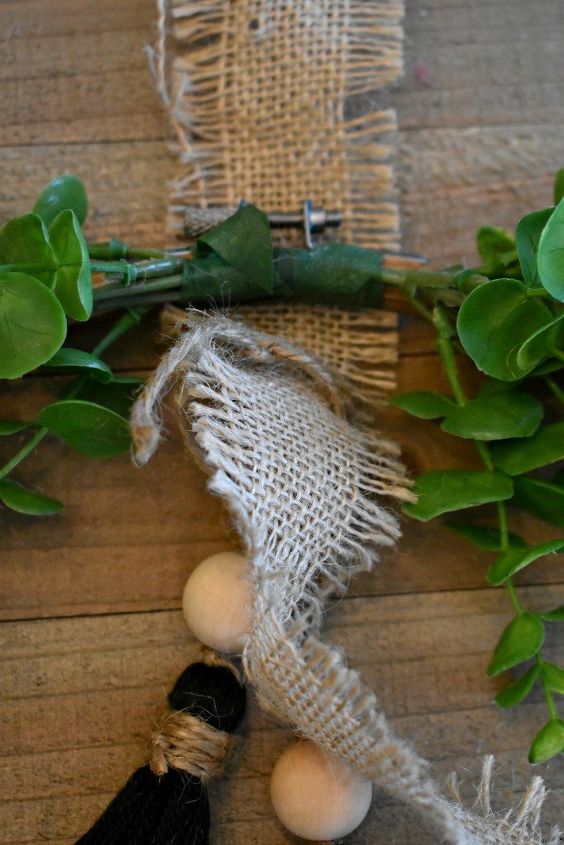
Lay your burlap ribbon under the hoop where the tape is attached.
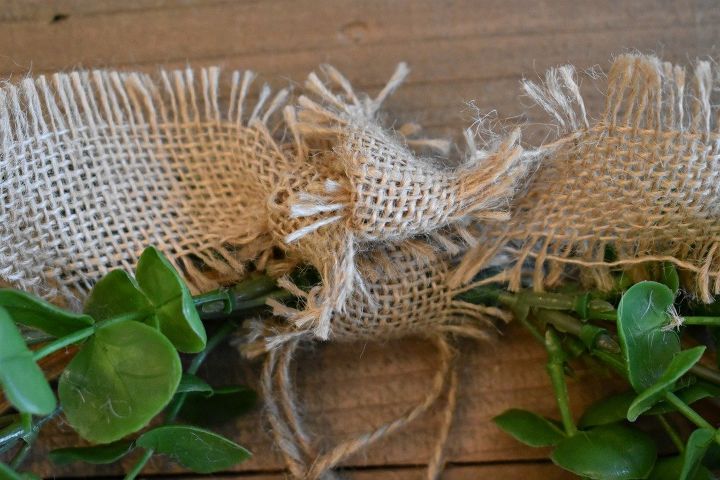
Carefully tie a bow around the hoop wreath. Trim any ends of the ribbon necessary.

Your hoop wreath is ready to hang!
Hang it on a door.
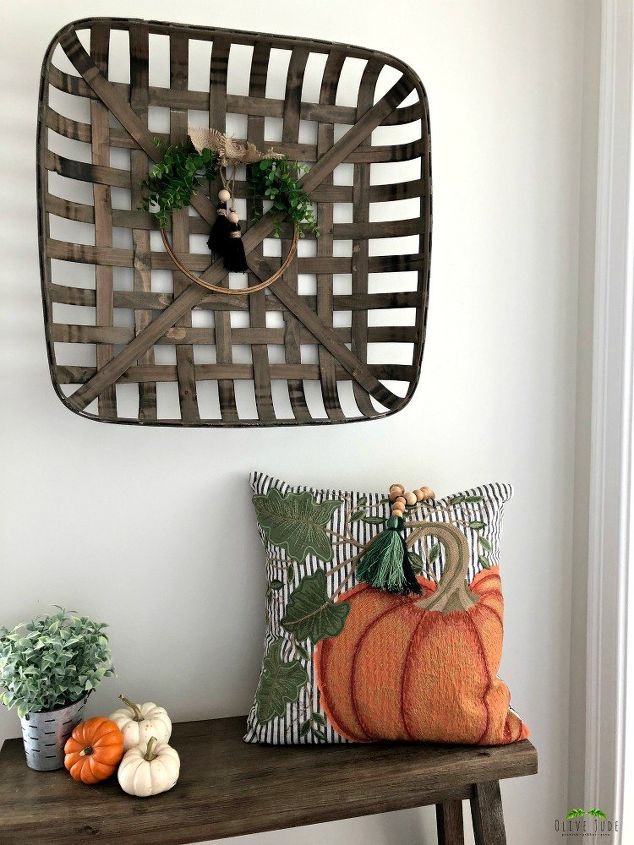
Or hang it over a basket on the wall.

Want more details about this and other DIY projects? Check out my blog post!
Comments
Join the conversation
2 of 8 comments
-
So pretty!
-
I love it! So pretty! : )


Frequently asked questions
Have a question about this project?