


How to Inexpensively Create a Reclaimed Wood Wall
You can create the look of reclaimed wood without the expense, and you don't have to use a pallet. I created a wood wall that looks like reclaimed wood for $55 using 1x6's from my local home improvement store.
The whole room got a makeover but today I am just going over the feature wall because that was the big wow factor in the room.
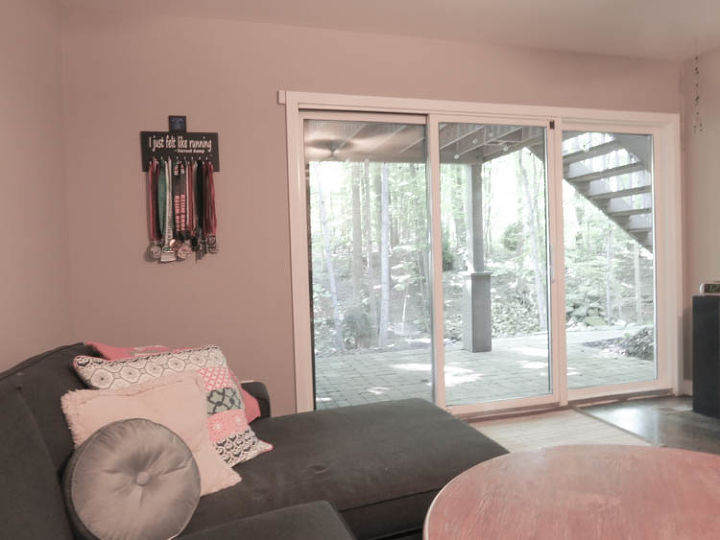
Here is the before picture, pretty boring wall but a great view outside! I really wanted this space to be special for my teenagers and what is cooler than a reclaimed wood wall.
First you have to measure the wall you are applying the wood to so you know how much material to buy. Once you have your measurements hit up your local home improvement store and buy some 1x6's, and some stain if you don't have any on hand.
If you have a smaller space you might want to use 1x4's and conversely if you are doing a wall with vaulted ceilings you might want to use 1x8's. It's your choice but for a standard 8 foot ceiling 1x6 pieces of wood are fine.

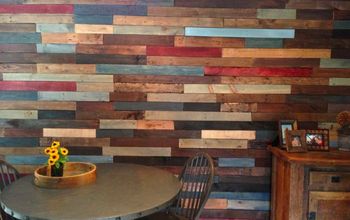
I spread out my wood and began staining each piece using stain I already had on hand from other projects. I used several different colors for the staining process, then finished it all off on the top with gray stain . I did this because I wanted them all to be the same color but with different undertones.
If you like the look of the different colors you can leave them as is and not top with the gray stain. That is totally your choice, it's all in how you want the finished product to look.
We are not using polyurethane here because we want the wood to look rustic, not new and shiny.
For the full details on how much wood I used and what colors I used check out the full post here.
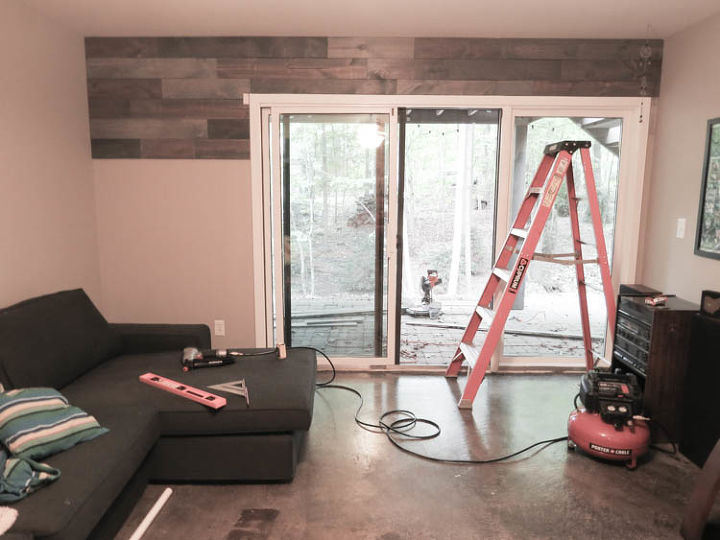
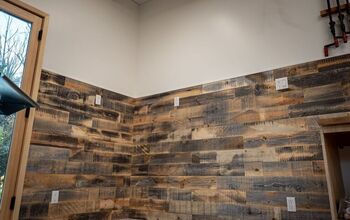
Here we are in progress. As you can see I used a variety of tools here. A level is super important because you want to make sure the boards you are putting up is level.
You don't need a nail gun, you can use a hammer but having the power tools makes things a whole lot easier, and faster! I cut each piece of wood with my miter saw at different lengths and used my nail gun to attach each piece to the wall.
So I started nailing up the wood, making sure to stagger the joints, and making sure each piece was level. I started from the top because that way if I had to rip a board in half that would be at the bottom and you wouldn't see it like you would if it were at the top.
I used the rule of three, three rows before I used a piece of wood with the same color again and three rows before I had a joint in the same place. I did pretty well with it, there were a couple spots that I had no choice but to go to a rule of two but overall it went really well.
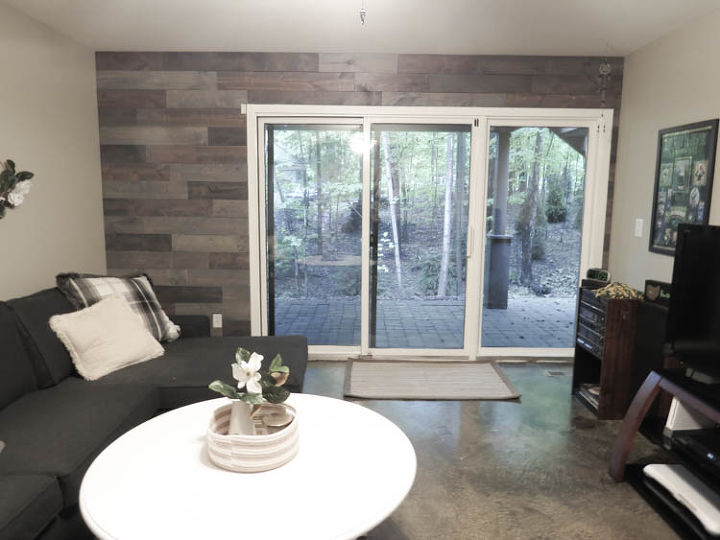
And here we are with the final product! I think the room looks so much better than it did before. If you want to check out the full post with every detail on the wood wall and how I transformed this room for my kids you can do that here.
This is my kids hang out space, they are teenagers, and I heard that all their friends think it's really cool! So I think that is pretty awesome and points scored for MOM!
DIY home decor using reclaimed wood
Resources for this project:
See all materials


Comments
Join the conversation
-
This turned out GREAT!!! I just love it.
-
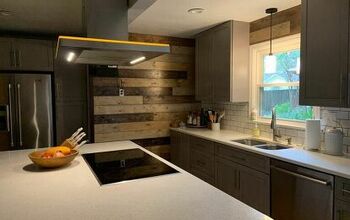
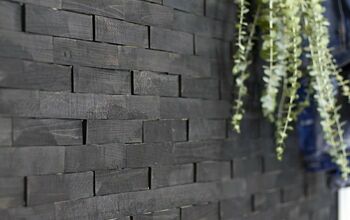
Thanks for the detailed instructions. Going over all stains with the gray really does tie it all together. Thanks for the inspiration...here’s a picture of my kitchen wall using your technique. Eventually it will have pots hung on it.


Frequently asked questions
Have a question about this project?
lt looks great! I really like your floor! Is it concrete?
I would like to know how to get rid of a paneled wall... other than sheetrock over it?
Two bedrooms are all brown paneling dark and gross.... painting is just covering up paneling... want it to have a sheetrock look.... suggestions, please. thanks!
Many thanks for your response. I was thinking to sheet-rock right over the paneling which would give more insulation to the home. However, I wanted to know if there is a product out now to cover the look.... easy and could be done by us and not get a contractor involved, ya know. Some sorta like...plaster, stucco, drywall mud???