


Revamp New Life Into Old Quirky Signs

by
Lisa Cain
4 Materials
$5
3 Hours
Easy
I found these 3 old "seed" signs at Goodwill. They were probably cute in their time, but their time has come to an end. I loved the wood and knew I could re-purpose them into something great. And i did ~!
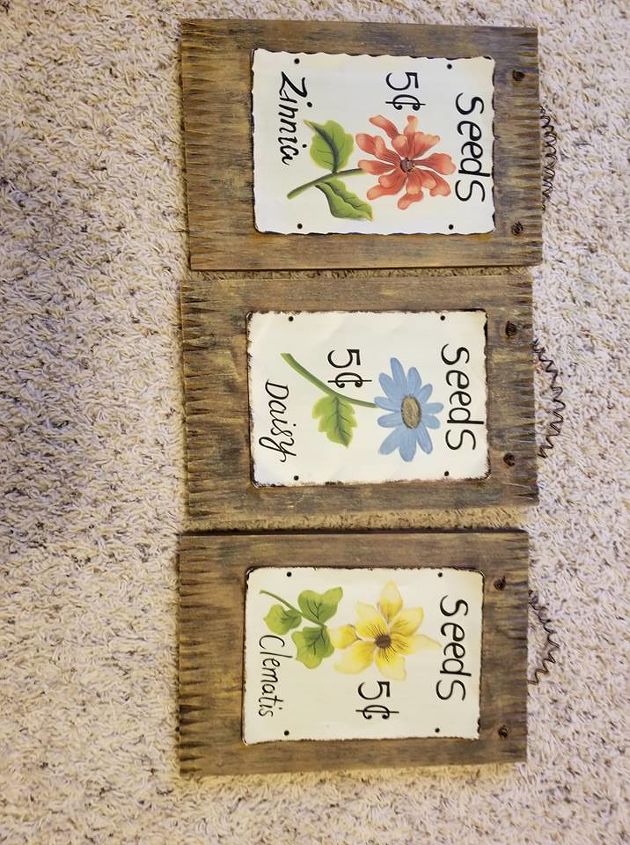
These were the original signs. I have to admit they were well made, but the hanging wire was old and icky, and the tin seed sign parts were coming up, and the wood was oh so dirty. They were ready to be made pretty again.
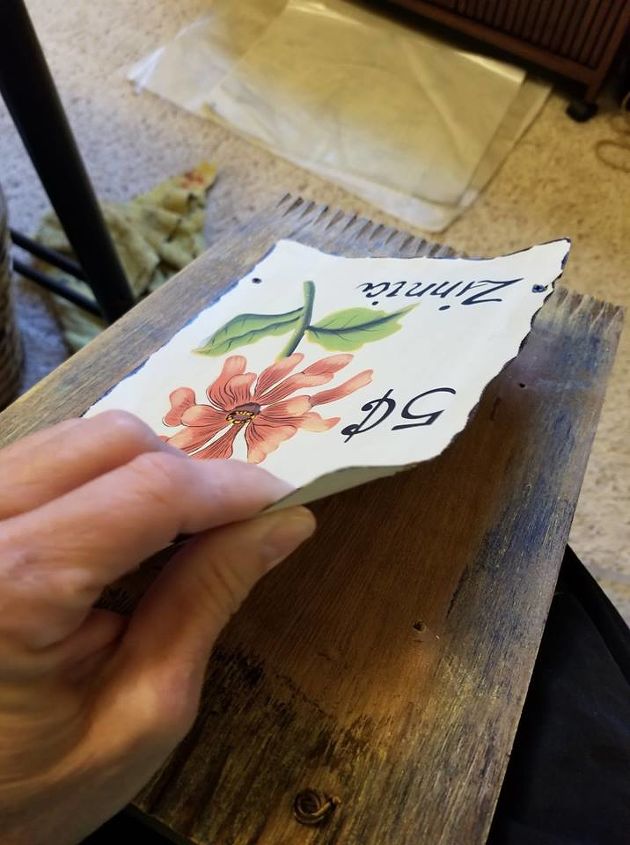
They had been around long enough, that I just had to pull the tin sign part up, and the signs and tacks/nails came right out. Easy peasy. I like that!
Now...do you GET what I said in the beginning about old and dirty. Oh yea, they weren't looking so good after pulling off the original signs. But I knew that with this cool wood, and my trusty sander, I could make them look beautiful again.
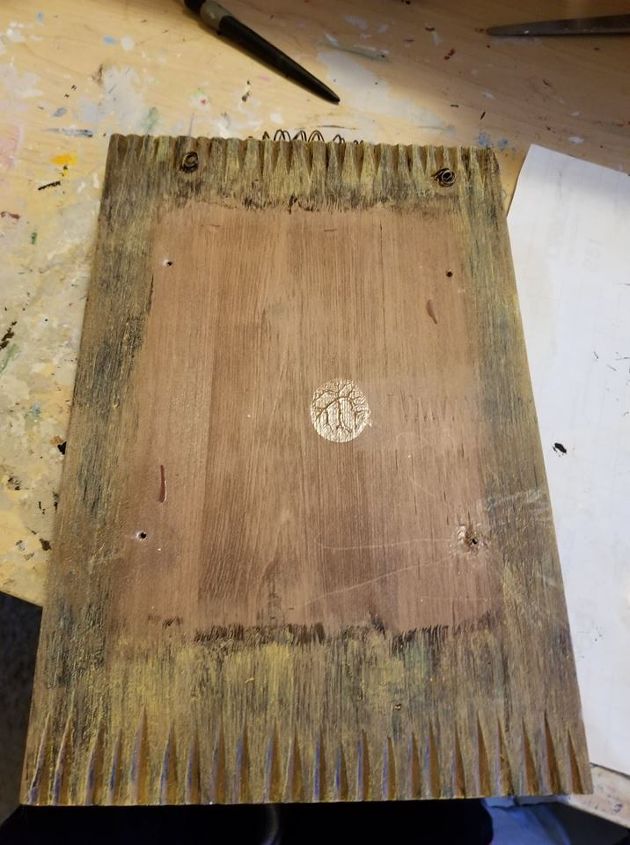
This is the back of them, which by the way, were in darn good shape!! Didn't have to do anything to this part.
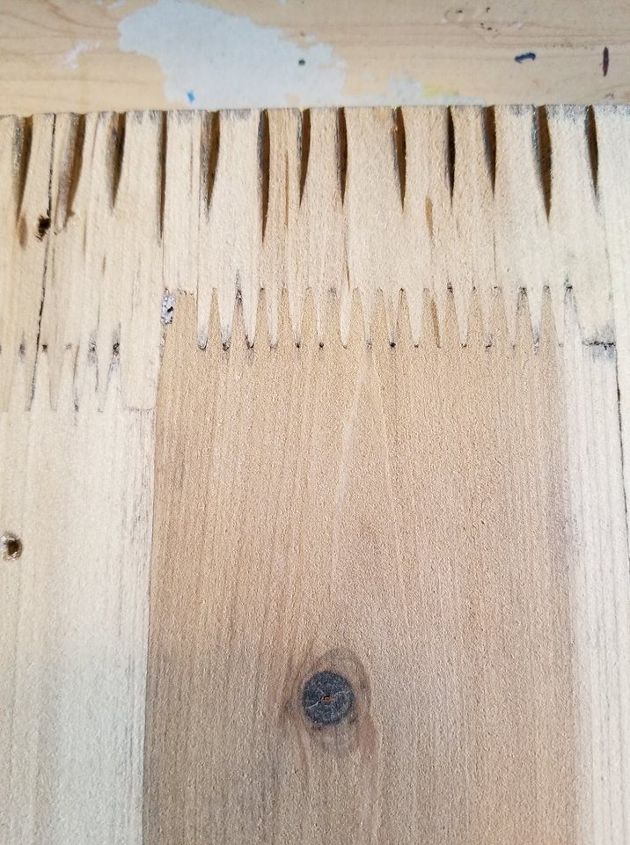
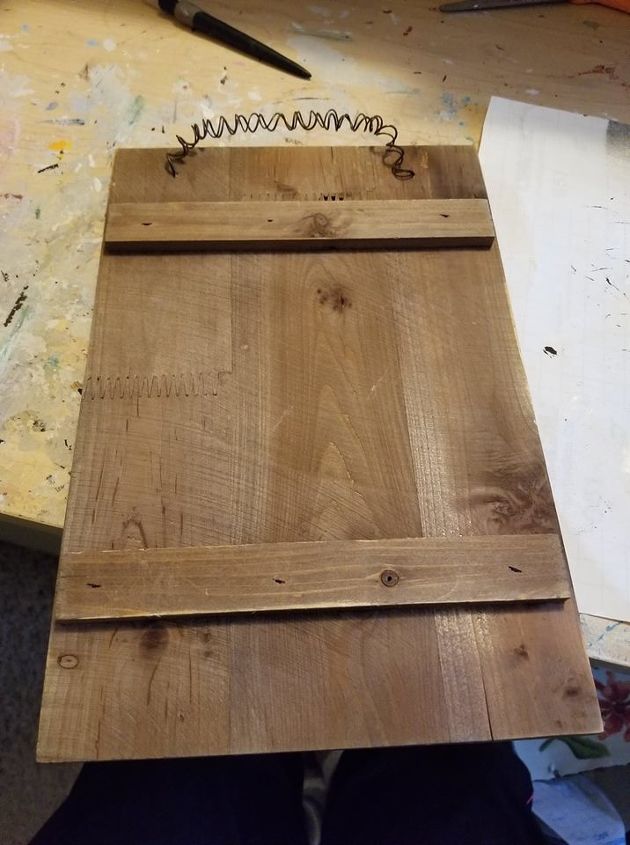
Oooo....yeah....the beauty of the wood shines through now! I love how they "attached" the pieces of wood together, back when REAL MEN MADE REAL WOOD PROJECTS..lol...(just a joke). But you get it. It's just a lost art of how it used to be done. But not lost on me...I love it!!
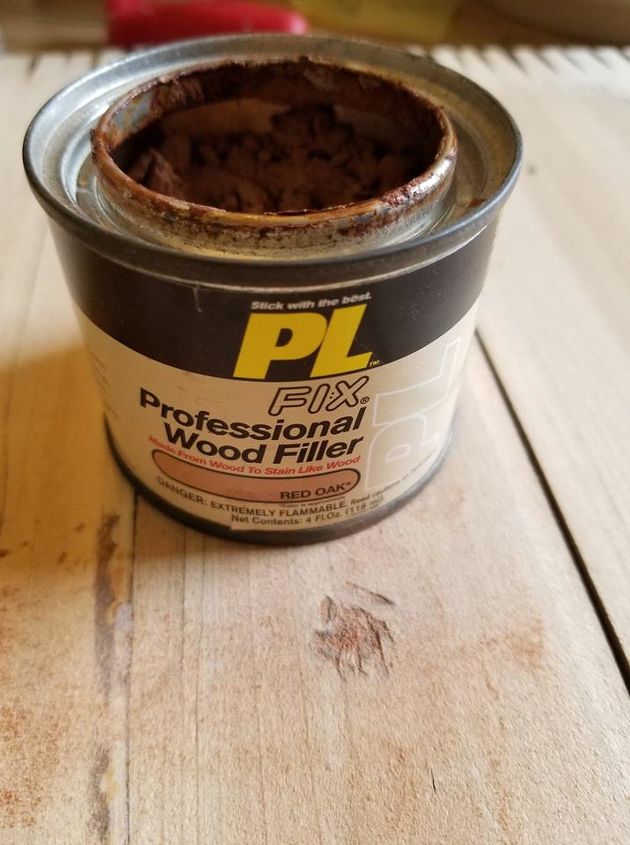
I used this wood filler for the tiny holes that the nail/tack things from the sign left. So easy, just apply, rub to make even with the wood and let dry. However, my little can of filler looks pretty beat up..ha
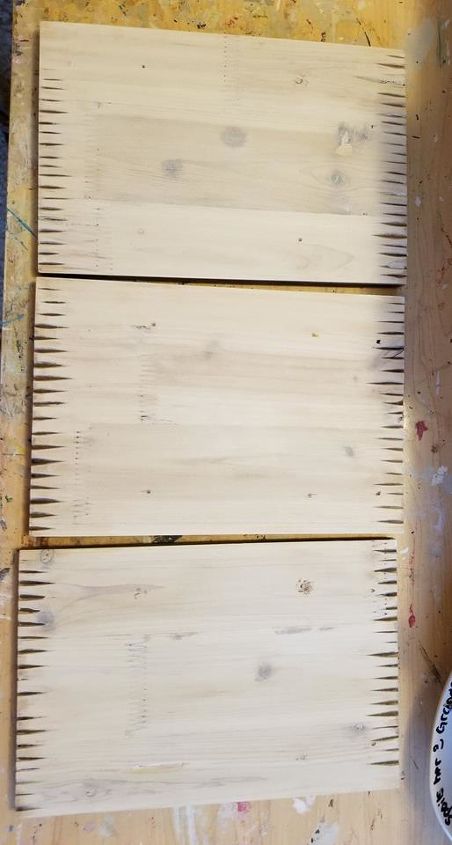
So now the three pieces are all sanded, holes wood filled and cleaned with a damp cloth. The BEAUTY of it all brings a tear to my eye..so pretty!
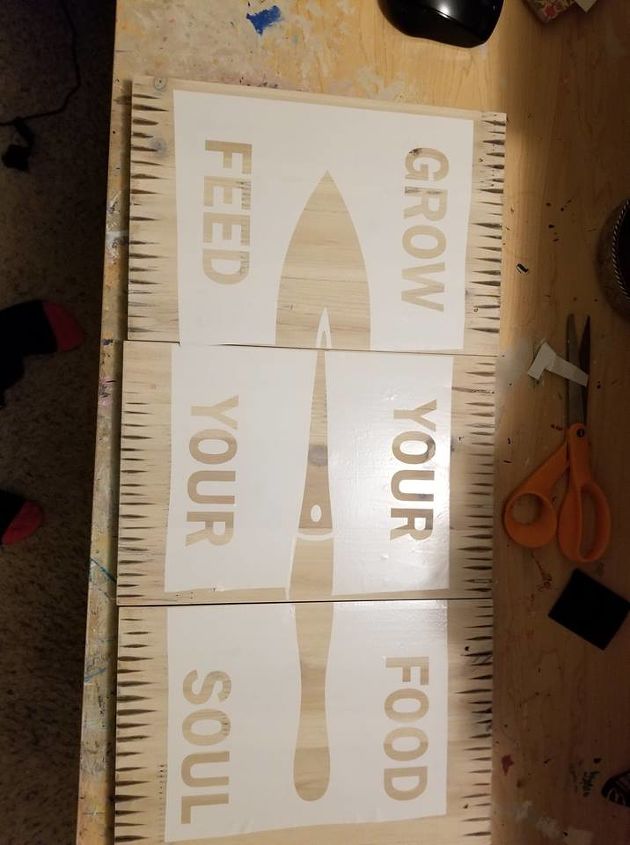
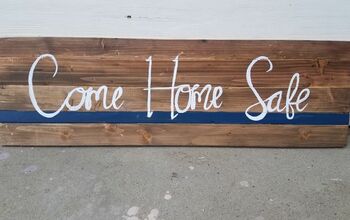
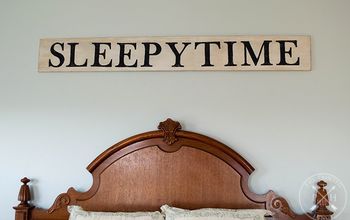
Now it was time to lay the vinyl design I cut out with my Silhouette Cameo, and start painting it. I did not paint the wood any color before hand as I loved the natural look of it. Wanted it to look a bit rustic and weathered to match the quote I was using.
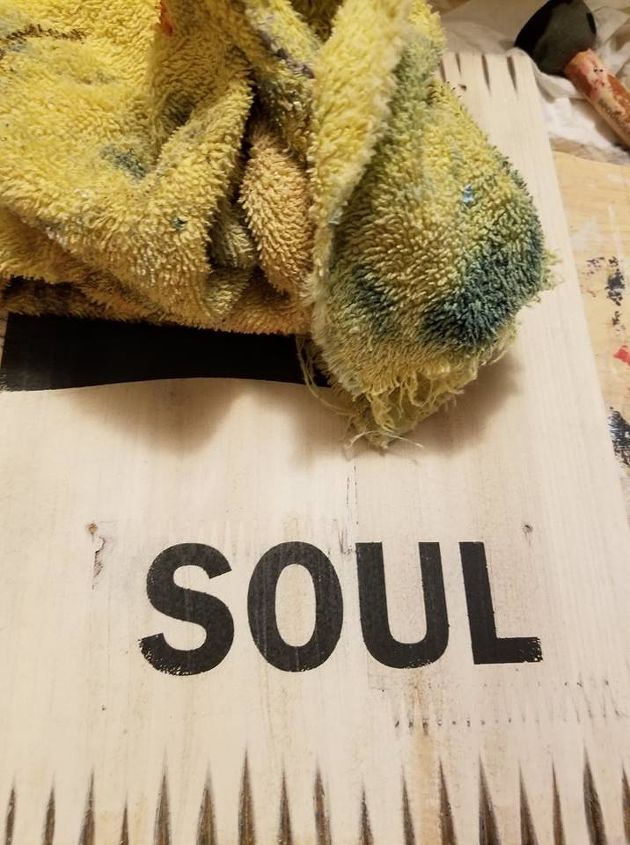
After using black chalk paint inside the stencils, and lifting the stencil off, this is how they turned out. WHAT a difference from the original signs huh!! And that natural wood background...Gaah!!
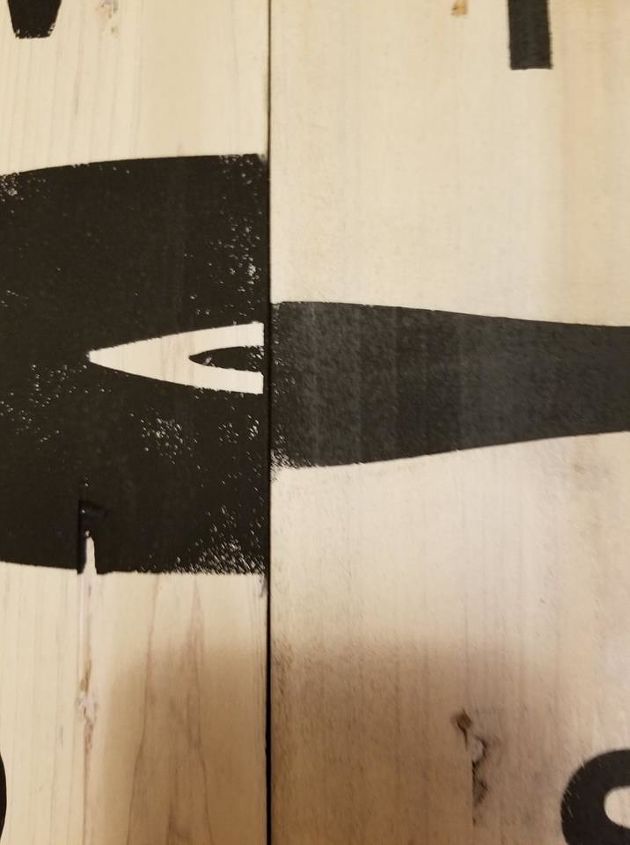
Here is a close up. I did a very very light sand (with light weight sanding block) a few spots over the black. Not much, just here and there, and very light weight. I didn't want to loose to much of the black. And the color and grains of the wood against the black, were just more then I ever could have imagined when I started. They were made for each other!
Here is another view, look at the bottom of that wood...you just can't fake that!
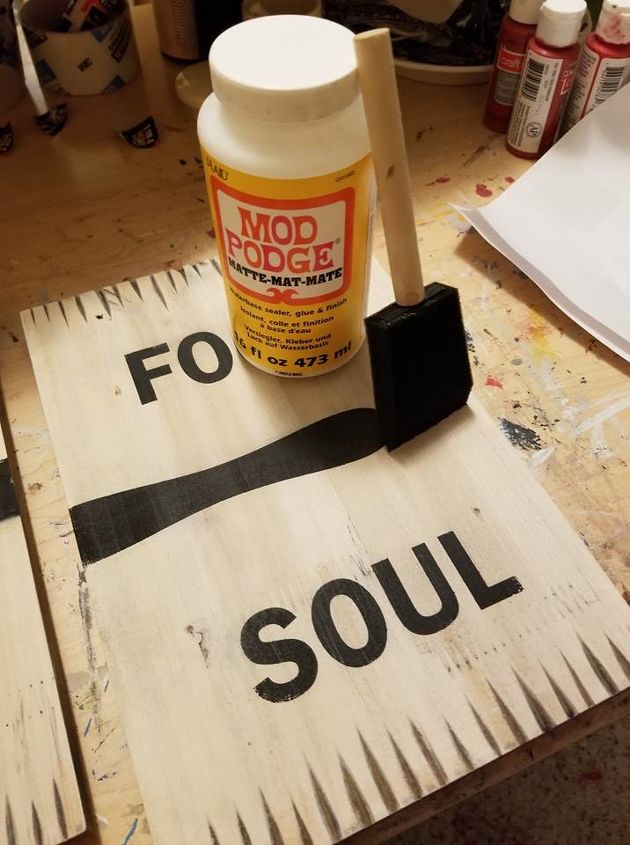
Once all was done, I put Mod Podge over all the pieces to seal them. This is for indoor only, not sealed for outdoor.
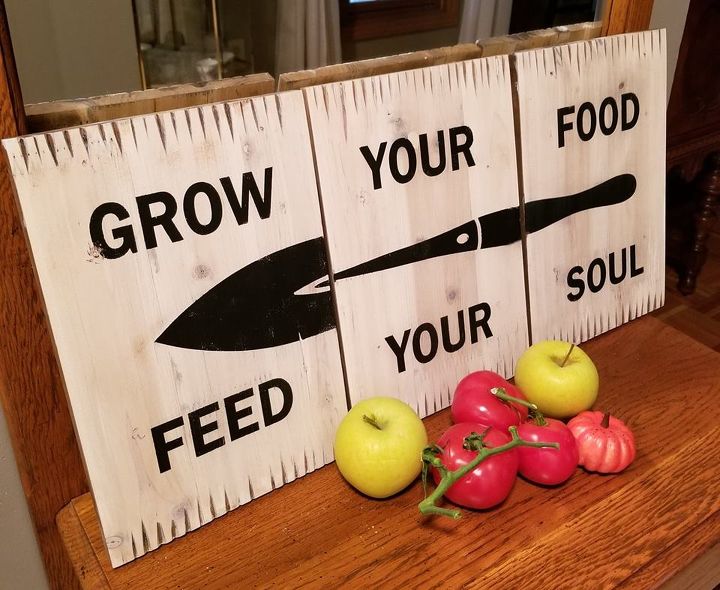
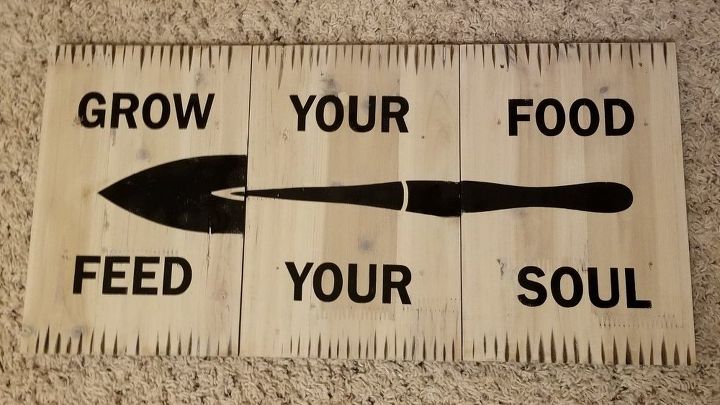
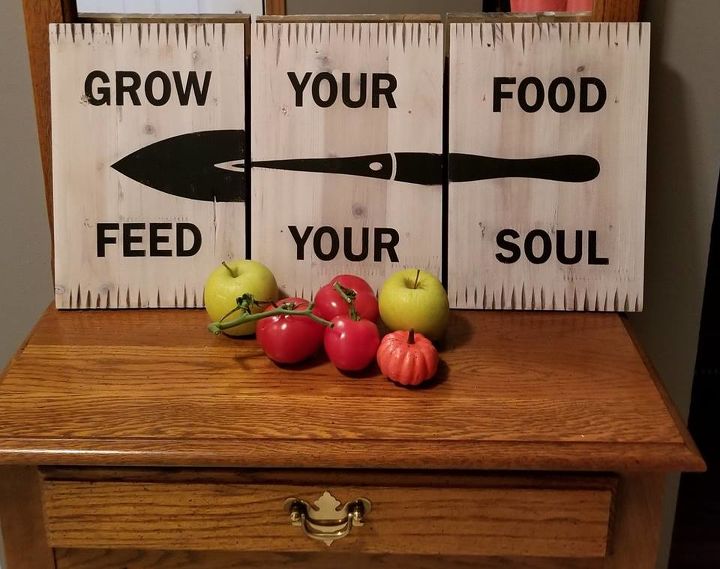
And here they are....TAAADAAA....how beautiful are they!!!! The quote is so true, the wood colors and painted colors just flow. And the natural creases in the top and bottoms of these boards, almost like they CAME from the garden...well...you get it!!! It just all went together so beautifully...and better then I even thought it would look.
Moral of this project: Don't let old, broken, used items in any store go past your imagination! We ALL like to be REVAMPED every now and then..so do old things...they WANT to be pretty again!! So go ahead, browse around, take your time...and let your creative side go with you. Look past the "ick" and make it "slick" again!
Happy Crafting and Re-Purposing people!!
Comments
Join the conversation
2 comments
-
This sign makes me a whole lotta happy!!


Frequently asked questions
Have a question about this project?