


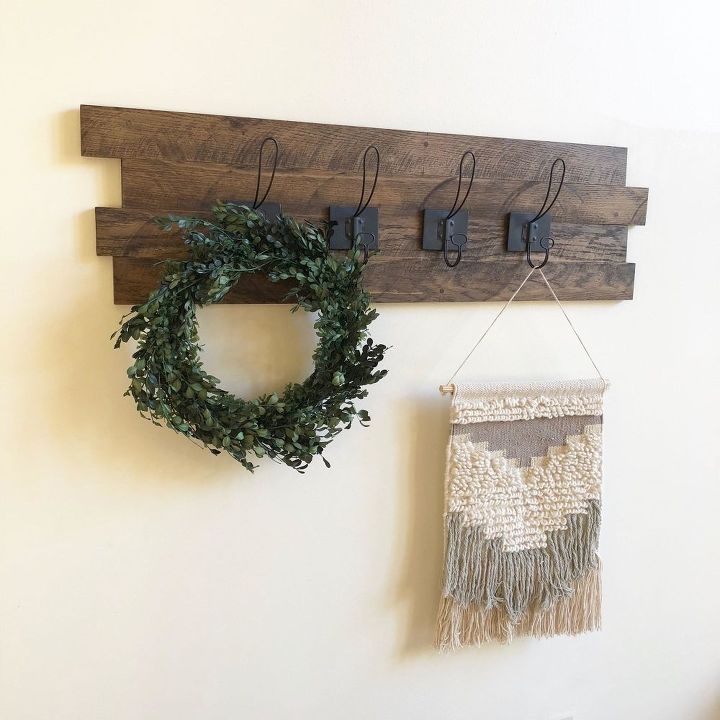
How to Make a DIY Rustic Wood Coat/Key Rack
Learn how to make a gorgeous rustic wood coat/key rack, mostly from materials you have lying around at home. Click here to go to my blog for full project details and lots of pictures! Abbreviated directions below.

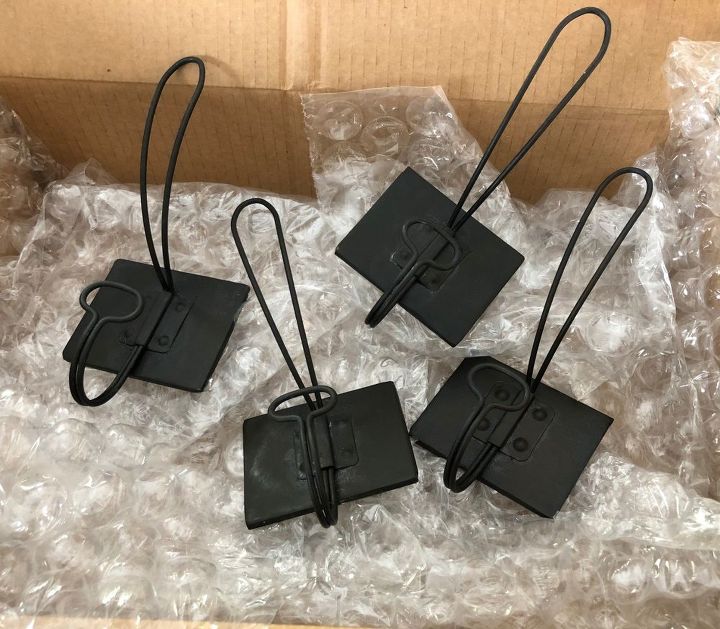
1) Gather your Supplies: You'll need coat hooks, scrap wood, wood stain and general woodworking supplies (likely a saw and sander). the coat hook style is what really matters - they can make or break the look you are going for.
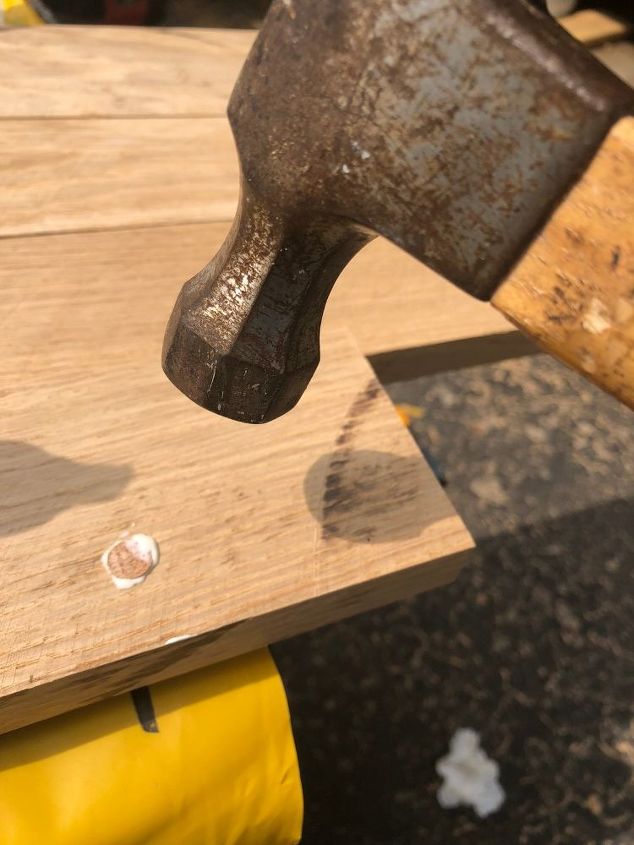
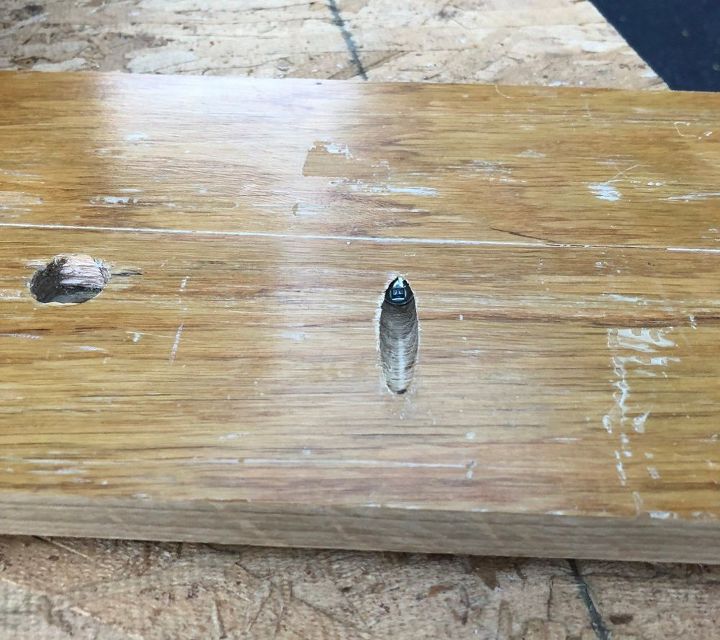
2) Prep your Wood: You can use any type of wood you want so the prepping part really depends on if you are using new wood or scrap wood. For us, we used scrap wood so we had to cut the boards in half lengthwise, fill in holes with wood plugs and sand them all down with a sander.
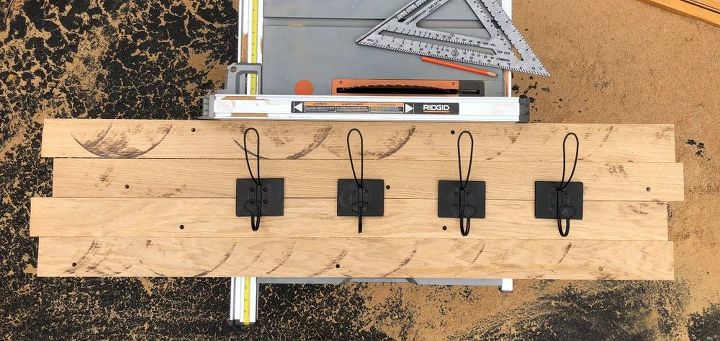
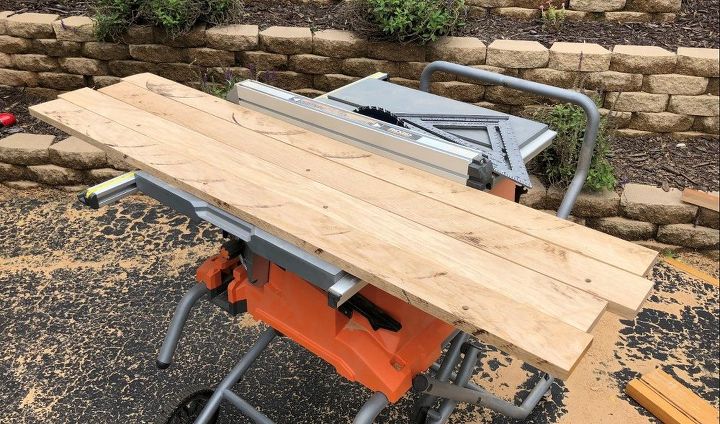
3) Cut your boards to the right length (and determine how many boards you want to use): Lay out the boards and your hooks to determine this. As you can see, I decided on using 4 boards and decided I wanted them cut shorter than they currently were. We used a table saw to cut them.
4) Connect your boards to one another: We used two methods for this since our boards were very heavy oak. We used both glue between the boards and pocket screws on the back side. The important part here is making sure that the boards are tight together and aligned perfectly.
5) Sand it: Now you should have all your boards together so you can sand it smooth. We used a sander because it went faster. No need to be picky about the sanding - just make it smooth so no one gets slivers from the wood.

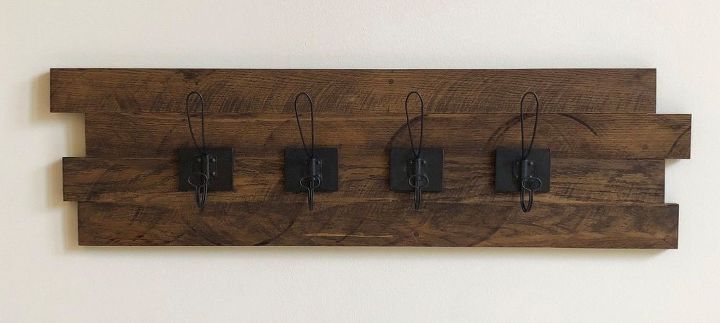
6) Stain it: You can choose any color stain you like. I chose Espresso since I like a darker stain. Put on gloves and wipe the stain on with an old cloth. Then simply wipe it off after a few minutes. The longer you leave it on, the darker it will get. You can also do a second coat if you want it darker than what you get the first time you do it.

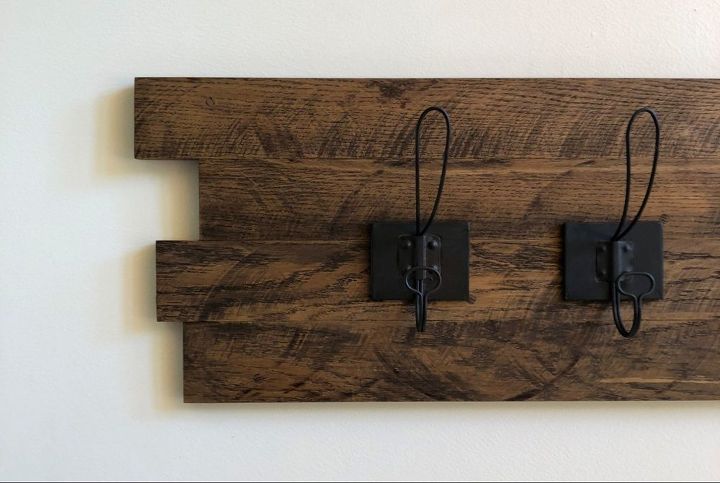
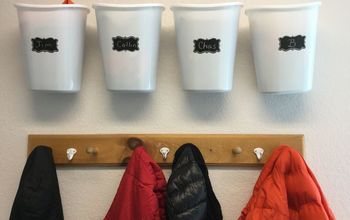
7) Add the rustic hooks on the front: This will take a lot of measuring. You'll want to ensure that you place the hooks an even distance apart from one another so it looks really nice. Just keep measuring and nailing or screwing them on. We used screws since they would ultimately hold better.
8) Add your mounting hooks to the back and hang up!: Since our wood was very heavy, we used heavy-duty mounting screws and hooks to ensure that it wouldn't ever fall down. This really just depends on the final weight of your project.
I hope you enjoyed this tutorial and best wishes crafting away! Don't forget to head over to my blog That Cozy Look for ALL the tips and tricks on this project - and for more great project ideas :)


Frequently asked questions
Have a question about this project?