


How To Fix A Broken Ikea Hemnes Shoe Cabinet
Yes, the title of this post is a mouthful. No, if you don’t have a broken HEMNES shoe cabinet, you don’t have to keep reading. Yes, if you do have a broken HEMNES shoe cabinet and I enlighten you with how to fix it, you do have to shower me with gifts.
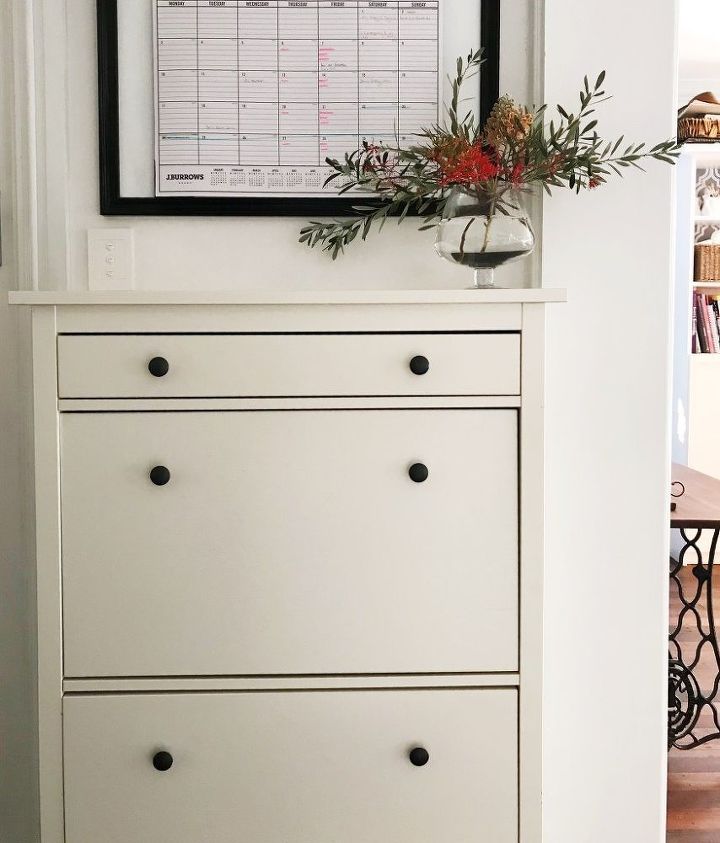
The IKEA HEMNES shoe cabinet. (Cue angels singing.) It is the answer to shoe storage dilemmas all over the world. You see, although the cabinet can store a tonne of shoes, it is very slim and can therefore live in almost any entrance or hallway without taking up bulk space. (This post is not sponsored by IKEA. It should be though. God I love IKEA.)
I would highly recommend it as the perfect shoe storage cabinet. But. Our children are highly spirited and have often opened up the lower drawer and then climbed right inside of it to find a missing shoe. Unfortunately, the shoe cabinet is made of particle board and plastic (to keep the cost down – hooray!) which resulted in the drawer eventually breaking apart .
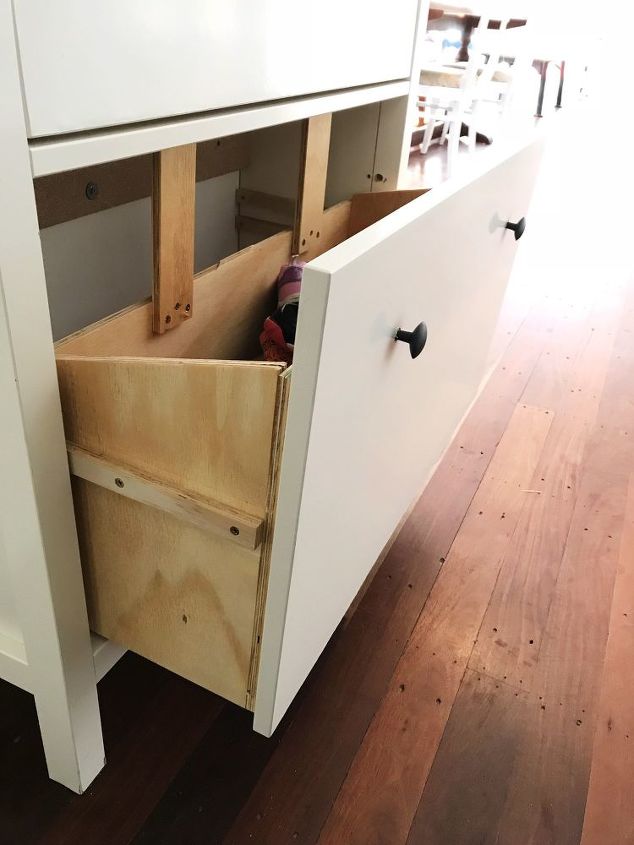
The shoe drawers actually tilt open (they don’t slide open) and figuring out how to make a tilting drawer was beyond me. So I cheated and built a sliding drawer 
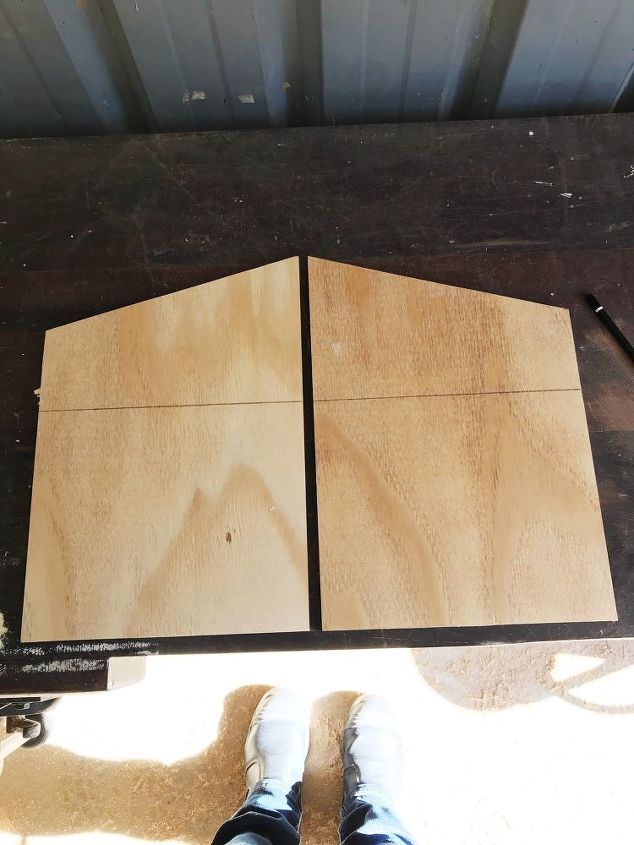
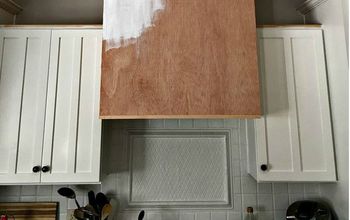
Start by cutting two of these plywood side pieces and mark a straight line along them.
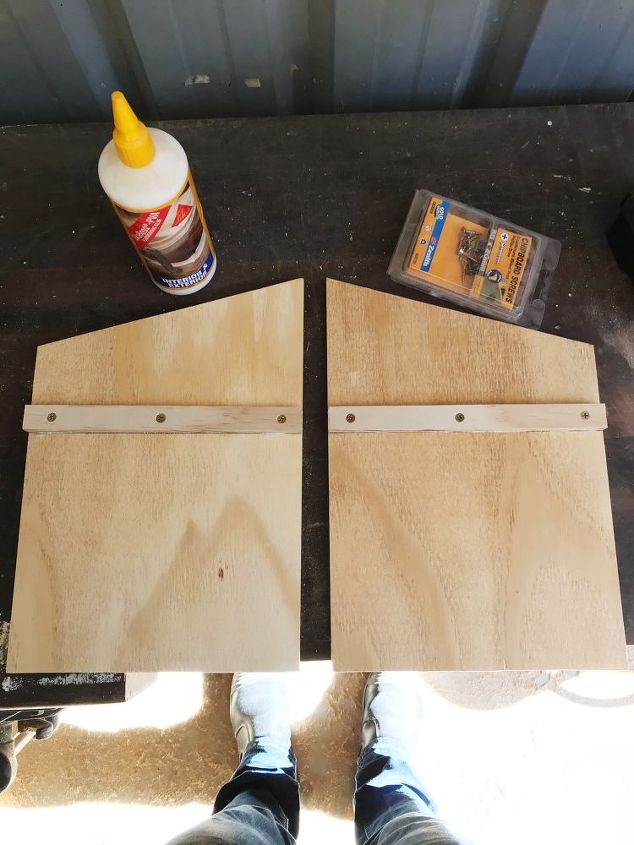
Then attach cleats to each side with glue and screws. The cleats are now your drawer slides.
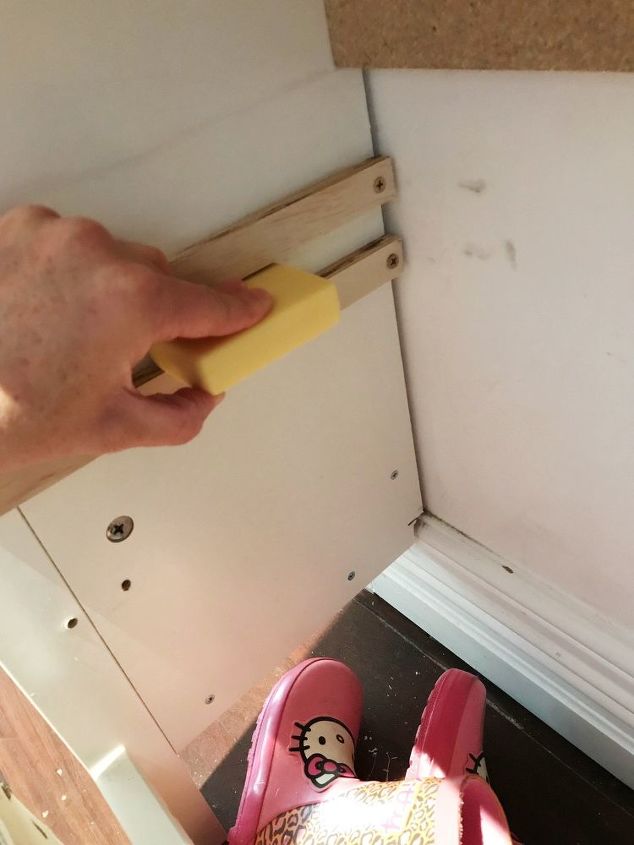
Attach two more cleats to each side of the cabinet. These are the runners that your drawers will slide along. I found that “waxing” them with a bar of soap allowed the drawer to glide easily.
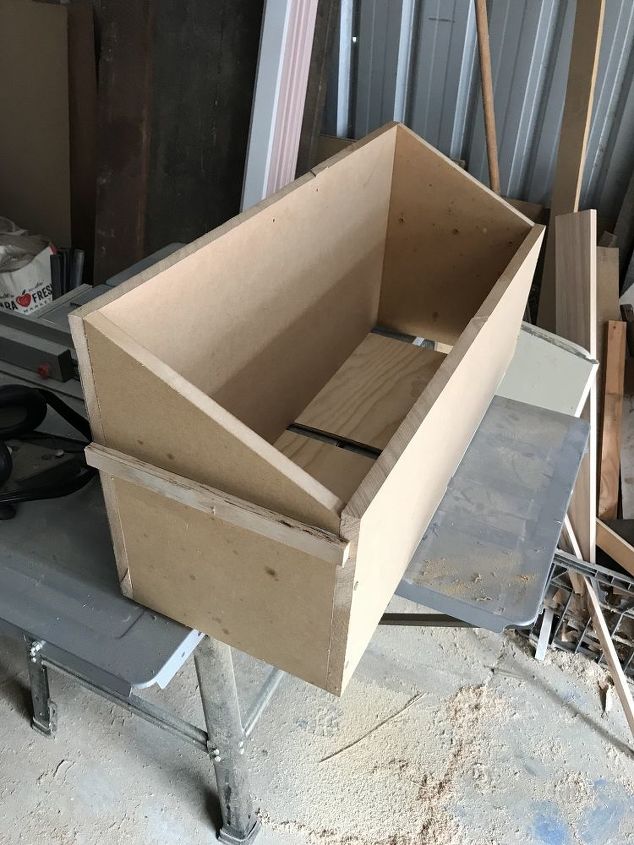
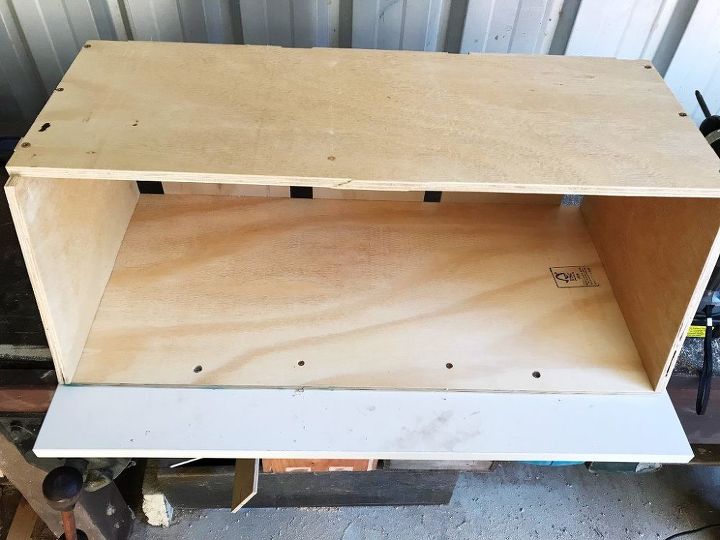
I didn’t take a picture of my assembled plywood drawer but here’s a pic of my first failed attempt (made of MDF which was way too heavy):
The back of the drawer needs to be low enough to fit underneath the bracket at the back of the cabinet. The front of the drawer needs to be high enough to reach the existing drawer handles on the drawer face. The bottom of the drawer has breathing strips (to allow fresh air to circulate in amongst those sweaty shoes, and also to allow sand to fall through).
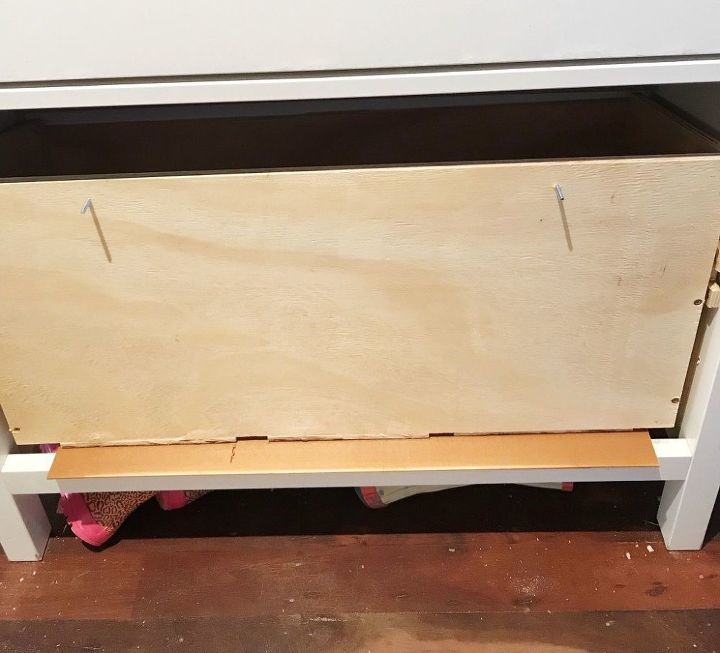
I didn’t take many pictures of this next step, but I’ll try to explain. Slide your plywood drawer inside the cabinet. Place the IKEA drawer face into the opening (with a thin piece of wood used as a spacer so it’s not sitting directly on the bottom of the cabinet). Insert your drill bit through the existing holes where the two handles go and drill two holes in the plywood drawer. Remove the face, poke the handle bolts through the plywood drawer, replace the face and screw the handles on. The plywood drawer and IKEA drawer face are now held together by the handles.
Now you can remove the drawer.
For extra grip, add a couple more short screws through the plywood and into the drawer face (make sure they’re not long enough to go all the way though the face). I added a couple more at the bottom of the drawer too (not pictured).
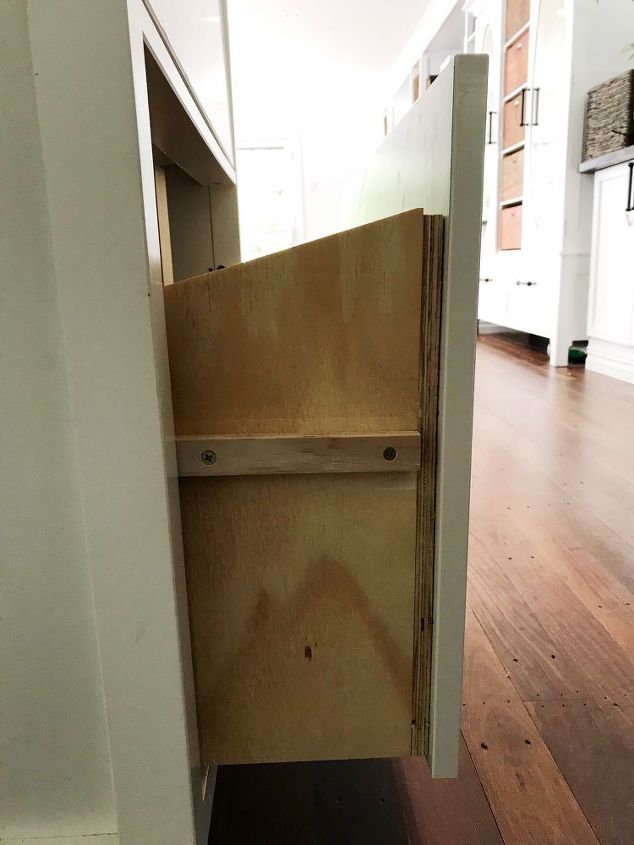
One final (very important!) step: add a couple of scraps of wood to the back of the drawer. Use one screw each so they can swivel:
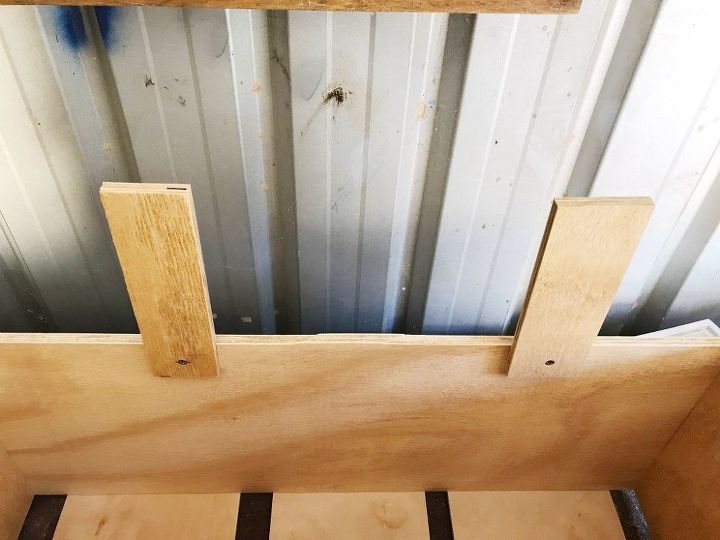
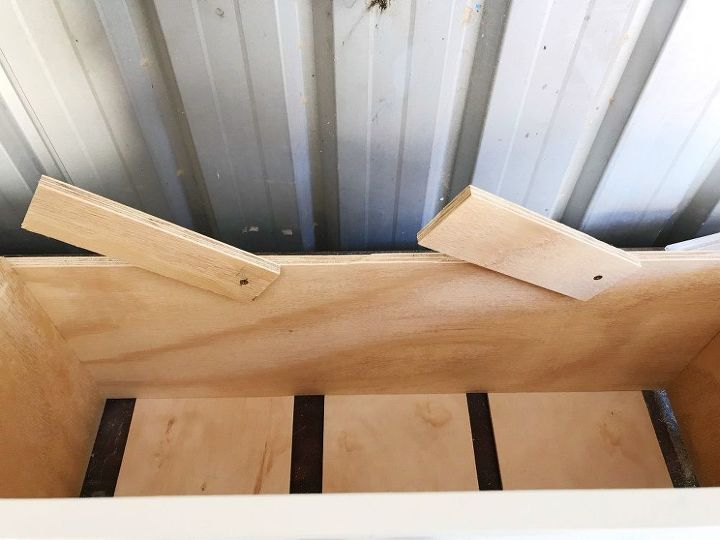
Swivel them to one side so you can insert the drawer into the cabinet. Once in, swivel them upright again and add a couple more screws for stability. These swivel sticks (there’s undoubtedly a proper name for them that isn’t swivel sticks) stop the drawer from pulling all the way out and falling to the floor, crushing small toes in the process.
High fives for me! The drawer has held up perfectly to the daily abuse from three little kids over the past few months.
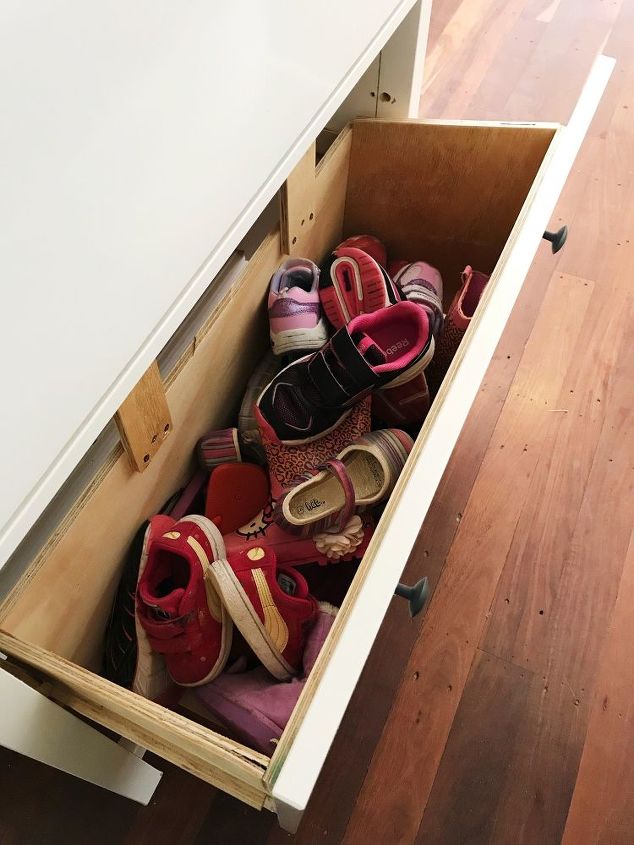
Every pink shoe imaginable. 
This project was made entirely from scrap pieces I already had so didn’t cost a thing. Yay! As much as I love IKEA, I may love plywood even more.
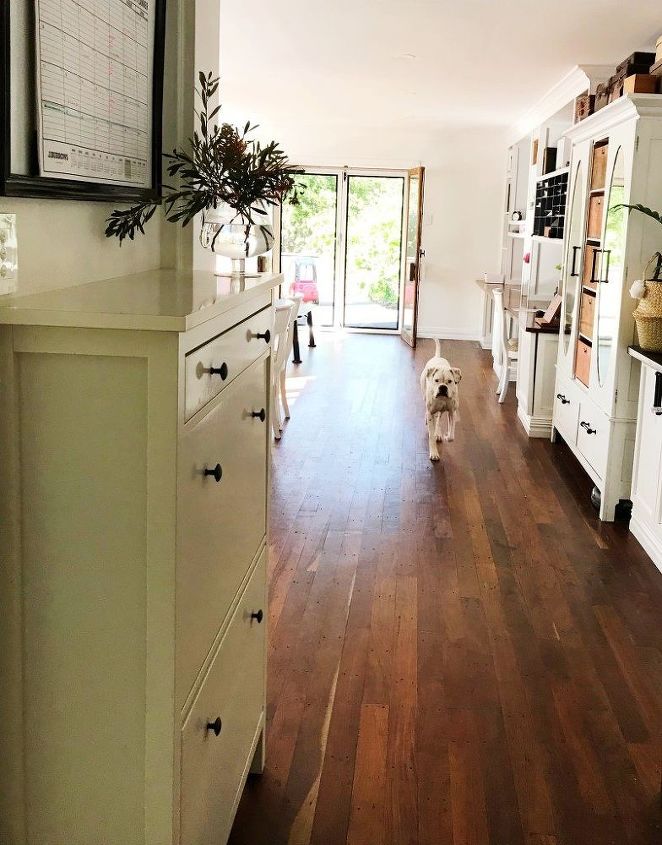
(On a side note, above is our new rescue boxer Ziggy.)
Thanks for reading - I hope it helps someone fix their own broken shoe cabinet! (Don't forget the gifts  )
)

Comments
Join the conversation
-
Awesome work as the bottom drawer of our Hemnes shoebox plastic bits are broken due to kids pulling and closing. They look good but aren’t made to last!
-
Such a helpful idea. Love your decor-coordinated pup!


Frequently asked questions
Have a question about this project?
thank you!! I differently going to try this. My broke for some time as well do to my kids. What are the dimensions you used to make it fit?