


How To Make Buffalo Check Mason Jar Lid Christmas Ornaments
Save those mason jar lids and let me show you how easy it is to make Buffalo Check Mason Jar Lid Christmas Ornaments. Like so many of you, I love all things mason jar. There are just so many uses for them. But, I find I use the actual mason jar and end up with a bunch of lids. I can’t be the only one right? So I decided to put the mason jar lids to good use and make adorable buffalo check ornaments.
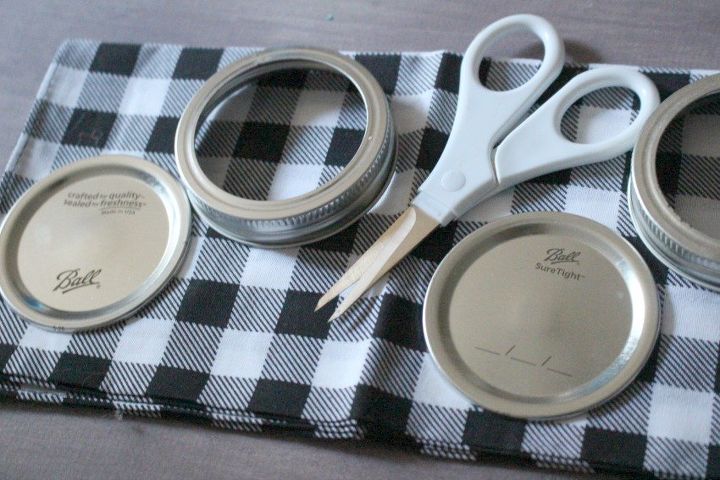
- Buffalo Check Fabric
- Mason Jar Lids
- Fabric Scissors
- Hot Glue Gun – This is my all time favorite-it’s cordless!
- Twine
- Ribbon of your choice
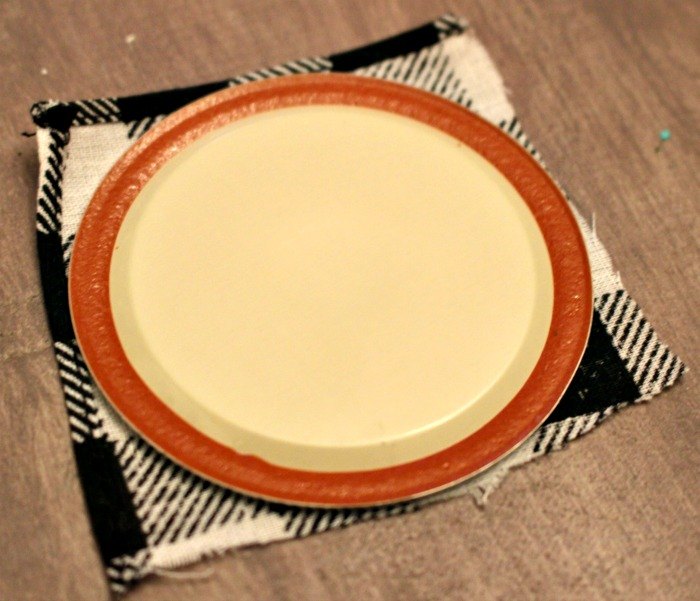
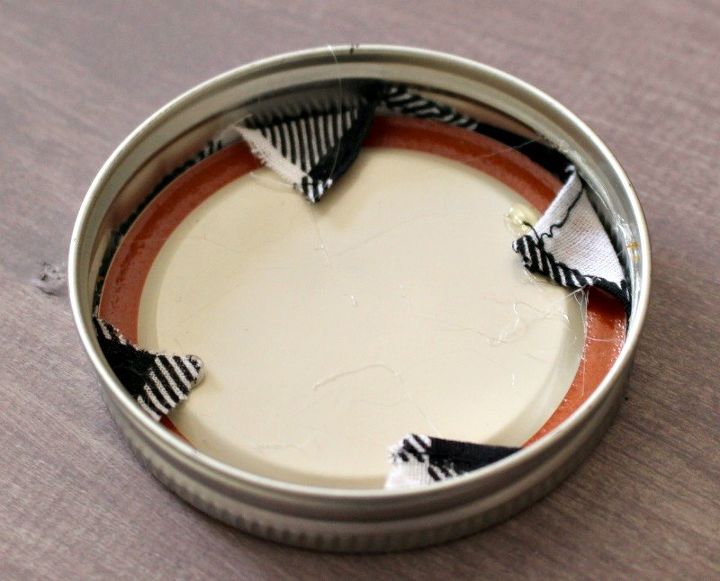
Create a template out of the buffalo check fabric to cover the mason jar lid. Cut a square and then glue the sides to the back of the lid. Once the fabric is glued to the lid insert, add a little hot glue around the inside rim of the mason jar lid and attach the fabric covered insert.
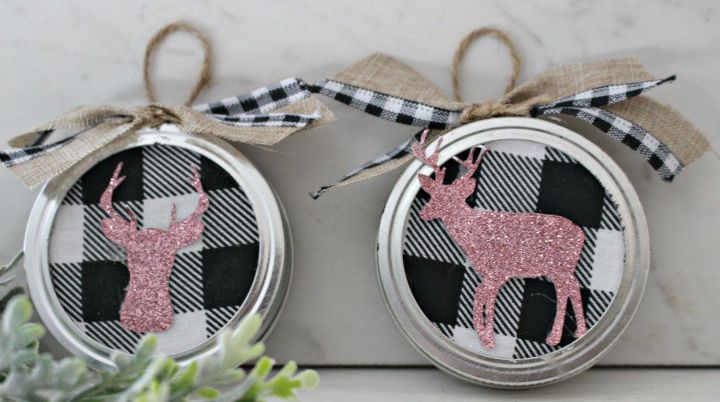
Hot glue a small piece of twine forming a loop for hanging. Cut a piece of coordinated ribbon to attach to the front of the twine. This will also cover up the hot glue on the twine. Make it as long or short as you like. Attach with just a little hot glue. I also tied just a small piece of twine to ensure it was held together.

You can stop here, as these are adorable as is, or you can add a sparkly deer like I did below. I cut it out using my Cricut Cutting Machine. You could also use a stencil if you like.
I have so many quick and easy craft and decorating ideas on the blog and would love it if you stop by. Thank you! https://ourcraftymom.com/

Comments
Join the conversation
-
Looks nice!


Frequently asked questions
Have a question about this project?