


Thanksgiving Centerpiece Plans

Thanksgiving will be here before we know it! The days continue their relentless march into coat weather! It's been a fast and strange year, but, let's face it - the day will come whether we are ready or not, so, time to get ready. I enjoy decorating for Halloween, and many of the projects (like pumpkins and fall leaves) can be carried over to Thanksgiving with a few tweaks. So for this project, I decided to make a project that could look great for both.
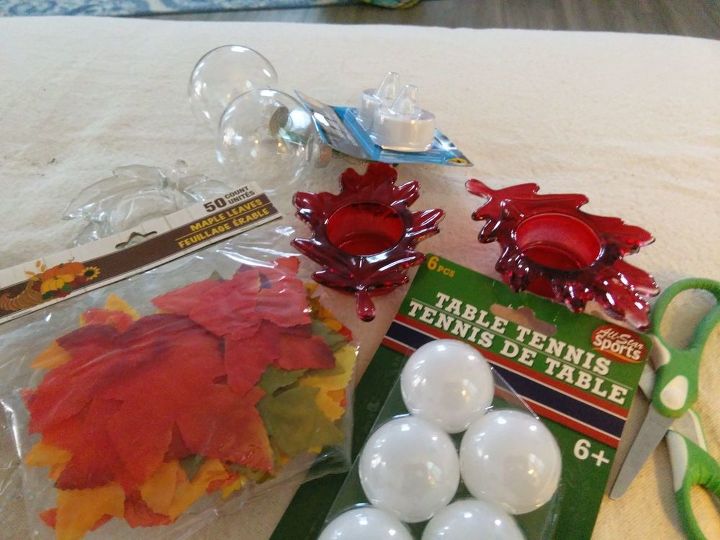
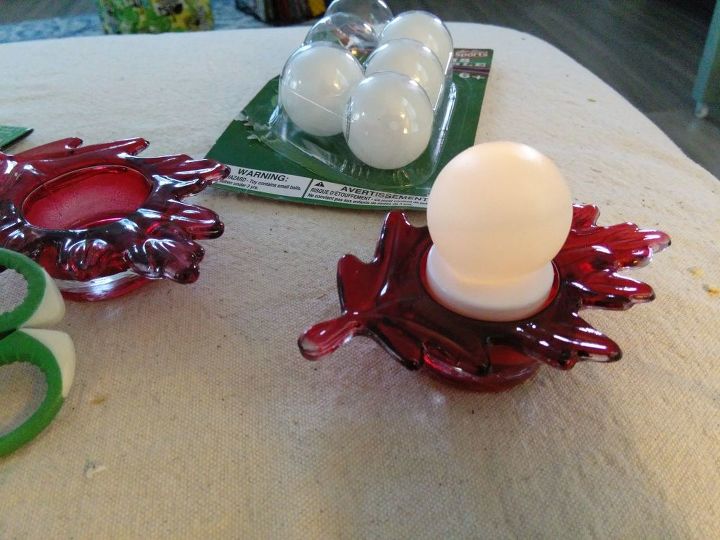
Here are my supplies, fabric leaves, tennis balls, votive holders, two LED tealight candles (2 to a pack), and two clear plastic ornaments.
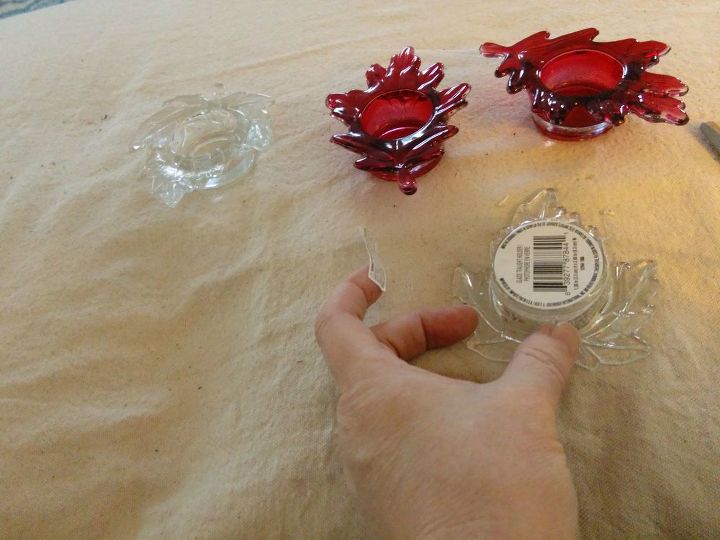
My local dollar store is being remodeled, so I took a trip across the river, to another one, where I found these glass votive holders. Of course they all had sticky labels on them! I worked them off, and then working a small amount of Goo Gone into the sticky parts, cleaning away the residue.
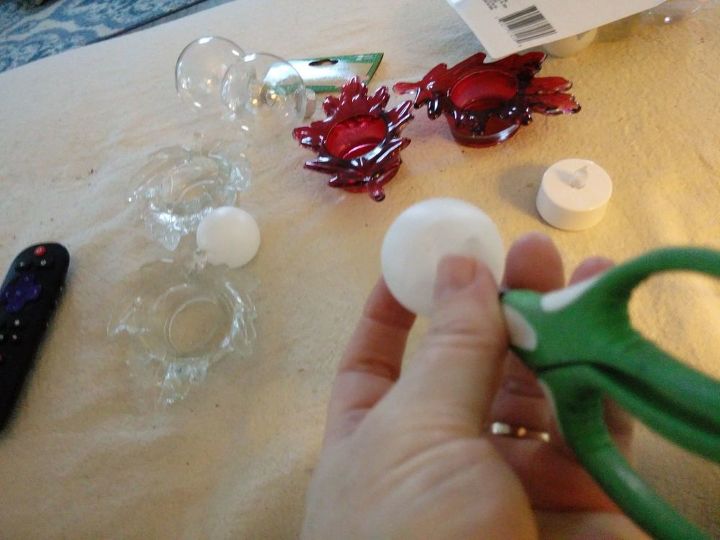
Taking one of the balls, I punctured it with my scissors. This could be done with anything including a skewer, with a sharp point. Just make sure to not go through the other side (or poke yourself)!
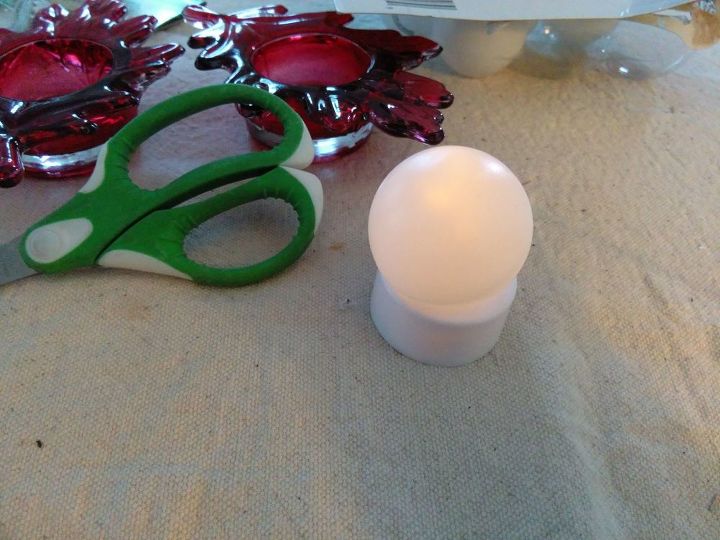
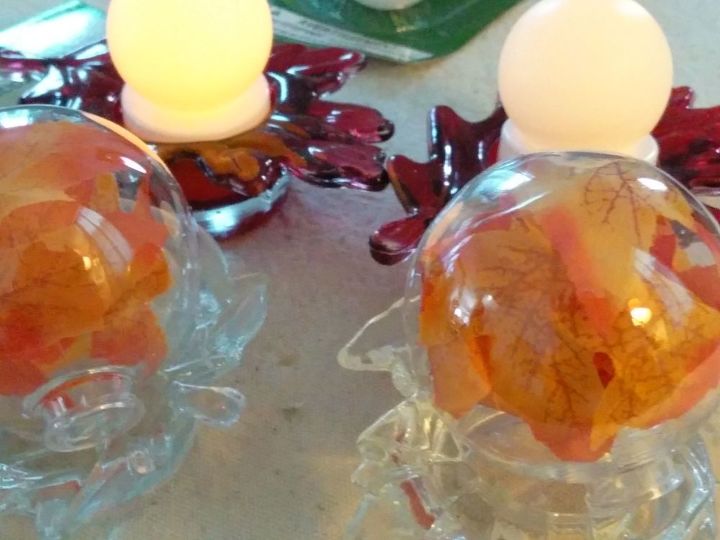
Place the plastic ball over one of your little candles. You could skip this step and just place the little candles in the holders, but, I like the little globes!
Cute, isn't it!?
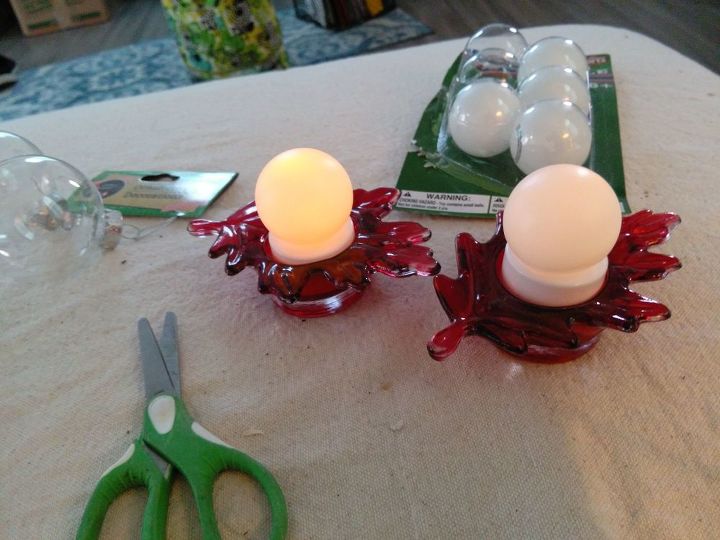
With the two of them. I've made these little lights with my granddaughter in the past (inspired by Chas' bunnies and I posted the link for that project at the end, so you could see it), and I would recommend cutting the opening for the child, if your kids or grandkids are helping! We've made dozens of these little lights, but, they all live at my granddaughter's house so that her dolls have nightlights!
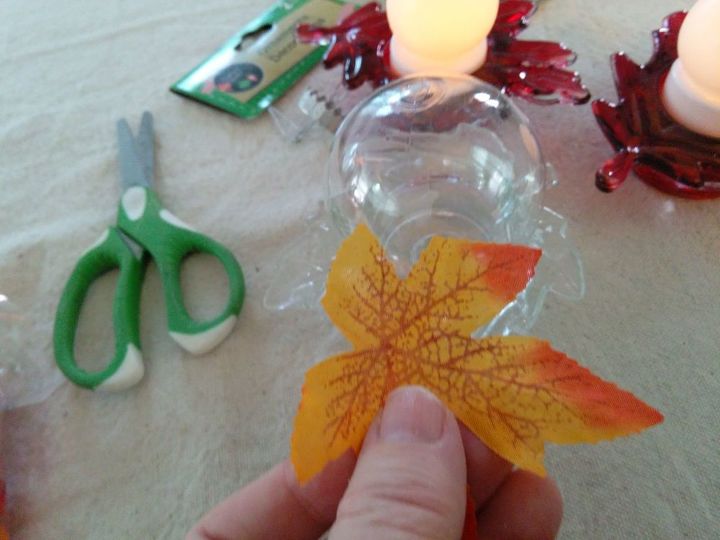
Now, I'm sure most of us have purchased these clear Christmas ornament balls, and filled them with stuff for décor. But, they also look like little crystal balls to me, and I like to fill them with seasonal items. They are plastic (although you can buy glass ones, too) and easy to fill. Just pop off the hanger at the end and you have the opening to fill it with.
You can poke thinks like this leaf with a chopstick, the end of a pen, tweezers, etc. Chopsticks work best or the eraser end of a pencil if working with a child or children.
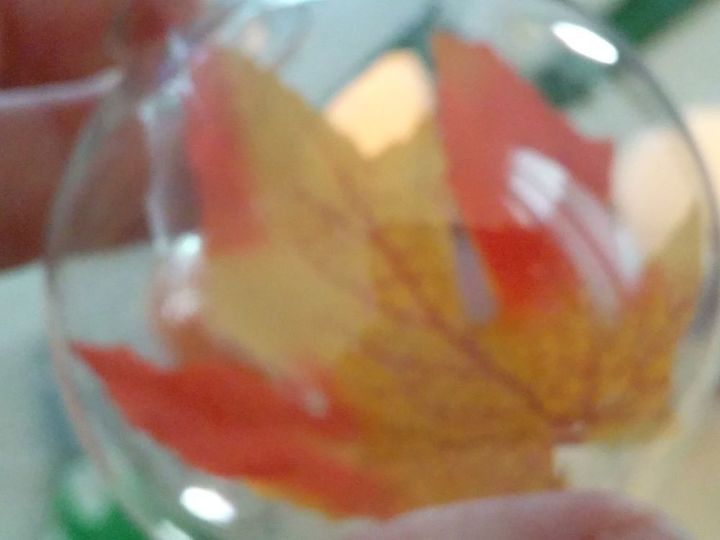
One leaf looks pretty!

I confess, I used the end of my craft scissors.
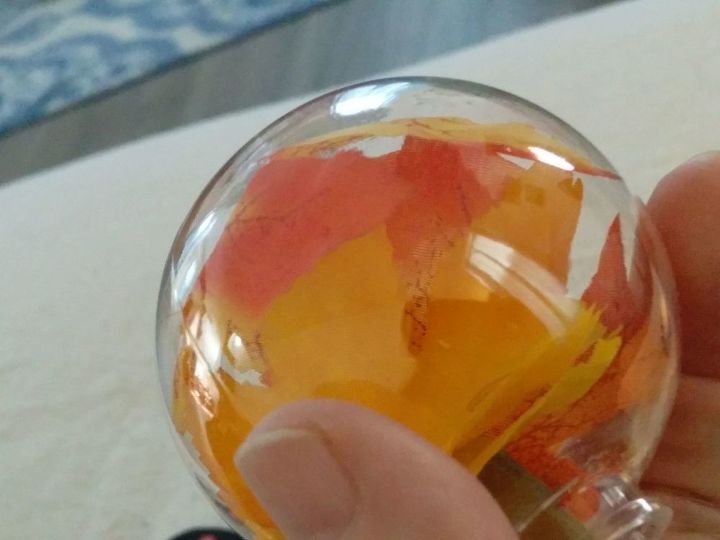
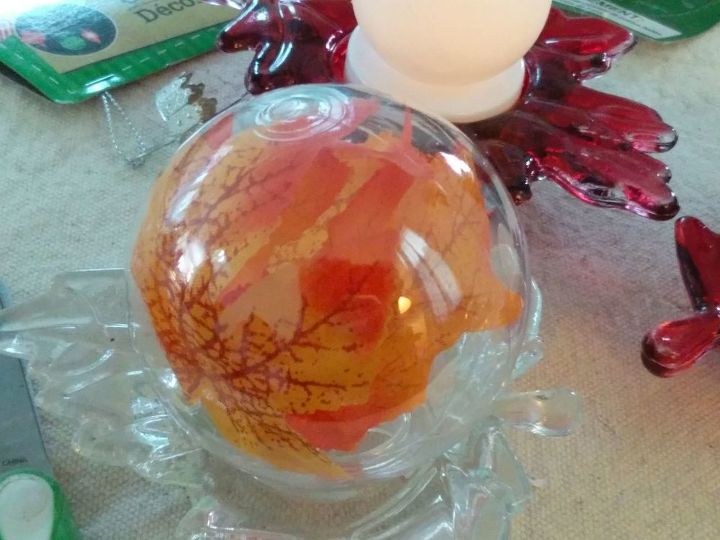
Here are several placed inside! You have about twenty of them in a package, so you can add glitter, or just push a few in.
I liked the color with several different ones.
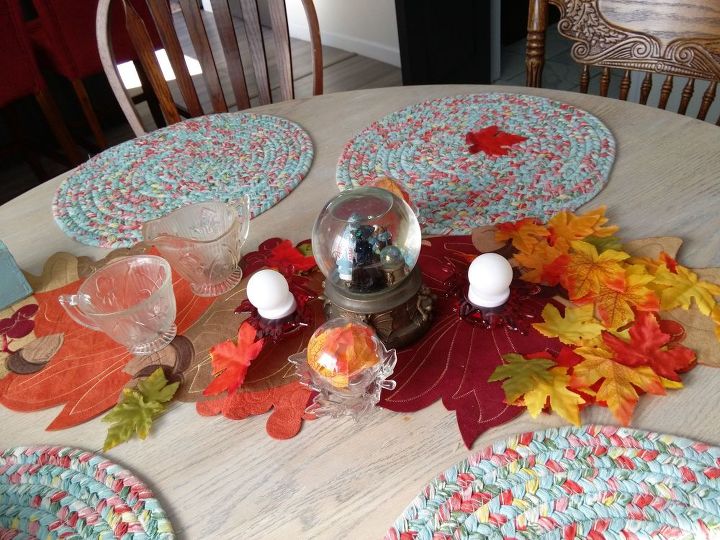
I already had this leaf runner and my Wizard of Oz globe on the table, so, I placed my new décor on the table, and sprinkled the extra leaves around them. This will look great until after Halloween!
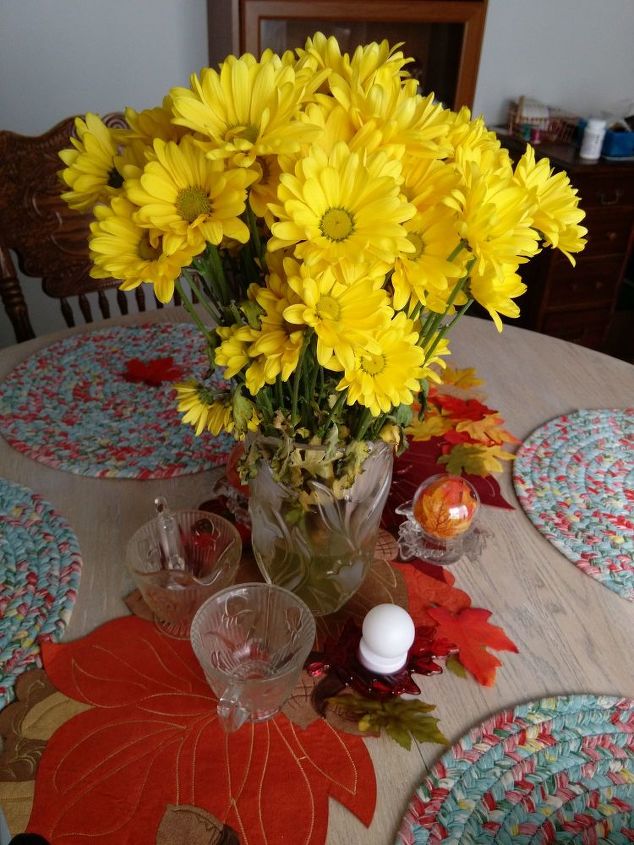
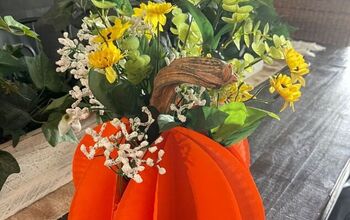
Here they are with some seasonal flowers in a vase. It will be Thanksgiving before I know it, and I'm ready! The total for me was $8. However, you could leave the balls off, saving a dollar, or use fewer votive holders for additional savings. I was going to use real leaves, but, ours aren't falling yet!
Resources for this project:
See all materials


Comments
Join the conversation
-
Super cute idea!!🍁
-
Very cute idea! I have a collection of snow globes, and I think the ping pong ball lights would be great intermingled around my collection for the holidays :)


Frequently asked questions
Have a question about this project?