


DIY Road Trip Backseat Car Organizer
We all love trips, right? But, sometimes, when traveling with the kiddos, the disorganization and lost items can make us nuts! Solution? Sarah, from The Created Home, designed and built this amazing car organizer.
We've created a video to show you the process for building this backseat car organizer. Be sure to watch for helpful tips and suggestions!
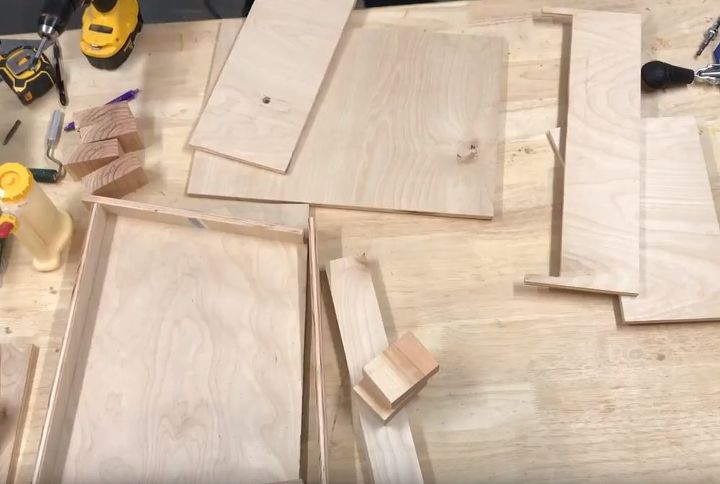
Head over to Remodelaholic.com and download the free building plans! Take some measurements from your own vehicle in order to customize your organizer to your space. Cut out the pieces according to the building plans.
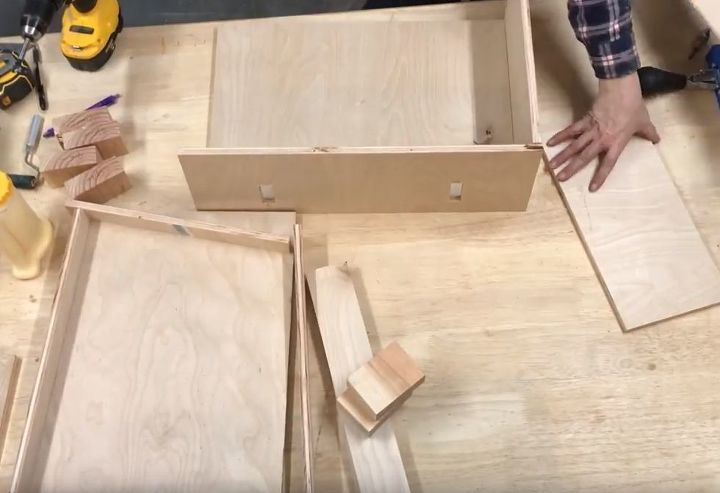
Cut holes for the strap and a carrying handle (if you so desire), then assemble the main box. You can attach with pocket holes and screws or use wood glue and brad nails.
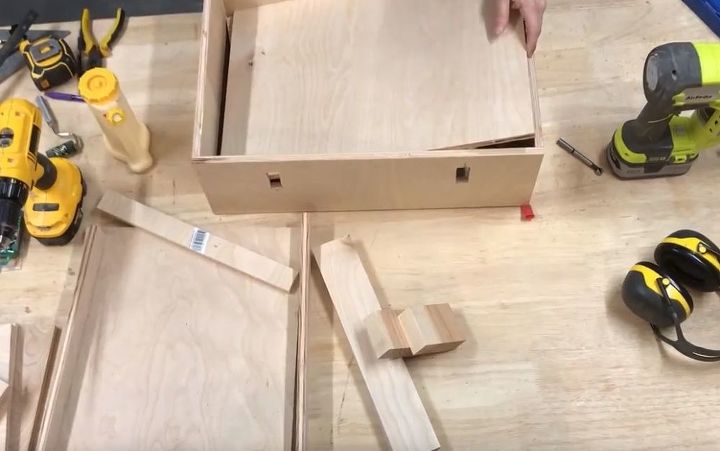
Attach the base, using spacers to allow for the height of the drawer. Then, build the custom organizing bins to hold those items for the kiddos. Spaces for books and water bottles might be helpful.
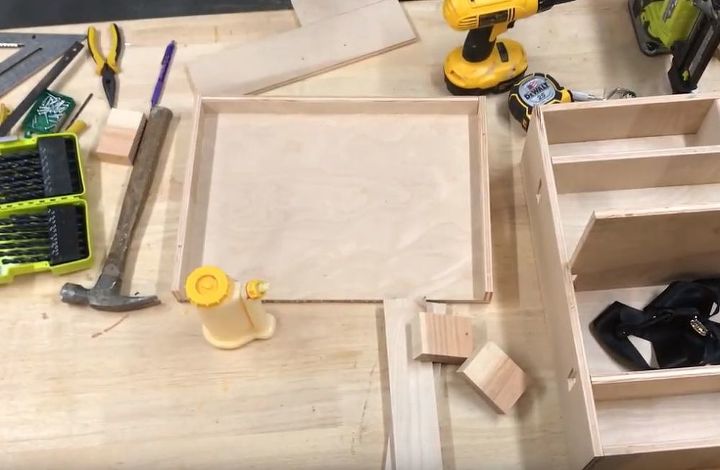
Assemble the drawer using glue and brad nails. It's a good idea to attach the pull before gluing the front piece.
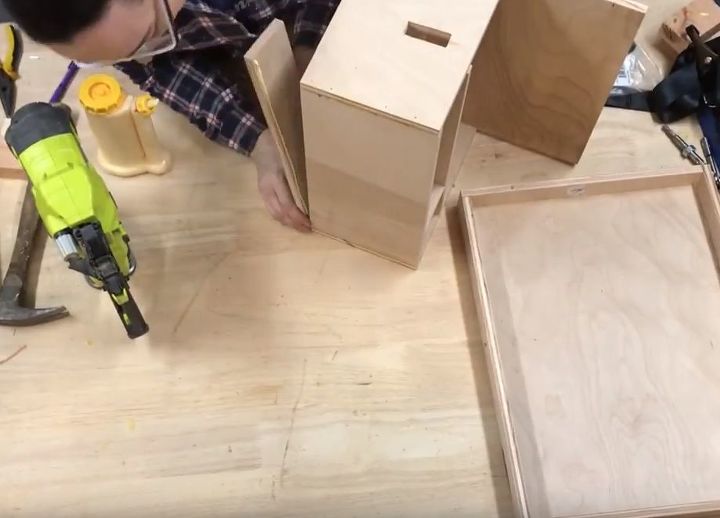
On the bottom of the organizer, attach supports. Once it is assembled and dry, you can sand any rough spots. At this point, you can paint your organizer.
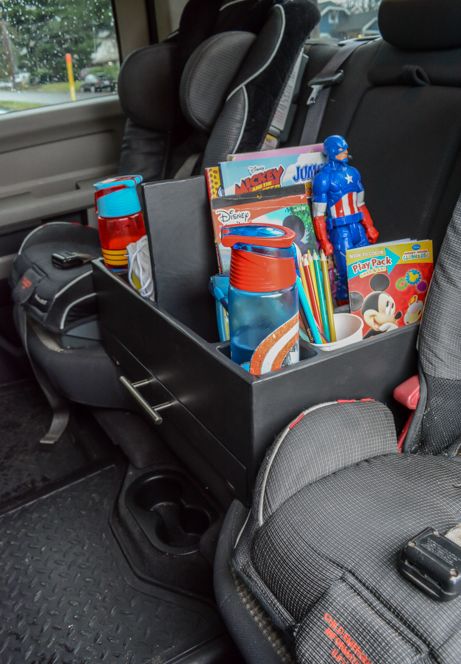
Slide that strap through the holes and attach to your car. Where will you head off to next?

Comments
Join the conversation
-
This is great! I definitely need to make this!


Frequently asked questions
Have a question about this project?