


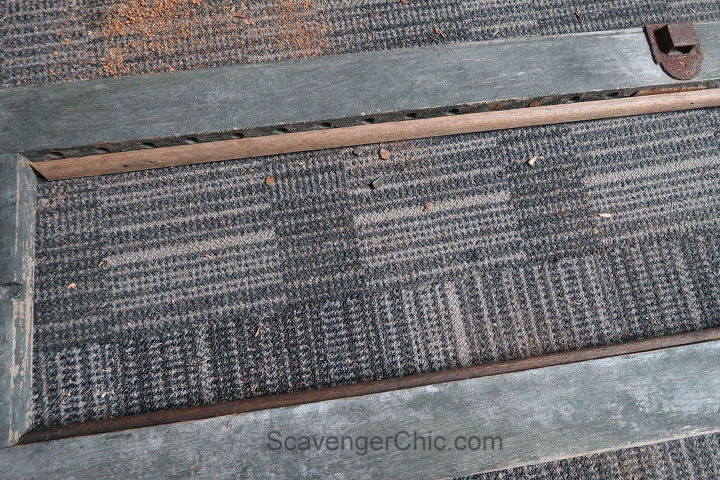
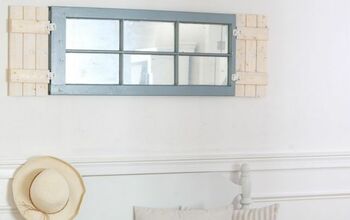
Shutter Frame Mirror
When my neighbor brought over a couple of old shutters that used to hang on her parents home I immediately made two projects, a magazine rack and a lamp.
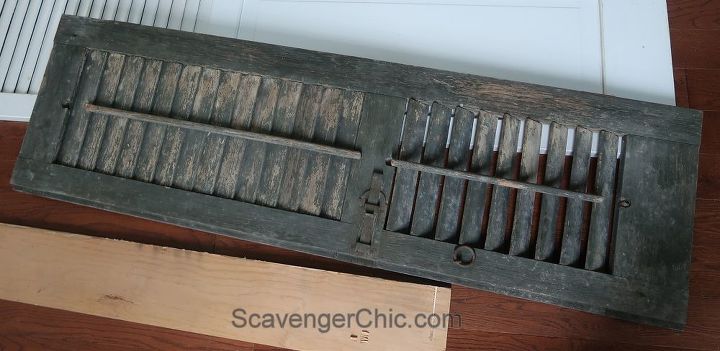
After completing the shutter lamp I was left with a beautifully aged frame. And when you have a beautifully aged shutter frame you can’t just throw it away because you took away all it’s innards. (Make sure you click on the link, the lamp turned out better than expected)
What better use for this old shutter than to turn it into a frame for a mirror.
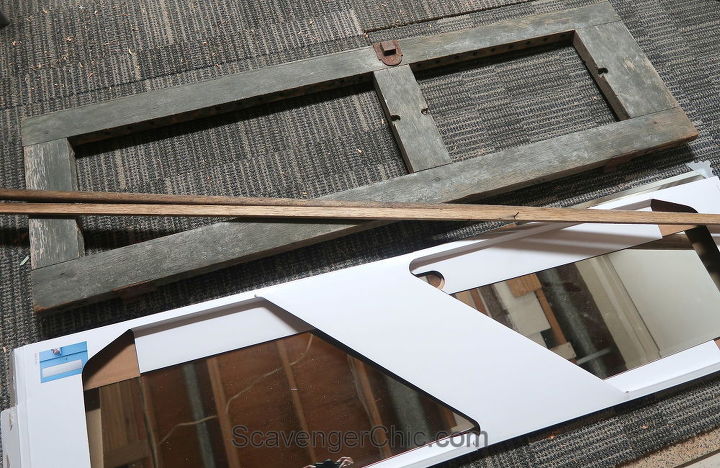
I found the perfect sized frameless mirror at Target. Combine the mirror with my innardless shutter frame and quarter round that was ripped out of my kitchen, and I had everything I needed.
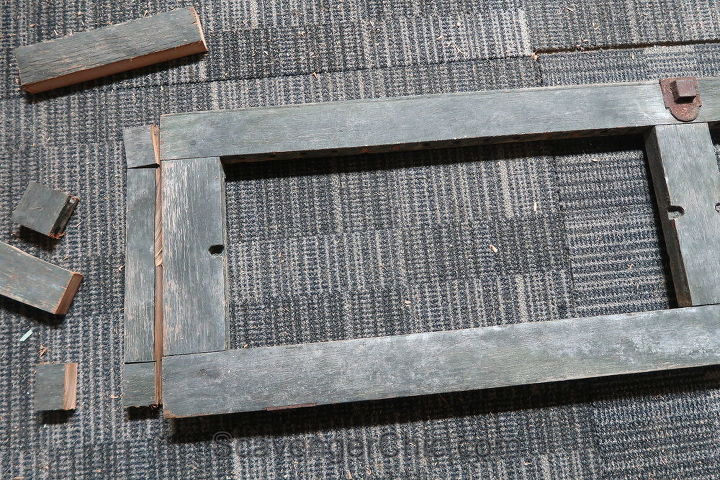
The two ends of the shutter were different widths. Normally I would cut down the longer end to match the shorter but my mirror was exactly the same length as my shutter. If I wanted matching ends, I would have to build up the shorter end.
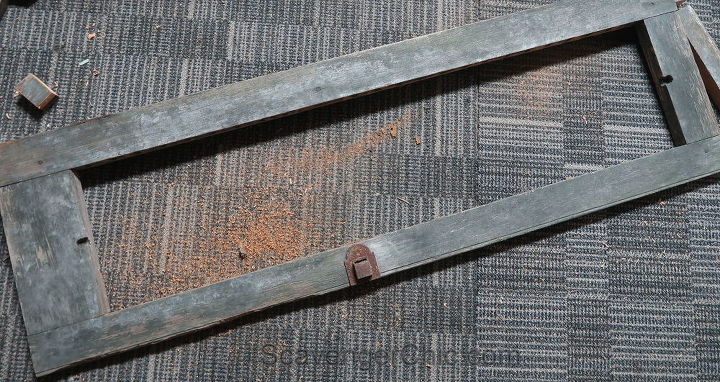
Luckily I still had a few pieces leftover from the magazine shutter project so that the shorter end could be lengthened. Cut to fit, glue and nail. To make the addition look like it belongs , try to have your wood grains go in the same directions as the shutter.
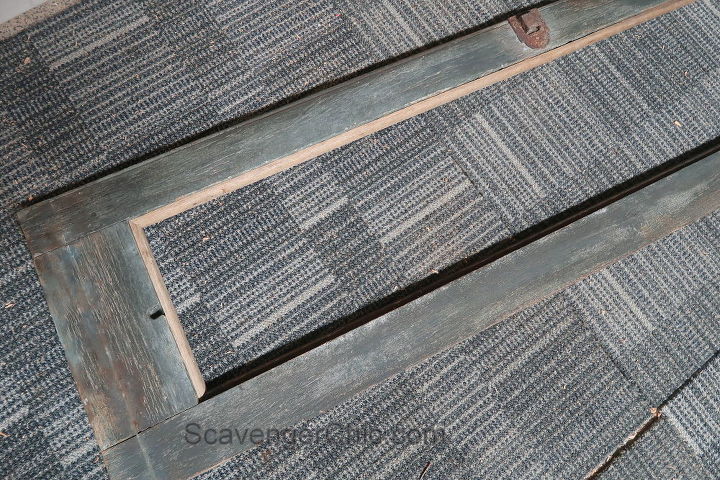
Cut out the middle piece with a jigsaw.
Cut the quarter round with a miter saw to fit inside the frame and nail into place.
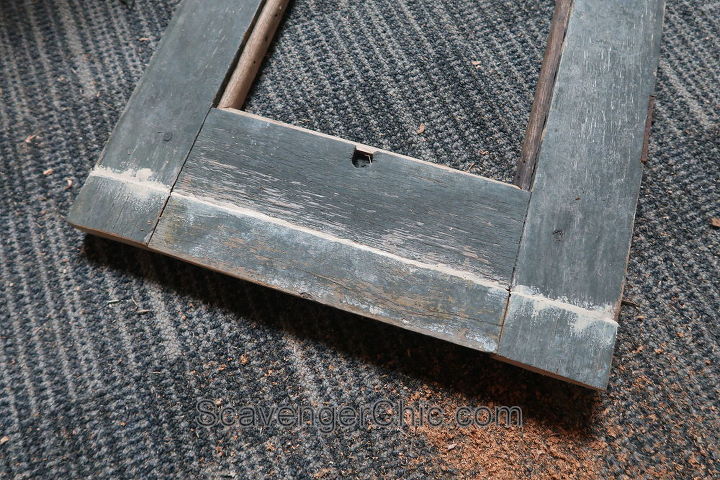
Fill in the gaps on the addition with wood filler.
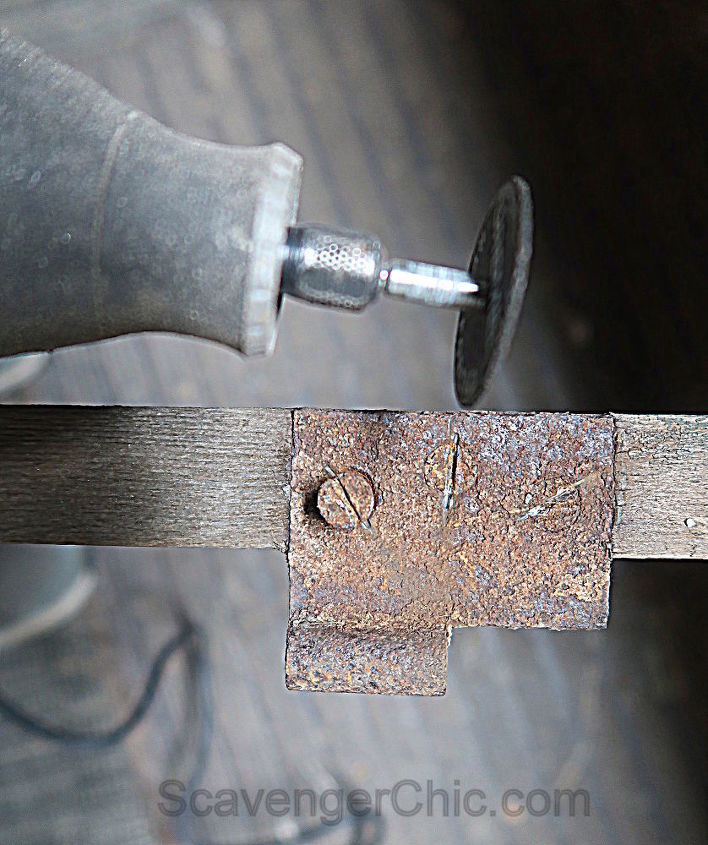
I had to get rid of the remains of the rusty hinges on the back side so they wouldn’t stick into the wall.
Any noticeable screwdriver groove had long since rusted over so I had to once again get out my handy dandy Dremel Rotary Tool . With the cutting tool, I made a crevice deep enough to insert a flat head screwdriver. This technique also works great if you’ve stripped the head of a screw.
If you had to add an addition on your shutter like I did, try to match the paint color as closely as possible or consider repainting the entire shutter.
I won’t go into details on my paint job because the chance of you having the exact same color shutter as mine with the same aging is pretty slim. Let’s just say I used dark green, black, tan, white and vintage wax. For some reason the finish came out pretty close.
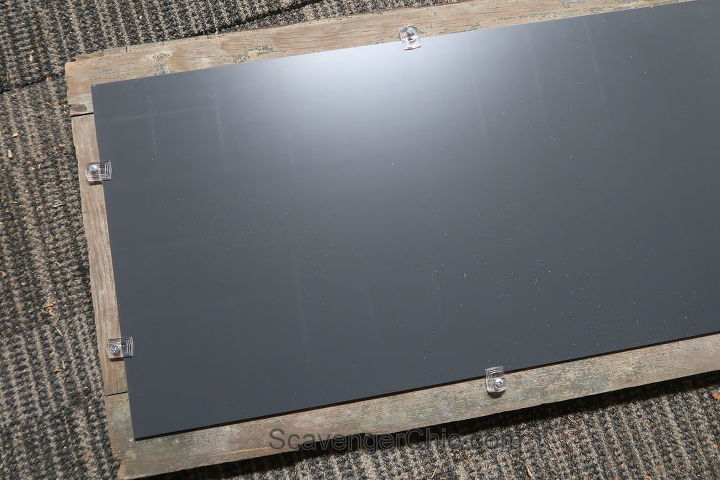
Use Mirror Clips to attach the mirror to the back of the shutter frame..
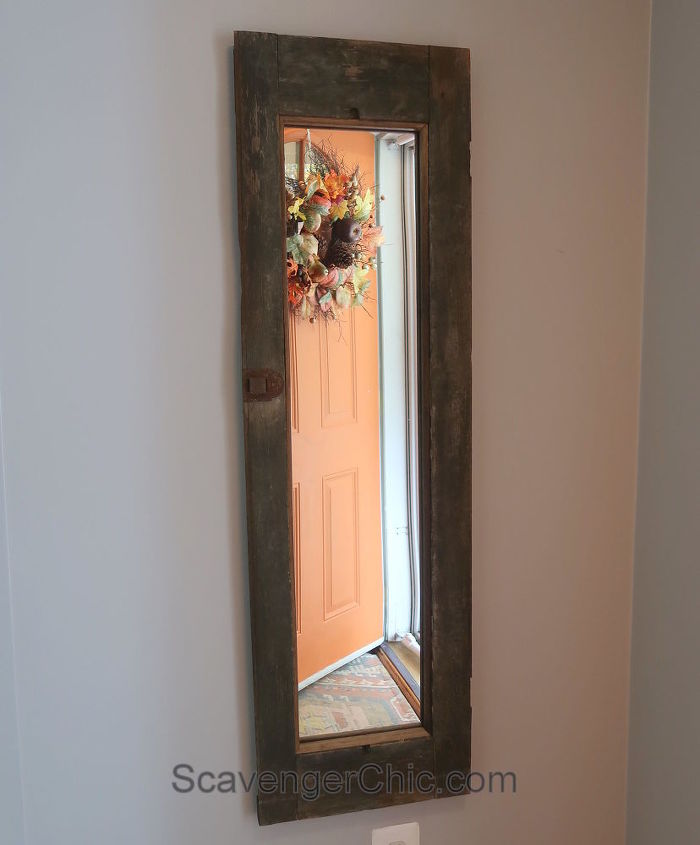
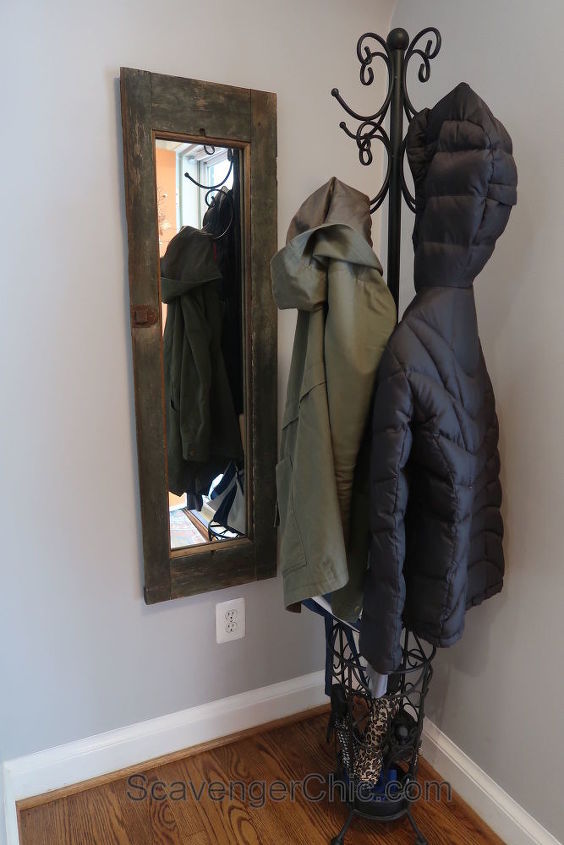
The shutter is currently hanging in my second son's foyer. A great place to check everything is in place before heading out the door.
Click on the link if you'd like to see more pictures, the shutter innards that became the lamp or my full gallery of shutter projects (28 in all) make sure you click on the attached link.
Resources for this project:
See all materials


Comments
Join the conversation
-
Looks great!
-
These are my favorite kinds of projects--when you have this "stuff" and come up with something that is creative, functional and great-looking! Nice work and thank you for sharing!


Frequently asked questions
Have a question about this project?
Nice, may I add a lil’ tip as a picture framer? Always put a piece of cardboard, foamboard, etc behind mirror as most scratch fairly easy.
I have a large mirror that was mounted on a door before I got it.
I love the mirror but not the door and the fixings being obvious as well as the colour of the door..... Any ideas? It is not my home so I am concerned about permanency issues.