


How To Resurrect A Park Bench From The Dead
One doesn’t think about resurrecting furniture, but there are times I swear that the things I find have no heart beat! I mean D E A D dead! Just like this park bench I found on the side of the road. It’s the nurse in me that wants to save everything, especially furniture. Besides it was FREE!
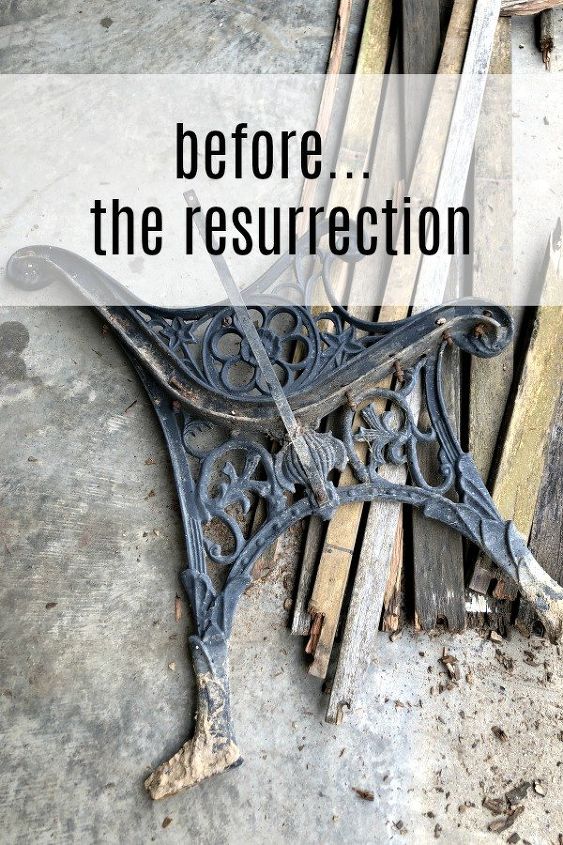
Talk about rough shape, this park bench had definitely seen better days. The only salvageable part were the cast iron end pieces. A good cleaning and fresh coat of paint will make a world of difference. But before I could even think about paint, I had a real overhaul on my hands. All of the wood slats were rotten and decayed.
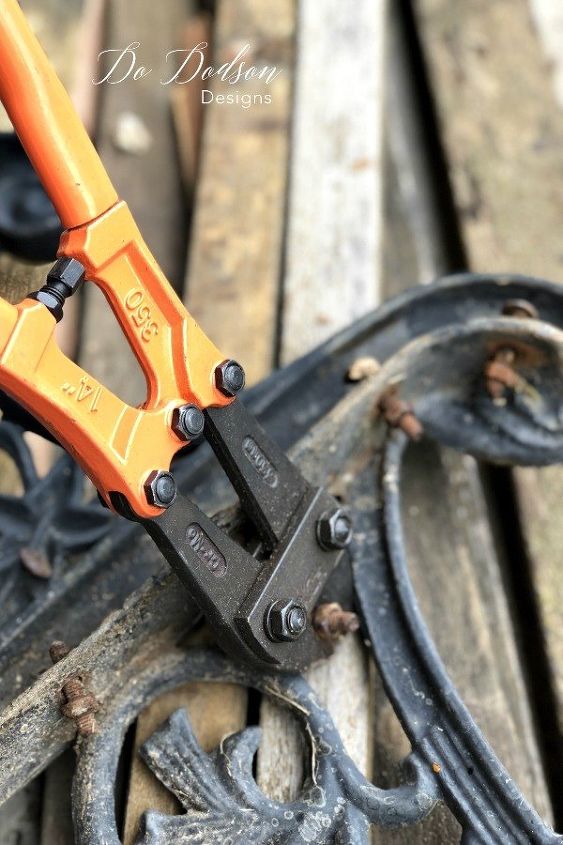
This is where I called for reinforcements. Mr. Honey Do to the rescue! We used a pair of bolt cutters to remove the old rusty bolts. The bolts and nuts were rusty and this was a quick easy removal.
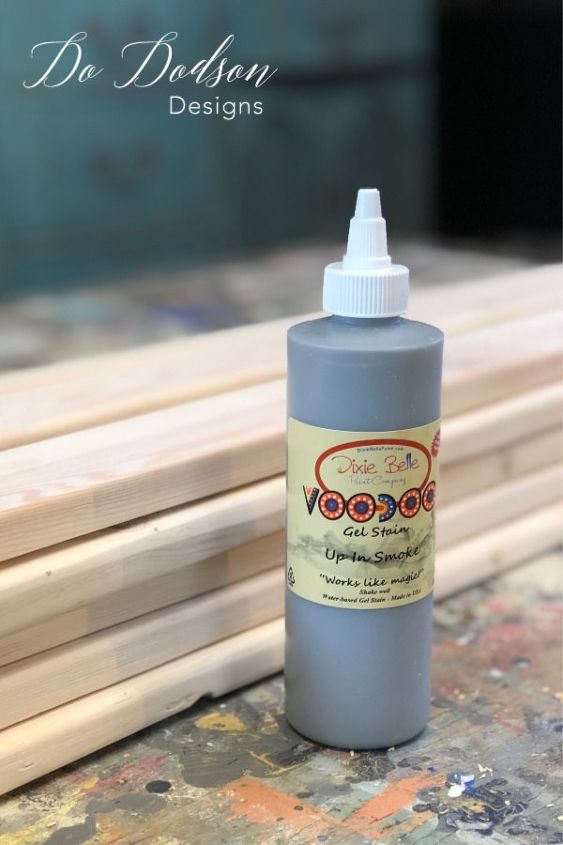
We used the old boards as templates and purchased new slats. Nothing fancy, just your basic inexpensive pine.
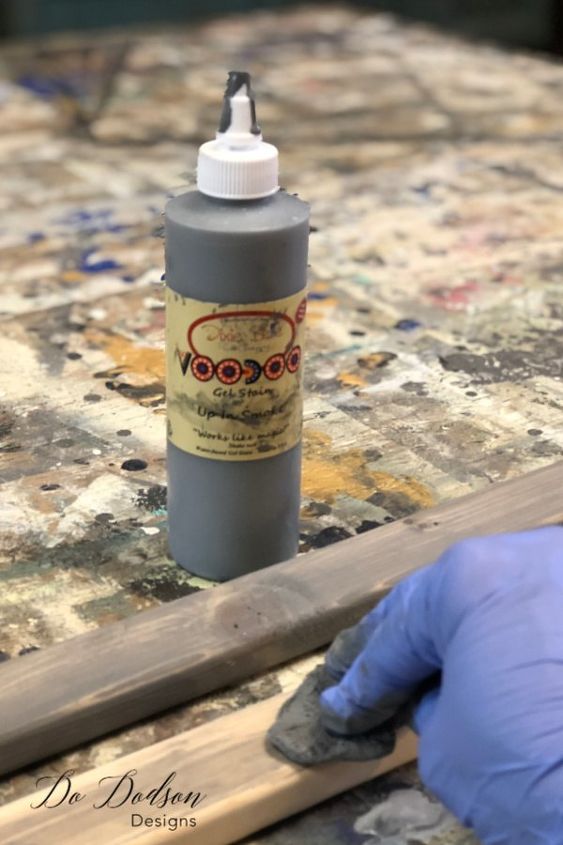
The wood slats got a beautiful weathered gray look with Dixie Belle’s Up In Smoke VooDoo Gel stain. Fast and easy and it’s water based. It's great product to use if you’re sensitive to oil based products and the strong smells. Working inside, it’s important to me to use those products that work and are safe for indoor use. After the boards were dry, I added one coat of Dixie Belles Gator Hide for a water proof seal. Just incase I decide to put this on my front porch.
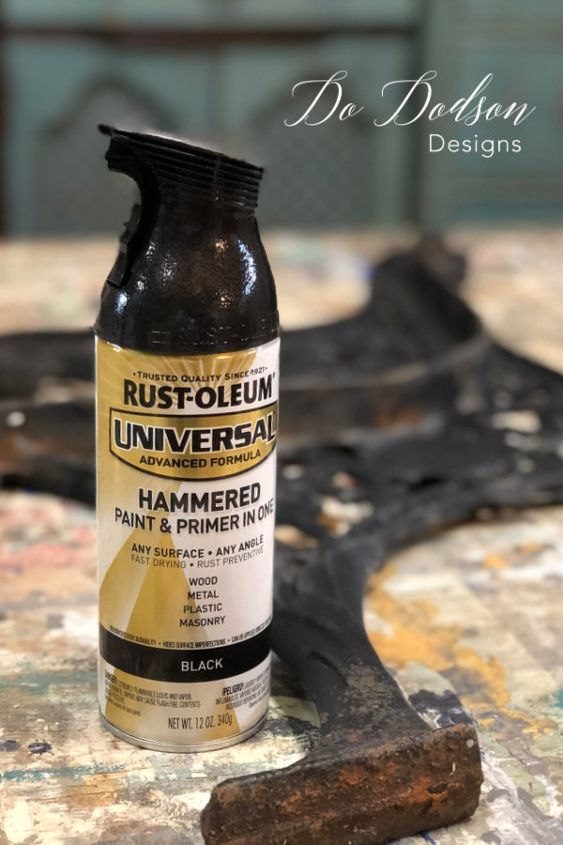
The cast iron ends of the park bench had some areas of rust, not to mention it was faded and just not really pretty. The quick fix for this was Rustoleum Hammered Paint and Primer all in one. I sprayed two light coats allowing dry time between each coat. I love this look. It’s perfect for those rough metal surfaces that need a new look. The coverage is amazing and will look nice on the park bench.
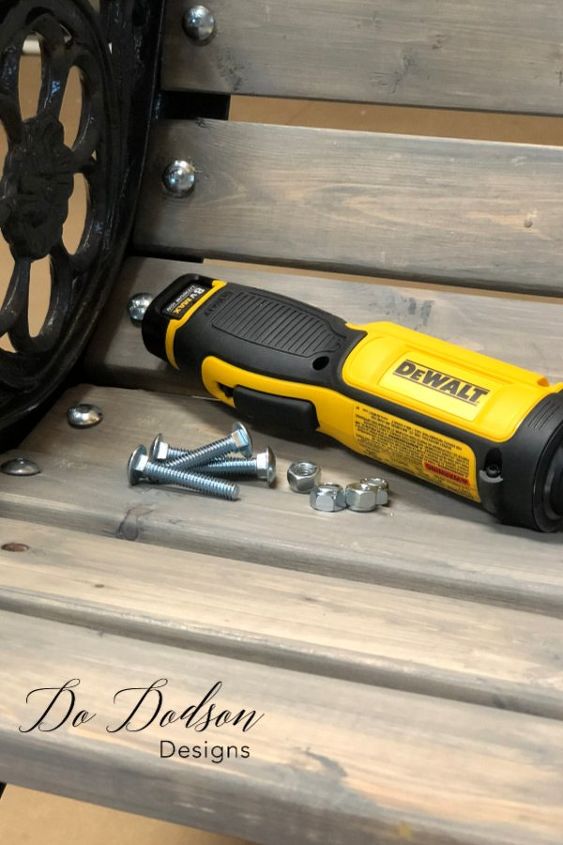
We pre-measured and drilled the holes where the carriage bolts were to be attached to the end pieces of the park bench. After drilling the holes on each end of the wood slats we used a cool new tool called a Gyroscopic Inline Screwdriver. Righty tighty, lefty loosey! It’s all in the wrist action. Gosh, I love cool tools! This one belonged to Mr. Honey Do. It may not have mysteriously lost its way back to his tool box.
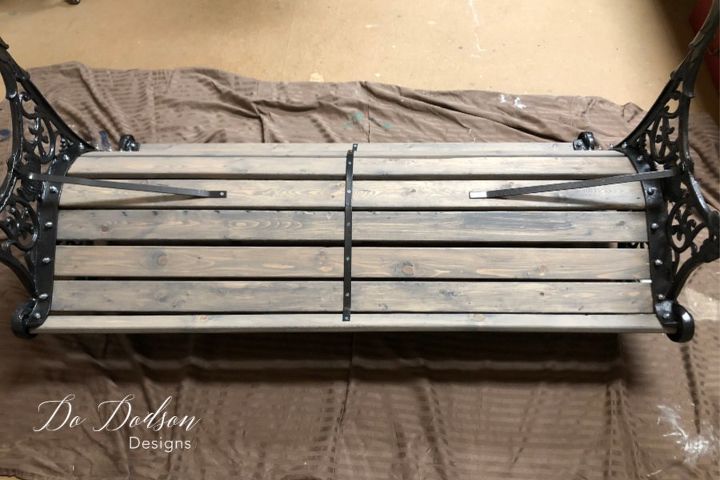
I flipped the whole bench upside down for easy access to the bolts and attaching the nuts. Work smarter not harder.
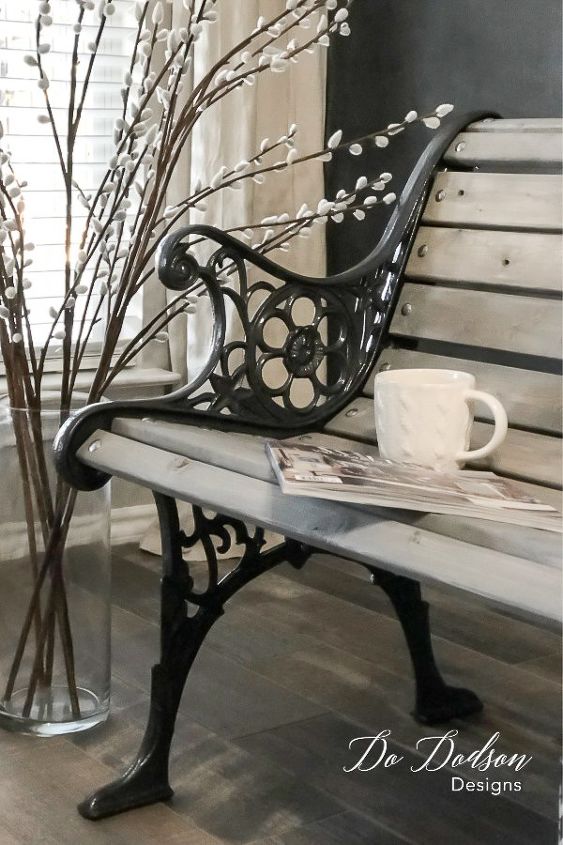
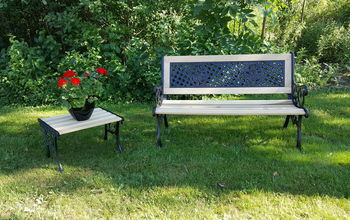
Oh my goodness! What a transformation. The total cost of this french inspired park bench makeover was less than $30. I think this would make a great bench for a mud room too!
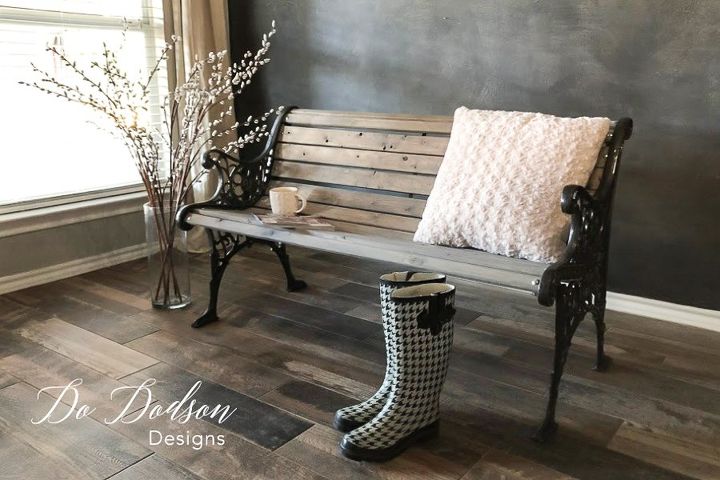
Thanks for hanging out with me today. I hope this inspires you to rescue something from the D E A D. 
xo, Do
Resources for this project:
See all materials


Comments
Join the conversation
-
This isn't a question. I'm redoing my bench just like this one. Can't wait to get it done. I have a lot of projects going, and my be this winter or early Spring before I get mine done. Awesome job Donna!. To me its a easy job to do. Good Luck to whom may try it.
-
I love this!!! Turned out beautiful


Frequently asked questions
Have a question about this project?
I have these same bench parts waiting for new life! How did you round the slat edges? Sander, or some other tool?
beautiful job on the bench. will this idea work on iron and glass coffee table?
Is there some type of metal strapping you installed in the middle of the bench on the backside? What is that and how did you apply- do the screws show?