


How to Give Your Dining Room an Update That is INEXPENSIVE
Hello friends!
I wanted to share how I gave my dining room a different look and feel without breaking the bank, and NO major renovations!
Here’s what it looked like before:
We just recently moved, and our walls are a dark beige color with burgundy wall accents. When I first moved in, I didn’t think I would like the color combination, but it has grown on me and I am in love! Anyways, I felt that the dining area needed a redo. However, with just moving, my budget was pretty slim! After a few days of staring, I decided that if I gave my chairs a bit of color, this may change the entire dynamic of the dining area.
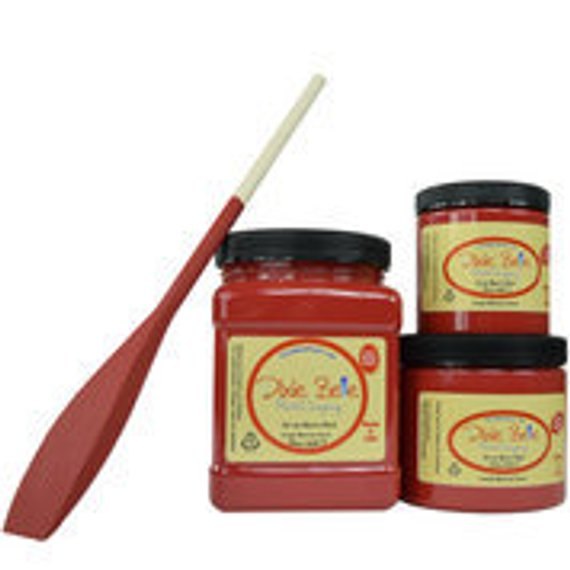
I browsed Dixie Belle’s paint colors and decided on the color Barn Red. I am a HUGE fan of farmhouse anything! Being born and raised in the country, one grows to appreciate it. I purchased the 8-ounce container for around $9.00. I gave the chairs a good cleaning, and one coat of paint. That’s all I needed, and I still had plenty of my 8 oz jar left.
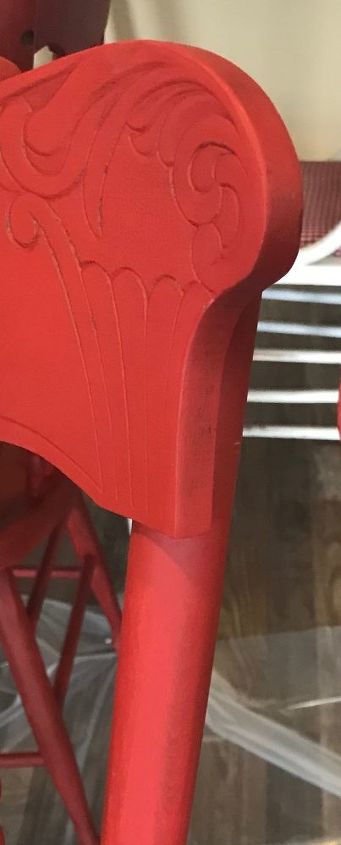
Here is one of the chairs. It was a little too bright, and not exactly what coordinated with a farm table (well at least in my opinion). Not that barn red is the brightest red in the Dixie Belle line, it isn’t. I decided to add antique glaze to the chairs to tone it down a bit. The glaze would also make the carvings in the chair back really stand out.
The glaze I used it what I had on hand. I had purchased t from Lowes awhile back. One container will probably last you forever because a little goes along way. I paid around $12.00 for it and am still using it after about 7 months, and that’s after glazing quite a few pieces of furniture!
Here, you can see the difference the glaze makes:
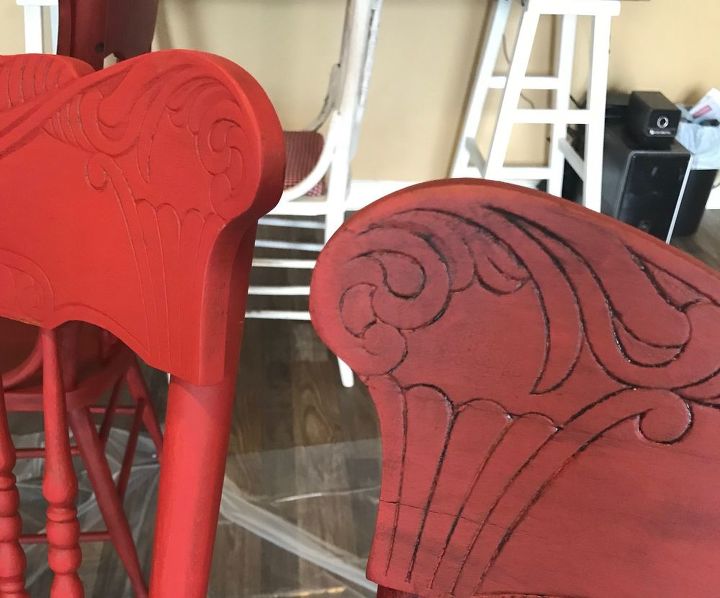
I gave each chair one coat of paint, and then glazed. I waxed the seats with Minwax Wax for extra protection after the glaze had dried.
Note: I normally allow my paint to dry 24 hours, apply glaze let dry 24 hours, and then wax. You do not have to wait this long to dry, but I just feel it cures better.
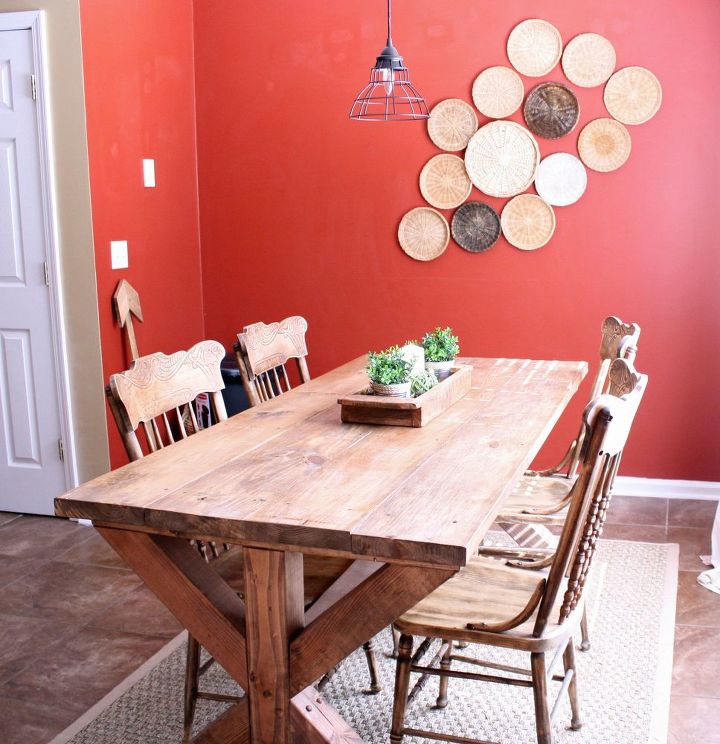
And now my dining room looks like this……
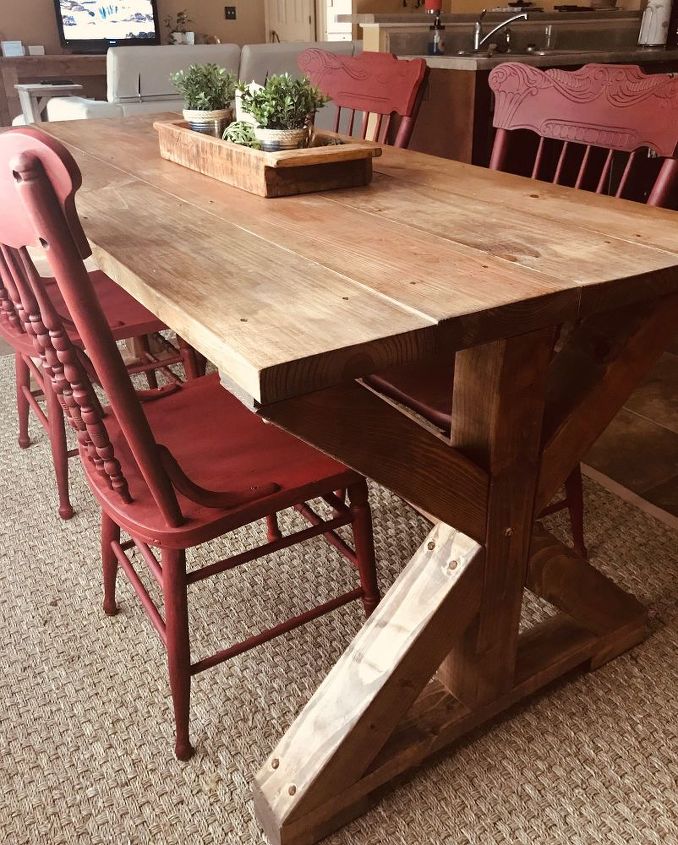
See what a little bit of color can do? It can instantly change a room.
And for around $20 bucks give or take, because I had a few supplies on hand already. And you do NOT have to be an expert! Anyone can do it!
If you have any questions, I am only an email away. Or you can find me on Facebook and Instagram! I am always ready to help!
Enjoy the rest of your week! Don't forget to sign up for my blog post at www.christinafayerepurposed.com!
Christina xxxoooo
Resources for this project:


Comments
Join the conversation
-
The chairs look amazing!! Nice work


Frequently asked questions
Have a question about this project?