when u put up a wall-u put down a 2+4 on the foundation all the way around the building. then build the wall on top of thebottom 2+4. this is what needs replacing.
Pry off the old boards with a crowbar. Sand the wall and use wood putty for any holes. Buy prepainted 2x4s at the hardware store, a small tube of silicone caulking. and a tiny can of matching paint. Replace the old 2x4s with the new ones, than caulk like crazy, wiping any extra caulk from the corners and places where the boards meet. If you don’t have a saw, the hardware store should be able to cut the boards to fit. The matching paint is for scuffs and scratches that occur so your baseboards will look good for a long time. Best wishes! ☺️
That bottom 2x4 is called a Sole Plate, like the sole of one’s shoe.
It must be pressure-treated lumber or it will rot from wicking moisture.
I’m gathering that’s what happened and therefore basing my answer on that and if so, this is not a beginner’s project.
Before I go further, If this is the entire structure, One needs professional help. Both Consulting & physical help. This will be a tough job and full of liabilities.
If this is an occupied building (humans or animals) you must get professional Consulting first, because a completely rotted Sole Plate is considered Structural Failure!
So 🛑 stop here if this is an occupied building and get professional Consulting from an architect or experienced licensed and bonded framer or general contractor.
I understand people come here for “cheap anawers”, but this could be quite serious, depending on what your Site Conditions are.
If this is a shed, then you’re going cut out sections of Sole Plate, remove the nails, immaculately clean the concrete, draw a bead of construction adhesive on the clean concrete and sledge hammer in a new one, from the side.
It must be attached to the concrete with what is referred to as a Ram Set with Redheads.
If it is a bearing wall, then you’ll have to add Hold-downs at the outside of the corners (2 walls meeeting at a corner) and adjacent door & window framing.
In the US, these hold downs can be purchased at all big-box DIY stores where they typically carry Simpson brand. There are dozens of choices and your pro consultant can specify what you need to buy:install.
If this is a two-story bearing wall, then 🛑 stop, this is not a DIY job under any circumstances.
You’ll have to both toenail in the studs to the Sole Plate and you’ll need to put blocking in between each stud space if the wall studs’ bases are rotten/damaged too.
You’ll have to do a 4’ section at a time, at 16” on center spacing, to keep from racking the entire wall.
Expect the bottom of the studs to be rotting as well and check for/treat signs of termites.
If they need trimming, then a Double Sole Plate is the norm for exterior walls, for decades.
It will be a lot of work on one’s hands & knees.
What is going on with the concrete? How high is it above grade (dirt)? Is it spalling?
Is it efflorescencing? If so, that’s another sign of serious problems.
Minimum Shopping List:
Pressure Treated Lumber, Saws All” with Demolition Blades to cut through the nails, a Ram Set and Red Heads (check that you’re buying the correct ones), galvanized 16d nails, exterior grade construction adhesive (Liquid Nails), long pry bar, Shop vacuum, sledge hammer, steel bristle brush & small broom.
For the hold downs: appropriate sized (large shank) masonry drill bit, two part Simpson epoxy for HD’s, large drill.
Until you get this project looked at by some pros, make sure you keep all water away from this structure and run a fan inside if it’s currently damp.
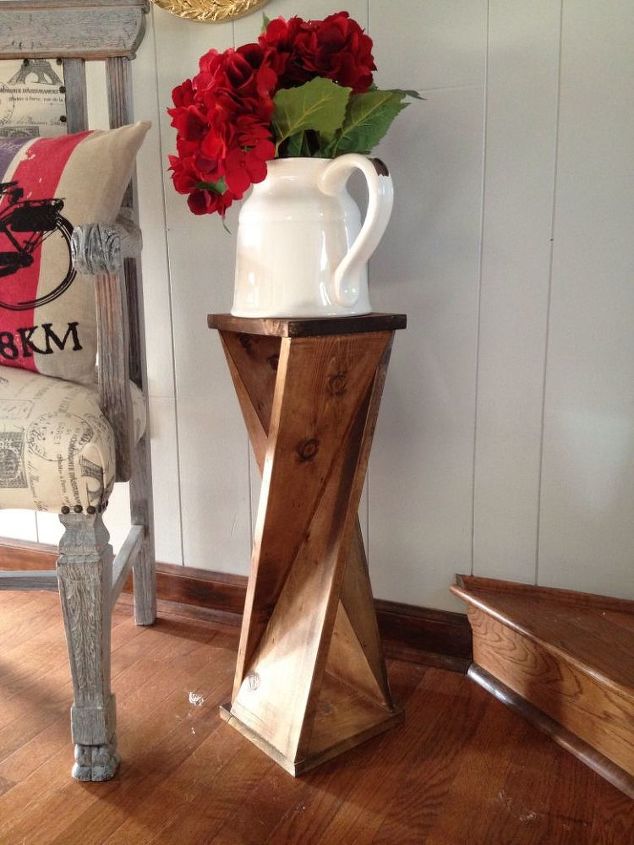
I'm seriously considering making this twisty side table that I fell in love with here on Hometalk (By Chasing A Dream), but cutting the wood is a bit too ambitious fo...
See more
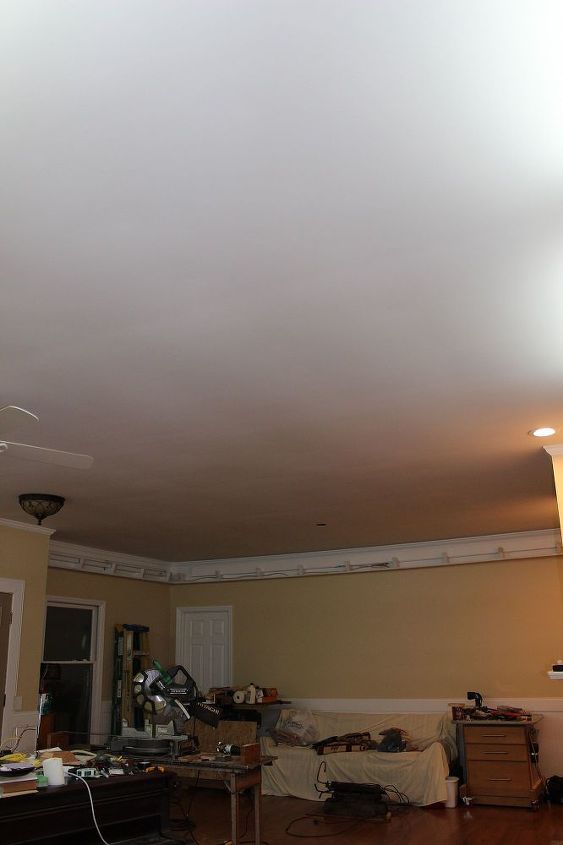
We took the old popcorn ceiling off in our livingroom and thought we could just paint it. We fixed some hairline cracks where the joint in the sheetrock are, primed a...
See more
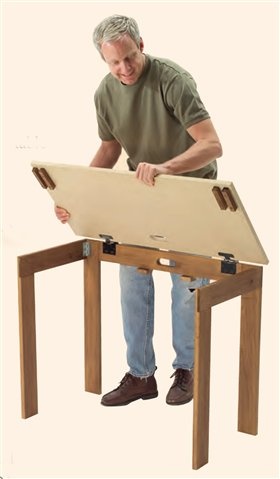
Does anyone know what type of hinges are attached to the top of this folding table? The legs fold in toward the back then the top folds down flat against the legs.
I am turning the sides of an old wooden crate into a coffee table top. The wood is similar to pallet wood: unfinished and prone to giving splinters. How might I go ab...
See more
HOW DO I MAKE FURNITURE SLIDERS TO MOVE HEAVY FURNITURE.Best furniture sliders!Move furniture easily with Round furniture moving kit that Amazon reviewers swear by!

Can you explain what The Bottom Run is? Can you explain what the 2+4 means? If you mean 2x4, then we know what that is.
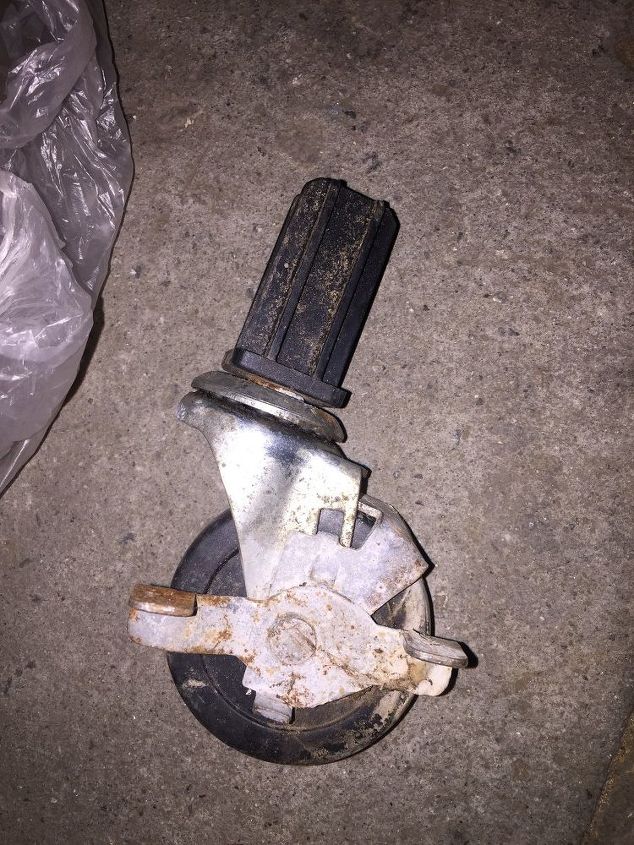
is this electrical or what?
We need more details so we can answer your question.
Robert what's your question ??
Please give us more information so we can assist you.
Is it damaged needing replaced???
Pry off the old boards with a crowbar. Sand the wall and use wood putty for any holes. Buy prepainted 2x4s at the hardware store, a small tube of silicone caulking. and a tiny can of matching paint. Replace the old 2x4s with the new ones, than caulk like crazy, wiping any extra caulk from the corners and places where the boards meet. If you don’t have a saw, the hardware store should be able to cut the boards to fit. The matching paint is for scuffs and scratches that occur so your baseboards will look good for a long time. Best wishes! ☺️
That bottom 2x4 is called a Sole Plate, like the sole of one’s shoe.
It must be pressure-treated lumber or it will rot from wicking moisture.
I’m gathering that’s what happened and therefore basing my answer on that and if so, this is not a beginner’s project.
Before I go further, If this is the entire structure, One needs professional help. Both Consulting & physical help. This will be a tough job and full of liabilities.
If this is an occupied building (humans or animals) you must get professional Consulting first, because a completely rotted Sole Plate is considered Structural Failure!
So 🛑 stop here if this is an occupied building and get professional Consulting from an architect or experienced licensed and bonded framer or general contractor.
I understand people come here for “cheap anawers”, but this could be quite serious, depending on what your Site Conditions are.
If this is a shed, then you’re going cut out sections of Sole Plate, remove the nails, immaculately clean the concrete, draw a bead of construction adhesive on the clean concrete and sledge hammer in a new one, from the side.
It must be attached to the concrete with what is referred to as a Ram Set with Redheads.
If it is a bearing wall, then you’ll have to add Hold-downs at the outside of the corners (2 walls meeeting at a corner) and adjacent door & window framing.
In the US, these hold downs can be purchased at all big-box DIY stores where they typically carry Simpson brand. There are dozens of choices and your pro consultant can specify what you need to buy:install.
If this is a two-story bearing wall, then 🛑 stop, this is not a DIY job under any circumstances.
You’ll have to both toenail in the studs to the Sole Plate and you’ll need to put blocking in between each stud space if the wall studs’ bases are rotten/damaged too.
You’ll have to do a 4’ section at a time, at 16” on center spacing, to keep from racking the entire wall.
Expect the bottom of the studs to be rotting as well and check for/treat signs of termites.
If they need trimming, then a Double Sole Plate is the norm for exterior walls, for decades.
It will be a lot of work on one’s hands & knees.
What is going on with the concrete? How high is it above grade (dirt)? Is it spalling?
Is it efflorescencing? If so, that’s another sign of serious problems.
Minimum Shopping List:
Pressure Treated Lumber, Saws All” with Demolition Blades to cut through the nails, a Ram Set and Red Heads (check that you’re buying the correct ones), galvanized 16d nails, exterior grade construction adhesive (Liquid Nails), long pry bar, Shop vacuum, sledge hammer, steel bristle brush & small broom.
For the hold downs: appropriate sized (large shank) masonry drill bit, two part Simpson epoxy for HD’s, large drill.
Until you get this project looked at by some pros, make sure you keep all water away from this structure and run a fan inside if it’s currently damp.