


Galvanized Metal Pails Turned Christmas Tree

Tis the season to start thinking about Christmas decor and my mind has been racing with ideas. On a trip to my Dollar Store I spotted three different size pails and I started to pile them on top of each other in the middle of the aisle. Yes I got a few funny glances, but I was too excited to care.I struggled for a brief moment with what I was going to use for the base then it hit me. A lamp base of course. I knew this was going to make a great tree!
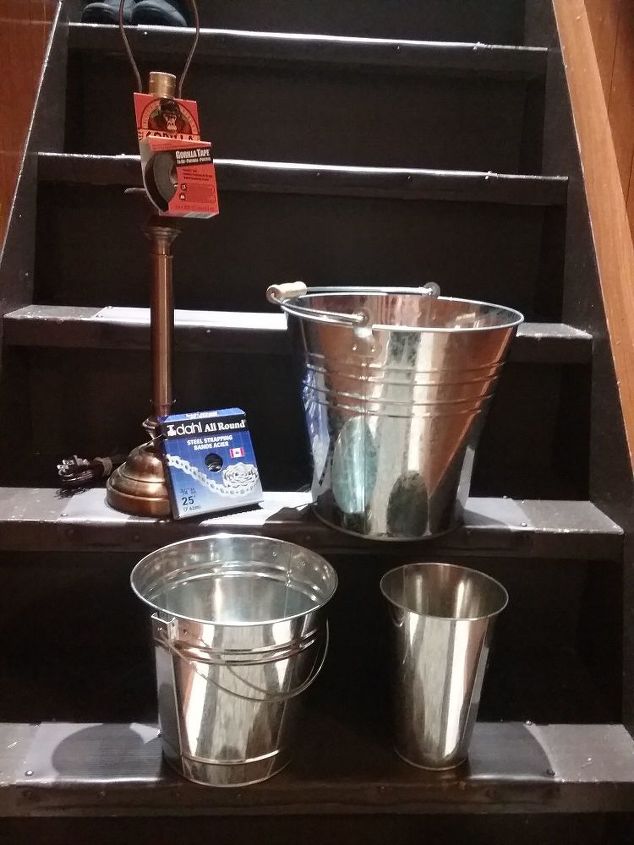
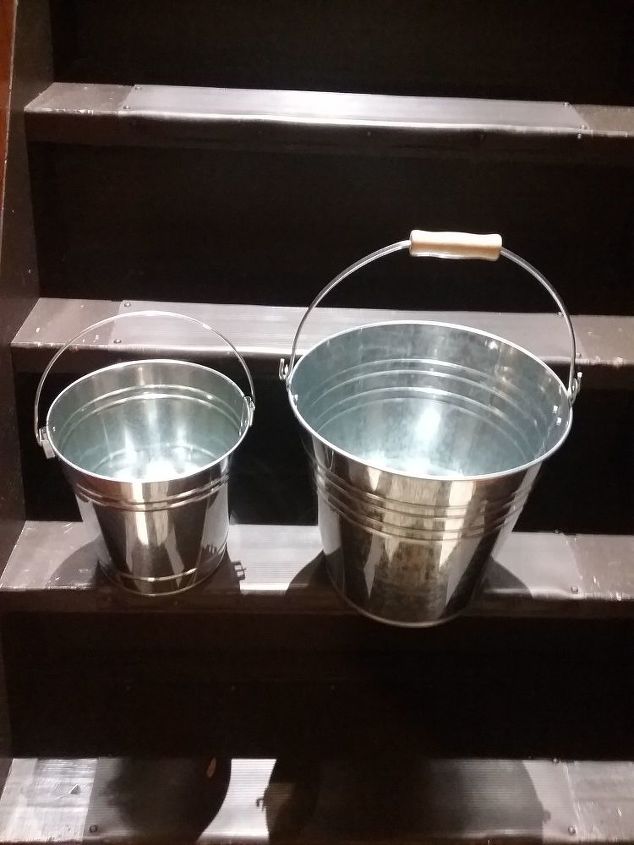
Gather supplies. 3 galvanized metal pails in 3 various sizes. Lamp base, Gorilla tape and Metal Strapping. You will also need wire cutters and a pair of scissors, two sided tape and gorilla glue or other type of adhesive.
Next you are going to remove the handles from your pails. Only two of mine had handles on them.
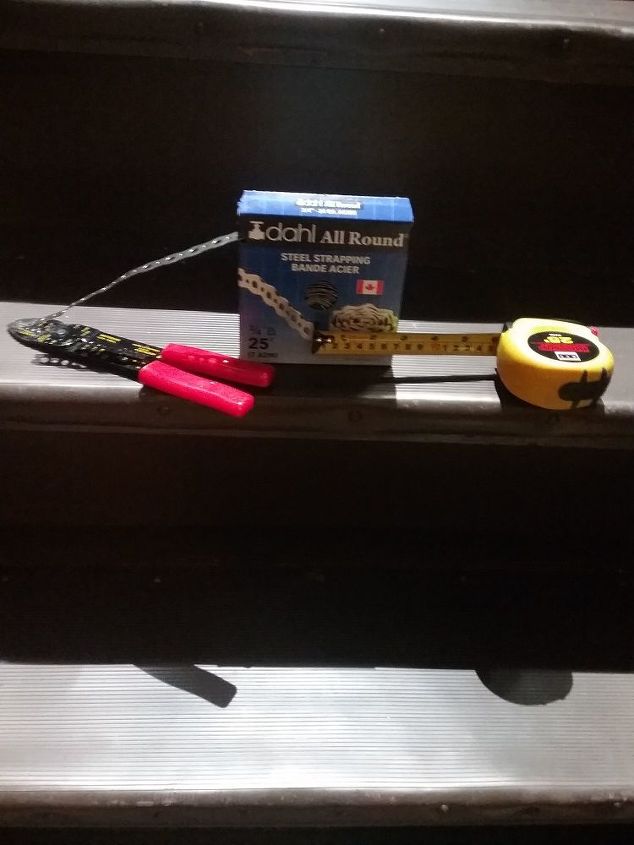
Now you are going to cut your metal strapping in 6 inch lengths using your wire cutters. I cut about 15 to 20 strips.
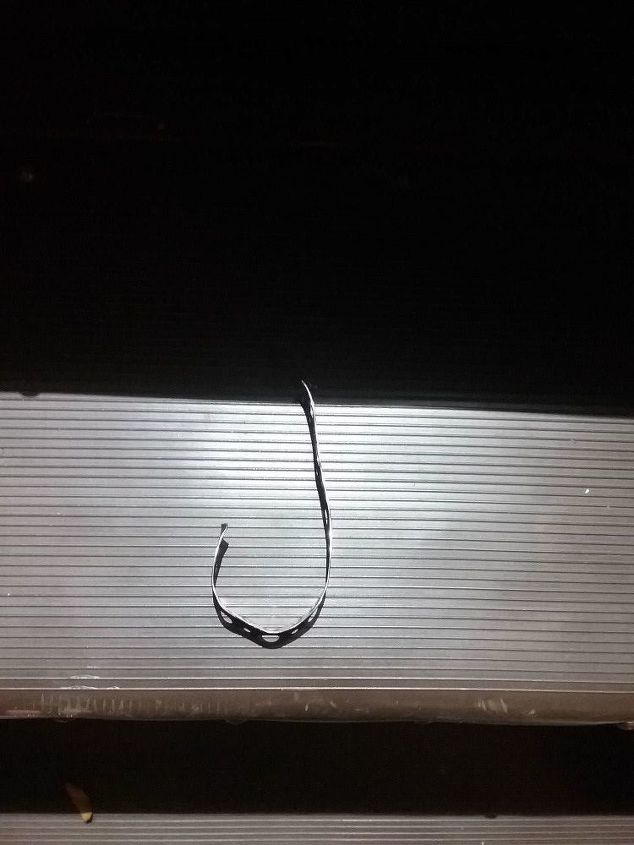
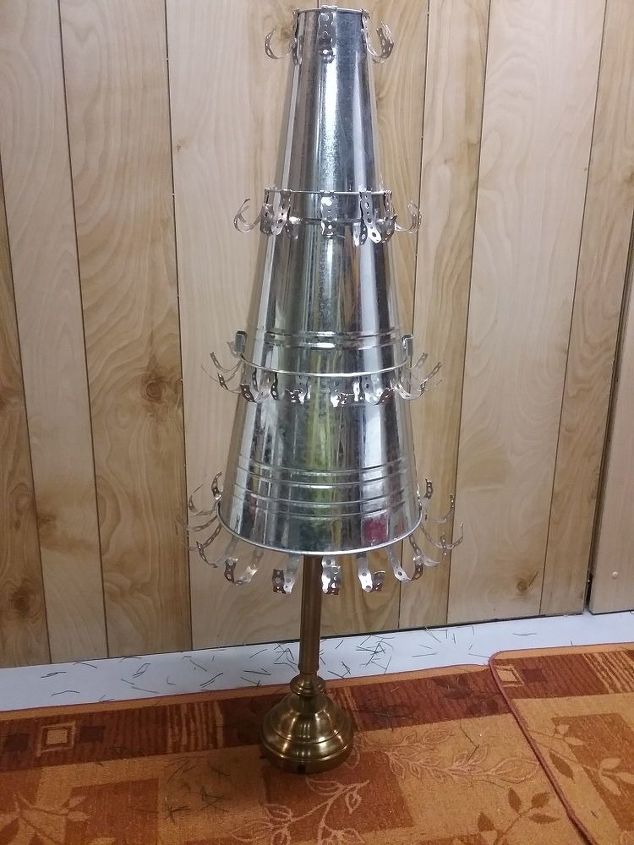
You are going to shape them in the letter J, then using your gorilla tape place the straight part of your J inside the rim of your pail about 2 inches and secure with tape.
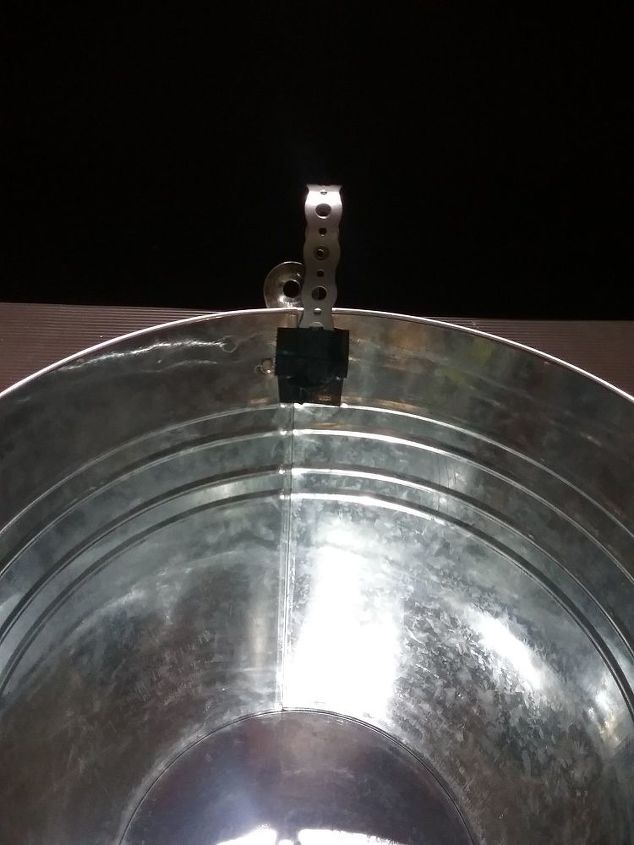
So it should look like this. Continue going around the rim securing your strapping . Leave about an inch in between. Repeat same process on second pail.
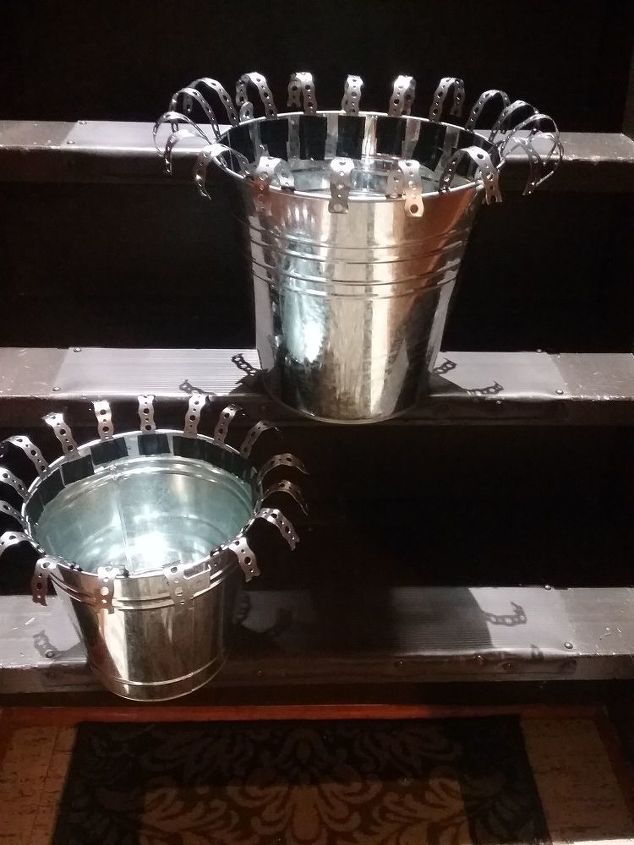
They should look like this now. For the next pail , your smallest one your strapping is going to be cut in 4 inch strips. Take your second pail and turn it upside down. You are going to be attaching your Js to the bottom of the pail. The pail has a rim so I cut strips of two sided tape and placed on rim and using pliers bent the top of my j over the rim to secure. You can opt to use a glue gun or another type of adhesive.( Please note that if all your pails fit over top of one another omit this step, and do your last pail like the first two. I ONLY did this step because my pail did not fit over my second pail)
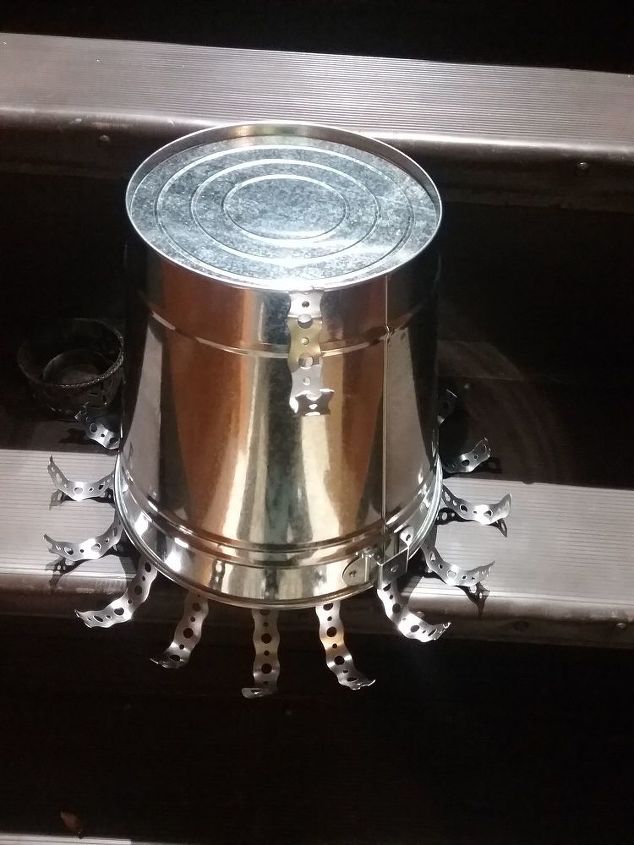
Here is what it should look like. Complete by putting strapping around. You will do this step on your last pail also which will end up being the top of your tree.

All of your pails should look like this now. You will have to secure the small pail . I did this by applying Gorllia glue. Again only if your last pail does not fit over the middle pail.
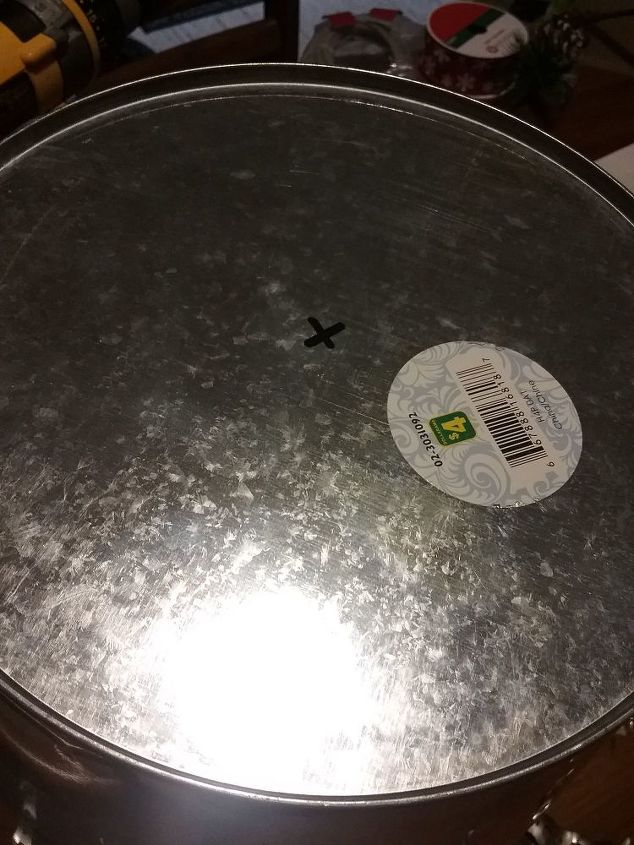
Now it is time to add your lamp base. You are going to take your largest pail, turn it upside down and drill a hole in the middle of the pail. Place over your lamp base and secure with the nut that would hold a lamp shade. I then placed my other pails over the large one. You can opt to paint your lamp base. I did not but that is a personal choice.
At this point you can stop and leave as is, or as I am going to show you you can decorate using garland and ribbon.
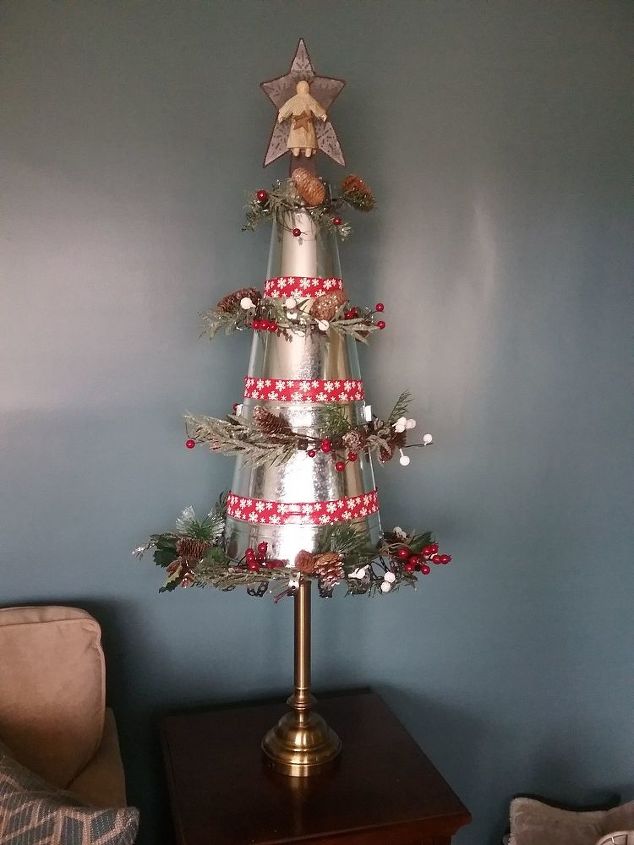
Here is my tree decorated. I bought garland from the Dollar store and just wrapped it around where the strapping curled up. I secured my ribbon with two sided tape and my star is attached with two sided foam tape. You can decorate any way you choose. I absolutely love how this turned out.
Resources for this project:
See all materials


Comments
Join the conversation
-
That is adorable! Thank you for sharing your gifts with us.
-
The Galvanized Metal Pails turns into a beautiful and long-lasting lamp, while giving a rustic look to any type of Christmas tree. In order to make this unique design, the metal pail is first coated in a red or an oxidized coating to ensure the durability. They are then heated until it melts and is ready for use. It is important to note that the pail should be thoroughly cleaned before it is used in any Christmas ornament. After cleaning, it is important to note that there should be no rust on its surface. In order to provide more life to the Galvanized Metal Pails turned into a beautiful lamp base, we have the Galvanized Metal Standpipe.
Galvanized Metal Pails turned into a two sided tapered lamp stand. One side of the two sided tapered pail is in the shape of a triangle and can be easily secured to the metal tubing in the other side using galvanized screws and nails. The Galvanized Metal Pails is first coated with an electrochemical agent that makes it rust free. The sides of the two sided tapered pail can also be painted with lead-based paint in different colors. We have the Galvanized Metal Standpipe that has the same design, but with a spiral bend at the top of the standpipe. This spiral bend is the same thing that gives the Galvanized Metal Pails its two sided tapered design.
The last two parts of the Galvanized Metal Pails turned into a beautiful lamp base for any type of Christmas ornament. The first part of the two sided tapered lamp base is a thick, rounded tube, which is secured to the outside of the metal tubing at the bottom. This thin tube is made of the same Galvanized Metal Pails used in the lamp base. The Galvanized Metal Pails are then decorated using a brass wire wrapped around the entire pail, and finally a brass tie snapped onto the bulb socket at the bottom.


Frequently asked questions
Have a question about this project?
Very creative use of hardware items. This really appeals to me. Was your star designed to be a topper with a shaft of it's own or did you add that? I like that the "tree" sits on top of the harp, so you could still use it as a lamp. It would require a lot of drilling but I might want to attach the strapping with rivets so it lasted for years to come.
Suppose you put white lights around it and put it in urns for your porch? Do you think it would possibly burn the tin pails?