


Vintage Stool
I love antiques and I love bringing out there best potential for years more use. Follow along as I rehab this antique stool found in a thrift store.
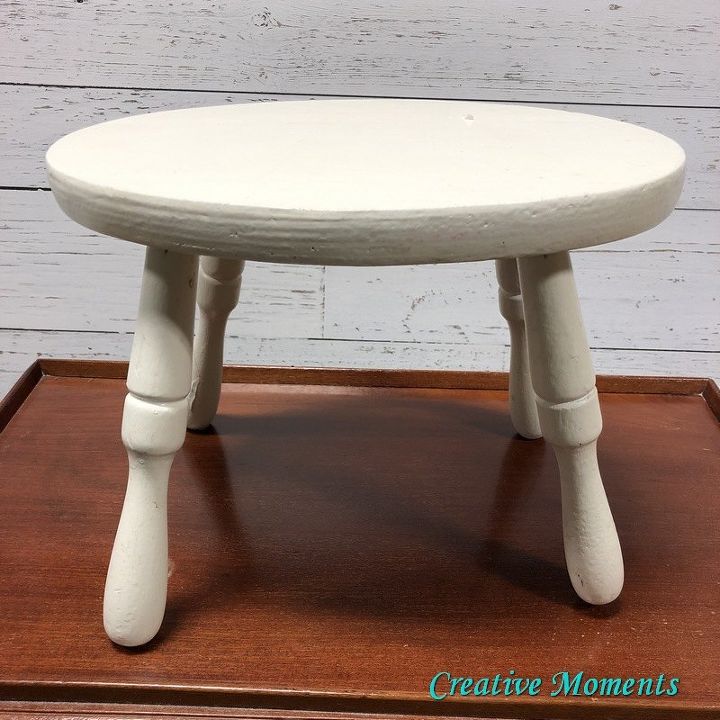
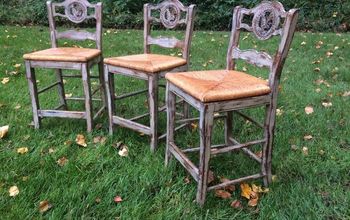
I found this sweet little solid wood stool forlornly sitting on a thrift store shelf. The legs were wobbly and there were layers and layers of drip dried paint.
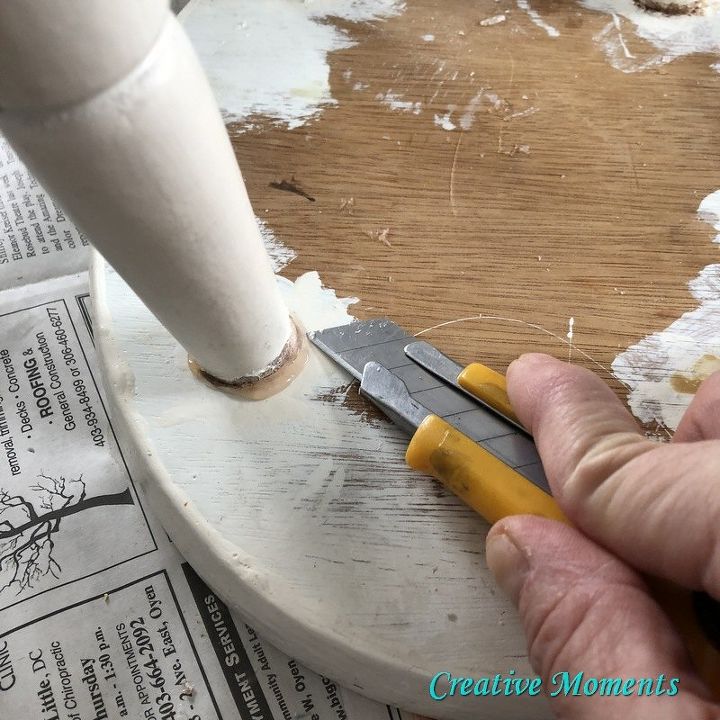
Step one was to remove the legs from the seat. It seemed like they were glued with a rubber glue that did not provide a solid attachment. An exacto knife was used to cut away most of the glue and dig the rest out. I used a large drill bit to clean out the holes in the seat too.
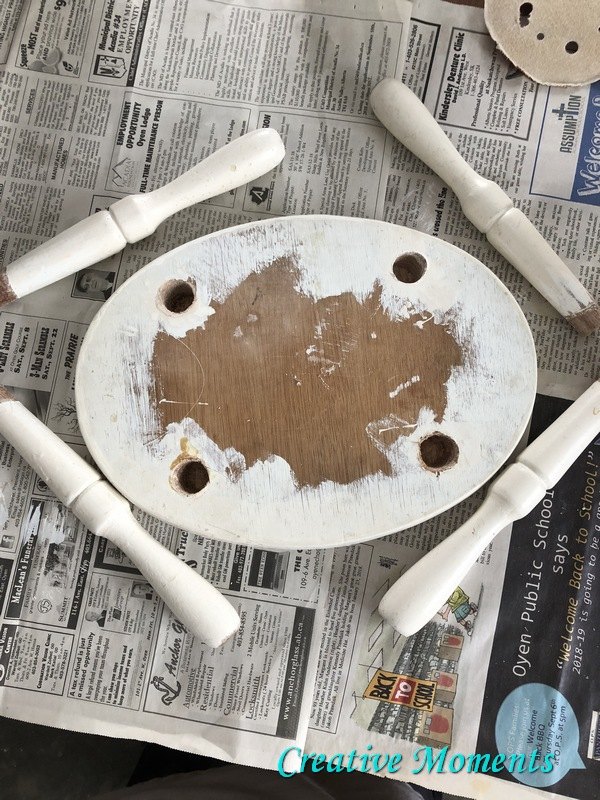
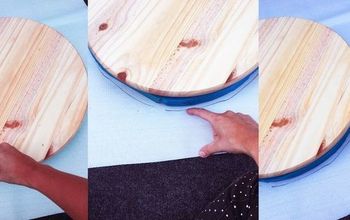
An orbital sander was used to power sand all surfaces of the cute little stool and smooth away the old paint drips . A good wood glue was used to affix the legs back in place solidly.
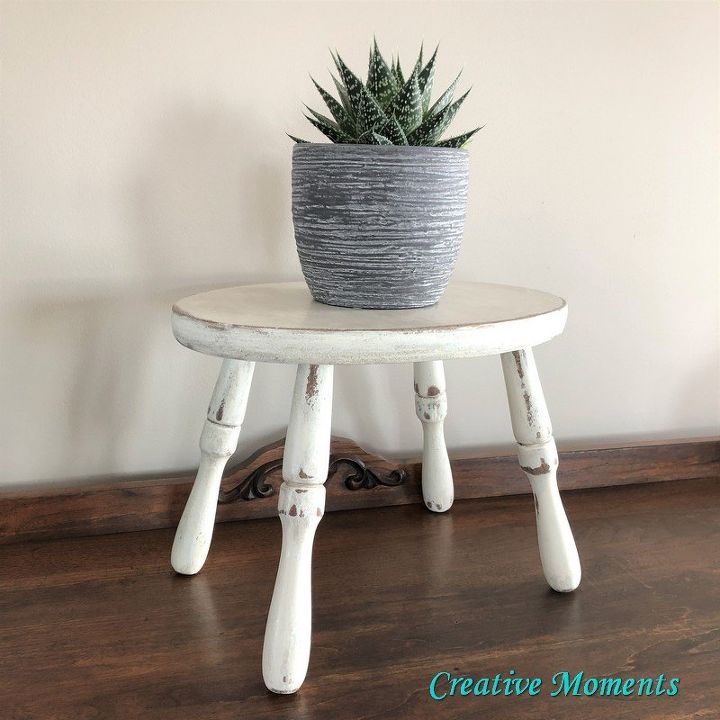
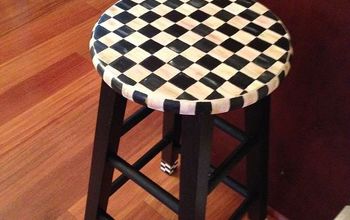
The whole piece was waxed with an ageing wax to enhance the now visible wood edges and add dimension to the layers of stark whites. This adorable little stool is now ready for many more years of service.
It works perfectly for a little on to sit on, a gorgeous photo prop, a cute plant stand or a great piece of history to display in your home.


Frequently asked questions
Have a question about this project?