How can I replicate vintage rulers for a project?

Related Discussions
Blackout curtains behind vertical blinds
I have two 6' patio doors, and I want to add blackout curtains to keep the sun/cold out. What is the best way to hang them, and what can I use to push the curtains ba... See more
How to make a balloon garland?
Does anyone know how to make a balloon garland or a balloon arch?
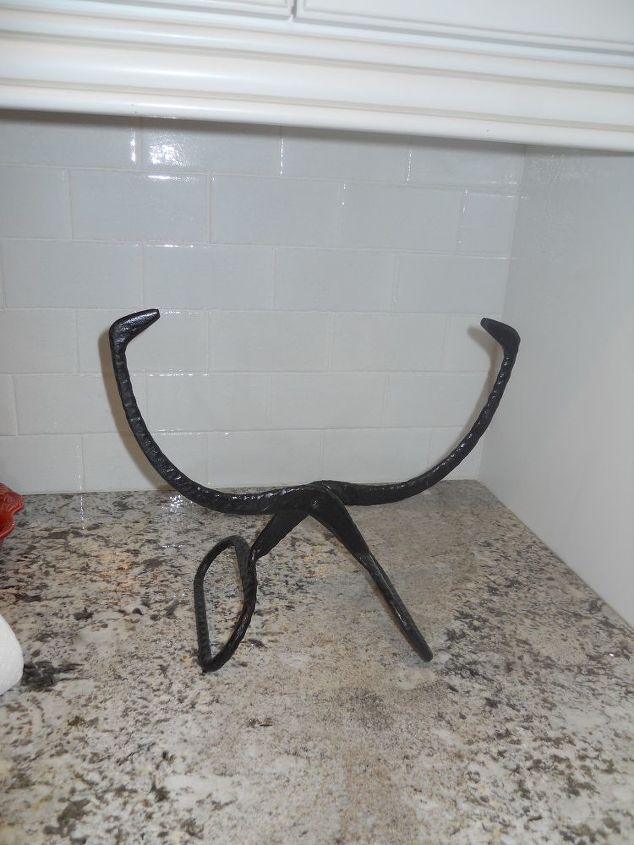
Does anyone know what this is?
Just turn them upside down and open them, then insert a roll of paper towel and tada, you have yourself a brand new paper towel holder that is not only beautiful, but... See more
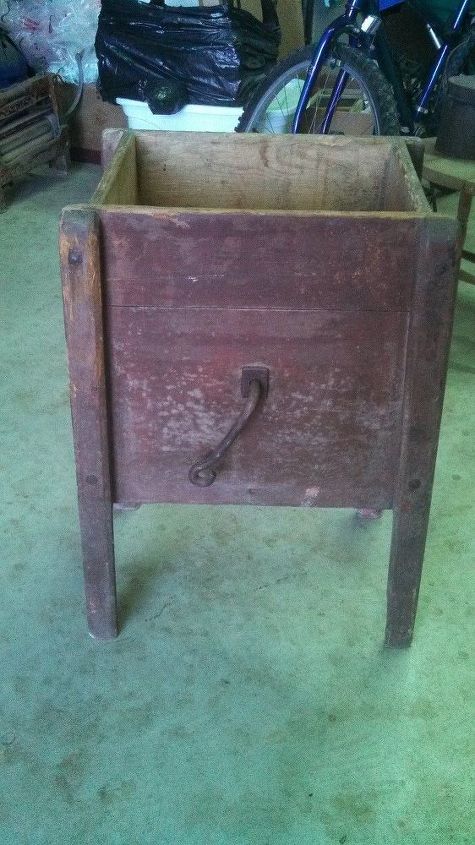
Can anyone identify this vintage wooden crank box?
The item is solid wood, standing aprx. 26" high x 16" wide, no exterior holes or outlets, side crank handle turns four wooden paddles inside with various size holes o... See more
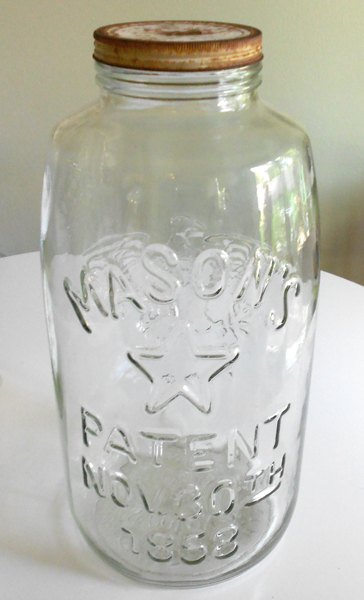
What to put in this huge mason jar?
I have a HUGE mason jar. I would like some ideas on what to put in it for decorations, other than flowers.
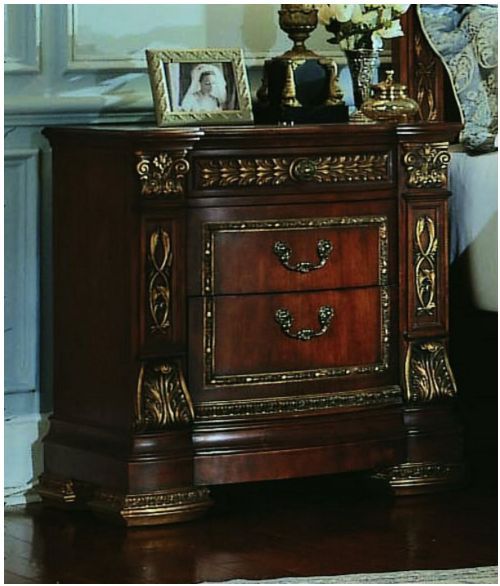
How can I find discontinued Pulaski or Neiman Marcus/Horchow furniture
I am looking for the discontinued Pulaski Royale collection nightstand, Neiman Marcus/Horchow also sold it, but called it the Royalty collection. I have looked all ov... See more
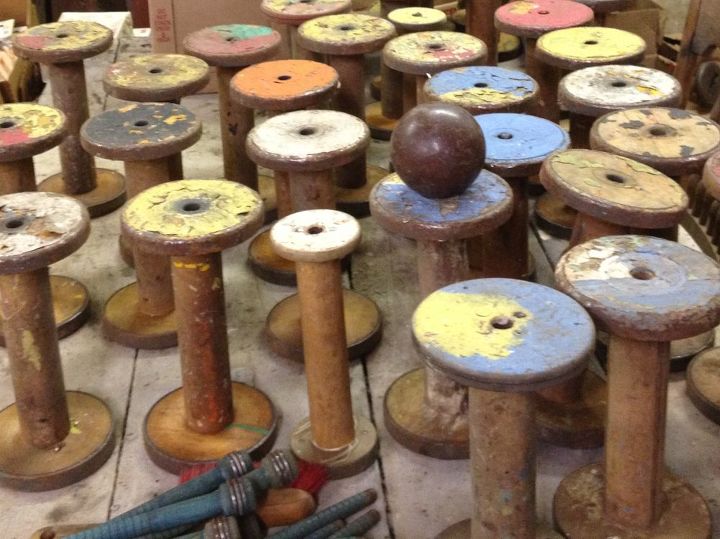
Ideas on different things I can do with these yummy old spools?
I'm a picker and came across lots and lots of these beauties. I took home several boxes of these purdies and are using for different projects. However, I want to find... See more
A photo of the ruler would help everybody. However, if you are talking about the kind most schools in the 70s had with the angled side and the flat side, well that is two parts.
Keep in mind it is not a Triangle, but instead an irregularity with 7 Tridimensional Sides and 5 sides in 2D, excluding the bottom and the backside.
1. Adding Side #7 by Planing the Angle along Length
You need to turn the board depthwise and plane a Thin stock oak of 1/4 × 1.25 × L along that board length set as depth.
(In your instance L=12 but it can be 12, 36, 48 or even 72 reliant on the actual project, such as: Shingles).
Although you can use wood matchsticks taped to one side to prop it up, as most novices do, usually it is best to rise your vise instead, cut a wedge, or have an angular vise.
Thus You plane at an angle not by hurting your wrists but instead by placing it in an angular vise (Usually with adjustable bolts that enable you to rise one side of the vise) and planing it straight, naturally.
With a Ruler, You want the Left Side to be 1/8 and the right side to be 1/4.
2.a A Fine Introduction to a Coping Saw...
Not everyone is good with a coping saw.
Even carpenters will give you a dumb look if you ask:
Why is it called a Coping saw?
The Dumb look is because There are 3 responses:
It is seldom the Best Tool for All Jobs.
Slow and Easy is the Cure.
Sometimes it is the Only Blade for the Job
And you gotta cope with that fact.
2.b Making your notches and Practise...
Always keep in mind every Blade always has a dull side for a Reason.
Once you plane that down to 1/8 on the angle side, you will need to get some practise on a waste leftover board with a Technique of painting with a not sharpside of a Coping Saw Blade.
And by using the coping saw to gently cut out the Notches where you want your marks, the not sharp side enables
I. cleaning the notch and
II. application of a smooth application of paint inside the notch
III. A Perfect fit inside the Newly made Notch.
Paint inside the notch is an old trick, my grandfather taught me, when he showed me how to make Cardinals, Doves and Ducks out of wood, (and was also a Trick in how he made the eyes too), but it works and is a fine means to put those Old Dull Coping Saw Blades to Work.
You could go to your local home improvement store and buy lattice wood or a thinner molding. Replicate the ruler markings with a paint pen.