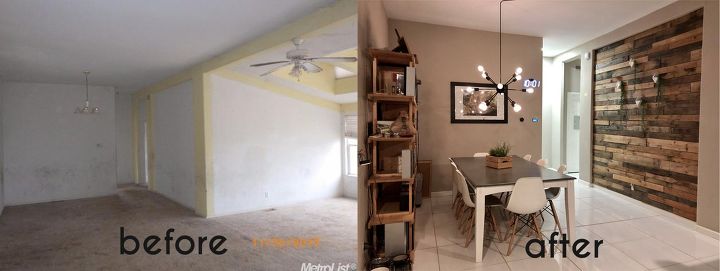
Update Your Dining Room On A Budget
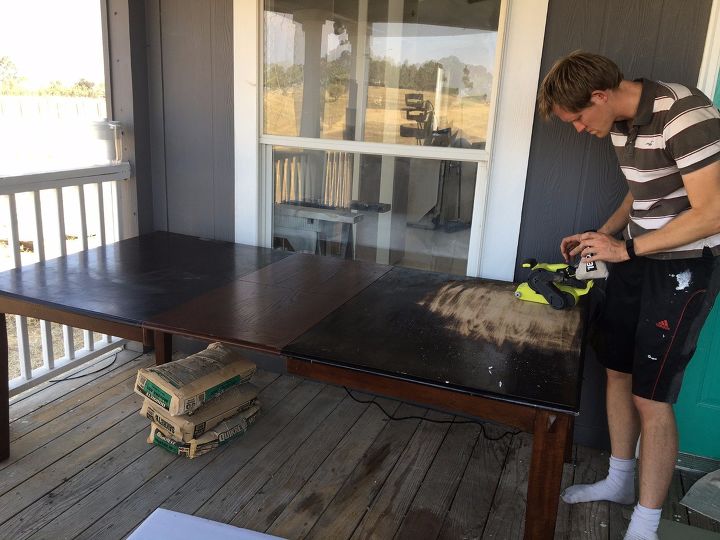
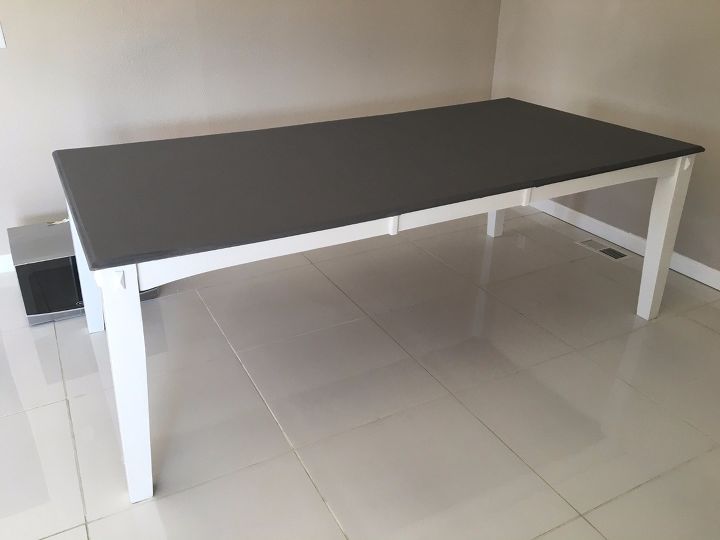
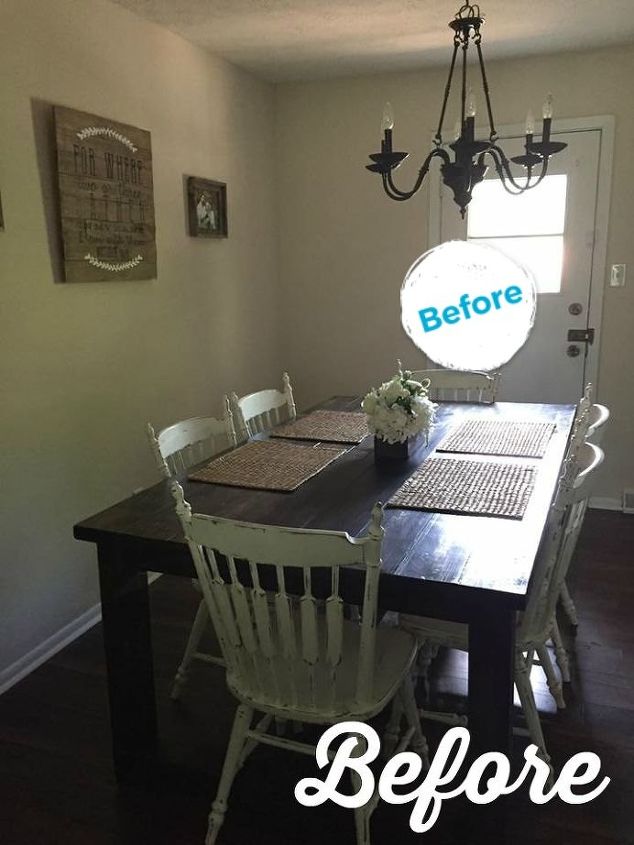
This $60 Craig's List find was just the thing
We wanted a bigger table, so when we found this on Craig's List, we were sold. We sanded it down, and painted the table. Get tutorial here
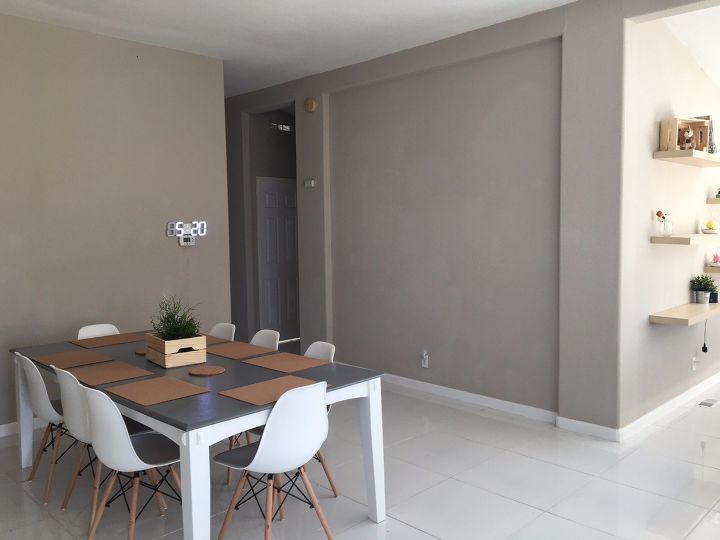
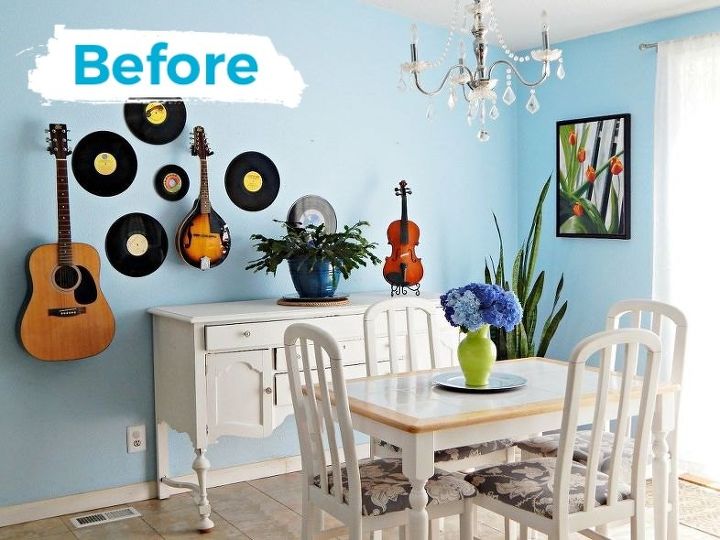
IKEA and eBay save the day
These 8 chairs were $25 a piece, a steal! The placemats and decorations are from IKEA. Chandelier and clock - $90 on eBay! Get tutorial here
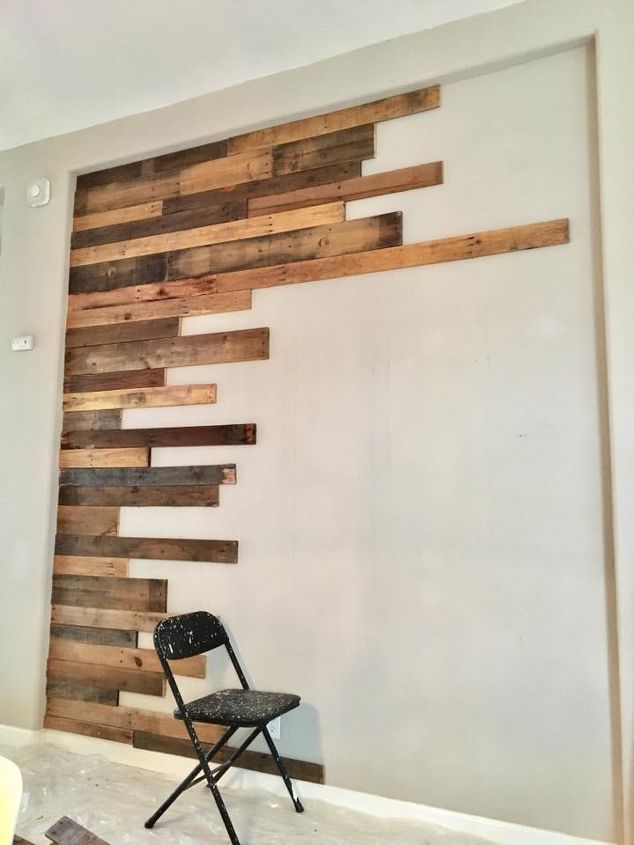
Starting our pallet wall...
The room still felt like it needed something, so we got some free pallets and got started! Get tutorial here
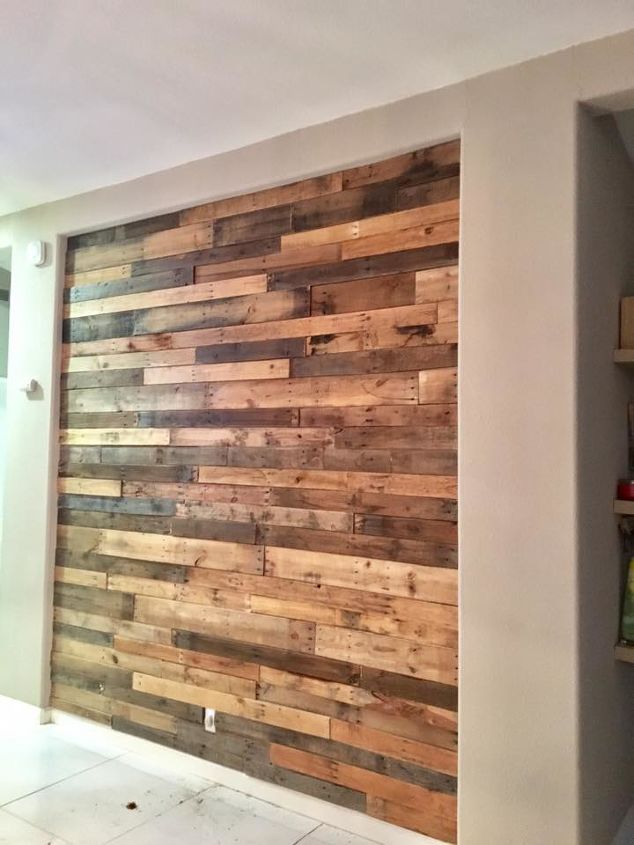
Accent wall, finished!
We used a nail gun to nail woods into the studs in the wall, and we're loving our new accent wall! Get tutorial here
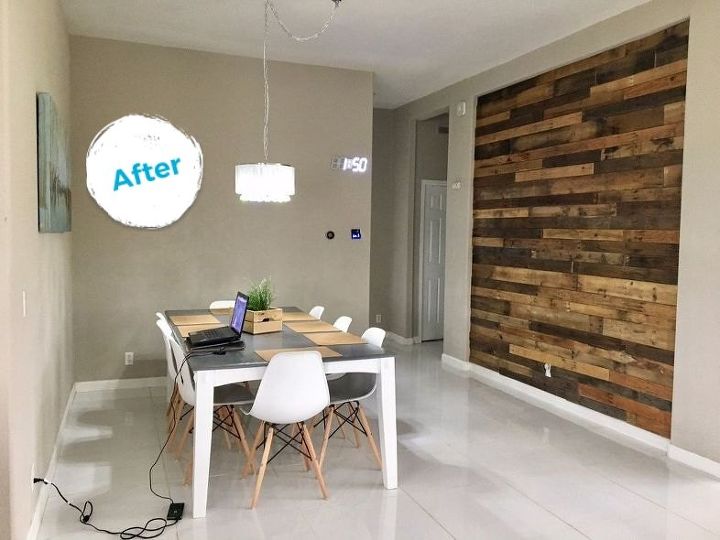
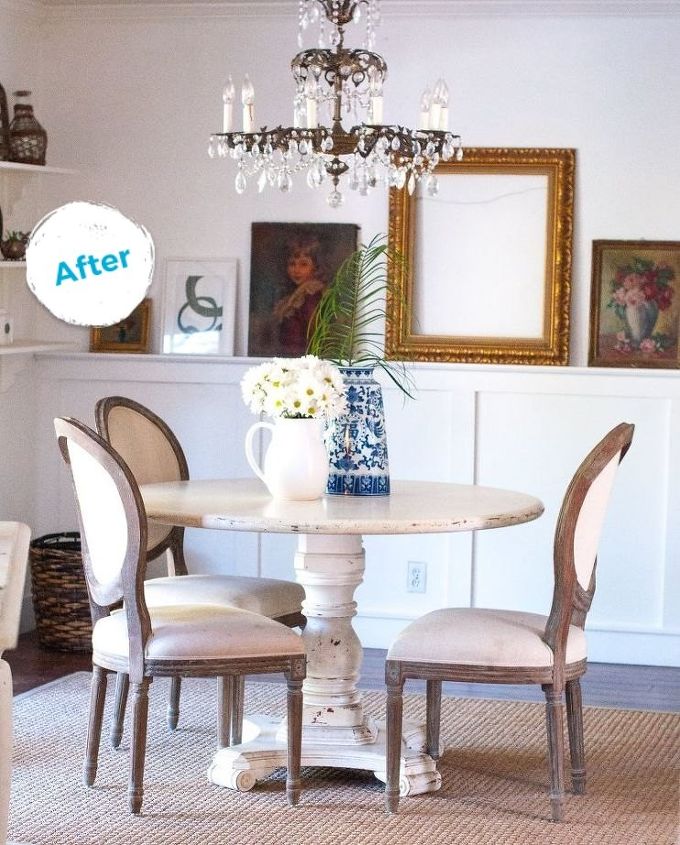
TA-DAA! Simple, bright & a modern, rustic mix
Our new dining room! I found a painting someone threw away and decided to hang it opposite the accent wall. Get tutorial here

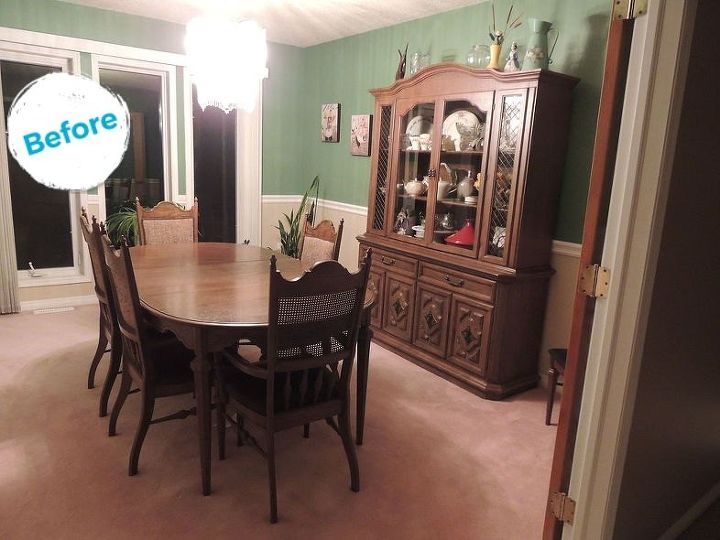
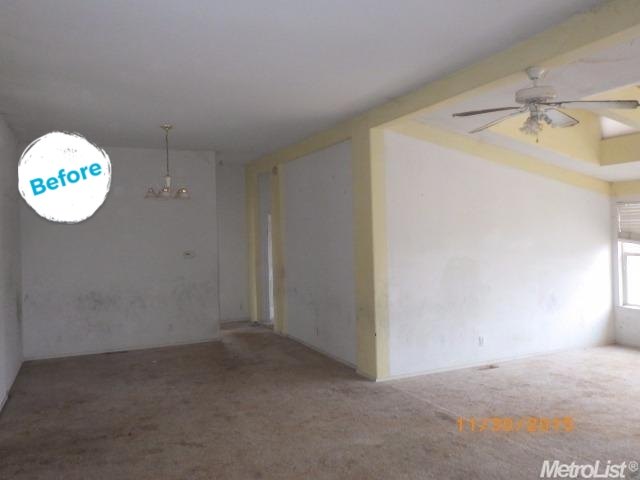
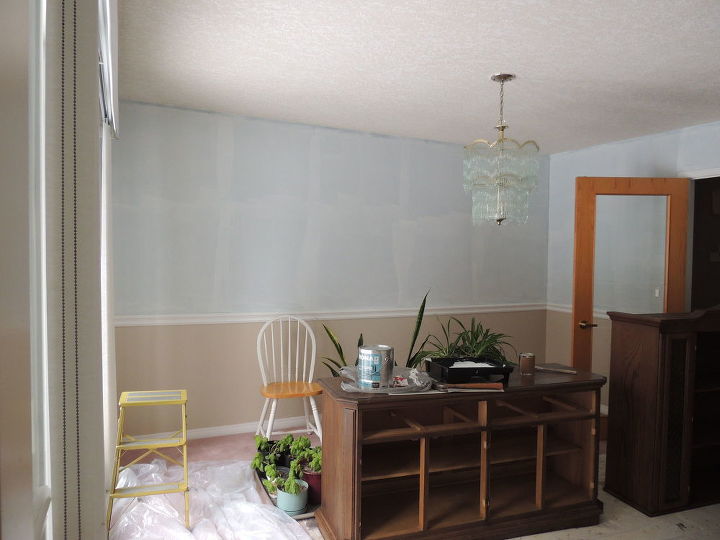
Step 1: Empty the room & paint!
It took a few coats to get rid of the green, but look at the difference! Get tutorial here
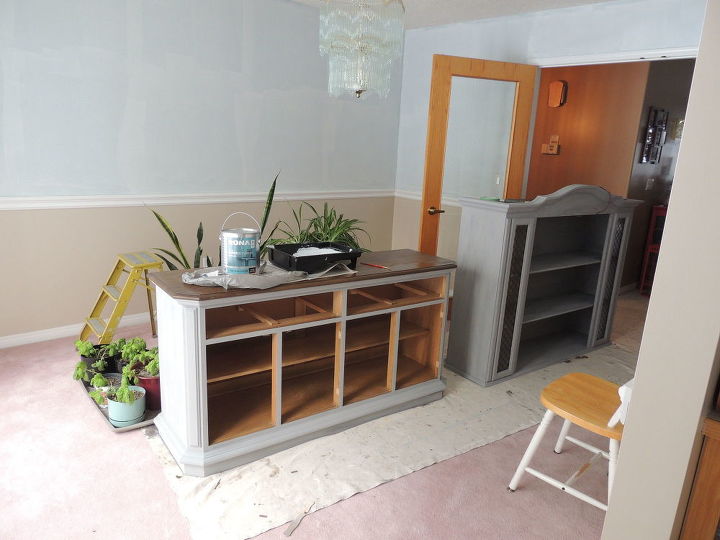
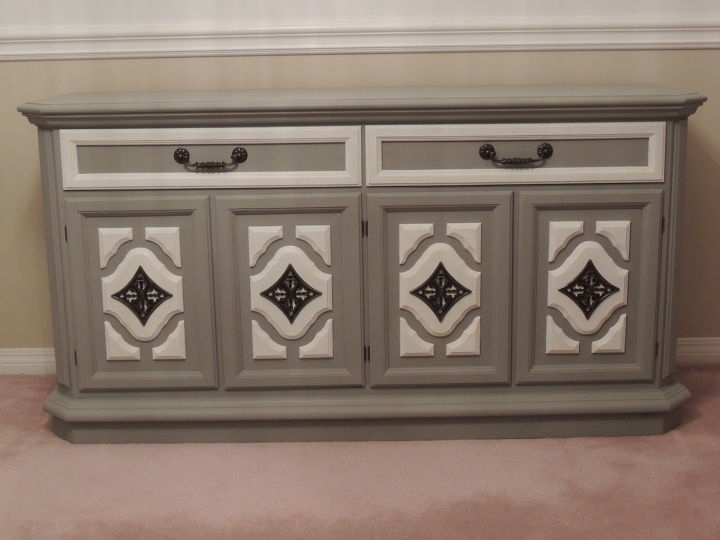
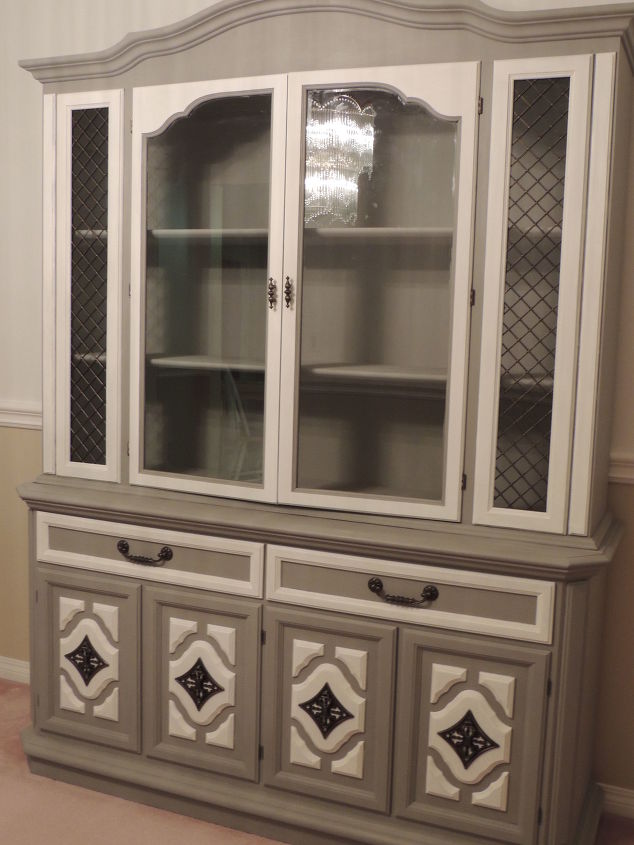
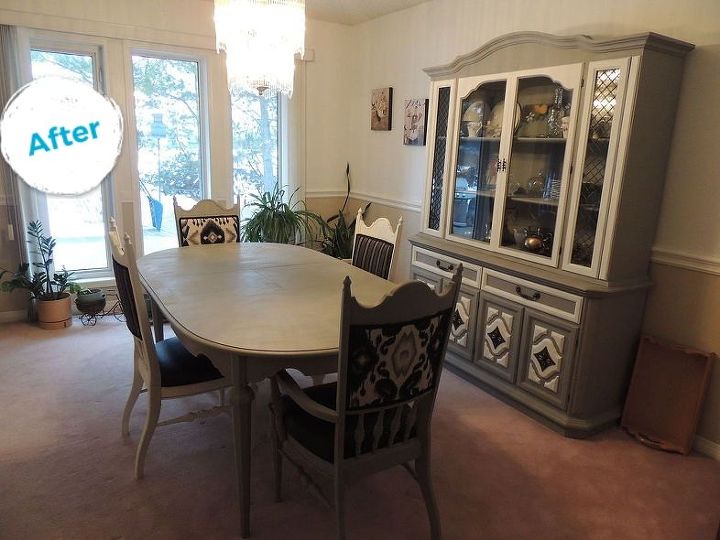
Step 2: Chalk paint the buffet base
I love chalk paint - very little prep time, and the paint goes a long way. I prefer to thin it down a bit and apply an extra coat Get tutorial here
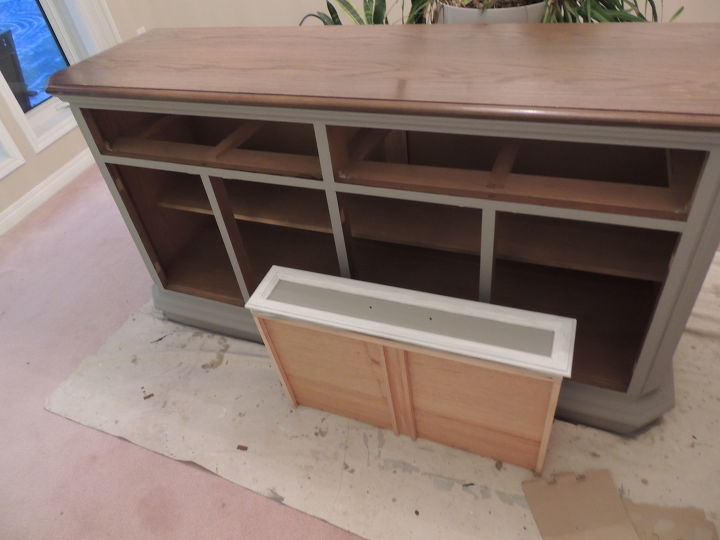
Step 3: Paint the doors & drawers
I did not want a solid color. White was the best color to offset the grey and give the cabinet a light, clean and airy feel. Get tutorial here
Step 4: Replace the hardware
Those doors were time consuming, but totally worth it! Look at that gorgeous two-toned look! Get tutorial here
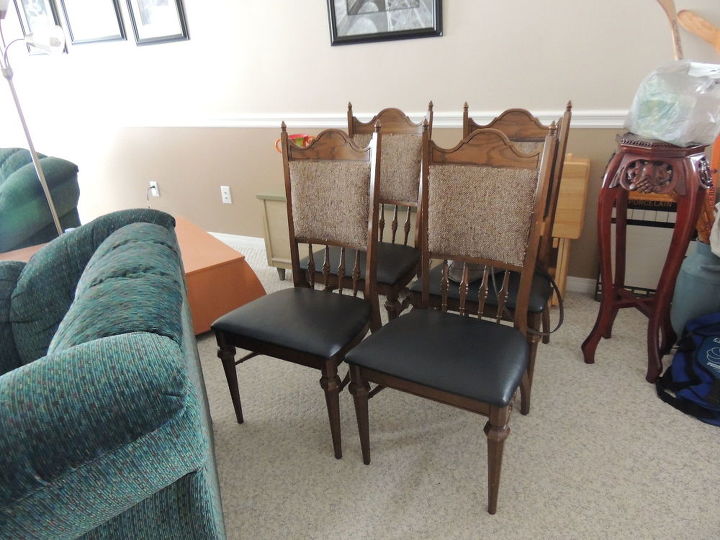

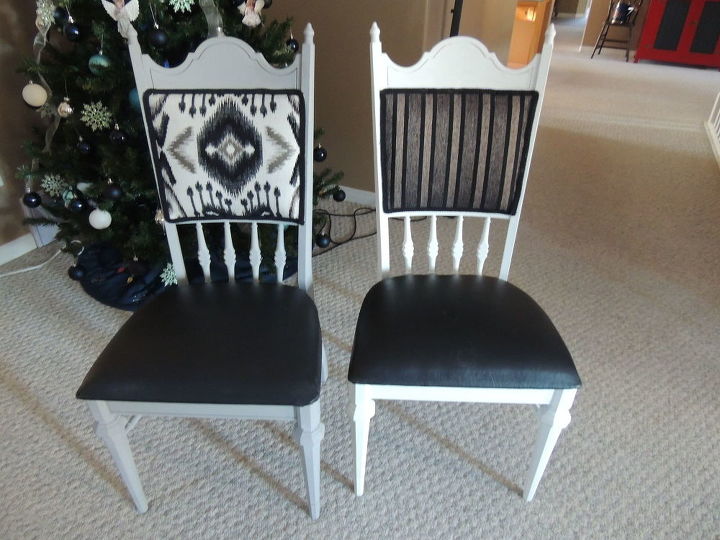
Check out these girls, now!
I absolutely look complimentary fabrics and coloring. I'm loving how these chairs came out! Get tutorial here

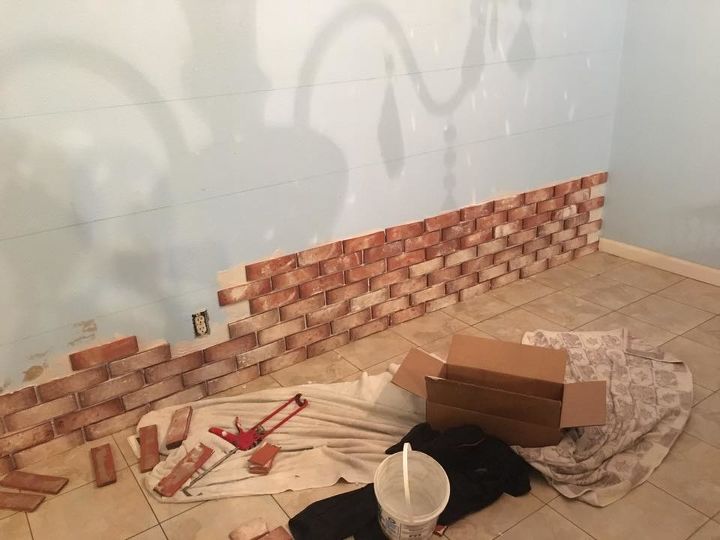
Installing a brick accent wall
BEFORE: I was ready for a Farmhouse style change and I wanted something easy to install. Enter think brick veneer! Get tutorial here
Step 1: Attach brick to drywall
I used tile adhesive and let itset for 48 hours. I had to cut some of the bricks and used a wet tile saw. Get tutorial here
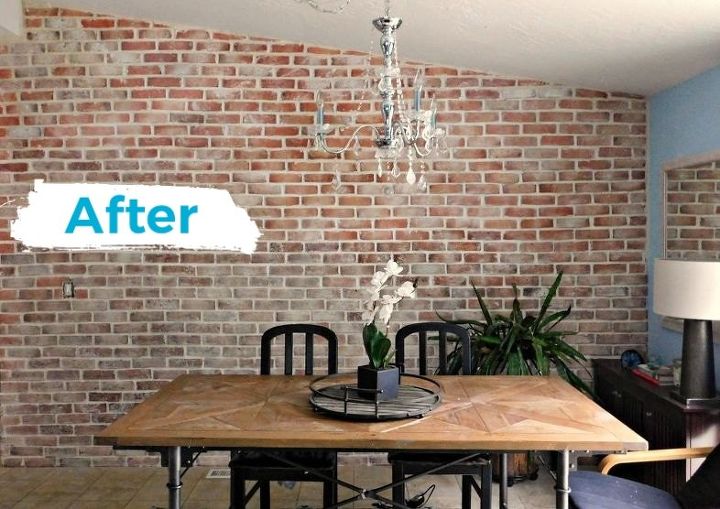
Step 2: Apply grout
After the adhesive was set I applied the grout in between the bricks with a grout bag. I smoothed with my fingers. Get tutorial here


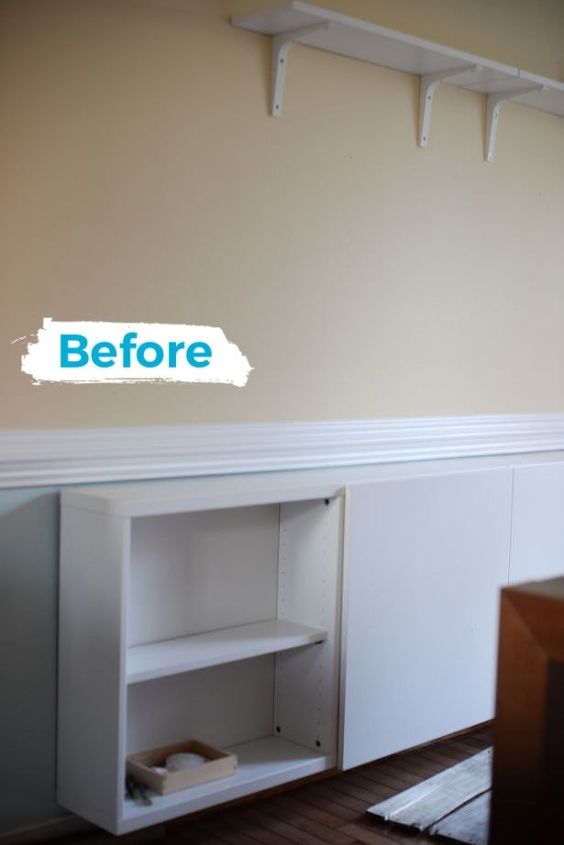
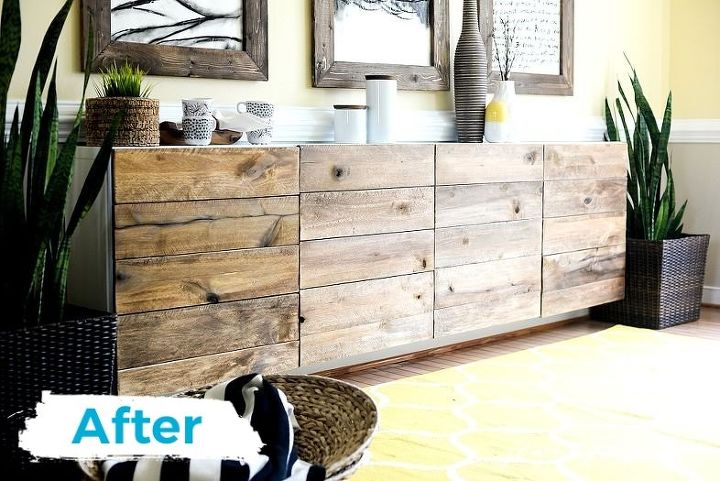
BEFORE: Plain old IKEA cabinet
This piece was ready for a complete makeover! Get tutorial here
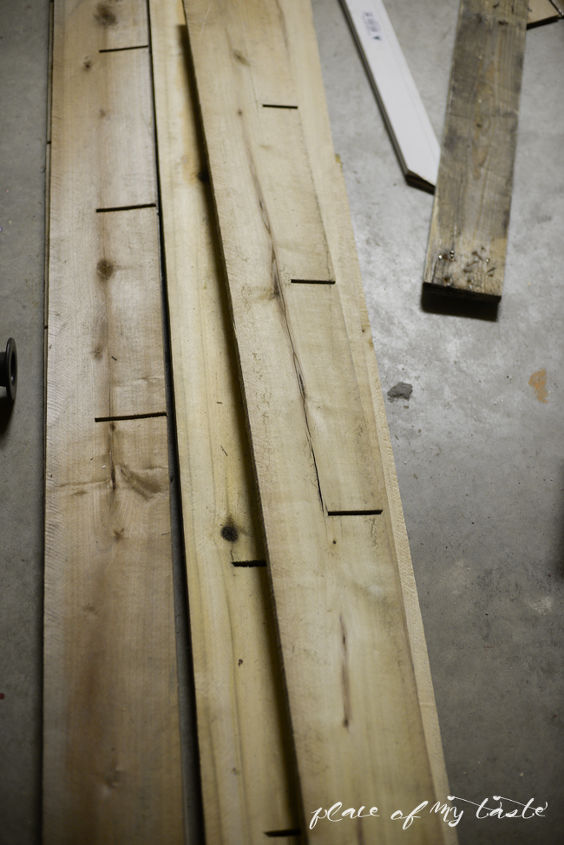
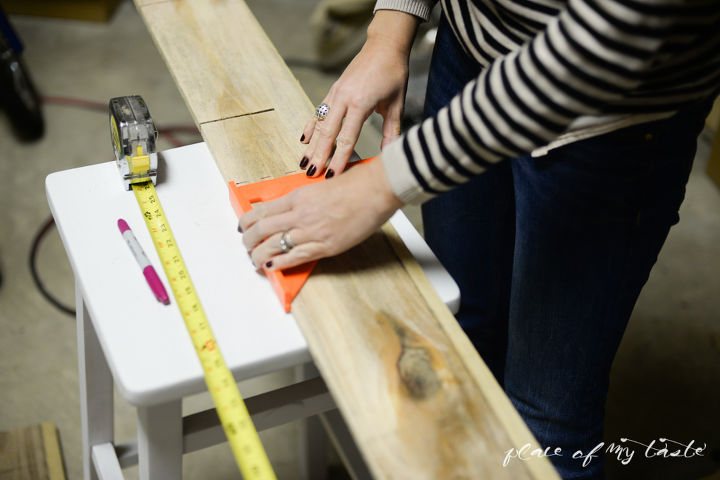
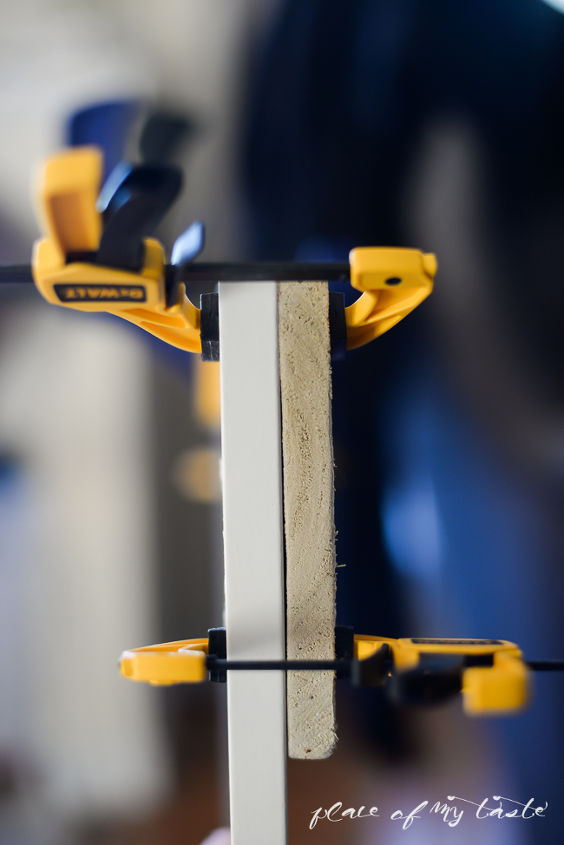
Step 3: Screw panels onto drawers
Using clamps and screws, we screwed the wood panels onto the front of the drawers. Get tutorial here
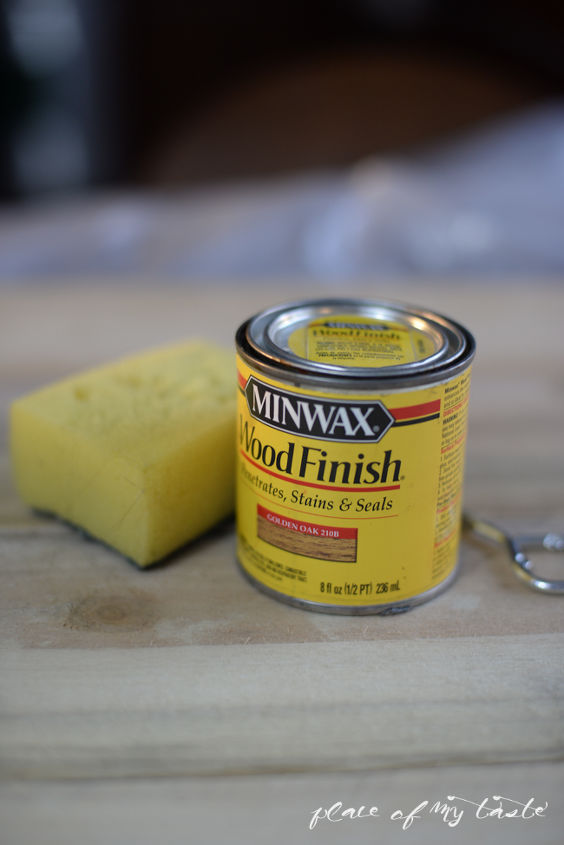
Step 4: Stain the wood panels
Stained the panels to perfection using the golden oak stain from Minwax. Get tutorial here

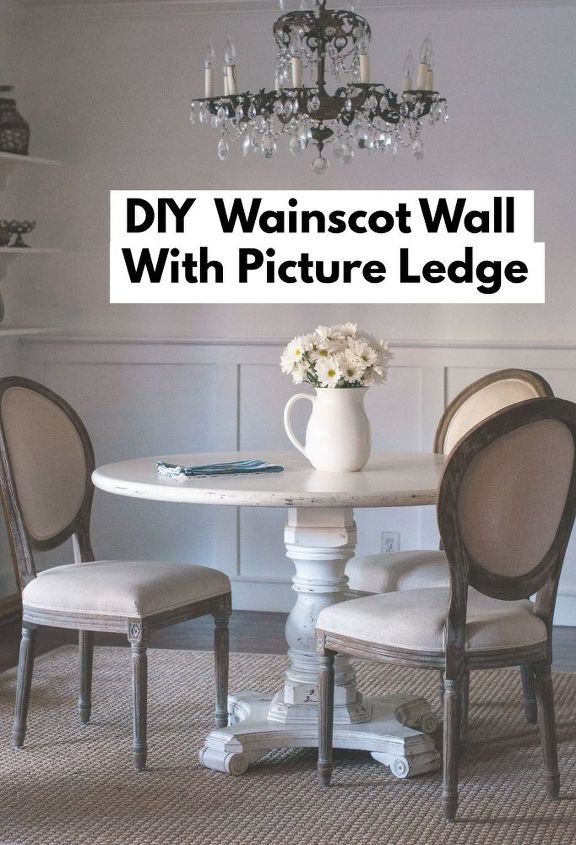
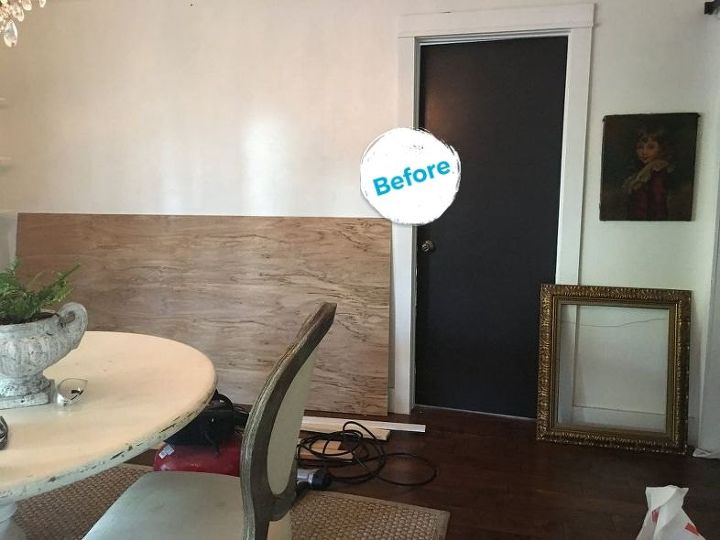
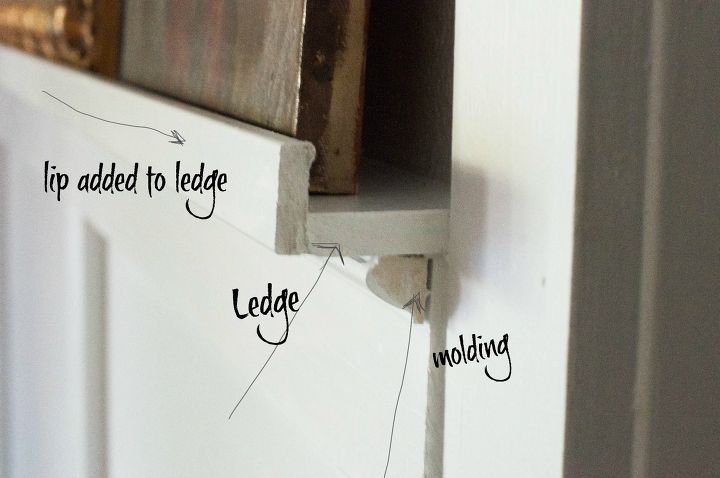
Wainscot Wall With a Picture Ledge
Here's another way how a quick DIY project can update your whole room! Get tutorial here
Step 2: Add trim
I also added two more vertical pieces ( 1X4s) in the middle, using my trusted level for everything. Get tutorial here
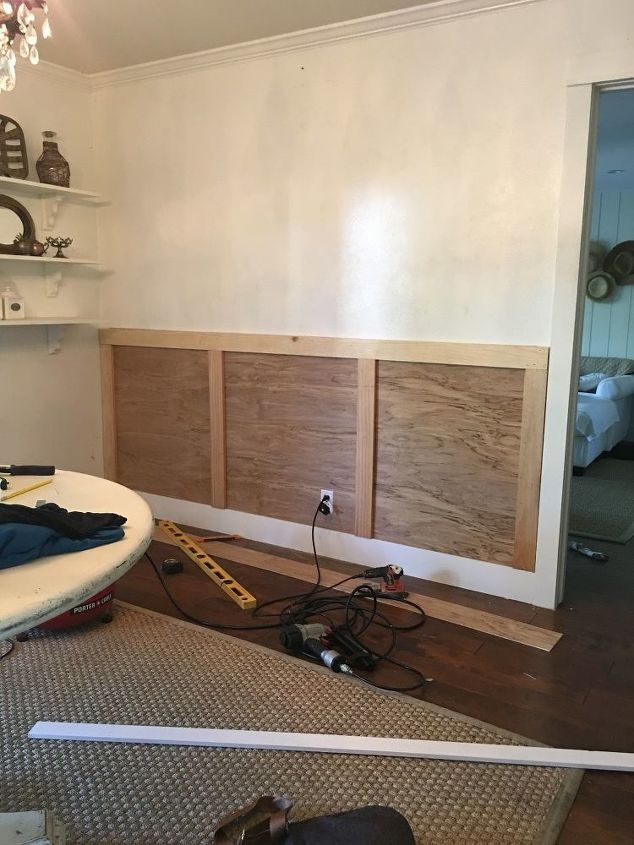
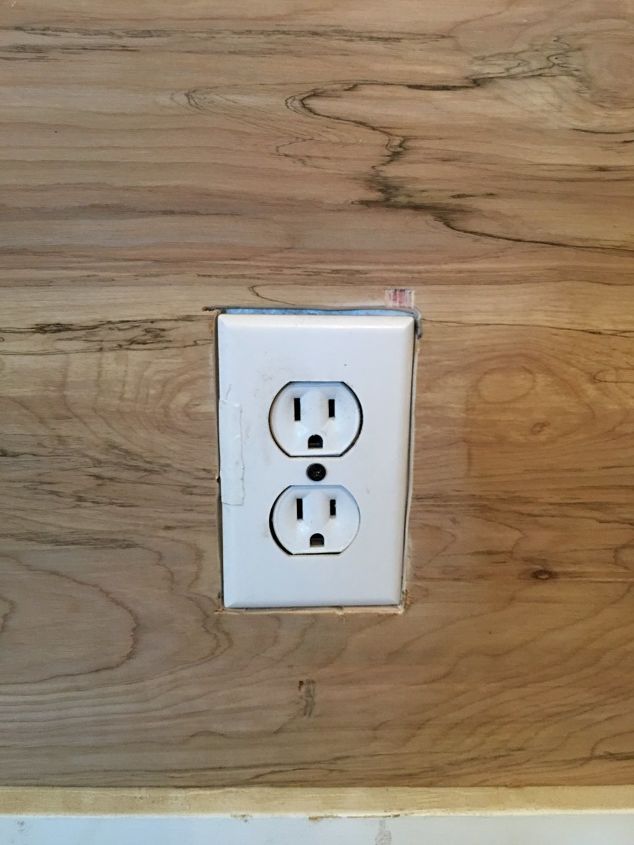
Step 3: Cut outs for outlets
Using a jig saw, I measured and cut holes for the outlet covers. Get tutorial here
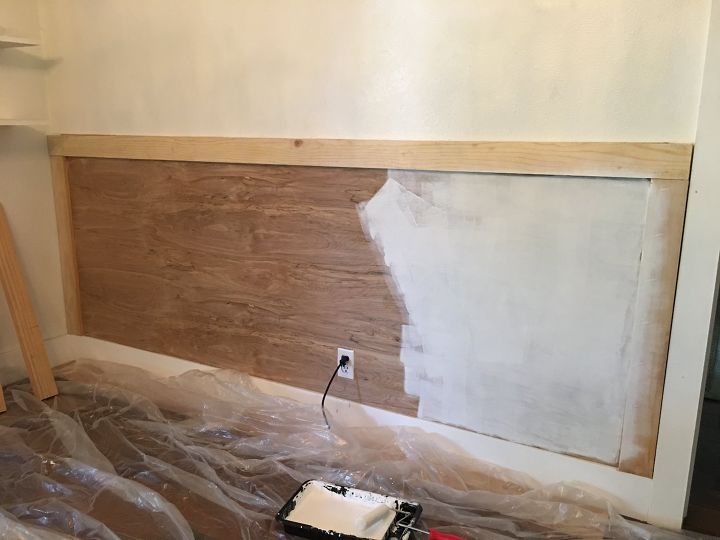
Step 4: Paint!
Painting the panel before I added any vertical pieces made everything go so much quicker! Get tutorial here
Step 5: Add picture ledge
I decided to keep the ledge at 2 1/2" wide and it works perfectly. Get tutorial here

Step 1: Choose your wood
We chose and underlayment from Home Depot and had them cut it there on the spot. Totally worth it! Get tutorial here
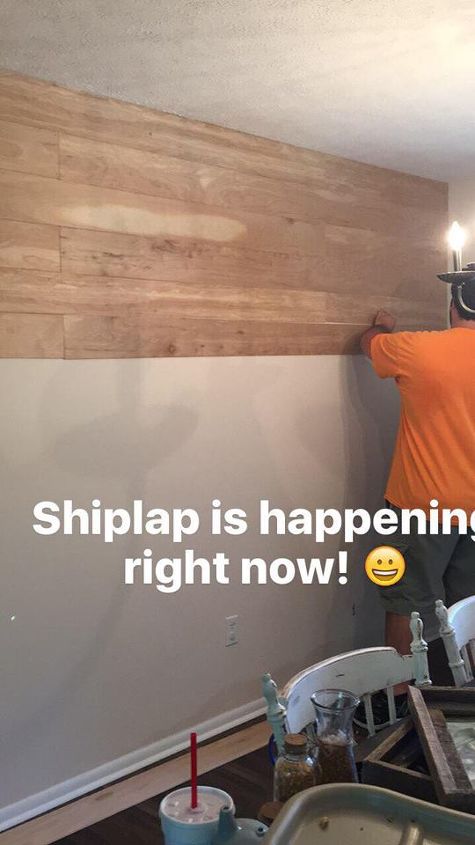
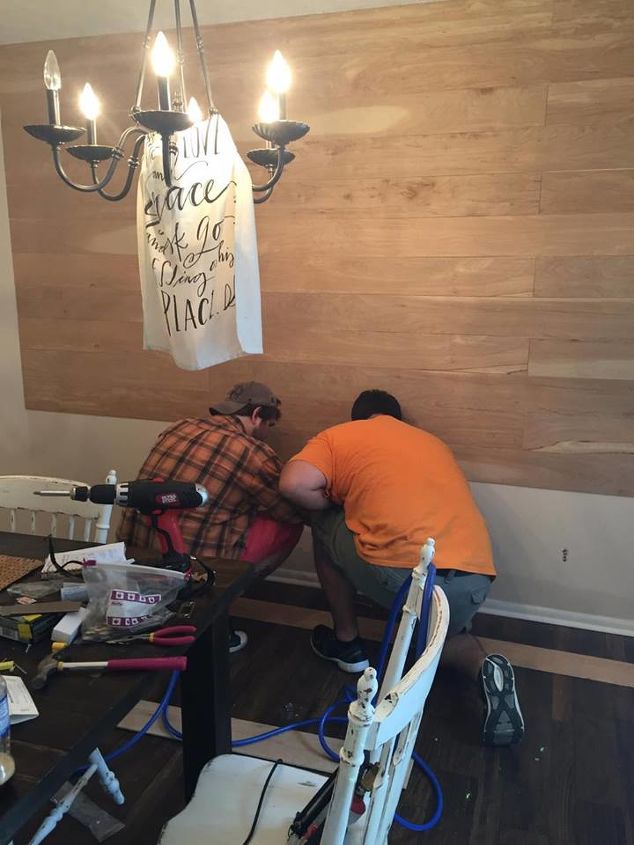
Step 2: Nail the boards to the wall, & paint
Using a nail gun, we staggered the boards as we went, giving us a real shiplap look Get tutorial here
AFTER: Our gorgeous new shiplap wall
We are so thrilled with our new dining room! Bright and airy, with that special Joanna Gaines touch! Get tutorial here
