


Master Bathroom Makeover

Master Bathroom make over using Bead Board and project Boards. Added New flooring and removed popcorn ceilings. Cabinet makeover, replaced tub but love the cabinet Idea❤️
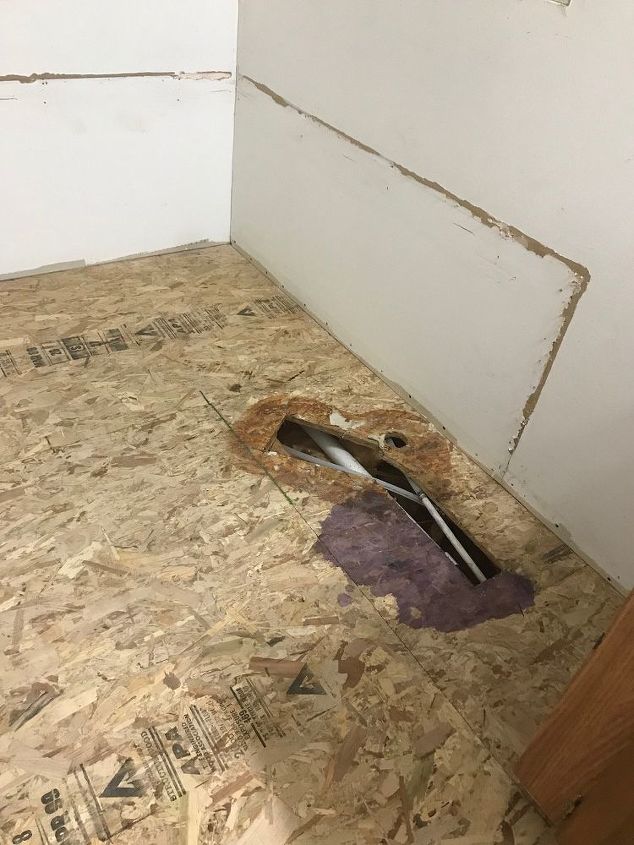
Started by removing old jacuzzi first and capped off water lines by using shut off valves.
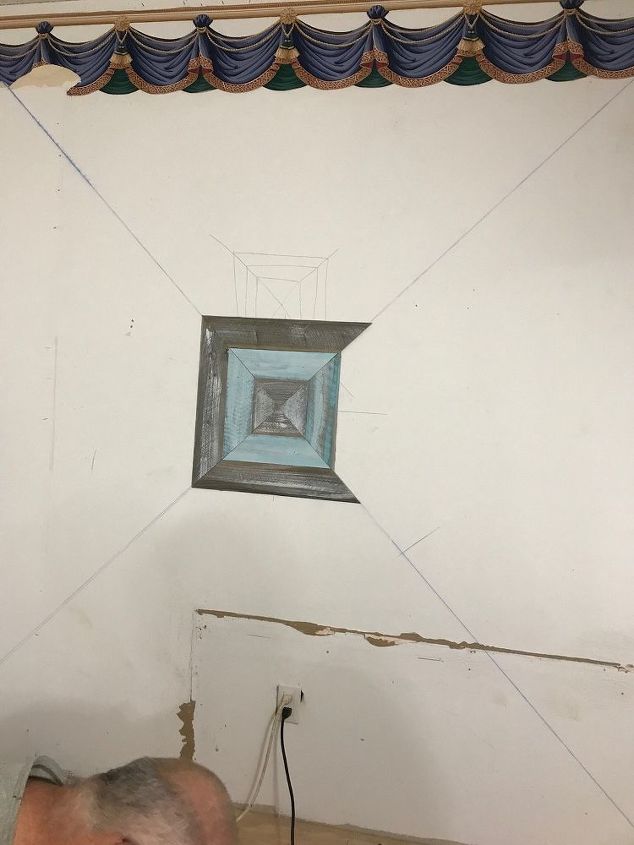
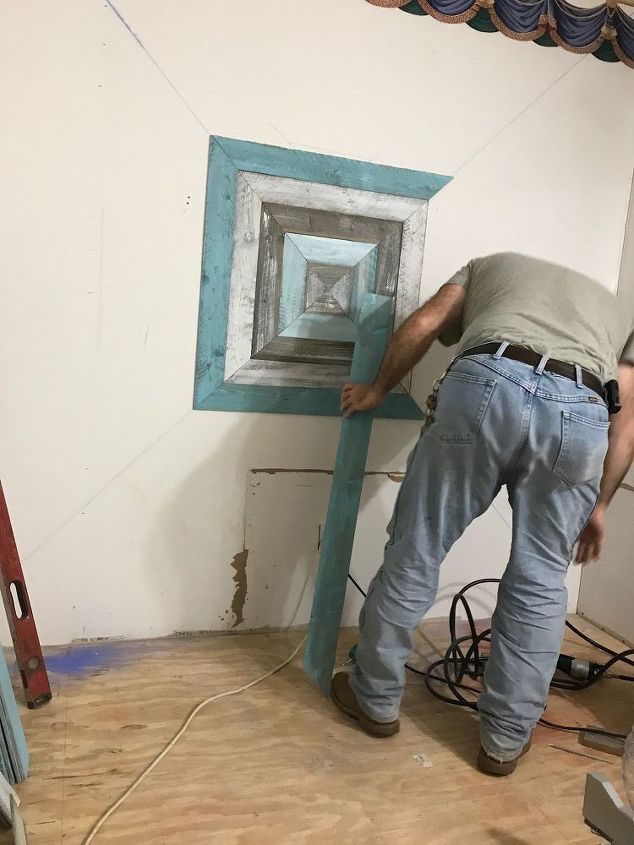
Painted and destressed the project boards then used a brad gun and liquid Nail to attach them to the wall.
After designing the accent wall we put up the white Bead board which I layer painted.
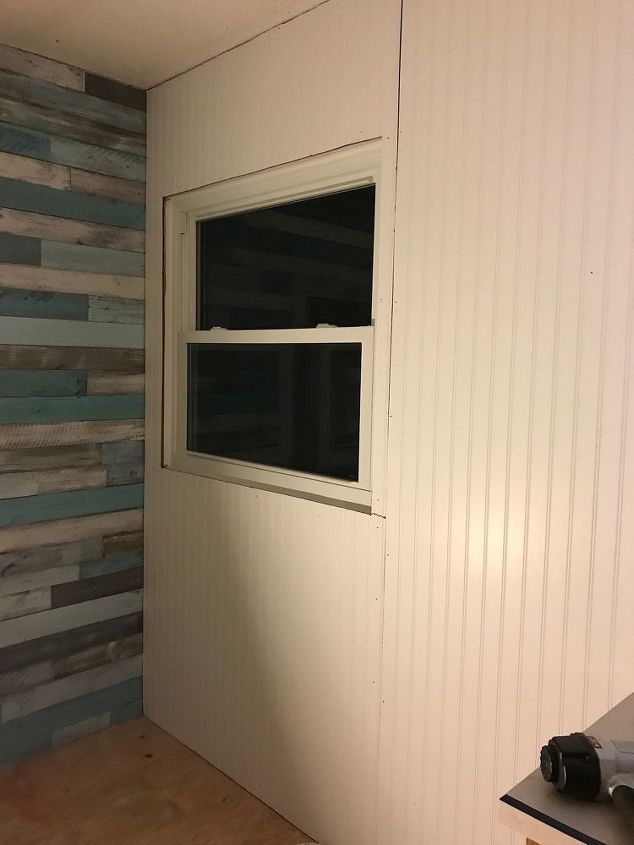
Put Bead board up.
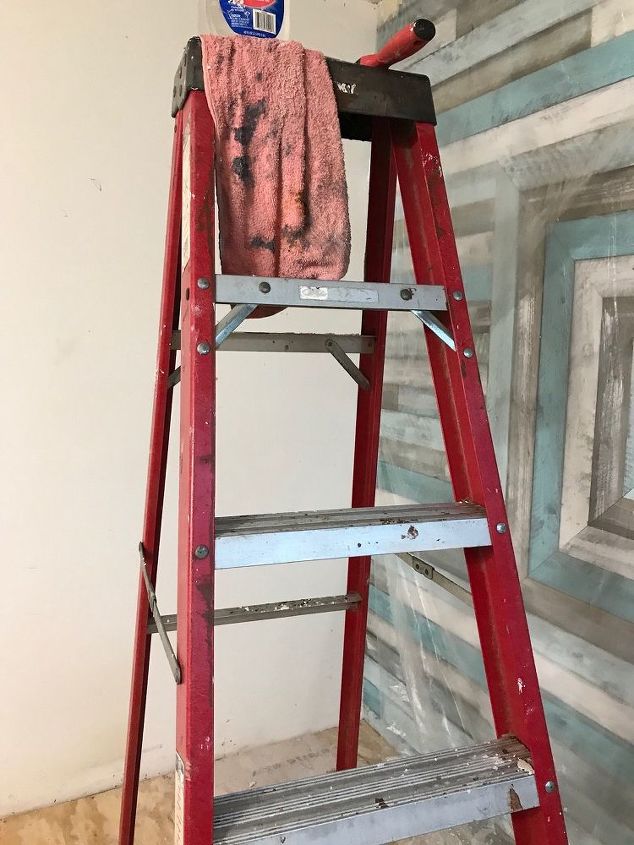
Then started scraping ceilings by spraying water to wet the ceiling then removing with a wide scraper
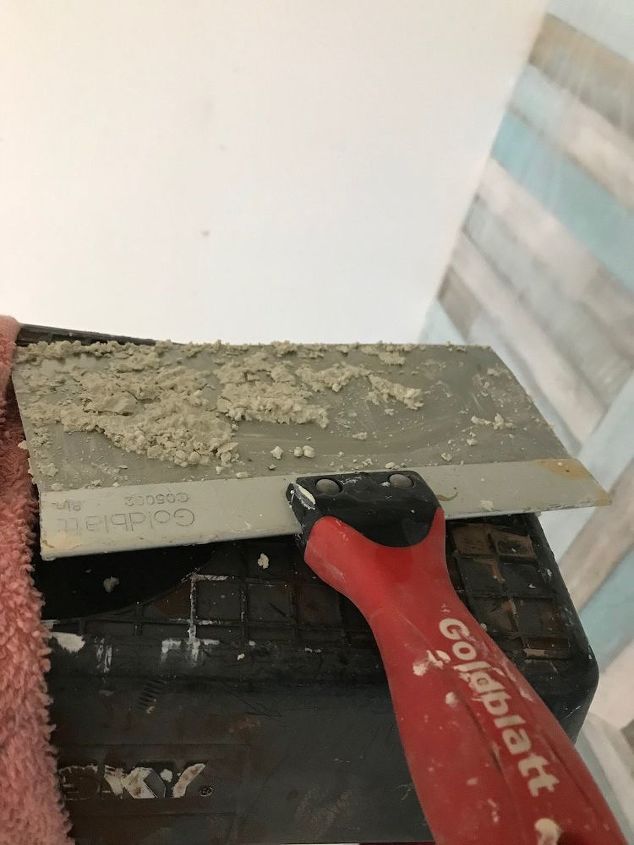
Pic of scraper I used
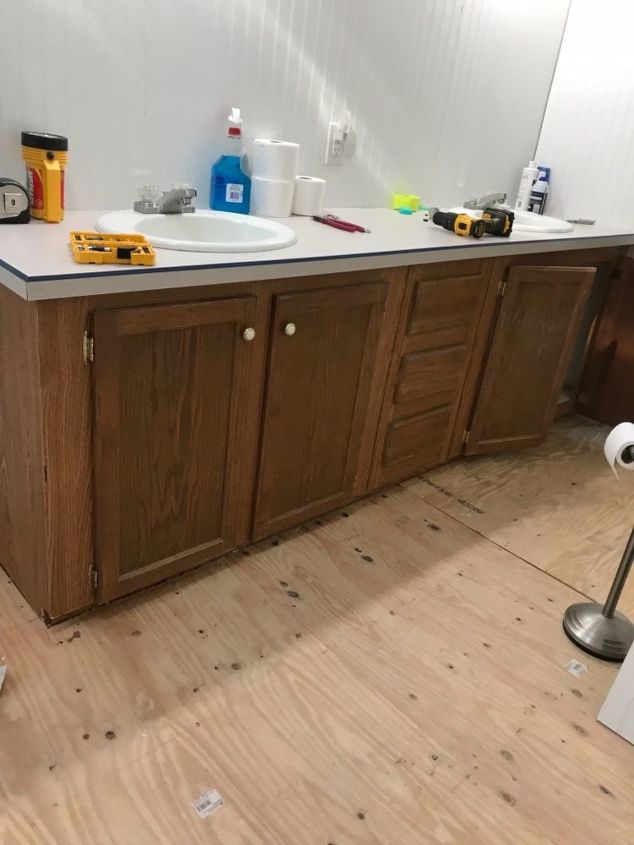
Then we layed new plywood down by using a nail Gun.
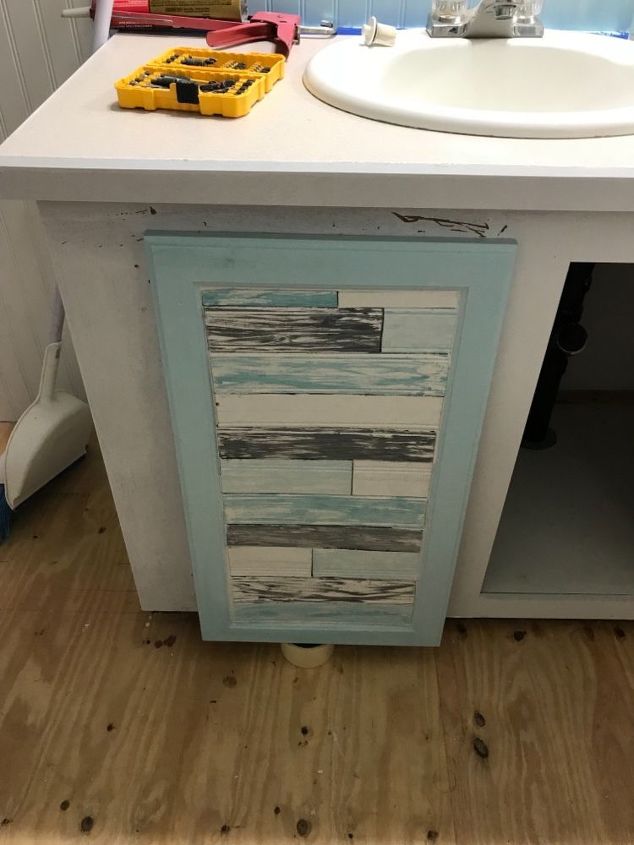
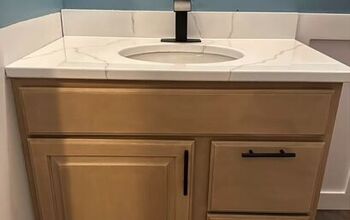
Then I kilzed the bathroom cabinets and the bead board. . I took left over Bead board and measuring the door I cut pieces to fill in the outside of the cabinet doors as I wanted something interesting not boring so I had this brain storm and this is what I came up with. Then I changed hardware and knobs on the doors. I wanted to make the bathroom vintage/antique looking
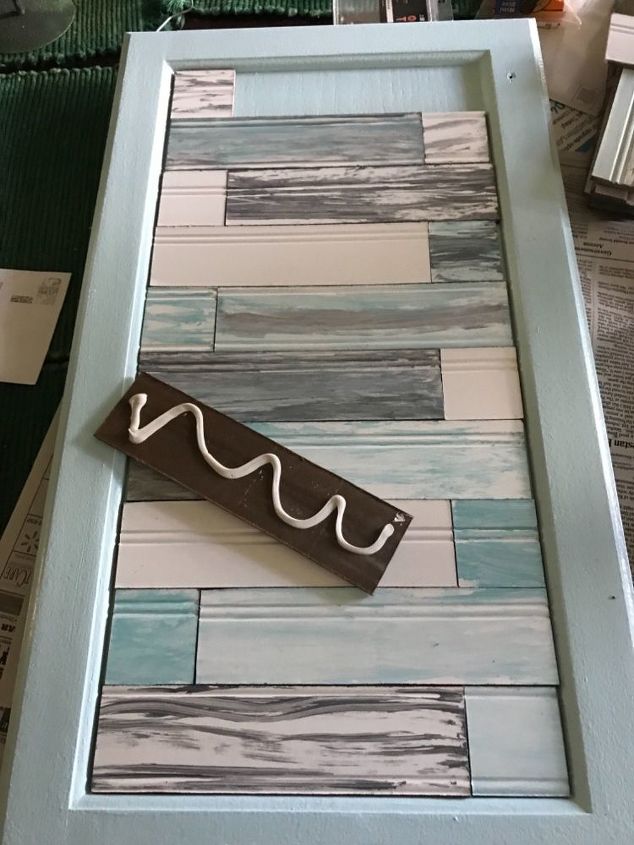
I glued the bead board on with liquid nail and filled in any cracks I didnt want with DAP. Then painted it. Using a piece of sea sponge I made the bead Board looked distressed to match the accent wall.
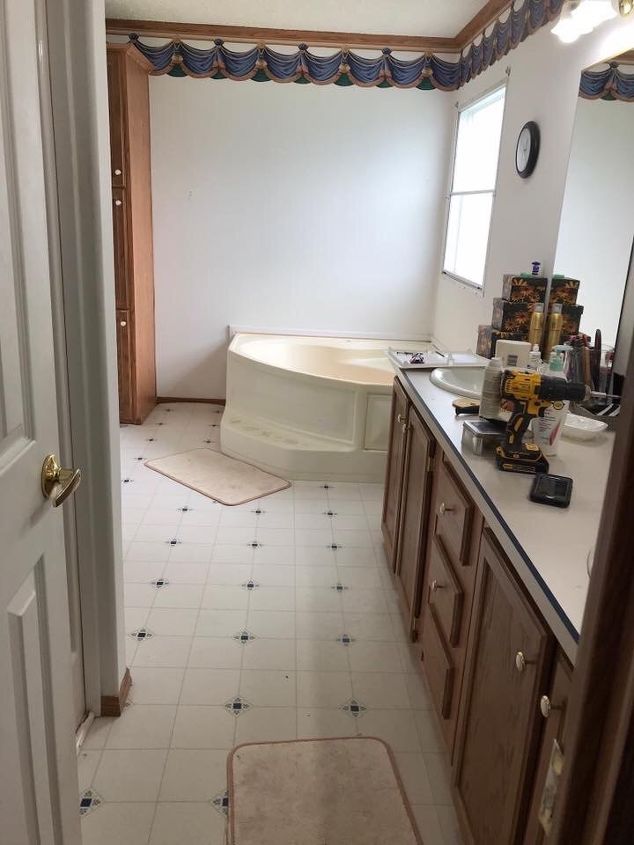
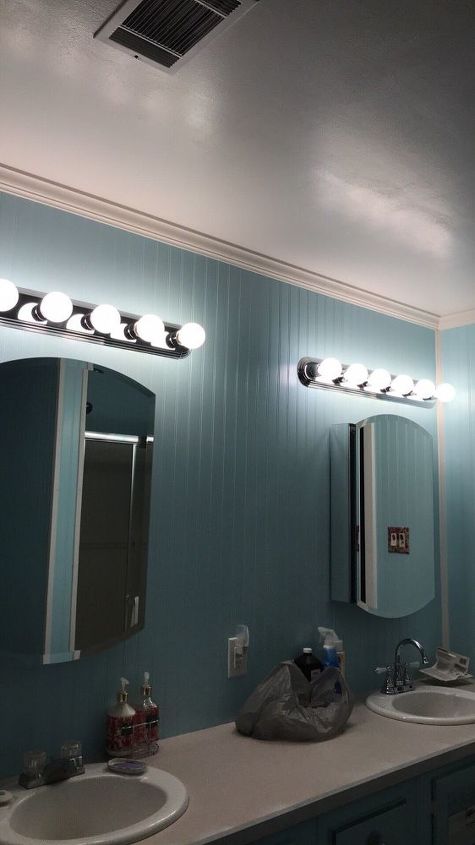
This was before we started anything. This really needed to be pic #1
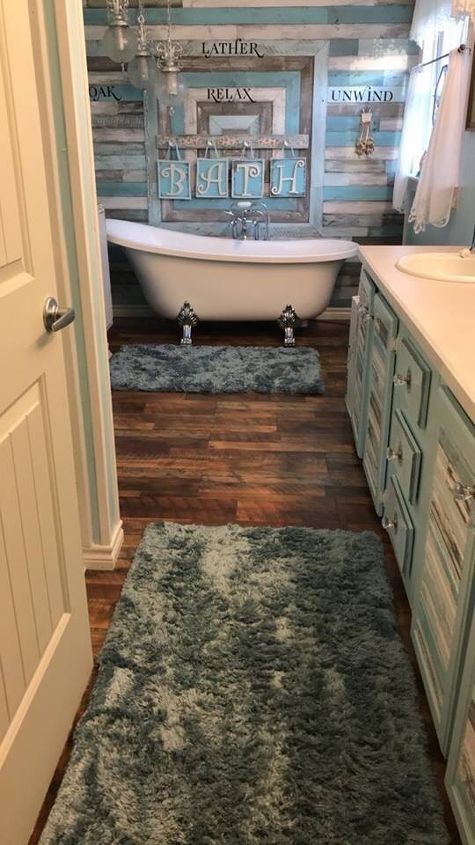
This is our finished project. This really wasnt a cheap makeover though. But thought someone may like the cabinet idea and how to remove the popcorn ceilings or distress the project boards. I hung an old antique lamp in the corner that I was blessed to find for 20 dollars . This was a lot of work but so rewarding. I LOVE this bathroom!!
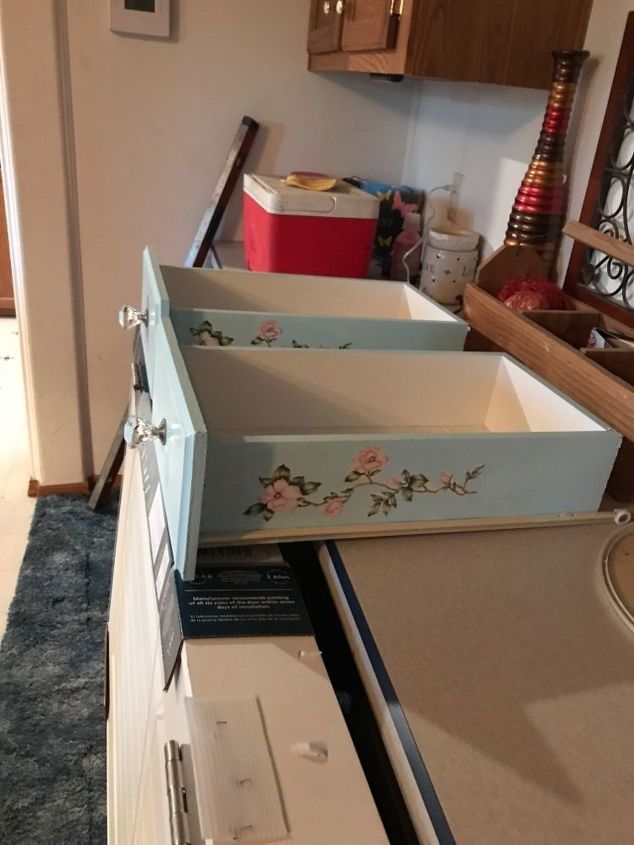
I added stencils on the front of the drawers and printed off roses from clip art then modge podged them on the sides. I did not want boring ..then added on beautiful glass knobs
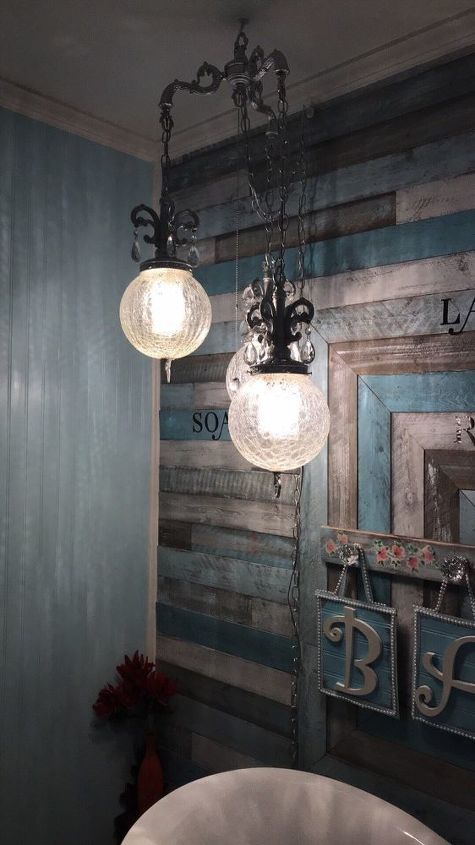
Then painted the hardware to the lamp and the chains a silver
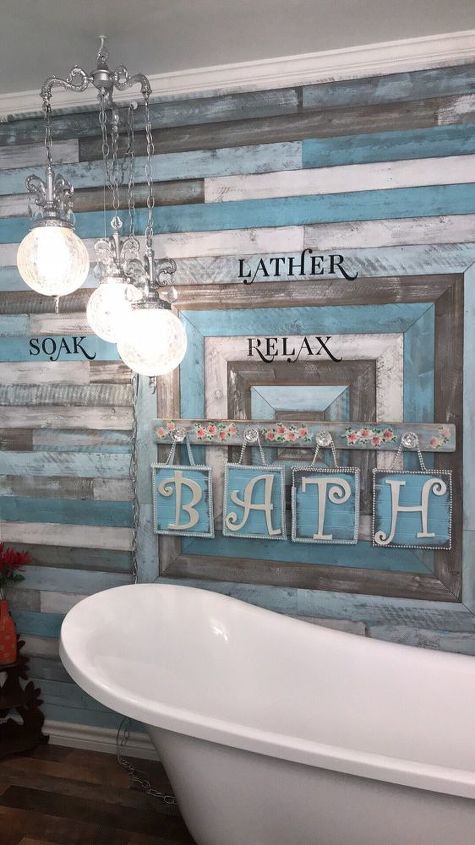
Made. My homemade decore using a board I had in my shop and letters, beads and ribbon purchased from Hobby Lobby.
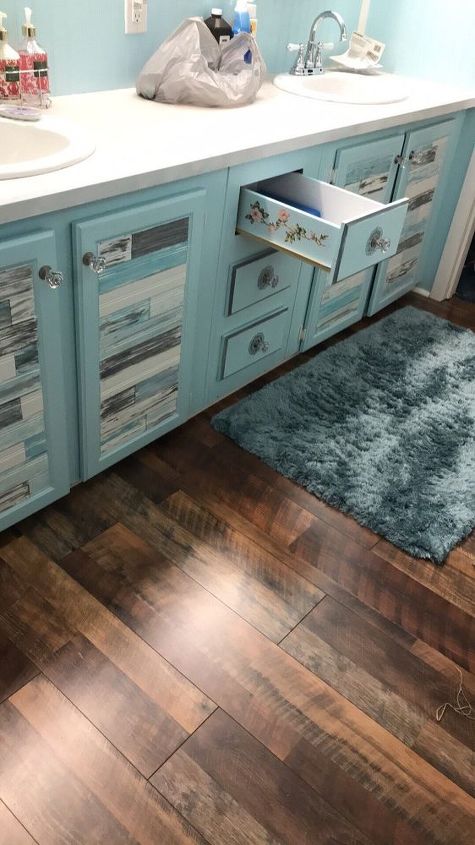
Then painted my vanity and hung my doors
I have many more pucs and steps any questions feel free to ask. I hope you get some use from my project
Resources for this project:
See all materials


Comments
Join the conversation
-
Absolutely beautiful! I love the colors you used! Well done!
-
Love this. Fantastic job!!!! I am a lover of claw foot tubs & the wall is awesome.


Frequently asked questions
Have a question about this project?
This is just georgous. The only question I have is where do u put your shampoo at in a claw foot tub? I didn't see any built in cabbies on the wall. Just curious because I want a claw foot tub so bad.
What is the paint colors and brand you used?
How’d you create the different dimensions and directions of the design that’s similar to a shiplap look? Do you fill the bead holes in with something how’d you get the smooth center ??