


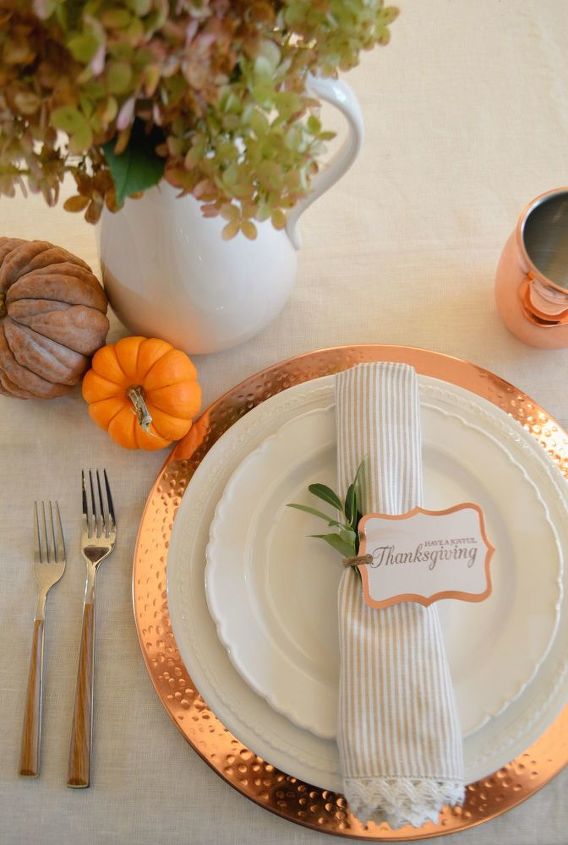
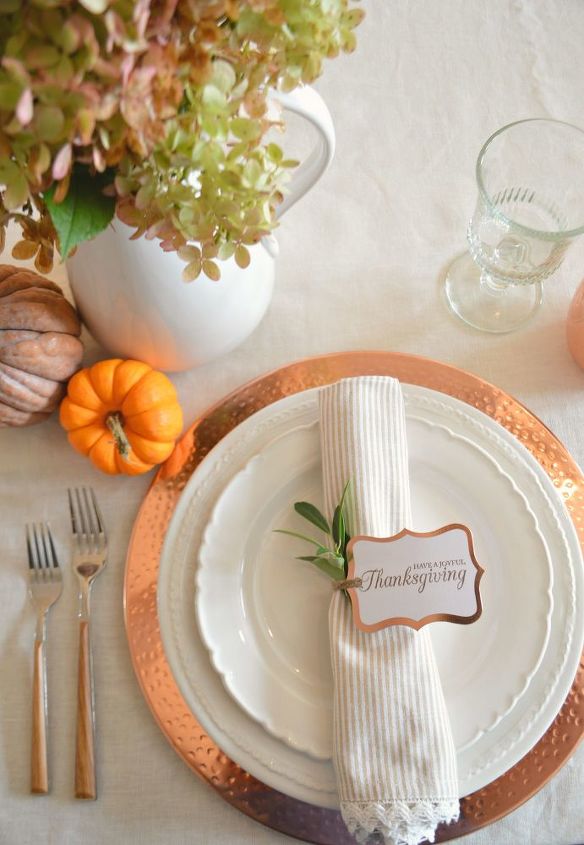
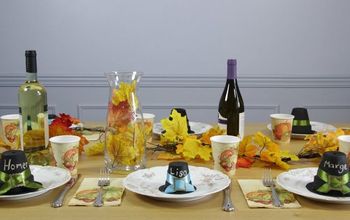
EASY THANKSGIVING PLACE CARD TUTORIAL
With Thanksgiving just a few days away, it’s time to start thinking about setting your table for the holiday. Whether you are planning to keep things simple or full-on glam, these lovely place cards will add a touch of elegance and charm to your table. And if you’re anything like me, the holiday season is that time of the year when you are willing to devote the extra time to create something truly special for family and friends.
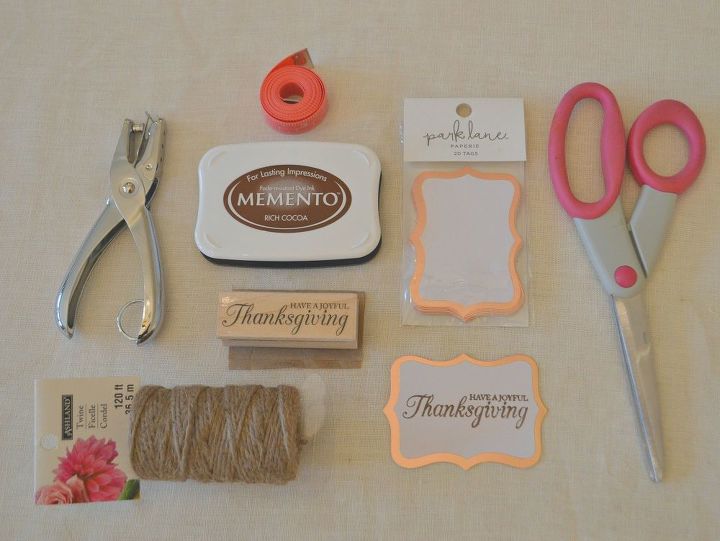
What You'll Need:
- Scissors
- Measuring tape
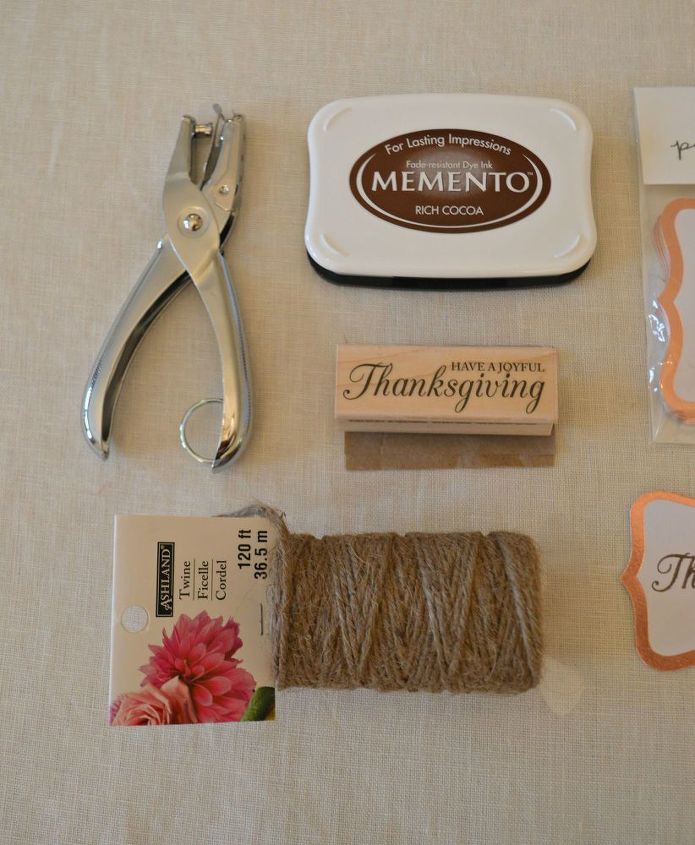
- Single-Hole Punch
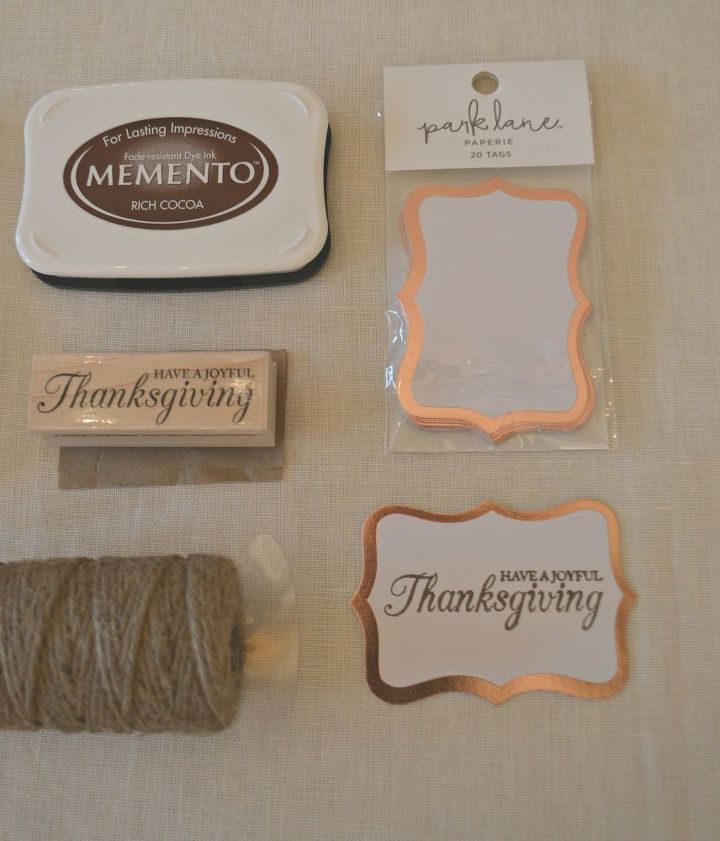
- 1 Package of place cards of your choice (But you can use any paper to create your own place cards. Just cut them 2" x 3.5")
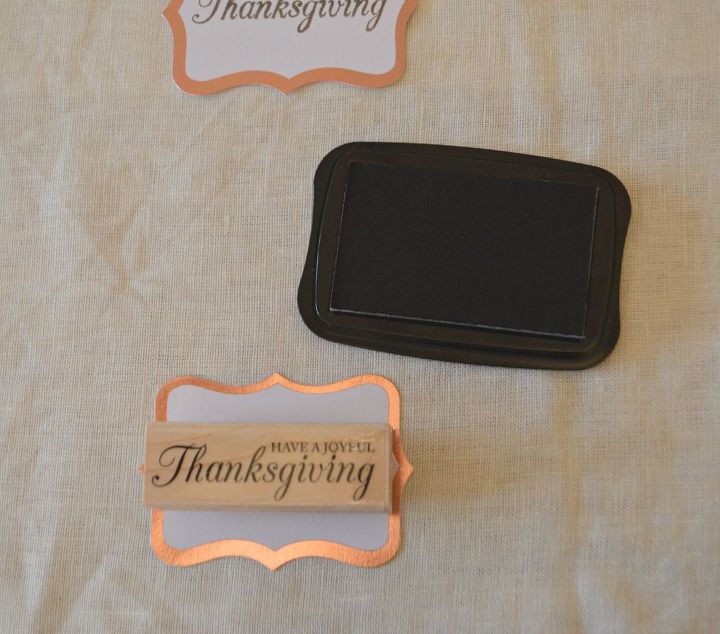
- Rubber Stamp (I found mine at Joann Fabrics. It is by Hero Arts - Have A Joyful Thanksgiving) But if you have good penmanship, they can be handwritten too.
- Full size Ink pad (I used Rich Cocoa by Memento)
- Twine
What You'll Do:
- Gather all your supplies.
- Open ink pad and press rubber stamp on top of the pad. Be sure that all the lettering is covered with ink.
- With ruler or measuring tape, measure center of place card and press your rubber stamp on center. Let dry for a 2 to 3 minutes. Press lightly if you prefer a faded look or firmer if you prefer a darker print.

- With hole puncher, press hole on the left side of the card. Be sure to find center before punching hole.
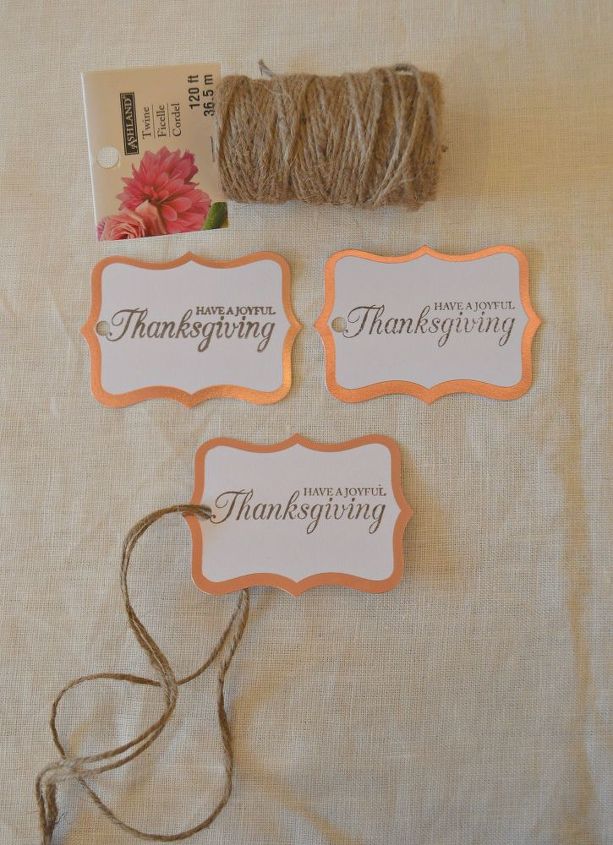
- With scissors, cut twine. I allowed about 20" because I wanted to double it.
- Bring twine through opening.
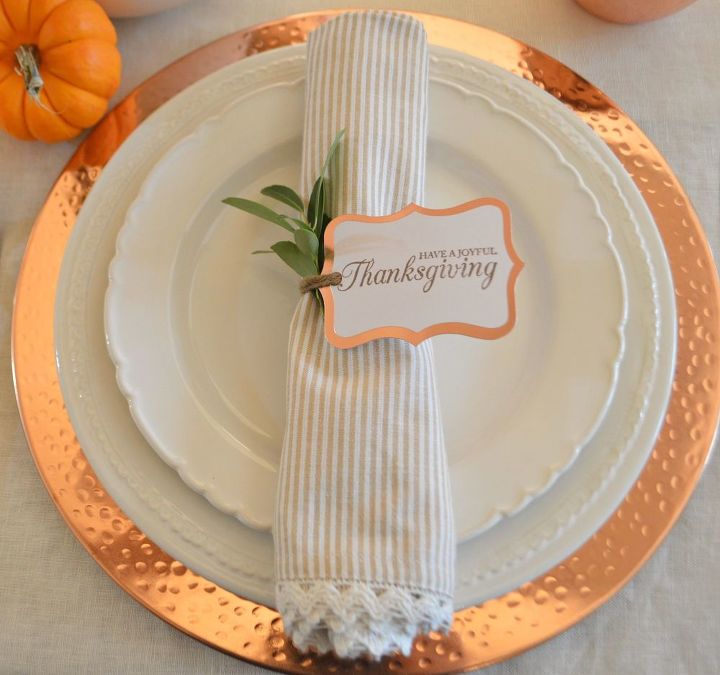
Tie around napkin and your done.


Comments
Join the conversation
-
Oh my what a cute Idea you have give me. I can make these towel and tags and combine it with another idea that I just saw as well for charger plates. Thank you. I am working Thanksgiving until 6 pm so our 15 year old will be hosting with her dad until I get home. I will help prep things for her to put her spin on things while I am out. I am so excited.


Frequently asked questions
Have a question about this project?