Kids' Room Makeover Edition
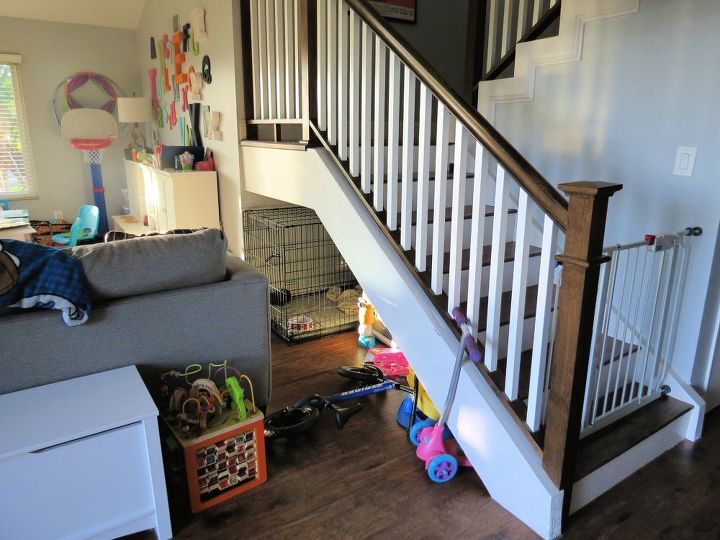
Under Stair Reading Nook
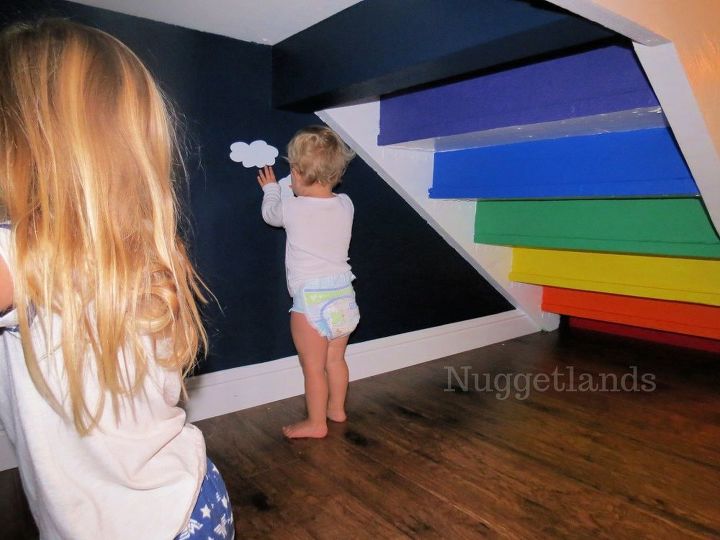
Under the stairs was being used as a catchall for the dog's crate and some toys. Get tutorial here
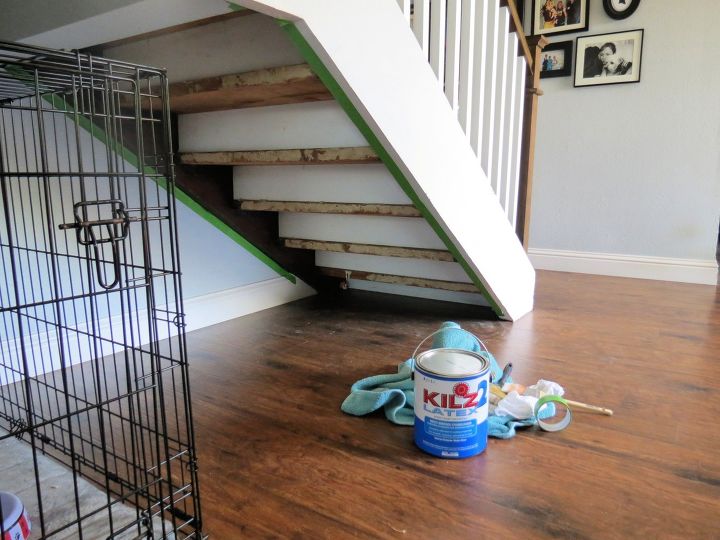
Cleaned out and primed the space
When the kids started to play under there, I knew it was time to make something happen to make it a usable space Get tutorial here
Paint time!
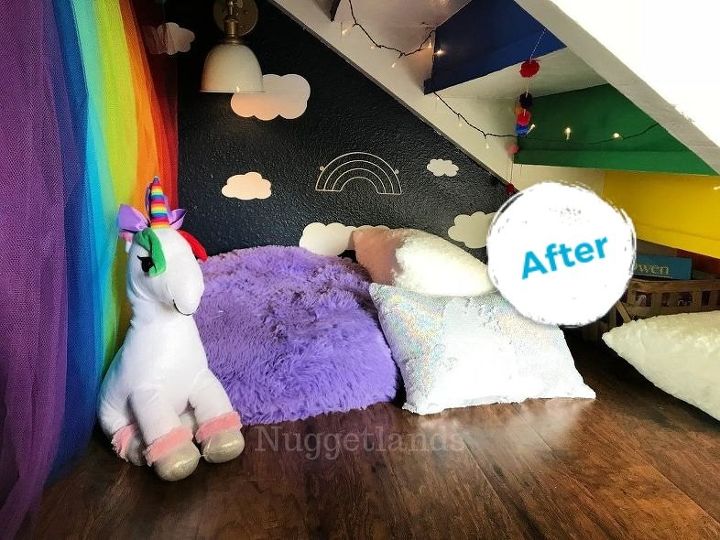
I used left over navy paint for the walls, and rainbow colors on the stairs Get tutorial here

The kids got to work with cloud decals
I love to include them in the design & implementation of these house projects, especially in a space that is exclusively theirs Get tutorial here
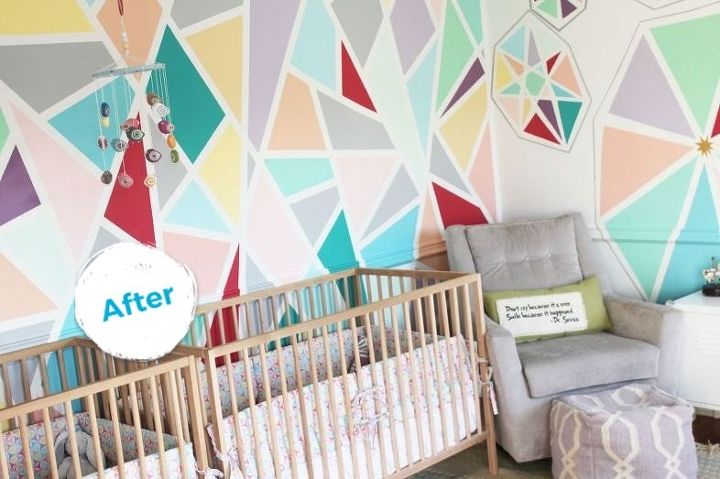
BEFORE
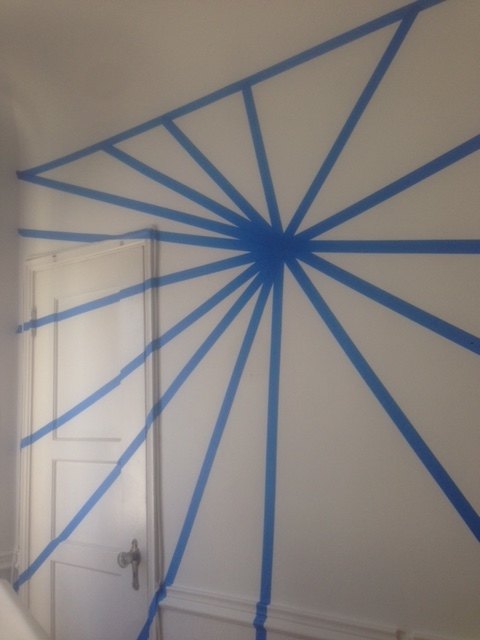
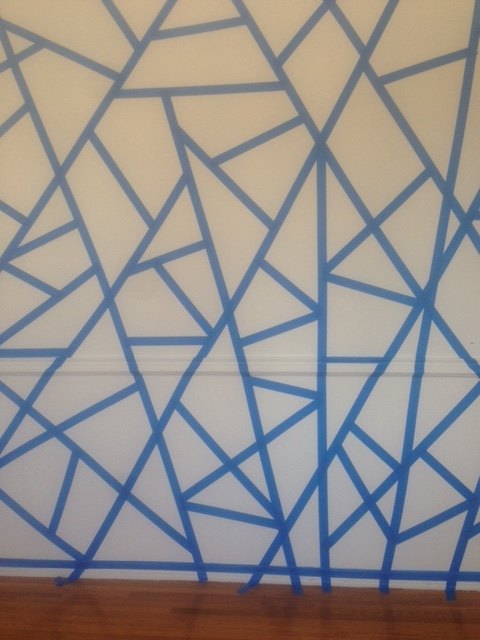
Check out this 'out of the box' mosaic design with an inspiring starburst and pinwheels. Get tutorial here
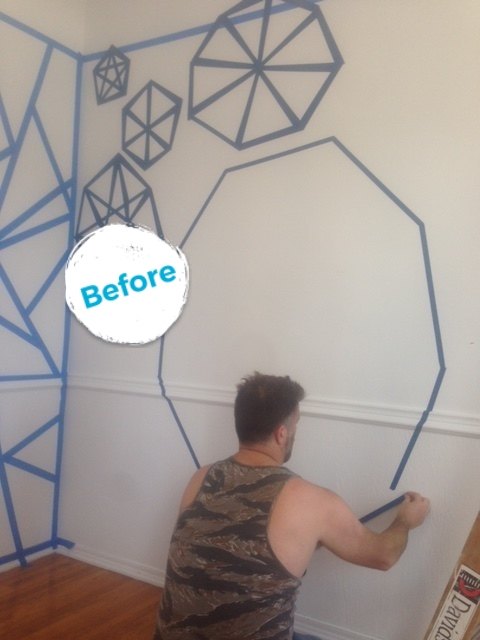
We used painter's tape to get the mosaic look
We wanted pinwheels on one of the walls to compliment the mosaics Get tutorial here
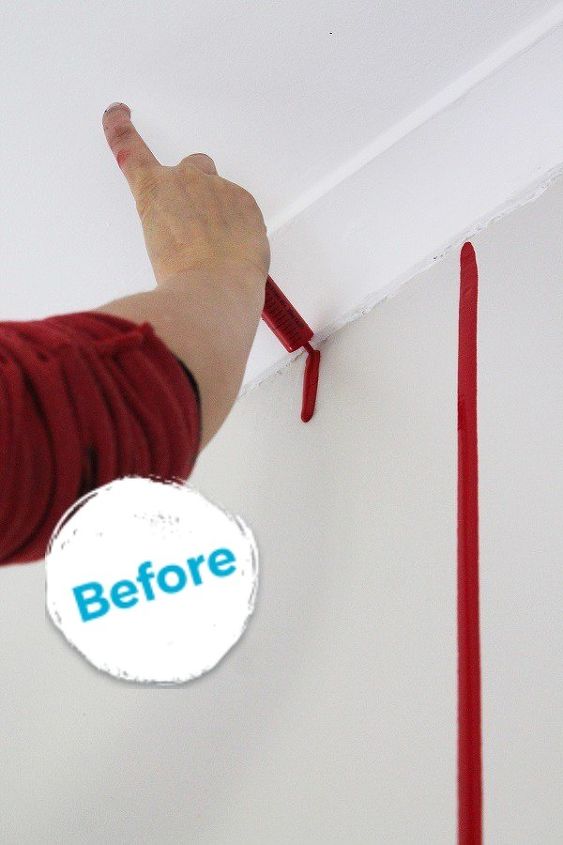
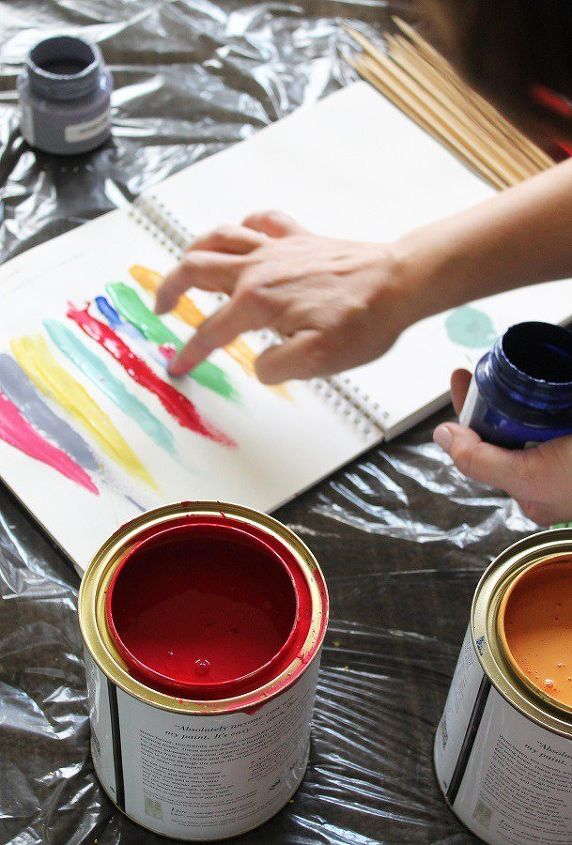
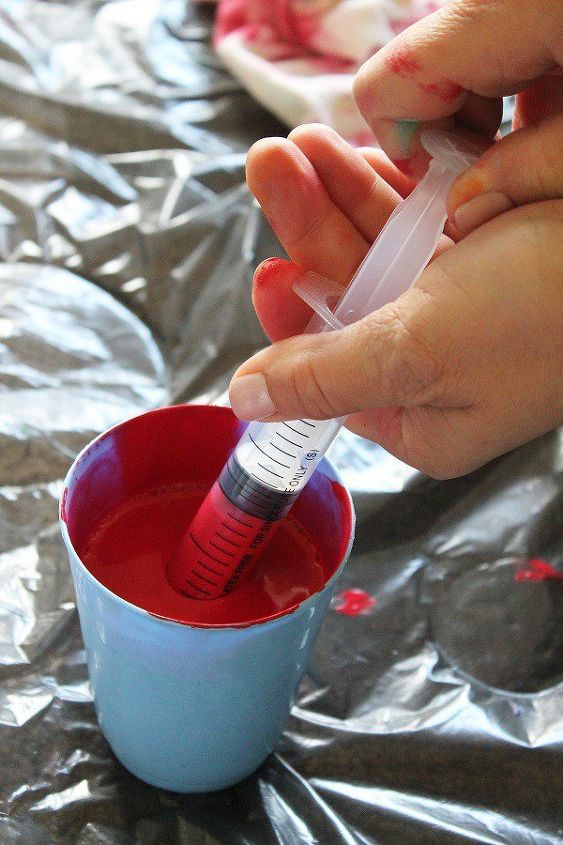
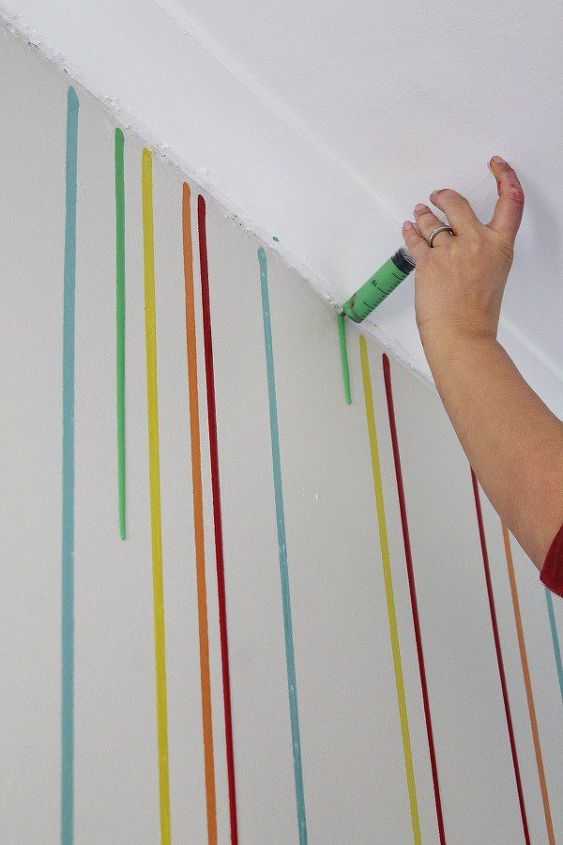
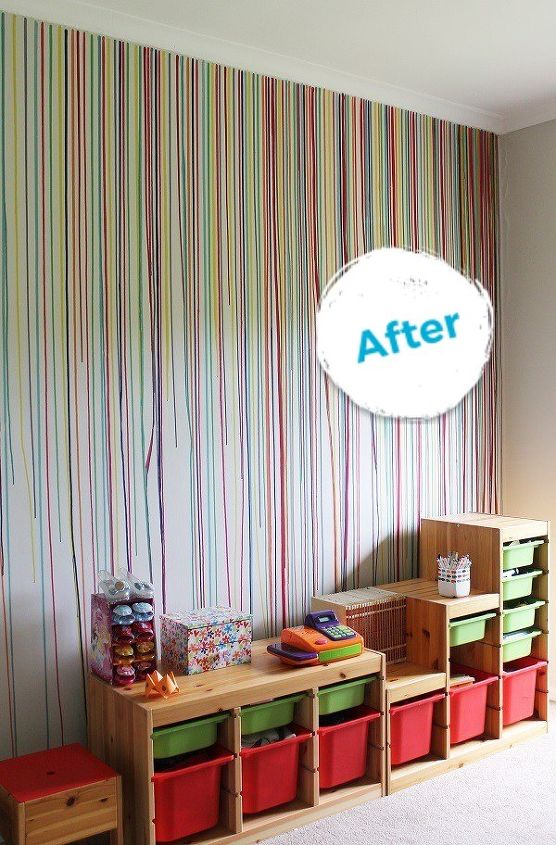
DIY Drippy Accent Wall
This wall was lots of fun to make, and the result is incredible! Get tutorial here
AFTER
It was so cool to see what the paint does! Each wall is so incredibly unique! Get tutorial here
Dollar Tree Bucket Organizer
We wanted a pyramid organizer for toys and games without a hefty price tag Get tutorial here
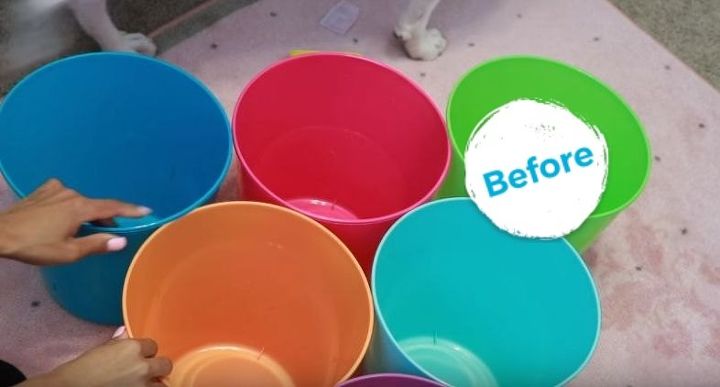
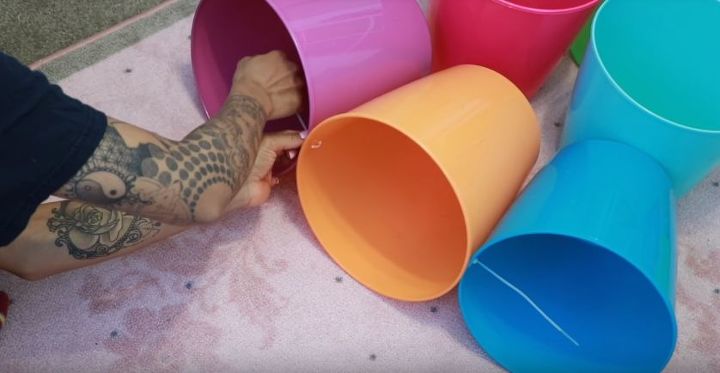
We picked up some buckets at Dollar Tree
I first used a sharp point to make two holes between the buckets. Get tutorial here
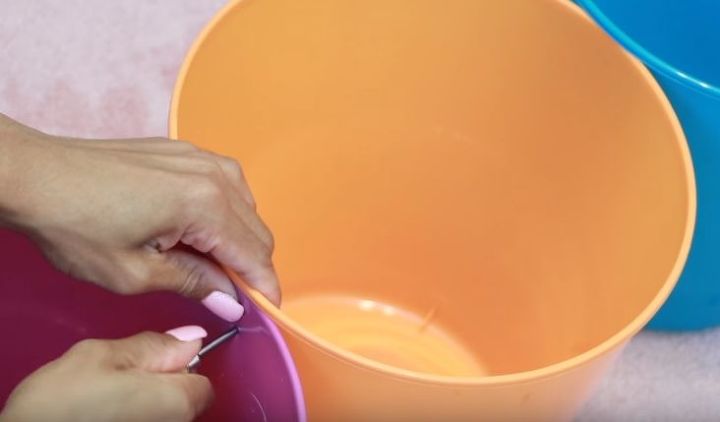
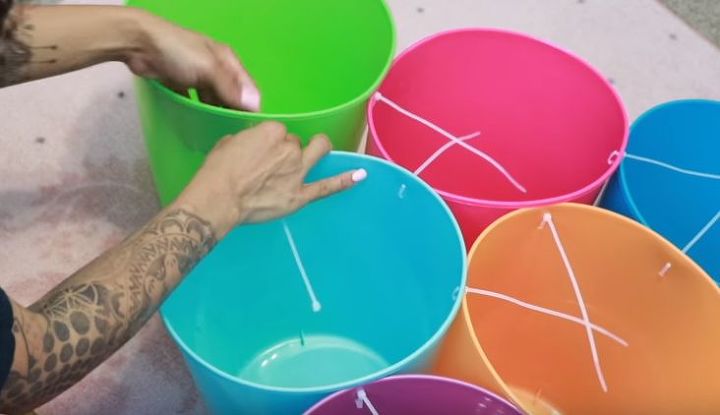
Enter the zip ties!
I attached zip ties to all of the six buckets, stacking them in a pyramid shape. Get tutorial here
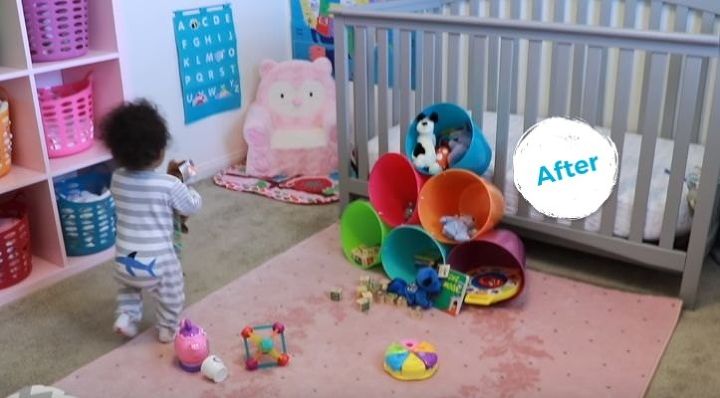
Zari loves his toy organizer!
I do too! It keeps the room so much more organized with toys off the floor. The best part? He can help with clean up :) Get tutorial here

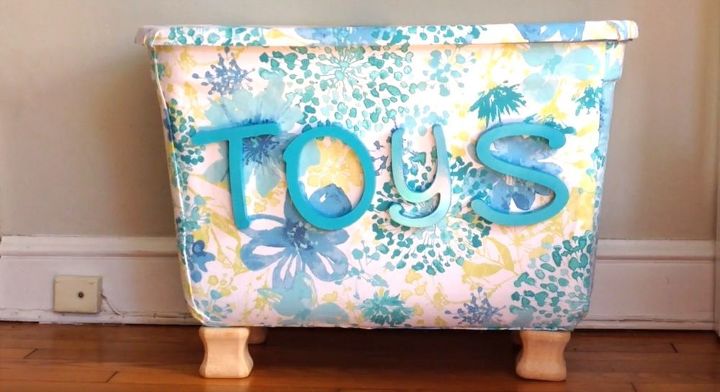
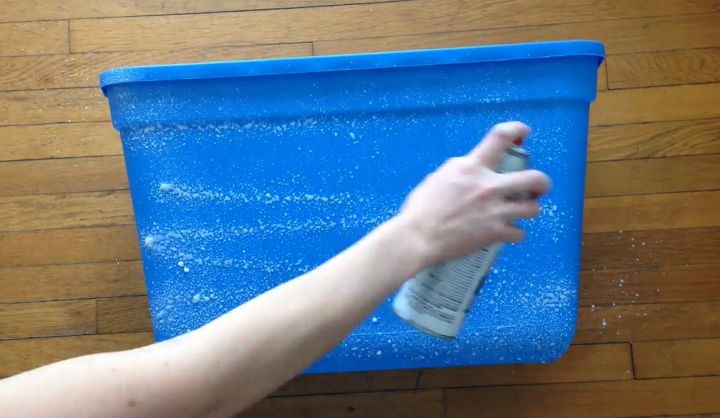
Storage bin turned toy box
Here's another great use for these bins - a toy box! Create a playful toy box with a bin, fabric and a little glue Get tutorial here

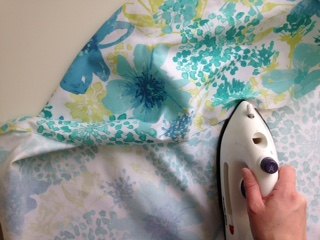
Iron out the creases from your fabric
Then measure and cut it out according to the size of your bin. Get tutorial here
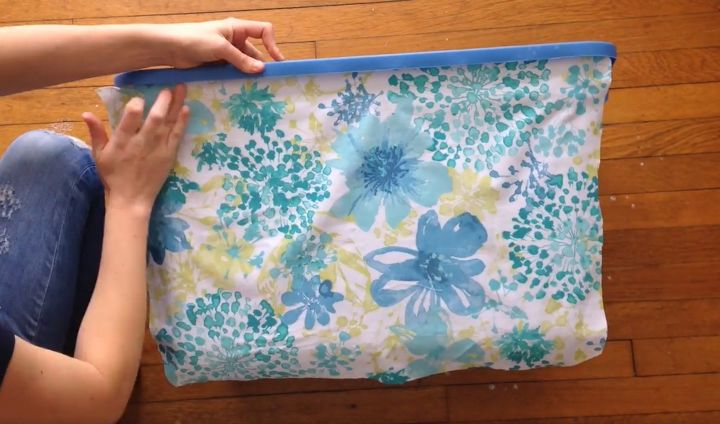
Add fabric to all sides of the bin
Apply fabric pieces onto your tacky glued surface. Smooth out any bumps and lumps and follow the edges of the bin. Get tutorial here
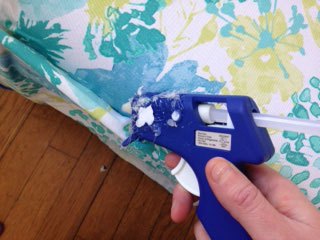
Clean up the edges
Using a glue gun, neaten up the edges. Get tutorial here
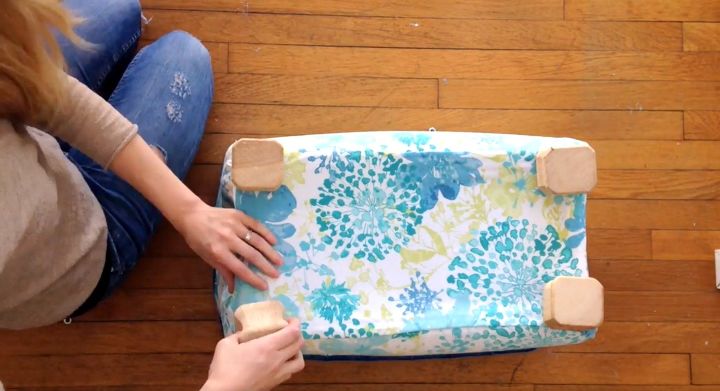
Make holes in the bottom of the bin for legs
Attach furniture legs to the bottom of the bin Get tutorial here
Embellish with letters, and DONE!
Now I have a place to store all of my kids' toys, and it looks nice, too! Get tutorial here