


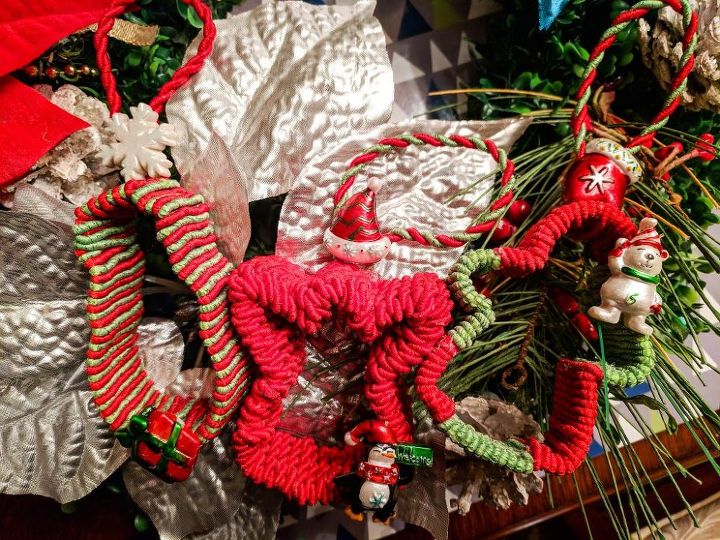
How To Make The Cutest Cookie Cutter Christmas Ornaments
Why buy expensive Christmas ornaments when you can make them yourself? These Cookie Cutter Christmas Ornaments are super cute and easy to make too! The holiday season is always so expensive and when you can save money and have fun making these beautiful ornaments at the same time, it’s a win-win! I know you will love making them as much as I did!
I love making handmade Christmas ornaments. When I get that ah-ha moment with a great idea, I plan out all the items I’ll need to get started. Here’s a small list of things you will need to handcraft these adorable Cookie Cutter Christmas Ornaments! Whether you are making them with the kids, or by yourself, it’s so much fun and so very rewarding too!
All you need to do is wrap the decorative rope around the cookie cutter and then add some decorative holiday embellishments. You can let your creative flag fly high and add some holly or evergreen too! Whatever your creative vision is for these ornaments, they are great fun and always look so beautiful hanging on your tree, added to a Holiday Handmade Wreath, or stage them on your fireplace too!
Cookie Cutter Christmas Ornaments List:
Christmas Cookie Cutters (this Amazon links to 5 piece cookie cutter set for $9.95 that’s perfect to get started with!)
Glitter Twisted Cotton Rope – I used the red and green twisted as well as the red glitter
Glue Gun
Crafting Scissors
Decorative Little Christmas Ornaments for Embellishments
Of course, you can decide the pattern and colors as well as the thickness of the rope you use. I tested one ornament with two strands of rope and liked how it looked but decided to use one strand of rope for the other two as it was easier to wrap around and work with.

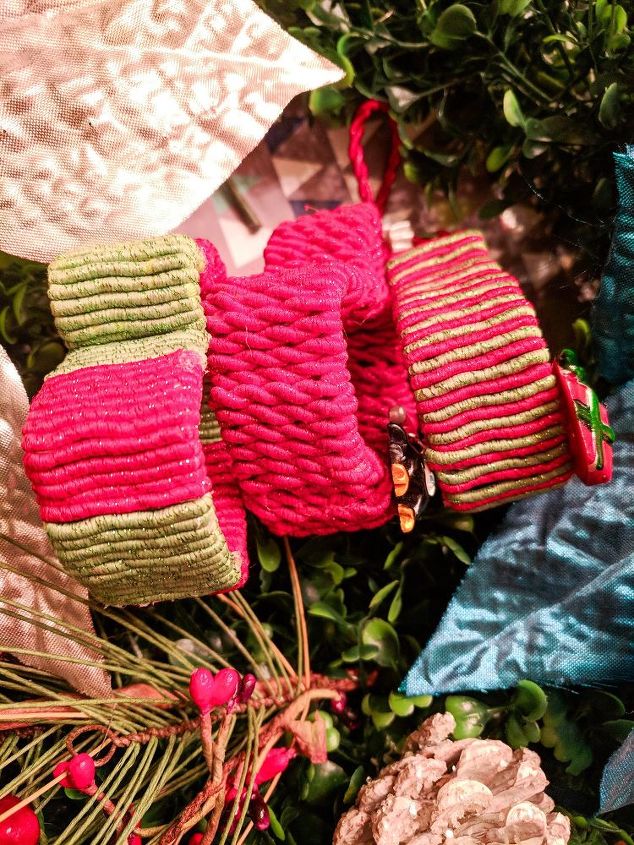
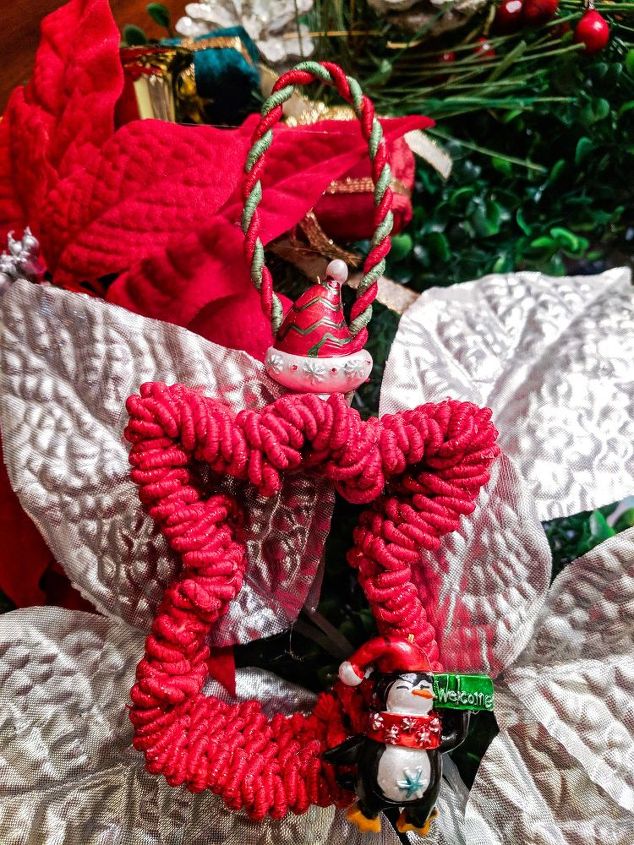
Here’s an example of how the double rope looks when you wrap it around the Christmas Cookie Cutter.
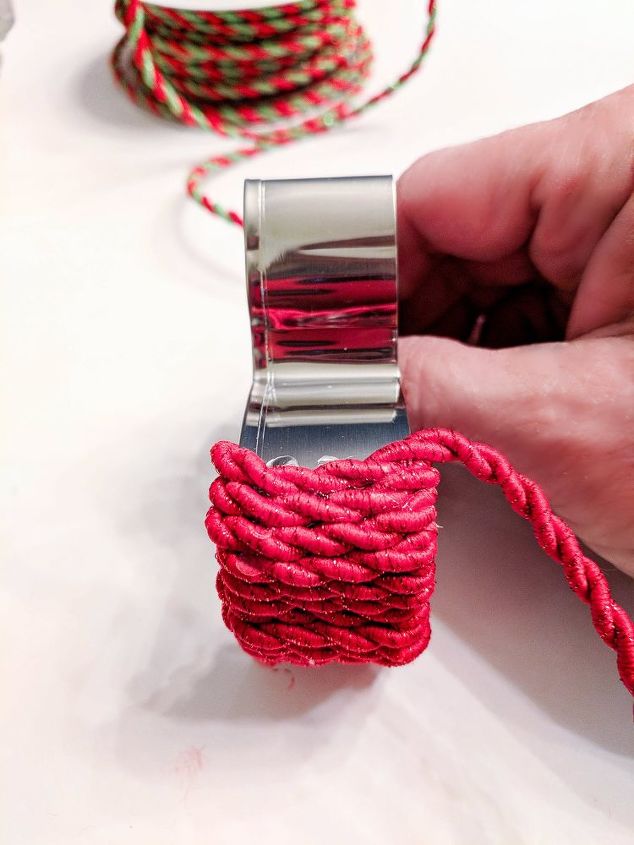
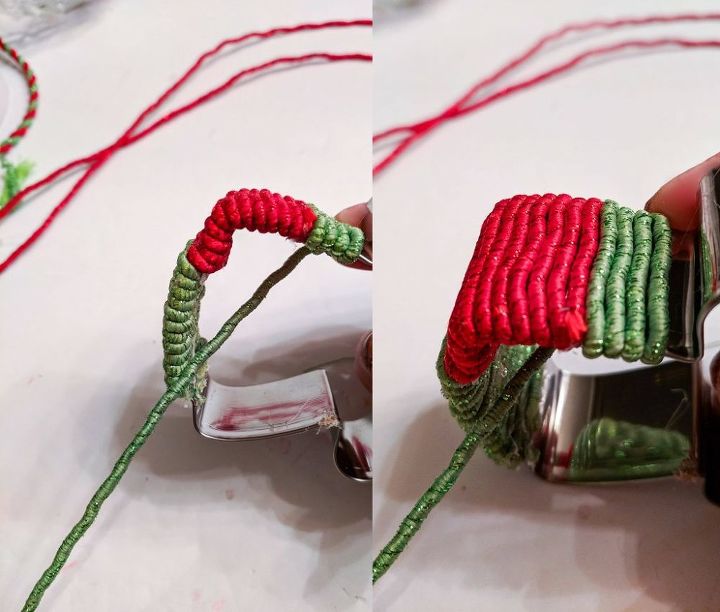
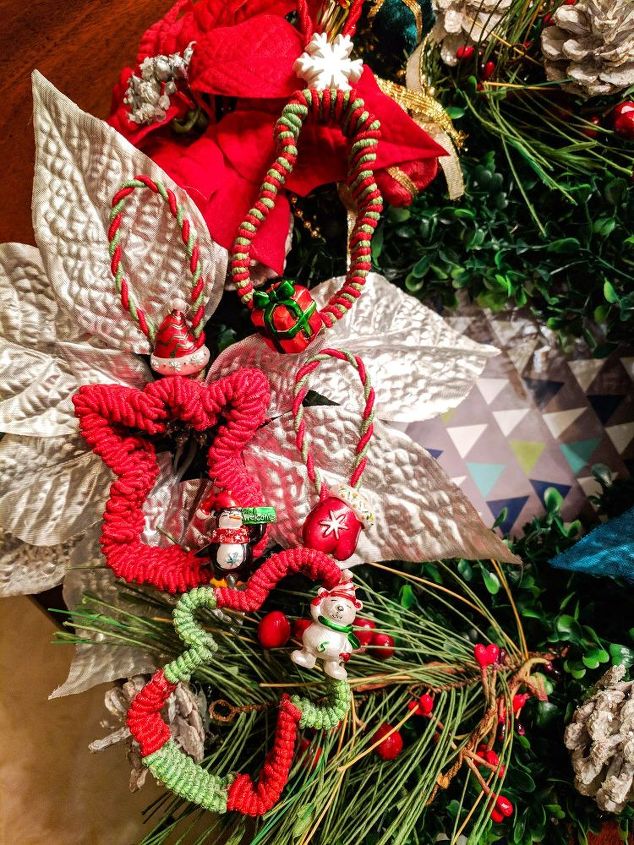
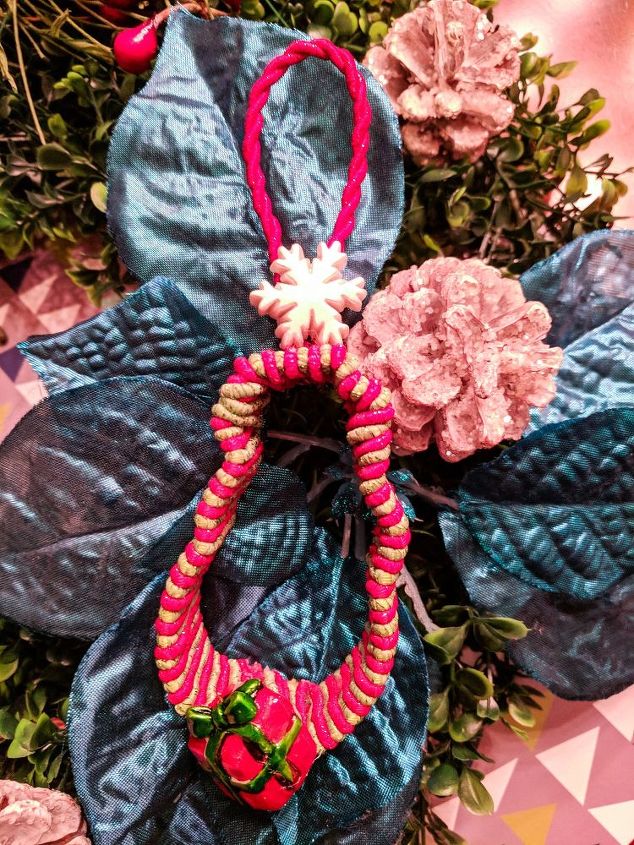
Below, is an example of how the single rope looks. If you have a double rope you can always unravel them and have two stands of single rope. You can alternate colors too! I loved using the red and green alternate pattern as well as the mixed red and green pattern too!
While this Cookie Cutter Christmas Ornaments craft was easy to do, it was a bit time-consuming so be sure to have a few hours scheduled for them. For the three I made, it took roughly about three hours. I do love how they turned out and am going to make more too!
Note: When wrapping the rope around the cookie cutter, try not to use your glue gun too much. Place a lot of pressure when wrapping so the rope stays nice and tight and only use glue for difficult to place edges or when you are ending the wrapping process. You don’t want your Christmas ornaments to be a gluey mess!
Here’s a side view of how they look.
This crafting project is great fun for the whole family too! It’s easy enough for the kids and beautiful for the Christmas tree too! We don’t have our tree up just yet – this weekend we will be getting a new tree which is so exciting. I’ll be sure to share the pics too.
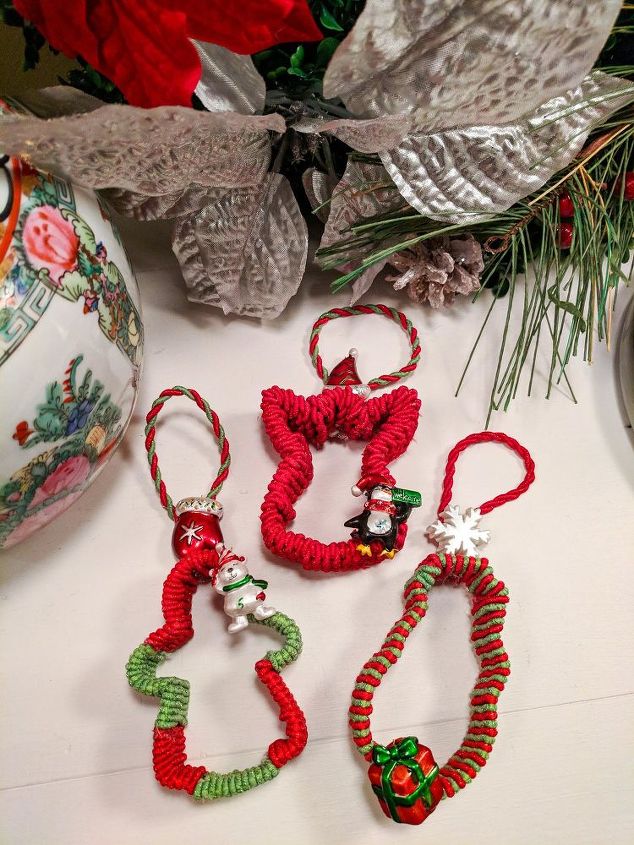
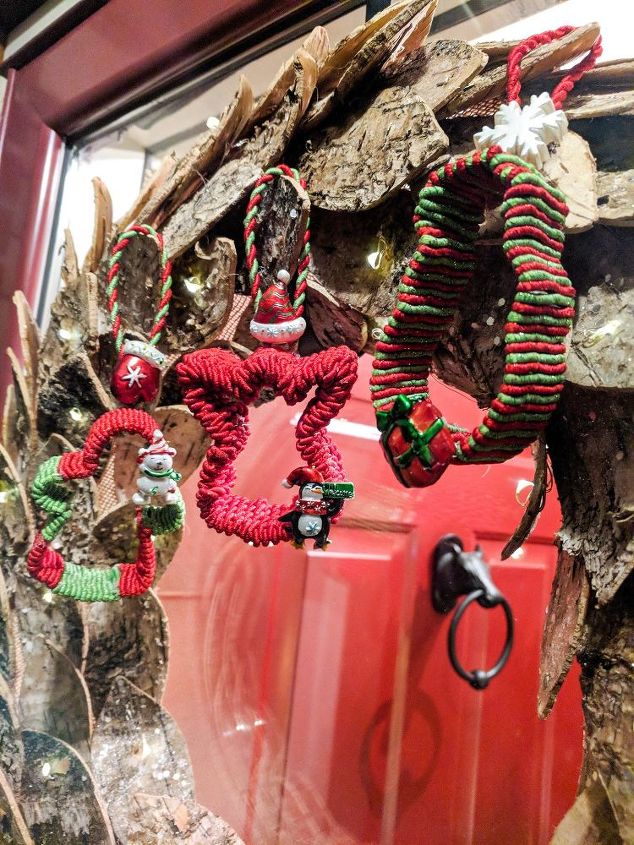
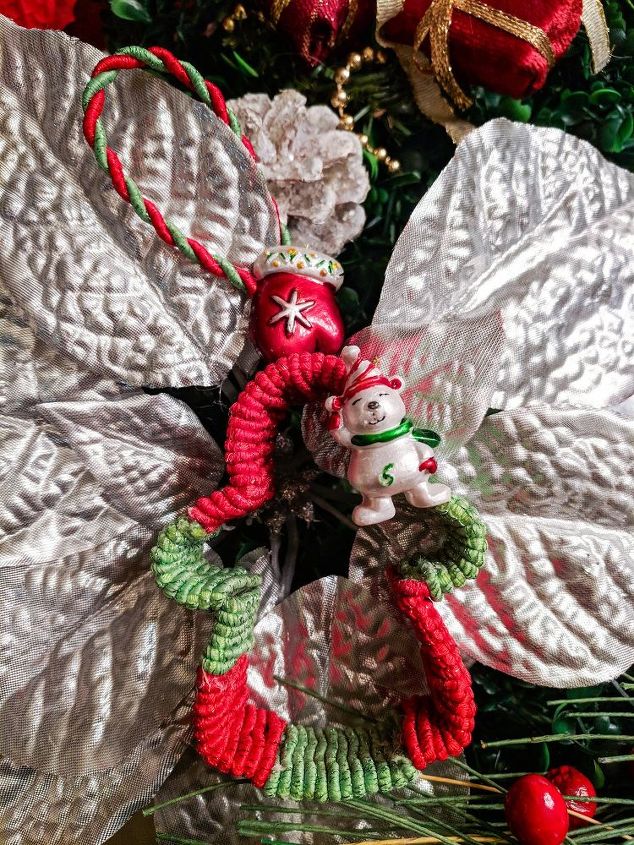
They are perfect to hang from any Christmas element in your home too. To make the loop, it’s simple, all you do is make a loop and use your glue gun to tie the loop’s ends together. Glue it to the back of the ornament and place a decorate element over the base of the loop. Adorable!
Below, is an example of the Gingerbread cookie cutter ornament. Super cute and easy to wrap the cord around too!
Below, is the angel cookie cutter – while it’s a bit more challenging because of the hard edges, I still love it the most!
This is the snowman cookie cutter. Very easy to wrap the cord around and too cute for words!
Don’t you love them? I know I do! Think of the many creative patterns, styles, and colors you can use too!
Please stop by my blog for more images and product details!
I know you will find some inspiration for your projects too. The link to this post can be found below.
I'd love to see you there - please be sure to stop over and say hi! Also, click here to subscribe to my newsletter for emails featuring giveaways, updates, and much more!
Resources for this project:
See all materials


Comments
Join the conversation
-
Hello Sassy, you're so welcome! You're very talented, keep up the great work!
-
Very good idea!


Frequently asked questions
Have a question about this project?