


Homemade Paper in 6 Easy Steps!
Materials:
- Scrap paper (I used newspaper, but you can use junk mail or whatever you have on hand.)
- A blender
- A large, shallow container
- 2 splatter guards
- A dry dish towel (or two)
- A sponge
- Water
- Hair dryer (optional)
Yep, that’s it! Now here’s the process:
STEP ONE
Tear your paper into small pieces.
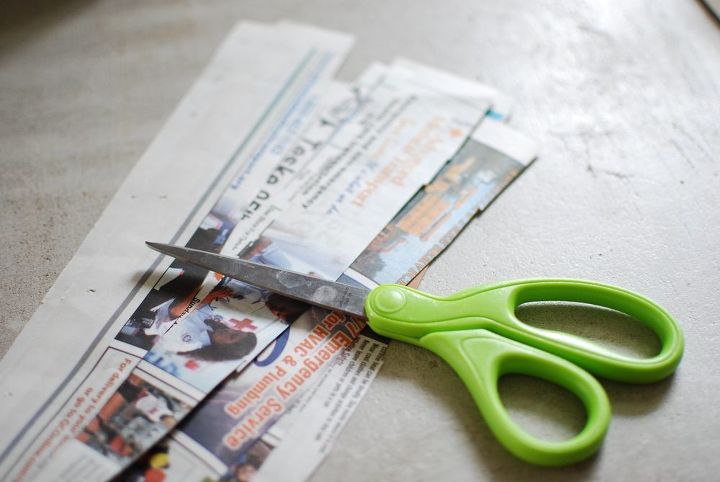
I used a newspaper and cut it up into 2 inch pieces. If you don’t have a newspaper you can use junk mail or whatever you have around the house.
STEP TWO
Blend your paper.
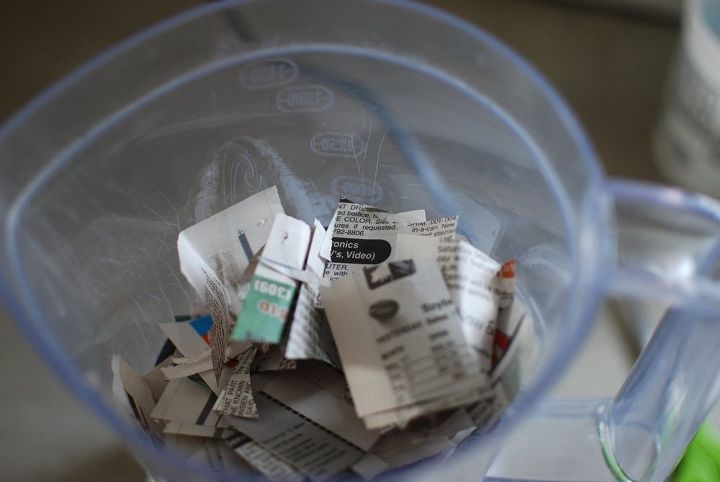
Throw your pieces of paper into the blender, add some hot water (so it’s covering the paper) and let it sit for about 10 minutes.
Then, pulse your paper until you get a slurry mixture.
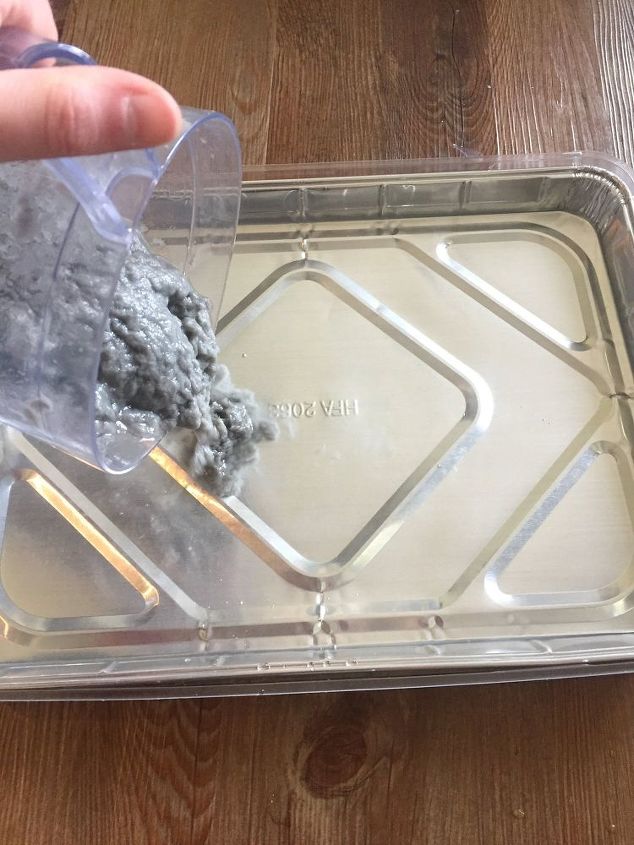
STEP THREE
Pour some clean water and your slurry into the shallow container.
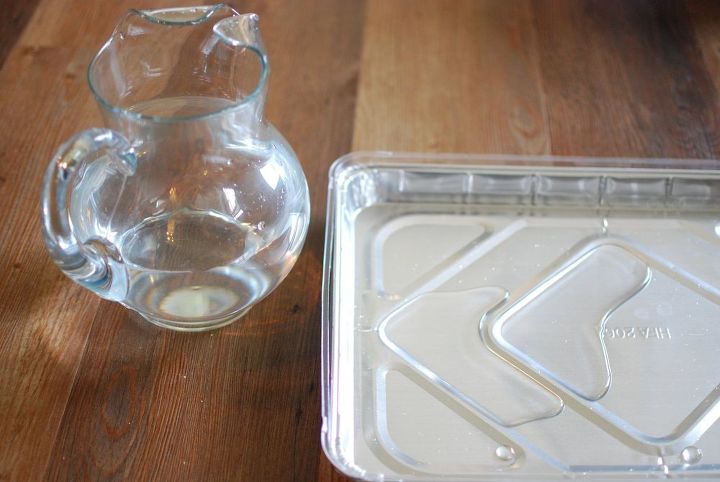
I went to the dollar store and grabbed a large aluminum container for like $2. Add clean water to the container, then pour the slurry mixture in the container as well.
STEP FOUR
Use your splatter guard to ‘catch’ the slurry.
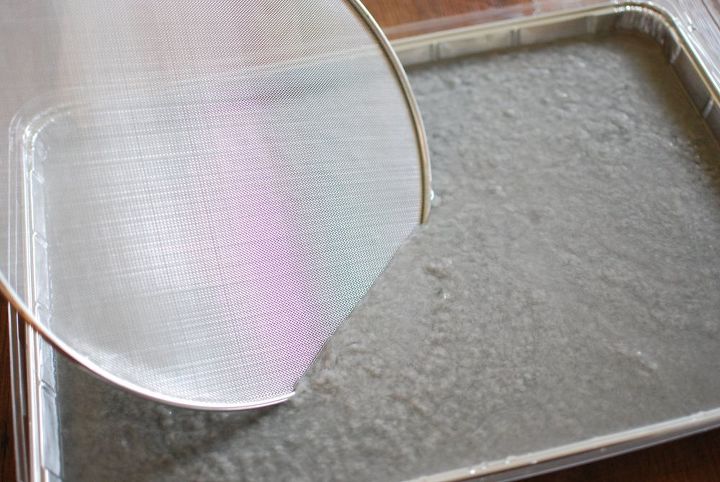
Once the slurry is mixed in with the water, submerge the splatter guard in the mixture and bring it out as level as you can.
I had to try this a few times to get it just right.
**Tip** When I originally did this, I think my slurry was too chunky. So I tried to remove as much as I could and blend it again.
STEP FIVE
Dry the slurry.
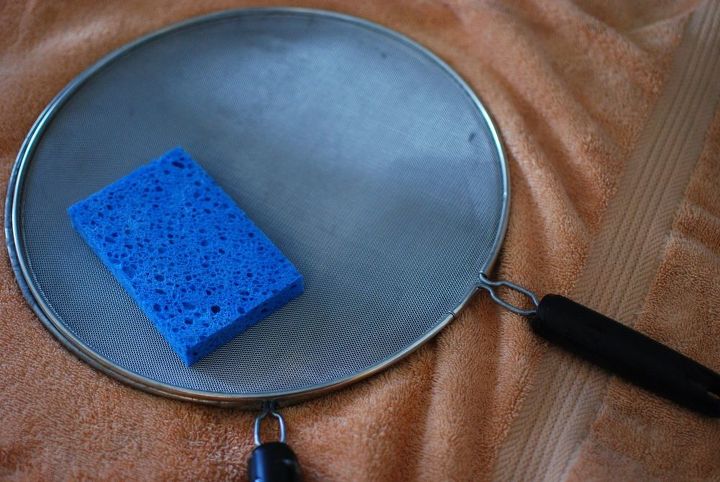
Once your splatter guard is evenly covered, place it on a dry dish towel and put the other splatter guard on top of it. Use a sponge to remove all the extra water.
I was able to squeeze the water out of the sponge while removing as much water as possible from the splatter guard.
STEP SIX
Let it dry/harden.
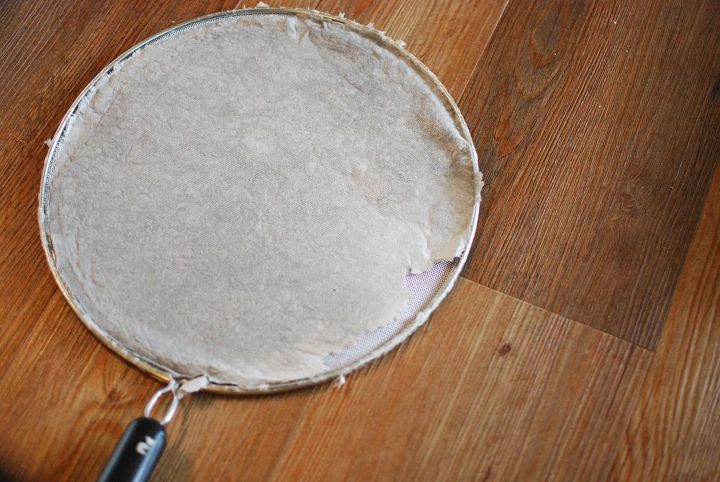
Or, if you’re like me and you’re impatient, use a hair dryer to dry it. If you let it air dry, it will probably take 4 - 6 hours (depending on how thick your paper is). It took roughly 10 minutes to dry with the hair dryer.
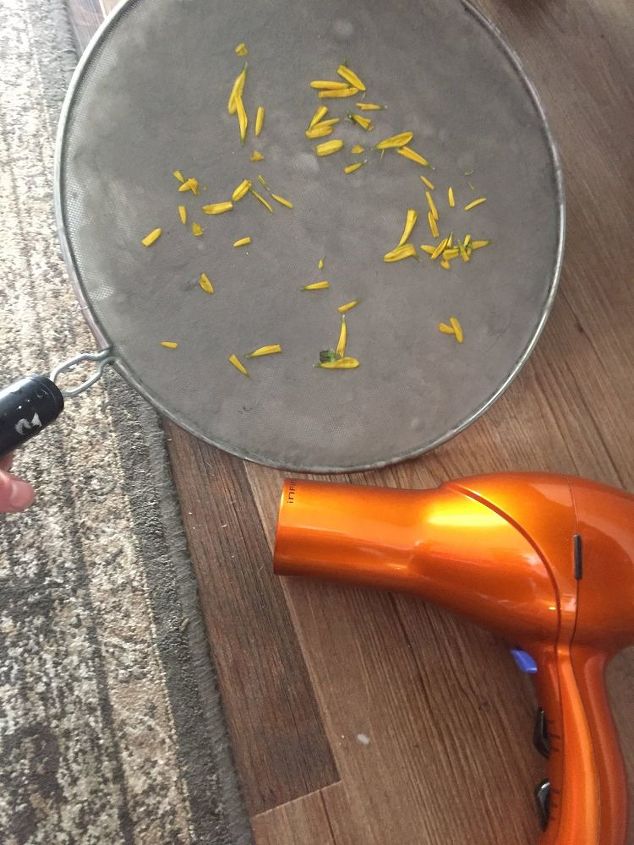
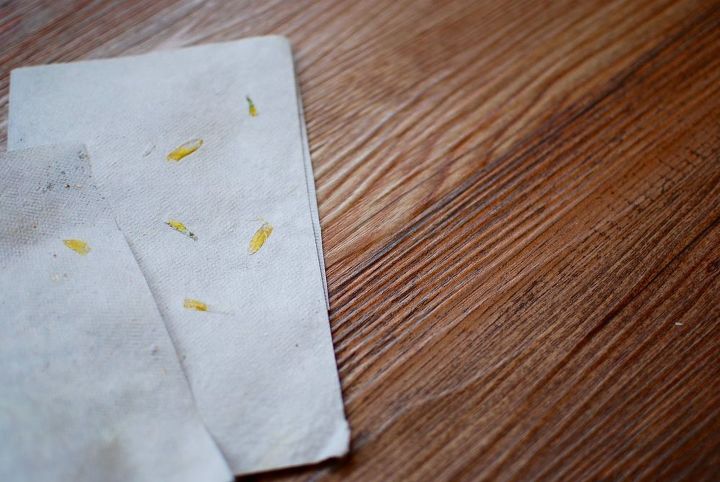
(Note - I tried to add yellow flowers to a few pieces to see if they would dry in the paper. Final verdict - it turned out just okay, you'll see a photo towards the end.)
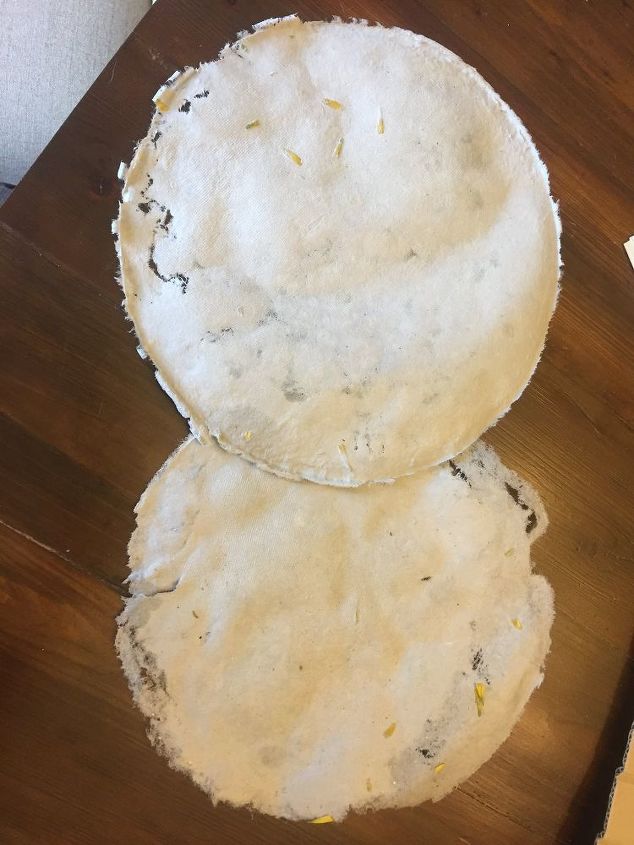
That’s it - simple as that. Since I used a round splatter guard, obviously the paper was round when it dried. I just used some scissors and cut it to the shape I wanted.
Here's the paper cut out in the shape of a card and folded in half (with the flower petals).
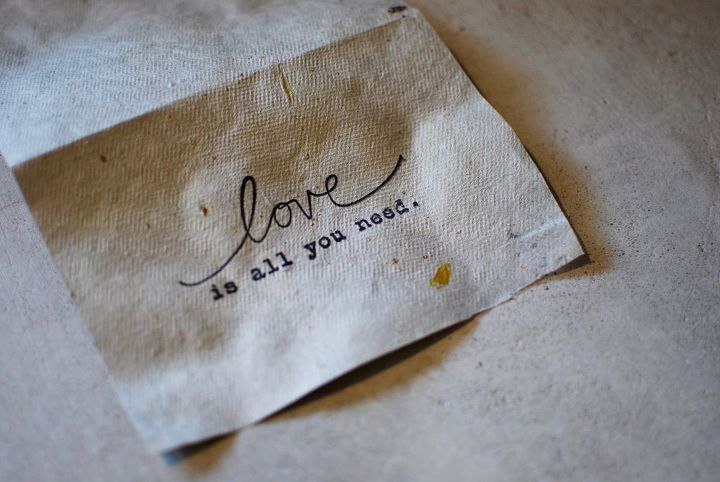
I got a little creative and used my stamps on the paper - I highly recommend doing this!
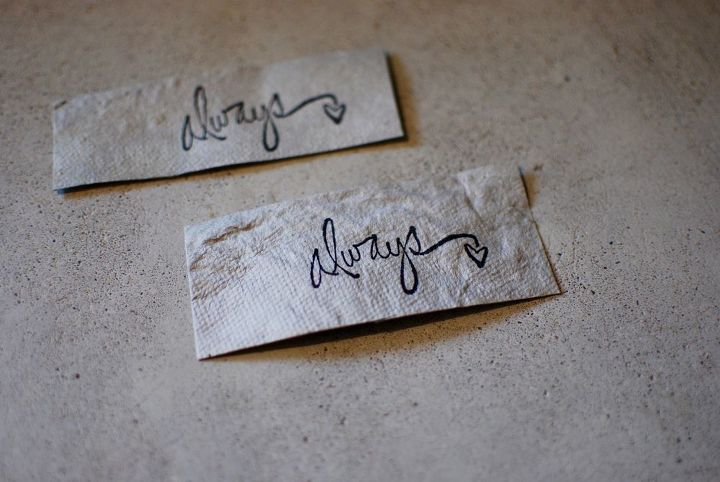
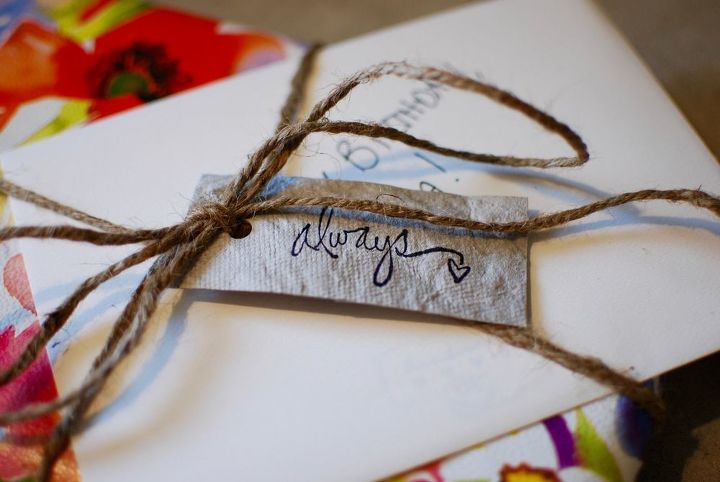
I even made a few gift tags.
Now that I have completed this project, here’s the million dollar question:
What would I do differently?
Head on over to my blog to find out the 3 things I would do differently next time!
www.greywoodmama.com
Resources for this project:
See all materials


Comments
Join the conversation
-
Great product for DYIers, Courtney. I had some concerns shared to me about using my Blender for Food after with possible toxins in the inks used on the paper scraps. So to help ease their minds a bit, I went to garage sales and picked up a couple of really great used but cheap Blenders for my paper craft projects. No worries.
-
I’ve done this using an old window screen. That made larger pieces of paper. I got creative and used color files it took longer to dry but made beautiful colored paper.
Your idea sounds easier for winter months.


Frequently asked questions
Have a question about this project?
In your blog you changed the paper because these look sad? No way! These look antique to me. I love these. Maybe mix the petals with the slurry instead of placing on top? Use larger petals? I cant wait to upcycle some junk mail into this cute idea.