


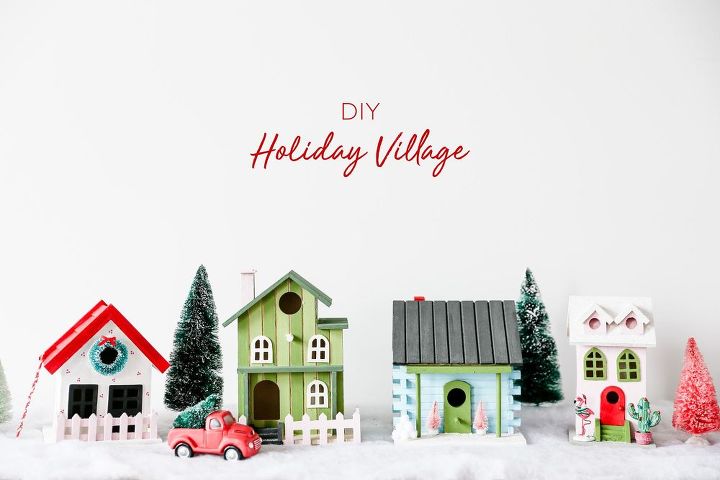
How to Make a DIY Christmas Village

If there’s an award for the cutest holiday DIY project, this adorable village just might be the winner! This project was inspired by my friend Elsie Larson of A Beautiful Mess who made a super cute Halloween village with her daughter Nova. You can check it out her version here. I loved it so much that I decided to create my own version for Christmas!
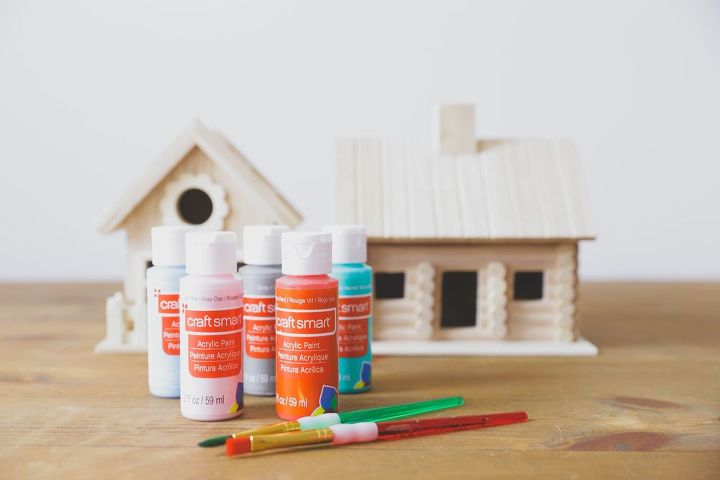
Materials
- Wooden Birdhouses (I got mine at Michael’s on sale for about $5-$7 each)
- Craft Paint
- Artist Paint brushes (get a pack with lots of different sizes and tips)
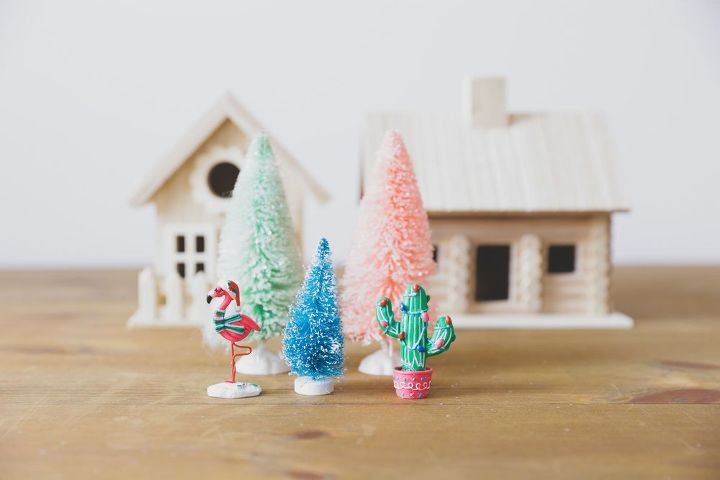
- Bottlebrush Trees
Optional Materials - Glitter (faux snow), Pom Poms (snowballs), Paint Pens, Miniature accessories, snow blanket etc.
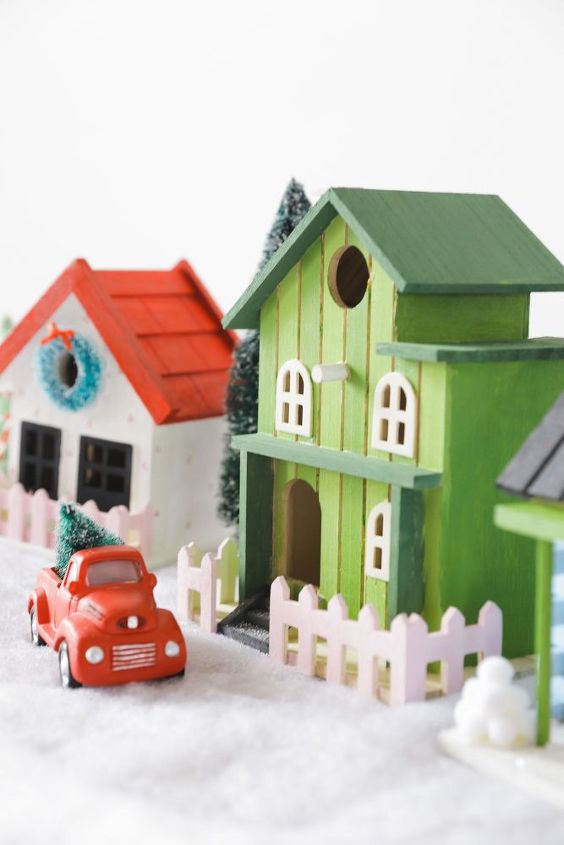
The biggest thing to remember with this Christmas village DIY project is that it doesn’t have to be perfect! The imperfections make these charming. My friend and I spent an evening watching Hallmark Christmas Movies, eating fun snacks, and painting our mini houses.
Tips for painting your DIY Christmas village
- Stick to a basic color scheme to help all the houses have a cohesive feel. We used pink as our unifying color. There’s a little pop of it in each house.
- Clear or white glitter looks awesome as snow. After your paint has dried, use spray adhesive or glue on the roof and sprinkle glitter
- Paint pens work great for adding small details
I’m planning to put my holiday village on my mantle, but it would look great on a dining room buffet or just about anywhere really.
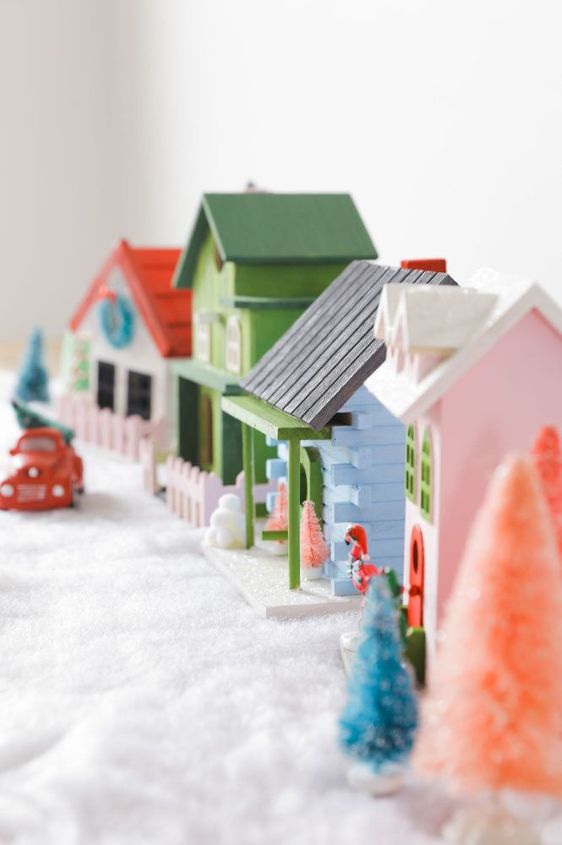
This Christmas village is definitely my favorite holiday project I’ve done in ages- so dang cute!


Frequently asked questions
Have a question about this project?