


Quick and Easy Lighted Christmas Decorations

I love doing crafts and sharing that with my 8 year old Grandson, so with Christmas approaching, I wanted to do something special.
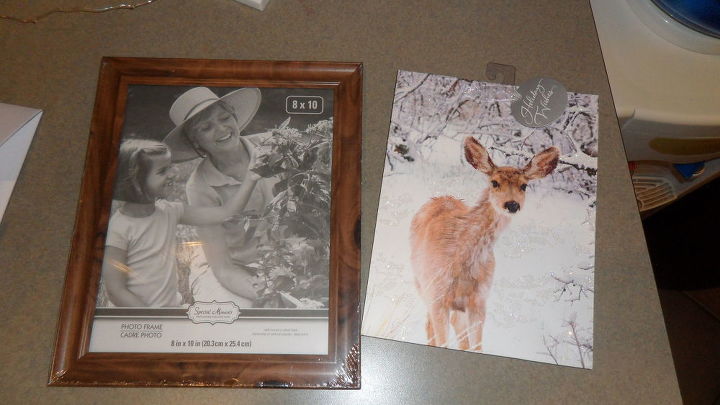
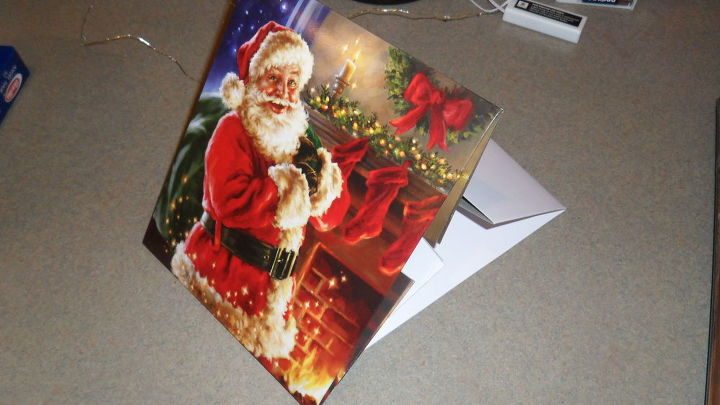
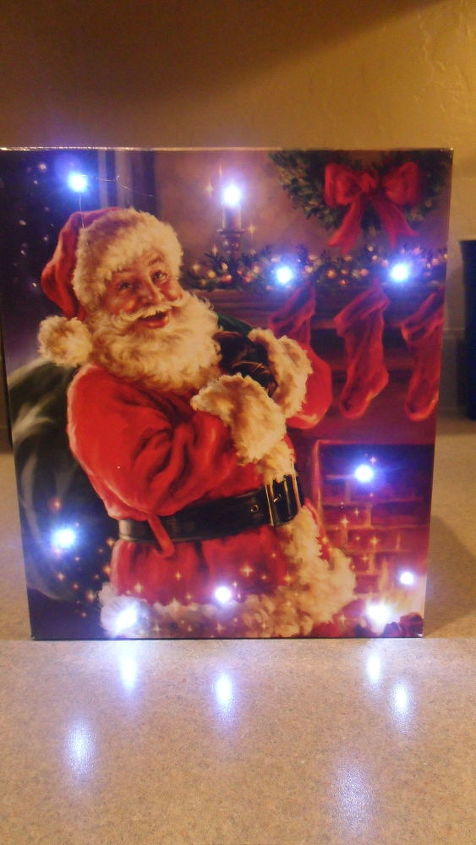
It all started when I found this gorgeous gift bag at Walmart. I love the forest and nature in general, and Christmas is my favorite holiday.  I knew I had to have it and I needed to do some sort of craft with it. You may not be able to see it in the photo, but it has glitter on the snow. I decided to add lights to it and found this frame at Dollar Tree, that was perfect for my project.
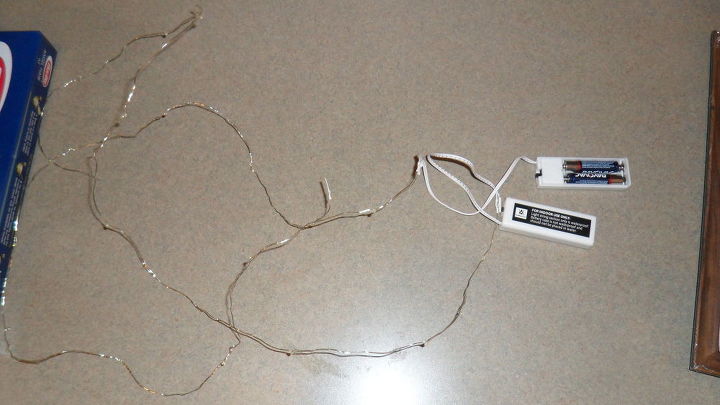
I used one set of these fairy lights.
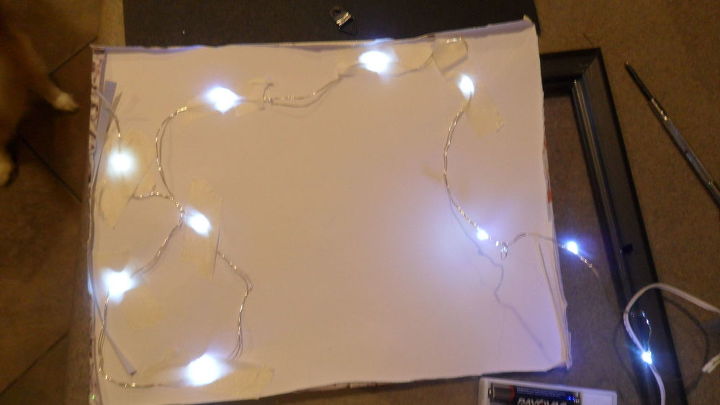
I cut off the front of the bag. I poked holes in it where I wanted the lights and taped the lights over the holes I poked.
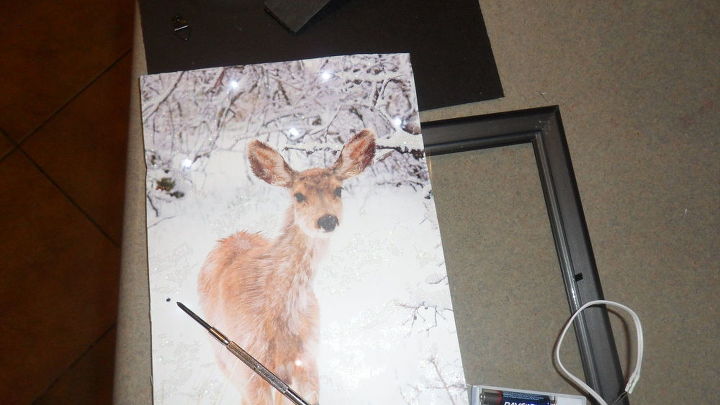
I used a tiny screwdriver to poke the holes. Then all I had to do was frame it. I left the battery pack outside the frame so I could turn the lights on and off.
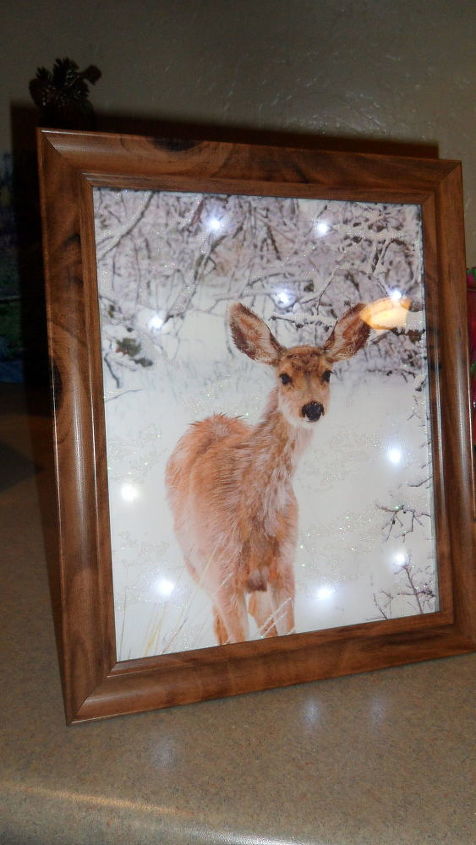
Here is my finished picture. I put it on my desk at work. I love it! 
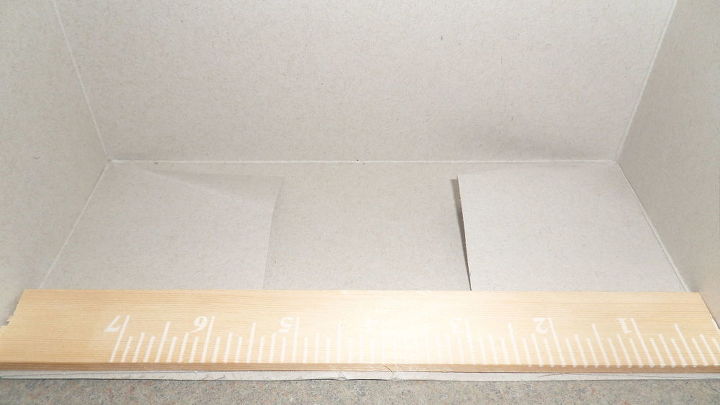
So, for my Grandson, I bought a gift box and used only the lid.

I cut paint stirrers the length of the sides of the box to give it stability....
...and glued them to the insides of the sides.
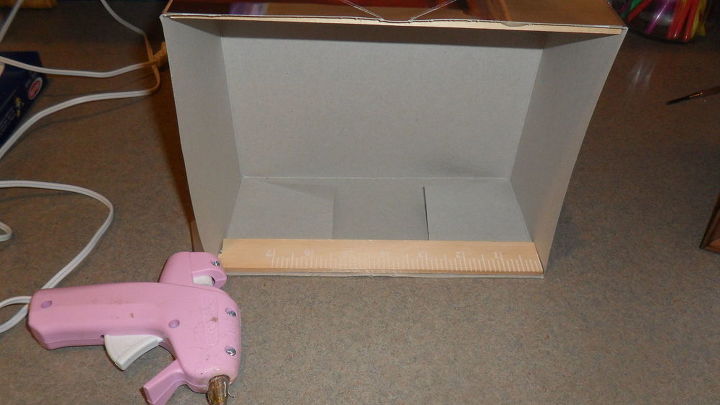
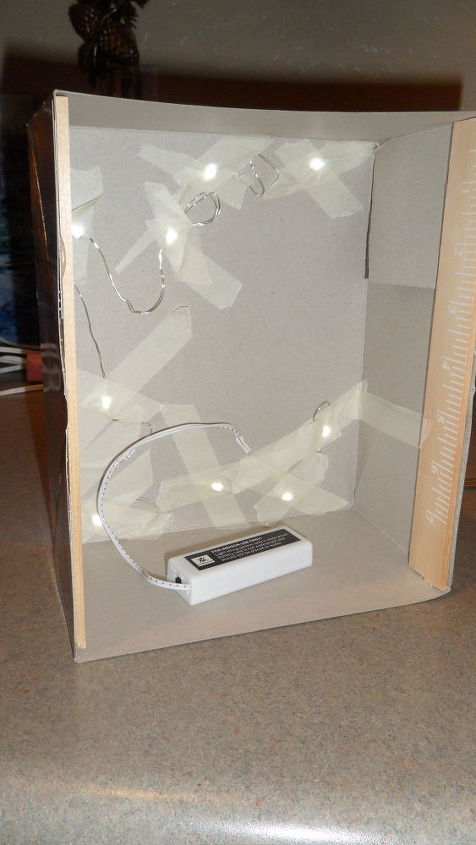
Then used the tiny screwdriver to poke holes in the front of the box lid and taped the lights over the holes. The battery pack sits right in the bottom of the box for easy access.
Here is this one. I was a quick and easy project and good holiday memory maker :) Each one cost about $3.00 to make and took less than half an hour.
Resources for this project:
See all materials


Comments
Join the conversation
-
Thanks William. My grandson has it in his bedroom and turns it when he goes to bed. :)
-
This is another super project! The Santa box is my favorite! The directions are easy for a "non" crafty person like me! Thank you!!


Frequently asked questions
Have a question about this project?