


Give Your Dated Chandelier a Classy New Look
If your home is still sporting 1980s brass this tutorial is for you. Brass chandeliers were the rage in the 70's and 80s and they've actually made a comeback in recent years. But the one hanging over my dining table was NOT one of those new modern beauties. It needed a makeover and it needed it fast. So one morning when I just couldn't take it anymore, I grabbed my decor supply caddy and got to work.
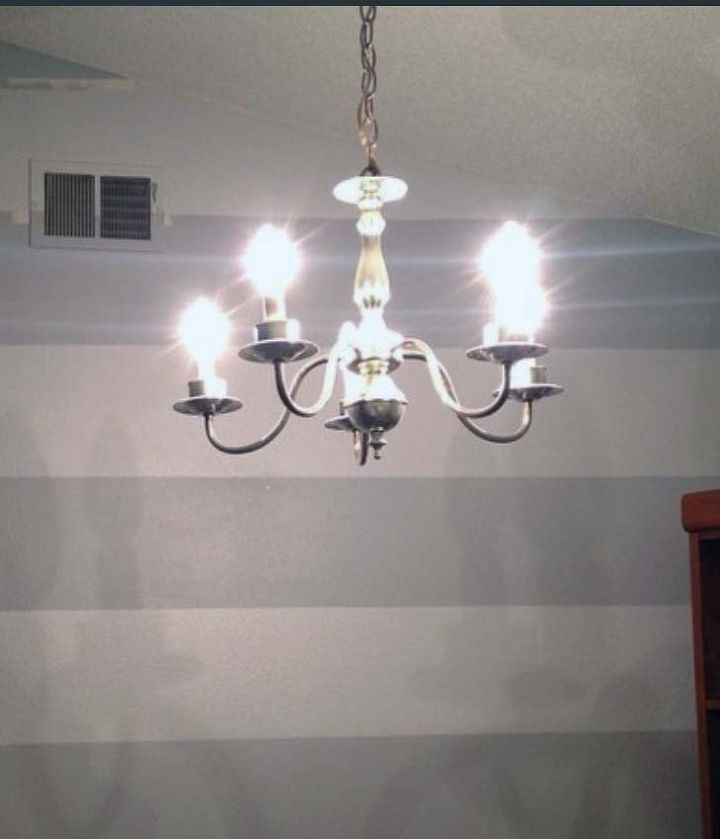
So here's the best before I have. I literally started working on a whim and didn't think to snap a photo. I took this photo while working on painting the stripes on this wall when I started my $200 Budget Dining Room Makeover.
I started by cleaning off all the dust (and there was a LOT of it) using a microfiber cloth.
I DID NOT remove the chandelier--I just climbed a ladder and worked from it.
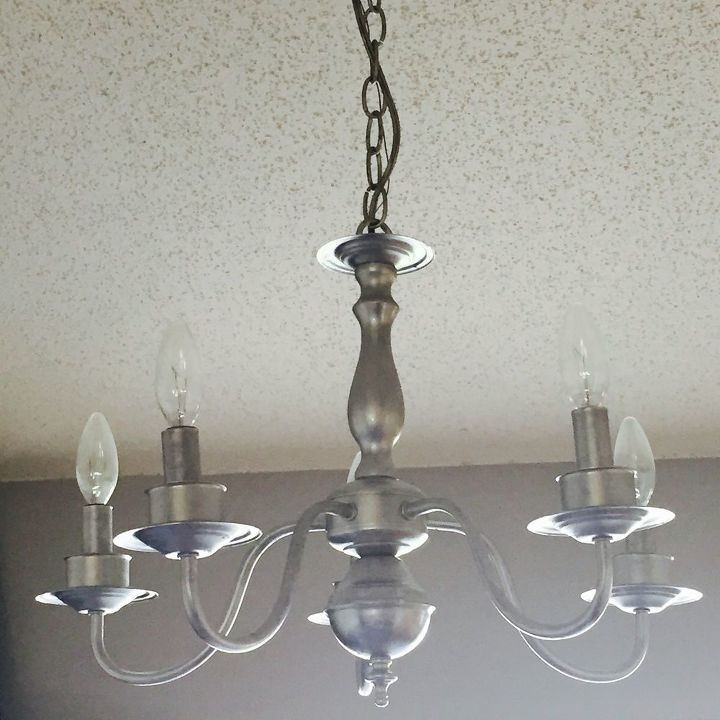
Next, use a paint brush to layer on Rub and Buff. This is waxy oil-based paint that comes in a small tube. A little goes a long way. I used about a quarter of a tube on the entire chandelier. Rub n Buff is available in several colors.
After it dried (about 5 minutes). I wasn't completely satisfied with the look of the chandelier. It lacked character so I dug around in my stash and found some bling.
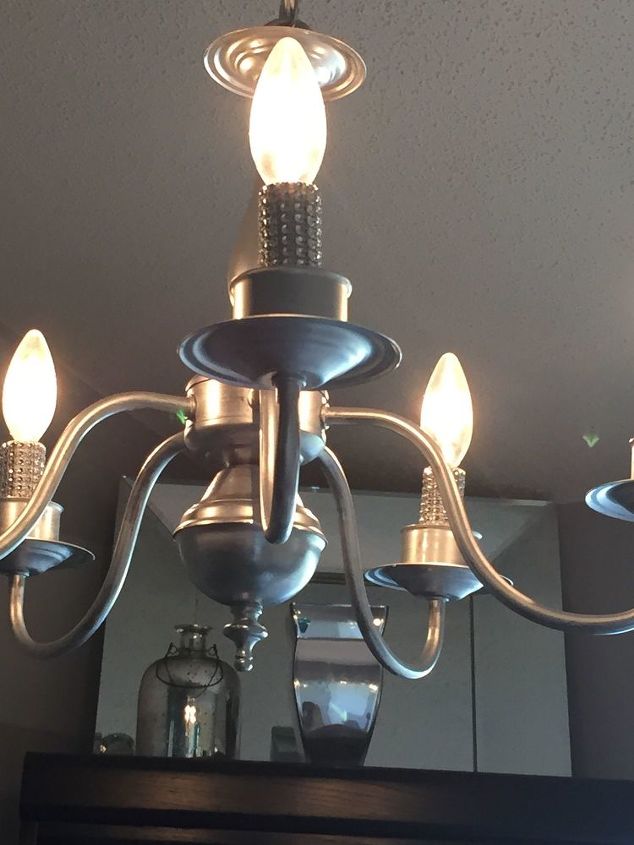
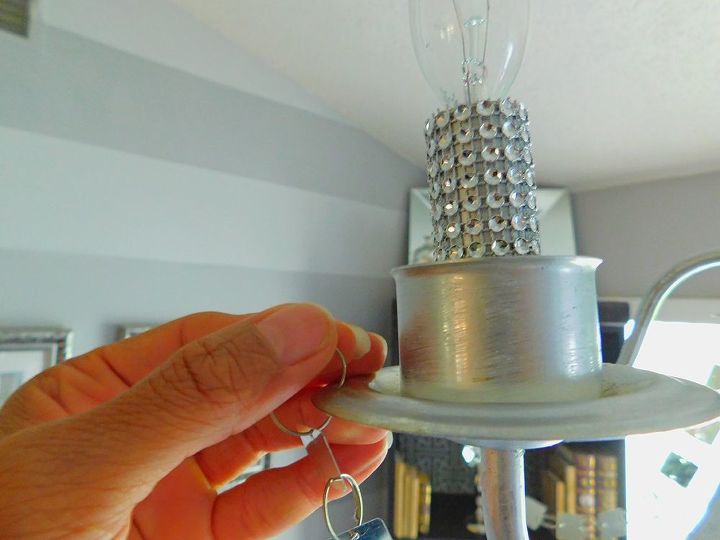
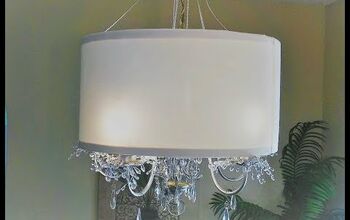
I used cheap fabric mesh and wrapped the base of each light to make them look more like candles.
Then i found leftover crystals I had used from my sister's wedding to swag from the center of the light to each arm.
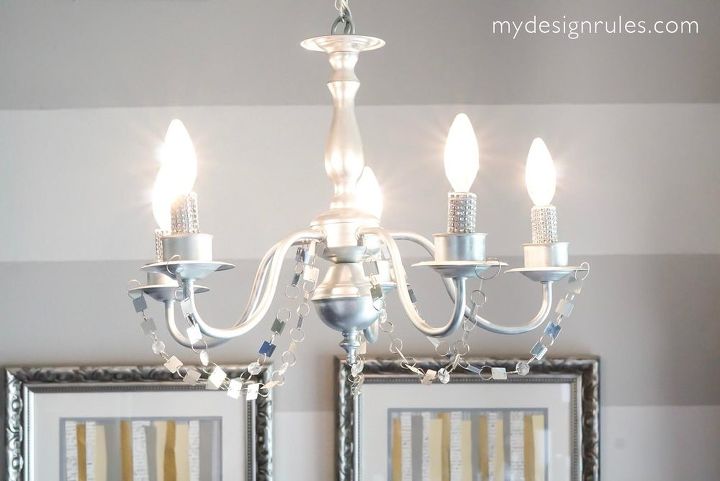
And she's all done! Not a new light but a new look and so much better than the beginning.
This chandelier makeover cost me absolutely nothing because I had all the supplies on hand and it only took about an hour. If you're interested in learning more on how I try to decorate for pennies, Download my mini-ebook: Free Decorating: How to Decorate When You Don't Even Have a Dime.
Resources for this project:
See all materials


Comments
Join the conversation
-
I’m not familiar with Rub n Buff but so excited to see your work. I’ll be on the lookout for Rub n Buff. Thanks for sharing I love your style
-
Love this. I have used Rub n Buff for tiny projects or high lighting never would have imagined for this. Thanks for sharing.


Frequently asked questions
Have a question about this project?
Question.......you have one pic with the chandelier looking black?... thats what i want.... does that paint come in black ?
What color of Rub N Buddy did you use, Pewter or Silver
Do you have to seal this?