


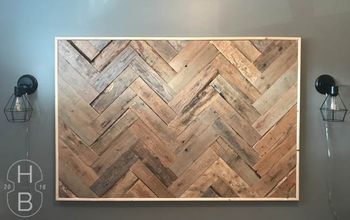
How to Build a Diy Herringbone Headboard With Wood Shims.
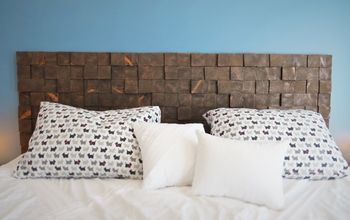
Wifey and I LOVE this headboard.
The textured wood and the visual interest of the herringbone pattern. The cohesiveness of the whole headboard painted white but slightly distressed to call attention to the depth or the slightly variant wood shims. The color contrast of two of our favorites: heirloom white on the headboard and sea salt on the wall. The anti-insect nature of an entire backdrop of cedar.
And all of that elegance for only $119.75 or $81.20 if you have a few basic DIY items already. Interestingly enough, there aren’t that many readily available comparables on the market. Every headboard seems to be tufted / covered in fabric these days.
Restoration Hardware sells a herringbone platform bed & headboard for $2,695. Casual. If they sold the headboard separately, I’d estimate it being at least $1,000.
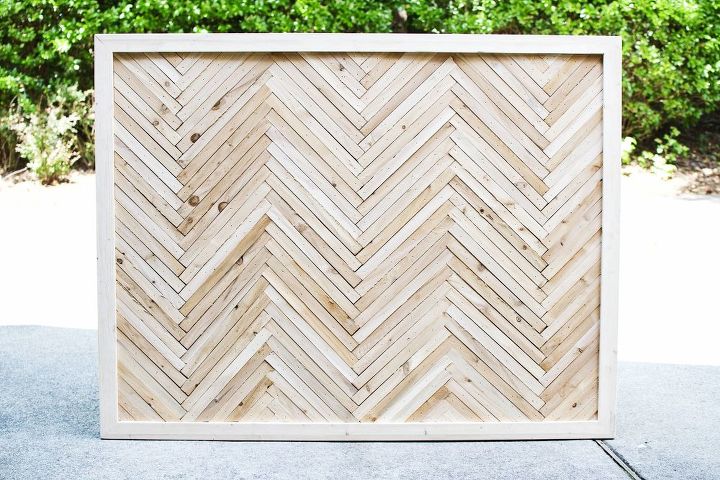
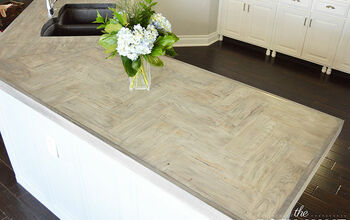
Completed herringbone headboard. See our finishing tutorial unless you like the raw aesthetic.
MEASURE YOUR BED.
Measure the width of your bed. Ours is 60″ wide. Kings are usually 76″. California kings – 72″. Queens – 60″. We added 2″ on either side so the comforter / duvet barely covers the bottom edges of the headboard.
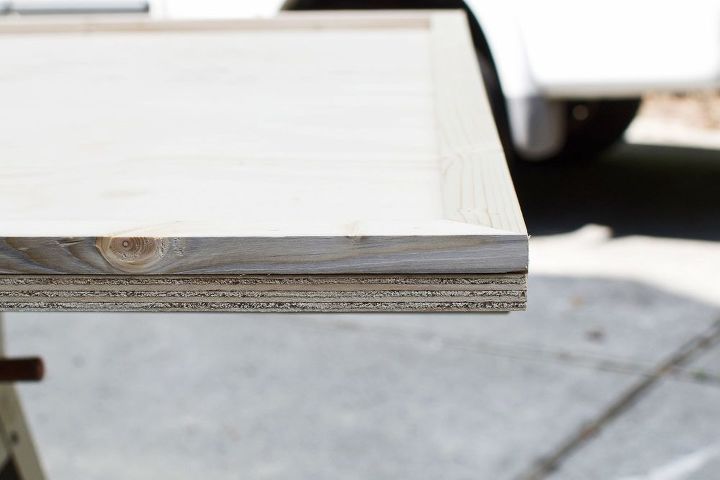
CUT THE PLYWOOD.
If you have a queen bed at 60″ wide, adding 4″ = 64″ headboard that overlaps the mattress, but lines up with the comforter. Then subtract the thickness of your side trim, which is 3/4″ on both sides of the ply. So side trim now totals 1-1/2″. And 64″ end product minus 1-1/2″ side trim = 62-1/2″ plywood.
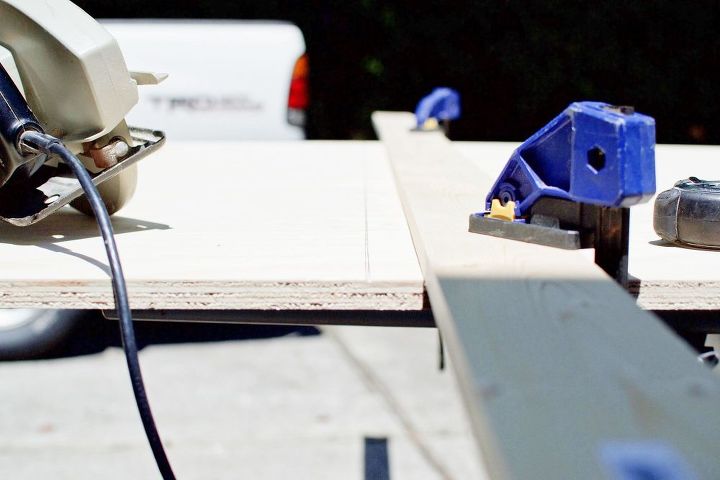
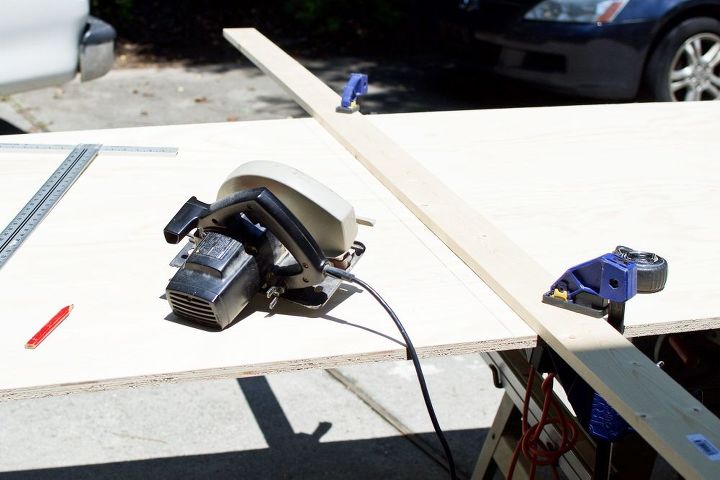
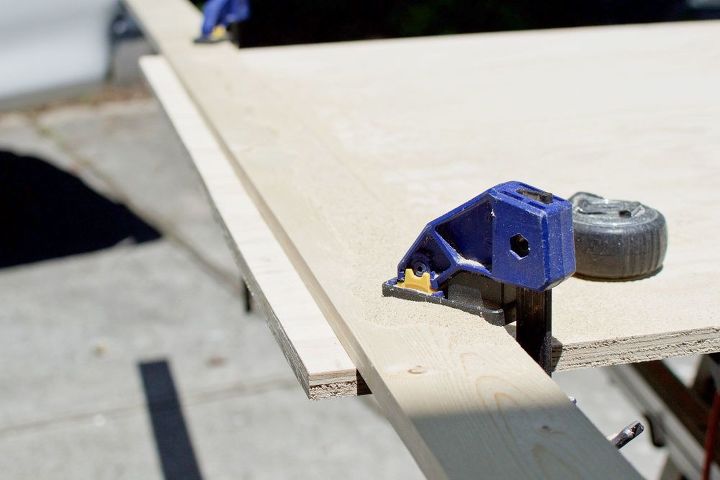
So measure your ply from one edge to 62-1/2″ and mark a line to cup. Then rip it with a table saw. Want to use a circular saw? My table saw fence doesn’t extend that far, so I simply clamped a scrap 1×4 board to the ply as a guide.
Tip: for a circular saw cut, measure the distance between the edge of your blade and the edge of the “shoe” aka the metal plate that your saw sits on as you cut. Then clamp your guide board that exact distance away from the line you drew at 62-1/2″.

No cut list, friend. Here’s why: you need the trim to match your plywood perfectly. The ONLY way to be sure of this is to dry fit measure – where you hold the trim piece on top of the plywood and mark the exact length needed with a pencil, no tape measure required. If you cut all of the pieces up front, you’ll notice minor errors in length that won’t provide tightly mitered joints.
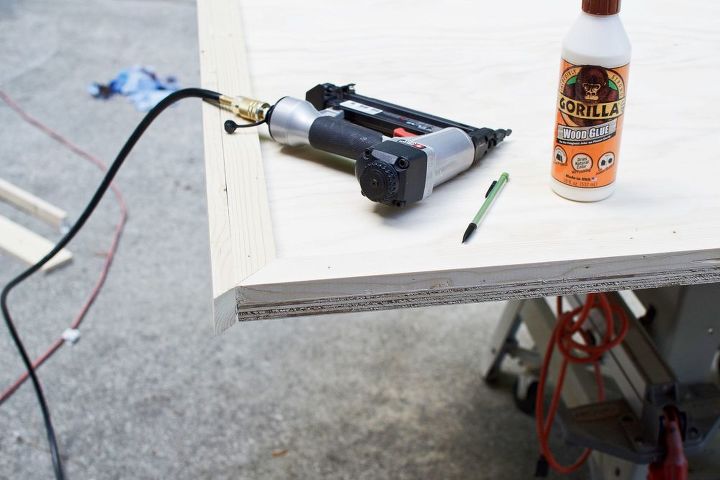
- Fire up your compressor, air lube your brad nail gun, and regulate to about 100 PSI with 1-1/4″ brad nails.
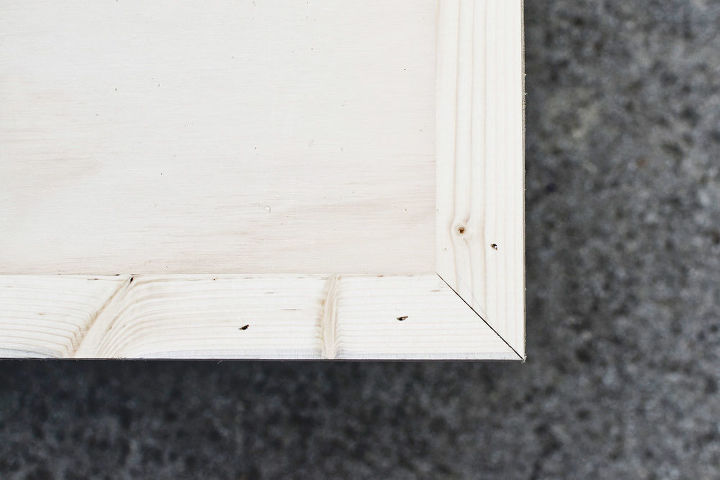
- Make a 45º cut on your first 1x2x8, face side up, only on one end. Place it face up on your plywood, line it up flush with an edge, and make a pencil mark on the underside of the 1x2x8 where it meets the ply. This will be your second cut on the first piece. The line signifies where you will start the mitered cut, NOT end it. Make sure ALL mitered edges are NOT parallel. Think: picture frame.
- Cut the first piece a second time as marked.
- Grab your glue, apply it to the underside of this face trim piece, squish it down, and nail it to the plywood in several places. Ideal to alternate in a zigzag pattern at least every 6″ to 12″. This is not structural. Plus the glue will create a much stronger bond than brad nails ever could. You’re essentially clamping with nails.
- Repeat steps with (3) more pieces of 1x2x8 common board.
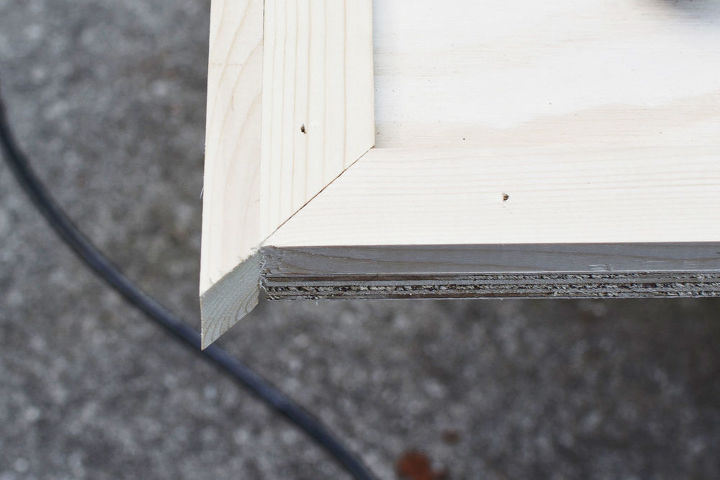
- Make a 45º cut on your next 1x2x8 common board, edge side up. The side trim will wrap the outside of your headboard, touching both the face trim AND the edge of the plywood.
- Dry fit and mark this 1x2x8 at desired length.
- Repeat steps #3 & #4 in the “Cut & install face trim” section. I.e. Cut each piece to fit with mitered ends at 45º, edge side up, NOT parallel. Cut, glue, and nail until all (4) pieces of side trim are installed.
WOOD FILLER THE TRIM CRACKS. SAND EVERYTHING.
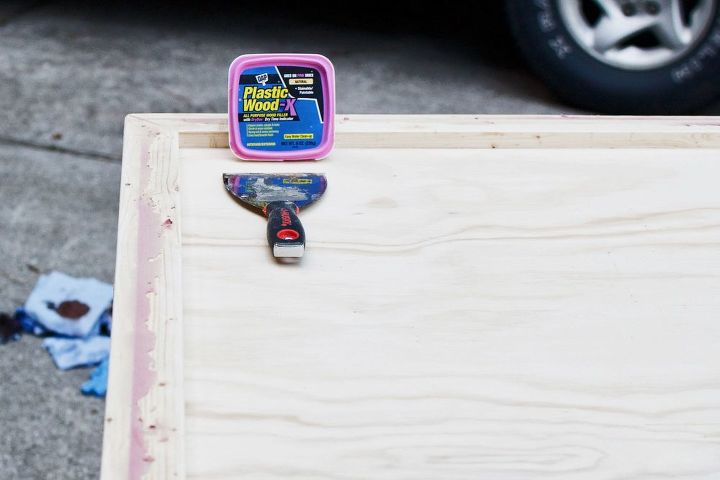
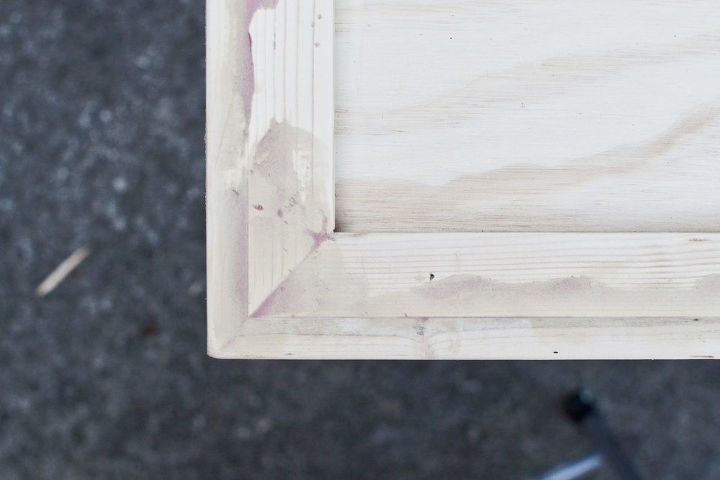
- Take your DAP brand Plastic Wood or any stainable / paintable wood filler, and apply it with a putty knife to the cracks where the face and side trim meet. Feel free to fill in the brad nail holes for a cleaner aesthetic, unless you prefer the distressed vibe.
- Allow the filler to dry for at least 30 minutes. Allot more drying time for deeper holes and cracks.
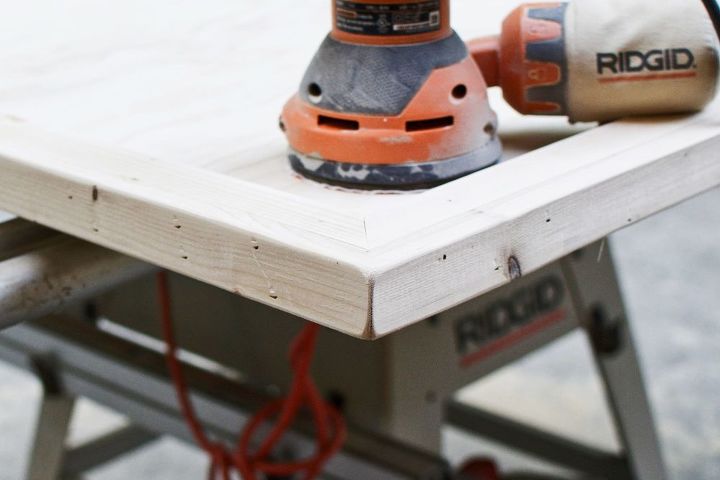
- Sand off all excess dried filler with an orbital sander. Use between 100 to 220 grit sandpaper. The piece is rustic, so a perfect 220 finish isn’t necessary.
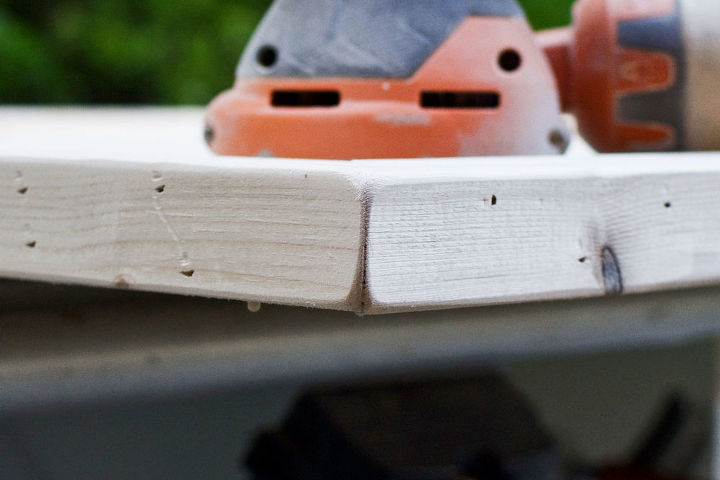
- Sand all sharp edges until slightly rounded to the touch. The back and front of the side trim, the inner edge of the face trim, the corners, etc.
- Hand sand the face trim / side trim joints with your 100 grit. The orbital won’t sufficiently remove all dried filler in divots and dips. Hand sanding will.
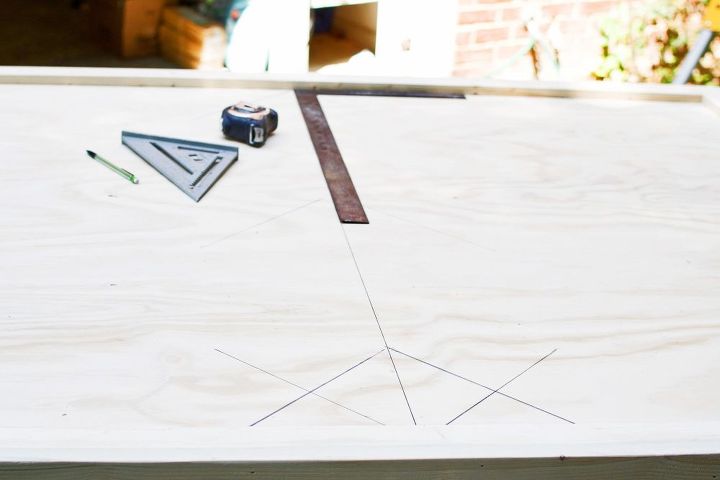
- Before installing the shims, you need to draw a grid for ease of symmetry. Draw a line down the center of the plywood with the help of your tape measure and carpenter square.
- Use your angled square to draw a 45º “V” shape at the very top of the ply as a guide for your first two shims.
- Dry fit as many shims as necessary to determine where you want to start and finish. I’d recommend starting with the highest full-length pieces in a “V”.
CUSTOM CUT & INSTALL YOUR SHIMS.
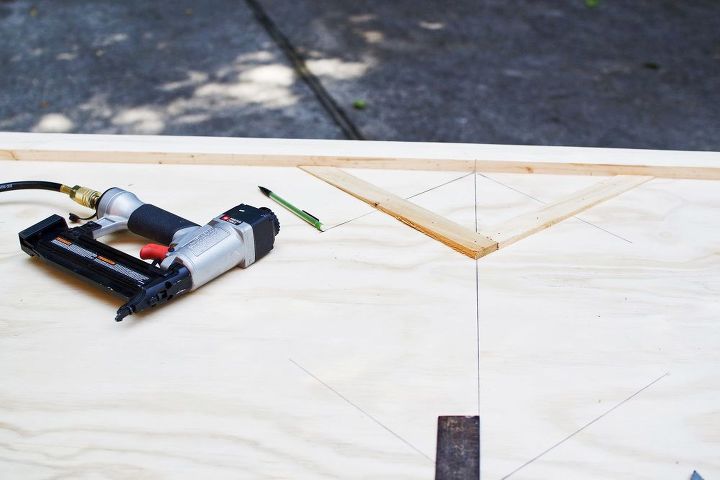
- Start at the top of the ply. Load your nail gun with 3/4″ brad nails. No longer or else they will poke through the back of the ply. Adjust your regulated pressure to 80 PSI and your nail depth to much more shallow. Use (2) scrap pieces to assess the actual depth the nail after nailed in. Readjust your settings as necessary.
- Install the first two shims in a “V” formation, at a perfect 45º angle (having used the angled square). Fill the center with shims until you need to make mitered cuts.
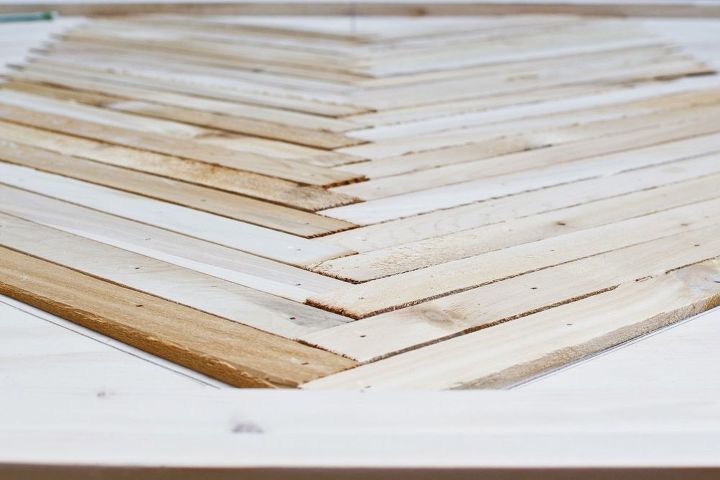
- You’ll likely notice enough room for another “V” on either side of the center “V” for a total of 3. Install an offshoot from the center “V” using your angled square to assess for 45º. Then measure the distance to the face trim and draw a straight line all the way down each side of the ply. This will provide a guide for your second and third “V”.
- Miter all shims as needed, always assessing for symmetry before starting a new row.

When complete, check out our finishing tutorial!
Resources for this project:
See all materials


Comments
Join the conversation
-
Wow, this is stunning!
-
This is beautiful!! WOW!


Frequently asked questions
Have a question about this project?