How do I transition between two luxury vinyl floors?
by
Rebecca
+2
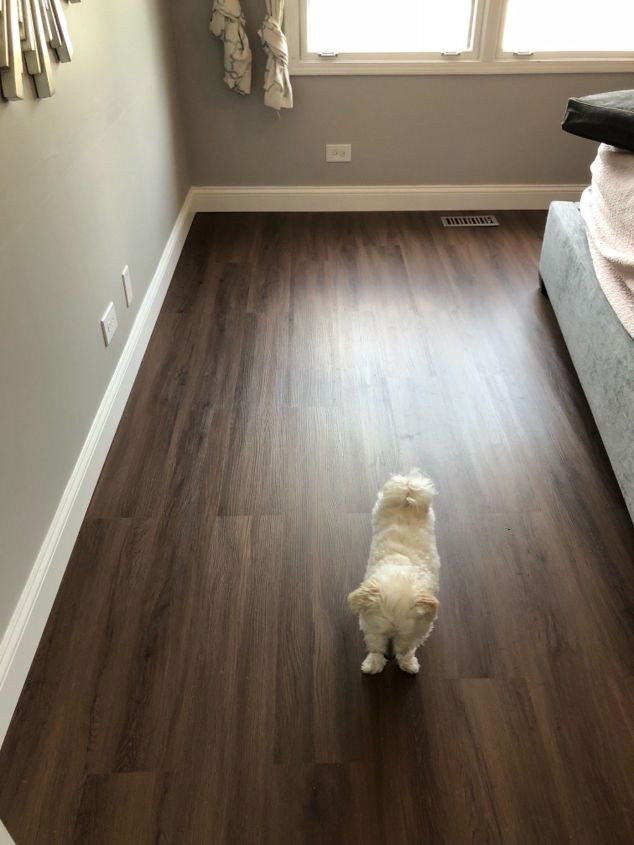
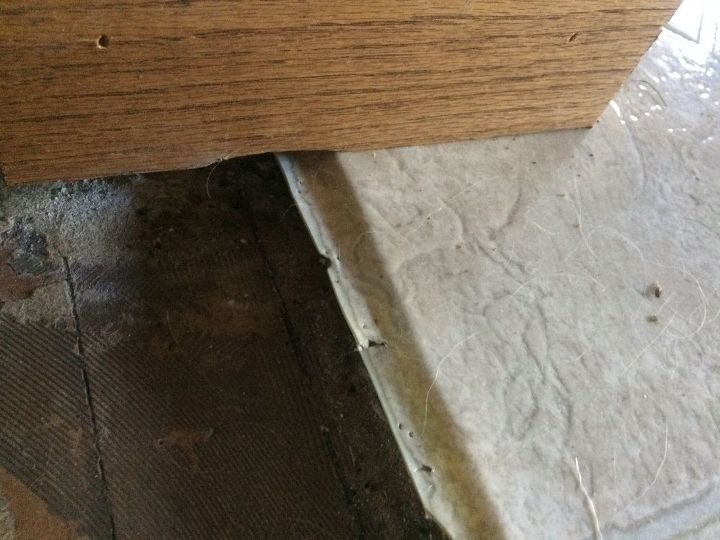
The vinyl floor will run in different directions. I don’t know how to transition between them. Very thin flooring and laid on concrete floors, so nailing or screwing a transition strip would not work.
Related Discussions
Suggested Project Book

Rebecca: Maybe you could use an area rug.
I would just make it a straight line transition between the two. no transition strip necessary.
Rebecca, You need to Consider
A. Cutting a Mosaic to create a Crossover between the two
B. Borderings
C. Other Transitional Area
D. Designated Areas
This is somewhat Standard and Often observible in Many Schools, Hospitals and Universities. These are Old Buildings and often integrate School Color with a Checkered Pattern at a Corner or other Designated Areas as Halls or Stairs.
Same applies here to you: you need to create your own unique transition area design.
It does not need to be a complex pattern, nor fancy but it does need to Blend the two colors to prioritize a trick on the eyeballs, that makes the transition plain as:
Planned in the Design
Rather than by Consequence, Shortcoming or by Pratfall such as: Running out of Tile or Measurement Difficulty.
Explanation
This Scenario is sorta backwards of the Scenario thatcoften observes as common to older homes: 'Built In Cabinets or Chimneys may when protruding inevenly arise a necessity or preference to Start Tile from the 2° Lean at the Cabinets rather than from the 4, 6 or 9 tile Center of the Room as measured from the corner to Corner'
Whether you resist that temptation or not you are doomed if you did not design a Transition Area.
Overcoming This achieves by: Measurement from Center to the Edge, effects Measuring the tiles or sheet vinyl too, that deciding a Border Width is Eased per necessity to Negotiate a 'Center to the Eyes' by designing a Transition Area.
On that scenario alike your Scenario, what plays out is a Negotiated 'Center to the Eye' is Priority to Get to after beginning at the edges, more than starting at an Actual Center is Priority when using Tile.
Using Sheet Linoleum or Vinyl makes it less work than Tile because: you need Not Place all the Individual tiles at a Very Specific Degree of Rotation.
It is Not by Any Means Easy to use Tile instead of Sheet but worth it when you see the results that Tile around a Sheet can effectively do to craft a Transition Area.
Thus I recommend that you
A. Buy some tile to finish this job off, Quick.
B. Integrate a Common Color in your tile Selection.
How this Works...
Work? It doesn't. It makeshifts and offsets because Working Condition is outside the boundaries of Expectation.
It is easy to do those Nonsquared away by just going to the edge and lying the tile Straight like a checkerboard.
Few women like Human Chess in the Kitchen rather than the Gameroom.
Most prefer angled tile, so I detail that below.
'How did I get Here', you may ask like a Talking Head
This is your key problem: You needed to Negotiate your Center from the beginning, and really should have bought tile, but didn't know how to go about that or just came across a Snafu that the Failure to Negotiate a Center Sooner plainly Caused.
It is not an Error of the Installer, Necessity to Negotiate is caused usually by a Foundational Wall Shift and Home Settling onsets that the Area is no longer Square.
It is a Myth that Sheet is easier in Nonsquare.
You are yet dealing with An Area No Longer Square.
Once the Area is no longer Square, if you do not negotiate the center, be that tile or sheet, you are in for alot of work with blades cutting.
Integrating an offset
Rarely can you create a Transition Area by using the most straightforward angles of 45°, 90°, 135°, 180°.
So, you play a trick on the eye by 45+O° or 22.5+O° as the Angle of Offset=O negotiates where that installation begins essential to securing a Negotiated Center is Reached, and yes rather than the Toolless Job at 0° you do need to use a Protractor to do this Right If you are preferring to use an Angle rather than Align the Tile to a Checkered Edge.
Cutting your edge Tile First to create a Look like you began in the Center to get that Perfect Alignment to the Cabinets is the Difficult Part, (as You to get here, either didn't start at the Center and/or really couldn't because you needed to Negotiate the Center), but once you place 15 tiles it all snaps together no matter how you turn thst first Tile.
The reasons? Square feet is Square feet. The Angle of the tile at the Edge will always be identical to the Angle of the Same Sized Tile placed at the Center.
Thus usually what occurs, to Negotiate that Center you place a Border Trim of Vinyl Tile that Effects a Transition to an area that Is indeed Square.
Once you got that Squared away, the rest is a Breeze.
Color #3 or #2 as the Bordering around the built ins (as Cabinets) and that Border Tile differs in
A. Width if it is of same color, White of Black
B. Alignment to the Cut Tiles of Linoleum or Vinyl if it is of a Contrast Color Used for Edging.
from the Negotiated Center involved Tile.
Because: Negotiated Center is Always Measured from the End of the Borders at the Edges of the Room to the Center not from Corner to Corner.
In Summary
Because you didn't Negotiate the Center you now need to consider options as Special Effects that Distract the Eye from that Negotiation you will end up with anyway by the Incorporation of an Optical Illusion in the Transition Area.
Among your easier [and most compliant with Modern Devices like Robotic Vacuums] options is: Create a Runner Segment, just like Runner Carpets that creates a Wide Rectangular Area of Color #3 that Designates a Walkway and Flow from one room to the next.
Whether you tile that at an Angle or not, the Angle of the Center will always be the Angle at the Edge. This Angle should Always be: the Angle that involves the least Amount of cutting.
This however, is indeed alot of worthwhile preperation that precedes less work in cutting plus includes all of the duties essential to create that transition area.
You could always ask that question at your local home improvement center, they may have the kind of transition strip you could use, or they may know of a way to use glue of some type to hold the transition strip in place.
Thanks for all the good ideas. I think I will go with the straight line transition. I’ll let you know how it goes.