


Flea-market Sconces With Solar Lights for Porch
I eagerly awaited nightfall yesterday so that I could see our new solar porch lights glow for the first time. It was worth the wait! I've rated this project "medium", however, these were pretty darn easy. The difficulty may be in modifying your pieces for the same results if you use different lights and sconces. Also, be sure to get help in hanging these if you don't "do" ladders. Safety is the most important step!
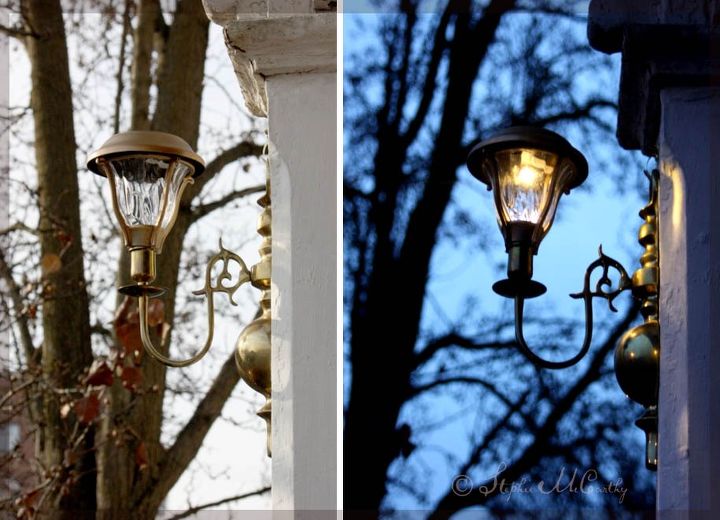
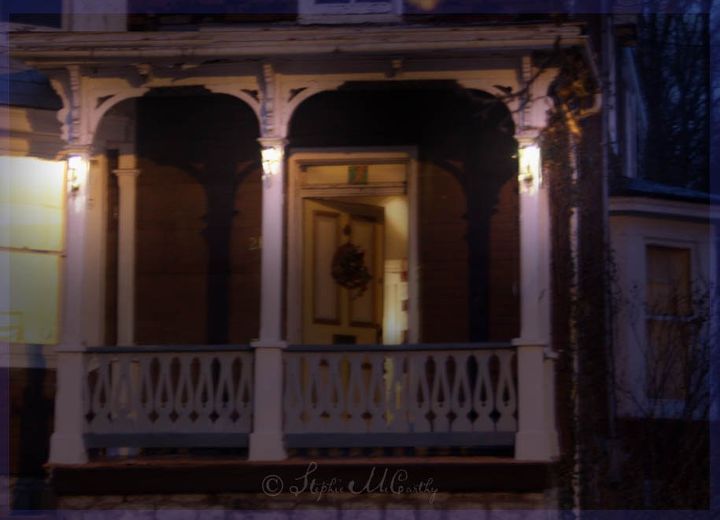
Here they are, married together, vintage brass sconces and solar lights on the front porch of our 200-year-old house. No wiring necessary! These are Colonial in styling, but many styles would look great on more modern homes. We got a great deal on our Hampton Bay solar lights … 6 for just $18. They were sold as "Bronze" but that refers to the color. These are a heavy-duty plastic.
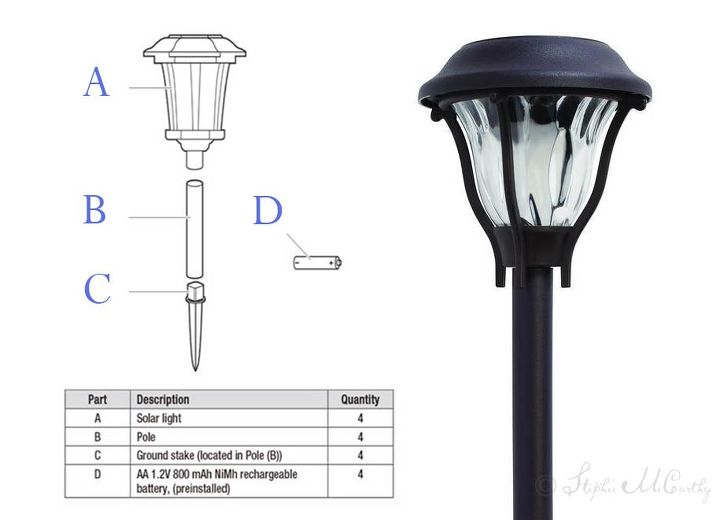
Here's a diagram of a typical solar light meant for staking into the ground. We used the top part A, and the battery part D. Parts B and C were set aside and not used for this project.
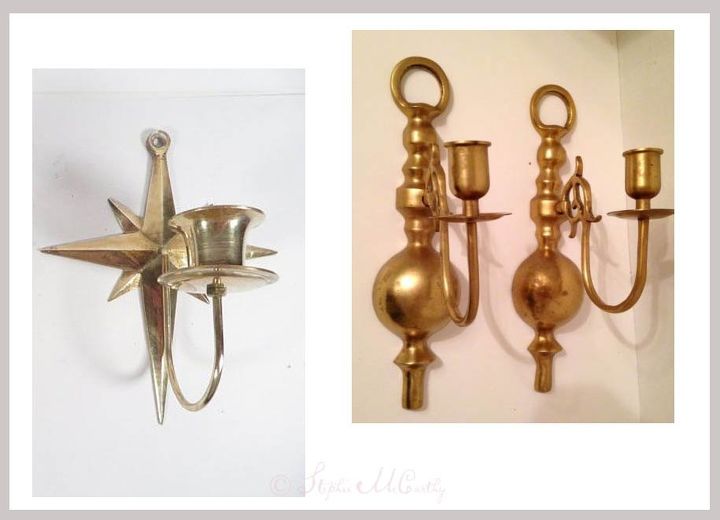
Here are a few of the brass sconces we've found at community rummage sales for the astonishing price of about 50¢ each. These are expensive elsewhere (the Colonial Baldwins are $150 each new and the vintage stars are often $30). We recommend bargain hunting for the pieces you'll need for this project.
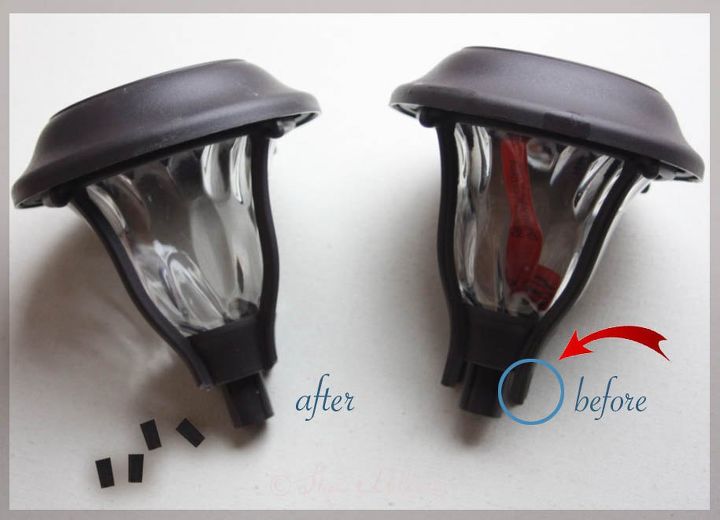
After we removed these bottom tabs in the blue circle with a wire cutter, the top of our lights fit easily into our sconces with room to spare. It's the main stem in the center that will be glued into the socket of the sconce.
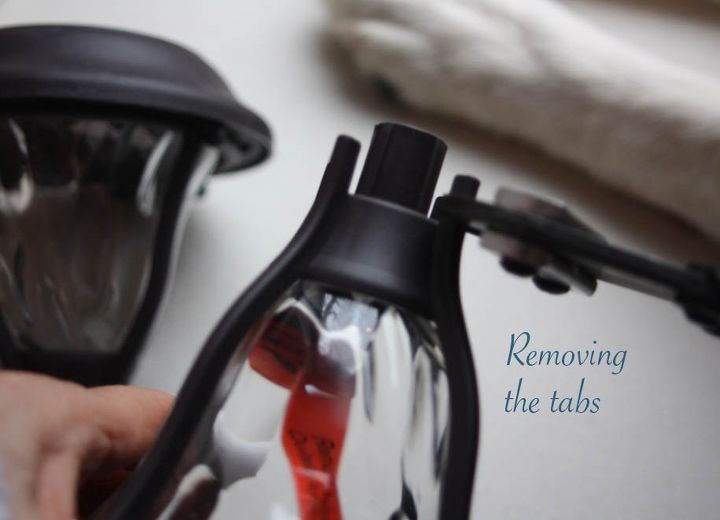
I worried the material would be hard to cut but because these are heavy-duty plastic, it was actually quite easy like cutting stale beef jerky.
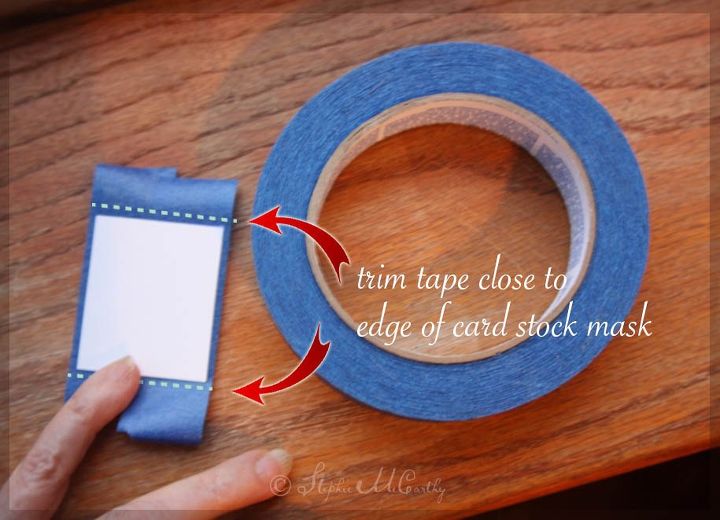
My solar light came apart easily so that I could spray paint the faux bronze pieces. To keep the solar panel pristine, I made masks with card stock and blue tape that would fit perfectly around the solar panel without touching it directly. See the mask in place below.
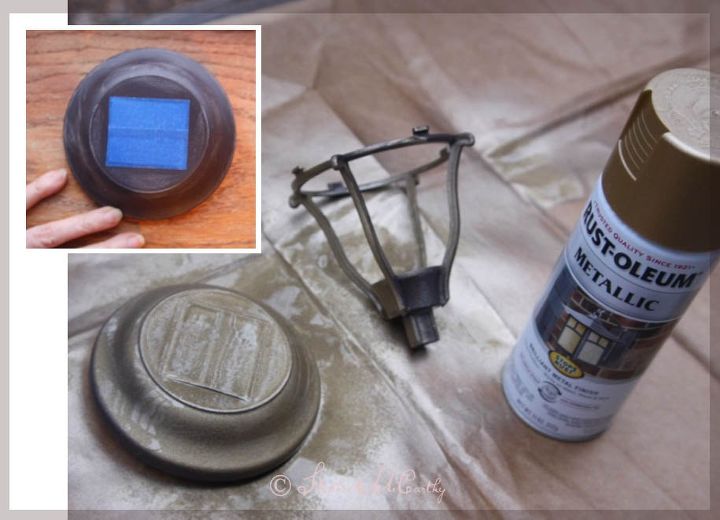
I roughed up the surface a bit with sandpaper and used Antique Brass spray paint. No need for a perfect match in color. Our lights will be high off the ground where variations in metal color won't be noticeable.
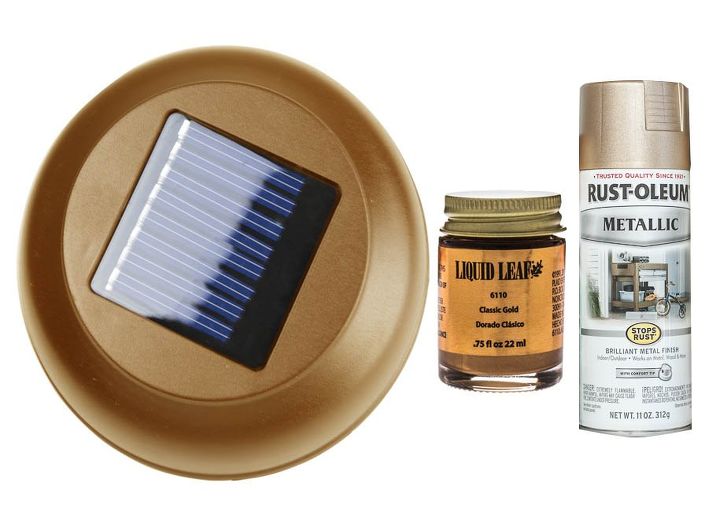
When the spray paint was dry, I painted the outermost edge, the rim, with Liquid Leaf Classic Gold using a cotton swab. This is an optional step, but I think the liquid leaf will weather better than spray paint along that rim.

While your light is unassembled, glue the bottom into the socket of the sconce. Here are the two products I used to attach the bottom of the light to the metal socket. Because the stems didn't fit snuggly, I wrapped each in Loctite Go2 Wrap which sticks to itself without adhesive. A 10" strip wrapped around each stem made them thicker so that they fit more snuggly into the socket. I put the silicone in the socket, pressed the light into it, then held them together with masking tape until dry.
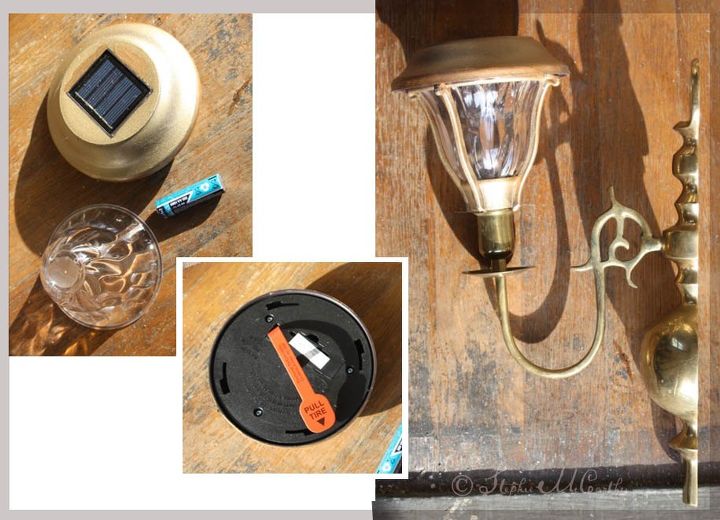
Here's a view of the top of the light unassembled on the left, and assembled on the right. I pulled the red tab in the center photo and the battery made contact. I used a tiny bit of silicone in the crack between the light and the sconce for waterproofing, and then it was ready to hang!
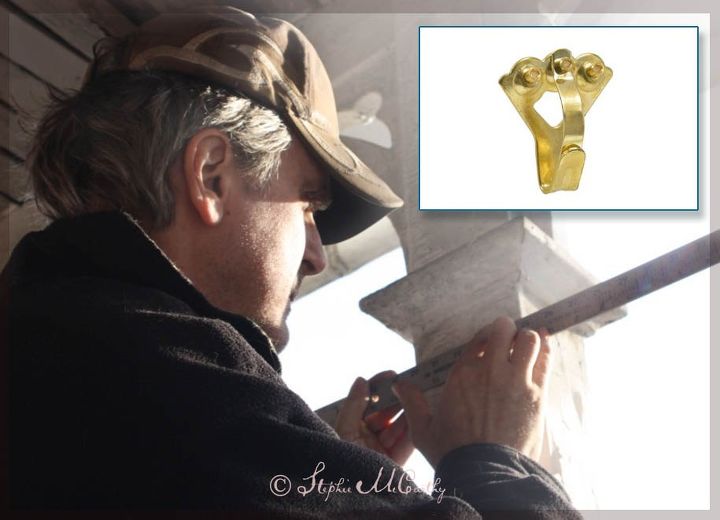
We used strong hangers by Hillman which have 3 nails and a locking system. The band in the center moves aside so you can hang your object, and then goes back in place to hold it securely … up to 75 pounds. We purchased our hangers for about $3.00 each.
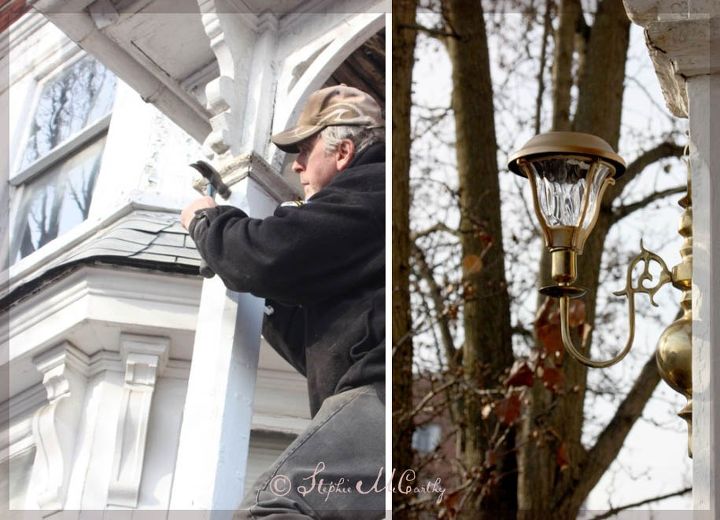
Up they go! Now we wait for the sun to charge the batteries. Twelve hours is best. In winter and rain, solar lights may not glow as brightly. Also, street lights can fool sensors into thinking it's still light outside. Be patient while your batteries charge, or replace the battery if it has failed. Then wait for a nice dark night after a day of sun.
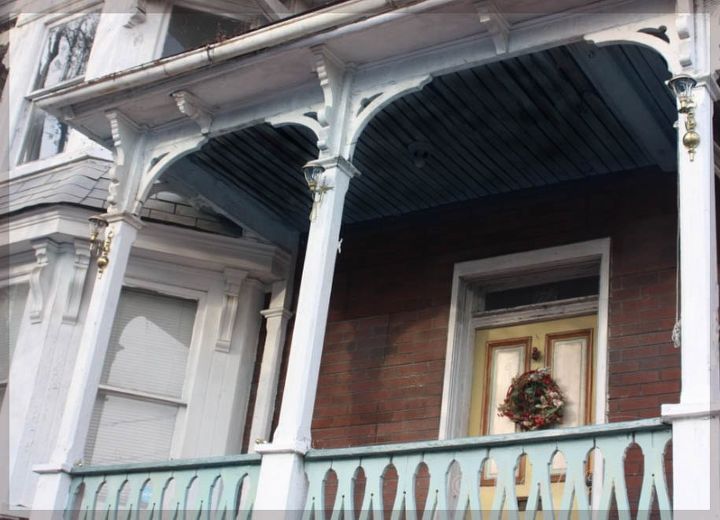
Our old porch looks a bit more regal with its new lights. Now I wait and wait for darkness to fall!
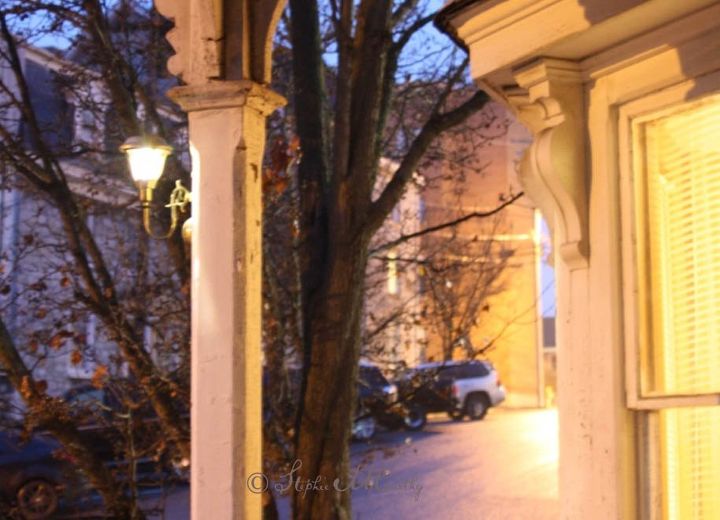
It was so exciting when this first one lit!
Resources for this project:
See all materials


Comments
Join the conversation
-
Thank you so much, Donice! Let me know how your lights turn out!
-
Beautiful!!!


Frequently asked questions
Have a question about this project?
I, too, am curious about some of the products you used. Specifically the hooks and loctite tape. Since Michael has already inquired about the hooks, maybe you can tell me more about the tape. Do you think it's waterproof? I know you didn't need it to be for this particular project, but I've got a couple other things in mind for it...
How do you clean up old light so the solar panel will collect energy?
Where did u get the sconces to put these in