


DIY Modern Printables Frame
Looking for a cheap and easy way to quickly frame up some nifty printables? Try this!
While perusing Instagram one evening, I came across another blogger's post announcing they had Star Wars printables and instantly I knew what my sweet husband was getting for Christmas.
But how to frame them? Such the dilemma! My taste is modern so I wanted something simple and minimal.
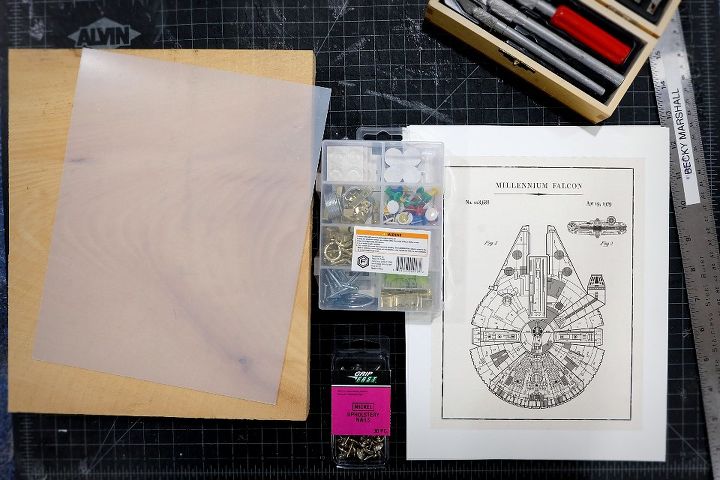
Here's my collection of supplies all set to go above.
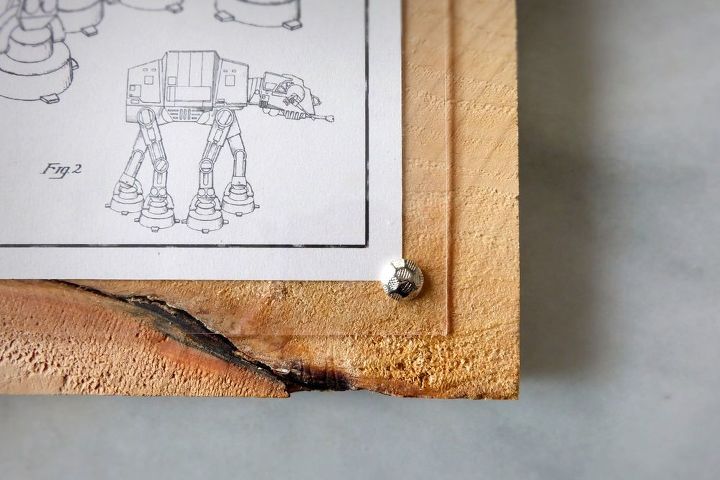
After figuring out I wanted a solid wood panel, I found a rough hewn 1x12 in my gathering-dust collection of wood and went from there. I cut 4 pieces of the wood to 9.25" wide, so the finished size of each was 9.25" x 11.25".
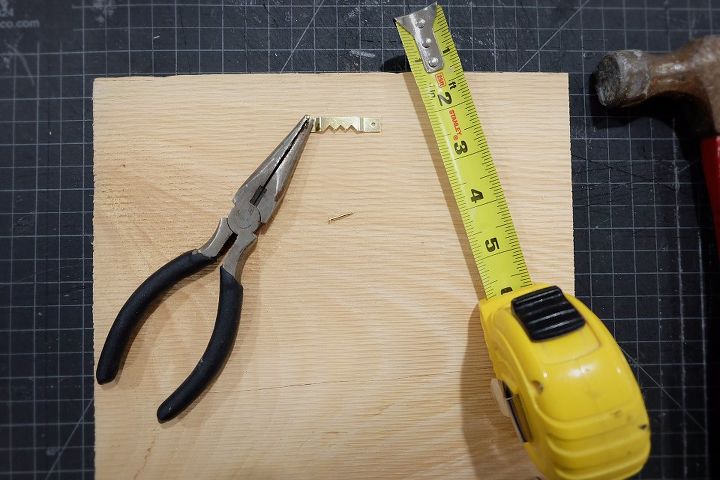
First I attached picture hanging hardware to the back of the panel, centering it and measuring about an inch and a half down so they'd be consistent across each panel.
Use a pair of needle nose pliers to hold those itty bitty nails so you don't smash your fingers while nailing them in!
Next, I scaled the images down to 7x9 which would leave a half inch border around the print to the edge of the acrylic sheet I used to cover them with. That way the wood acted as a mat board as well.
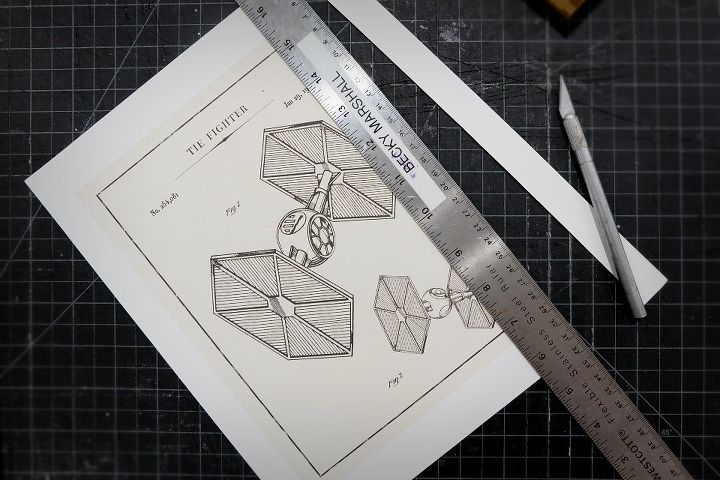
Try to use a ruler with cork on the back to prevent slipping and always cut with your discarded edge out, as seen above, to prevent slicing into the print.
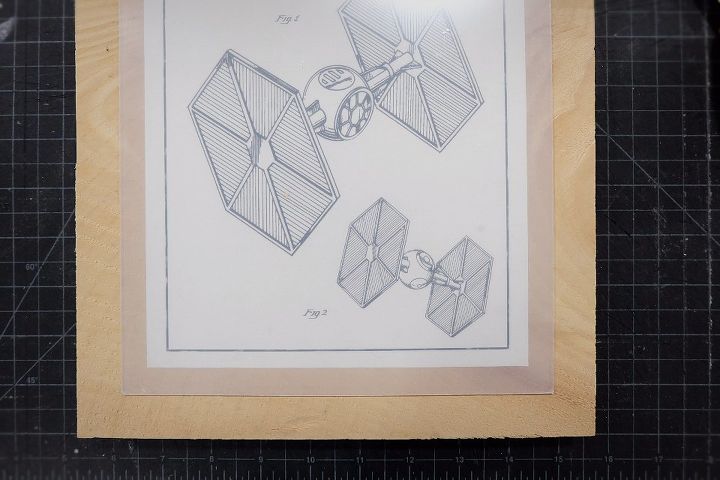
Next, center everything on the board using a ruler or a tape measure. Be sure to peel the plastic film off the side with the print before you move ahead.
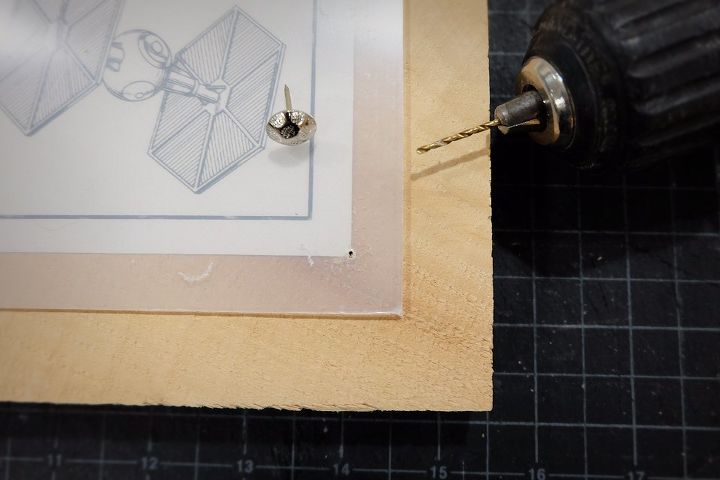
Using the smallest drill bit I had, I drilled through the acrylic sheet barely into the wood and tacked in furniture tacks to hold everything together.

Be sure to peel up the corner a bit before nailing the tacks in, but don't remove all the plastic yet in case you slip with the hammer. Once you've got all the tacks in that you're using, peel off the plastic film carefully.
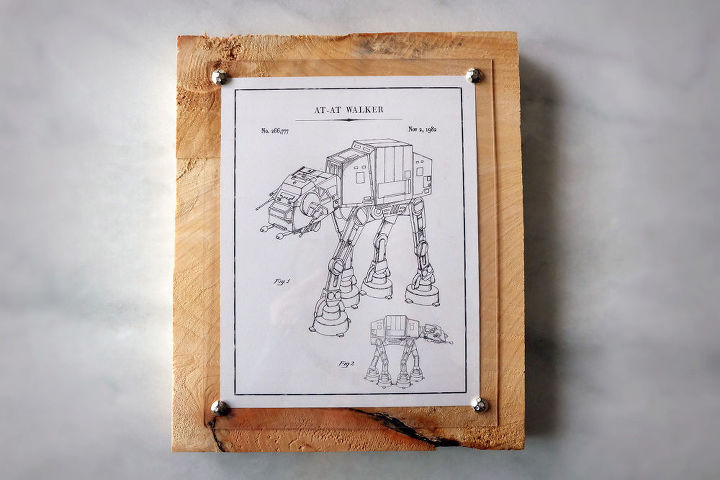
And voila! Cheap and easy! It's a great modern look that compliments the prints!
Be sure to swing by my blog, Flipping the Flip, for the extra details about this project and while there, check out all sorts of other cool stuff!
Resources for this project:
See all materials


Comments
Join the conversation
-
really like this idea, and really love anything star wars. thanks for the idea
-
I love this. And the comment about acid from the wood and the print - excellent call-out. To sandwich the print between 2 pieces of the acrylic would make for a really finished look without a mat showing.


Frequently asked questions
Have a question about this project?
Is the wood sealed? There is a chance the acids in the wood will leach into the print.
You may want to put a piece of archival mat board between wood and print to prevent it.