


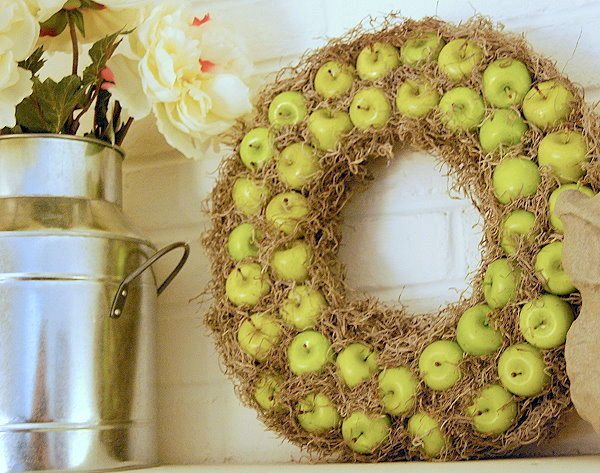
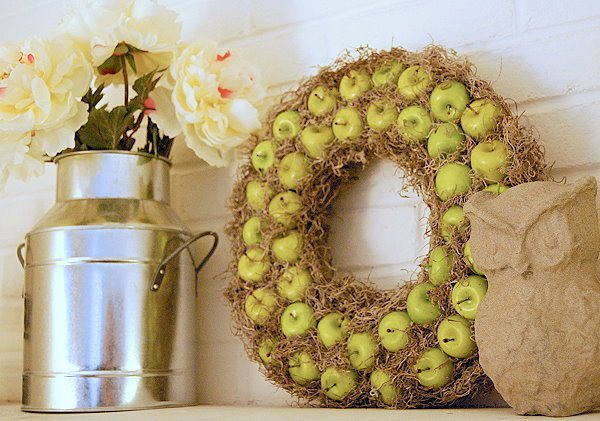
Thrifty DIY Apple Wreath
I am currently gathering items to redecorate my den. It’s a rather gloomy room as the only light is secondary from other rooms. We have an attached porch that serves as my office so even the glass door is secondary light. I wanted – no – NEEDED some lightness to the room. Not long after Summer began last year, I had purchased a new couch and chairs set in a lovely pale lime color. It’s not hideous! I swear!!! And, already in place in the room, we’d added medium toned laminate, and a red/sage/cream rug. The colors go beautifully with the seating. Slowly I am adding decor to my stash to create a finished room. However, I refuse to pay retail prices for items I can create for a few dollars. You too can save some money and make your own wreath.
On to my beautiful wreath idea...you’ll need grapevine, floral wire, decorative fruit, a hot glue and sphagnum moss (found at the dollar store).
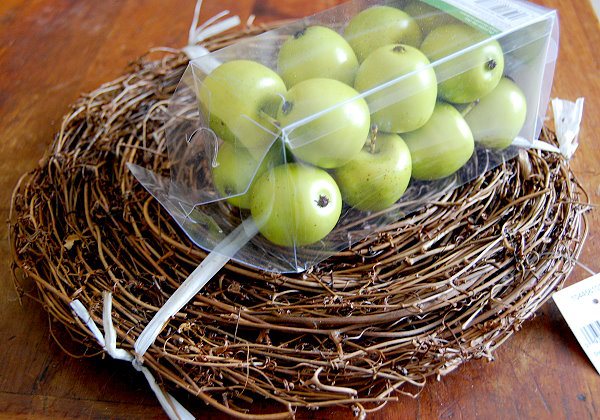
I also found the lovely little deco apples on sale, for $4 a box and bought two. Ultimately, I needed three boxes, so that extra was another $5.
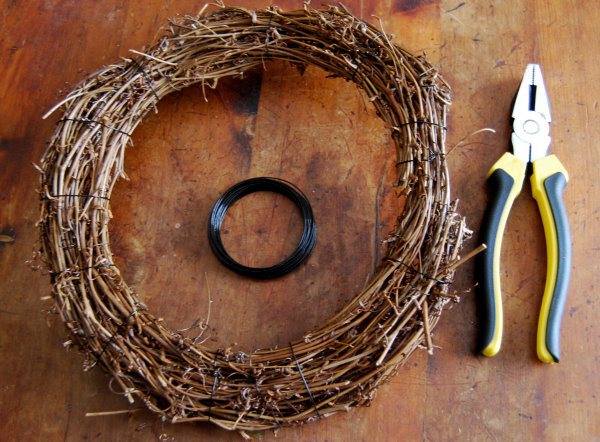
I already have craft wire, and my new tools that my hubby bought me for Christmas – yea – I’m the chick who wanted tools for Christmas because I hated borrowing some of hubby’s dirty ones, I have my own nice clean and sharp pliers and such. I unwrapped the vine and then cut off a section that once I double wrapped it, gave me a sturdy 14-inch wreath. I took small pieces of wire and wrapped the vine tightly to create a wreath. That was the nice part of saving the money and buying the vine. I have two more pieces, one large enough for a second wreath and a smaller section that will one day make a darling little nest. WIN for the savings!!
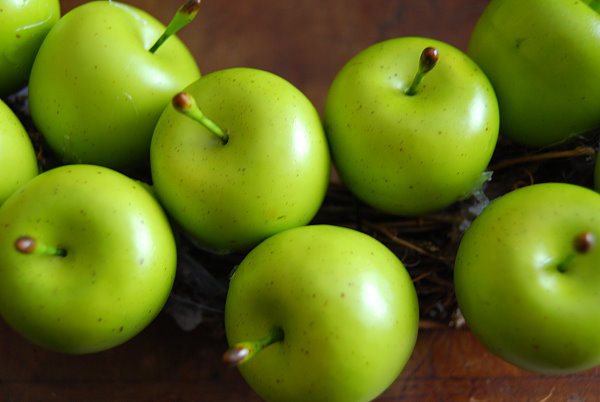
Now that the background was made, I started by dumping out my apples and heating up my glue gun. I used hot glue to glue the apples on, making sure to face them in different directions and lining them catty corner to each other, not side by side.
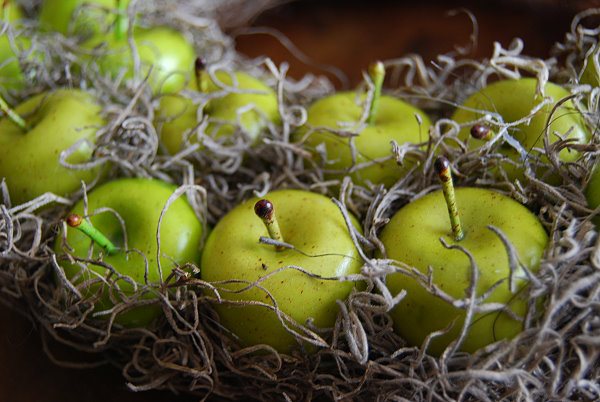
Once all the apples are on the wreath, I added hot glue between them, then stuck in bits of the moss. Around the outside and inside of the wreath, I pulled sections of moss and kind of squeezed them into logs and pressed them onto those spaces to fill in.
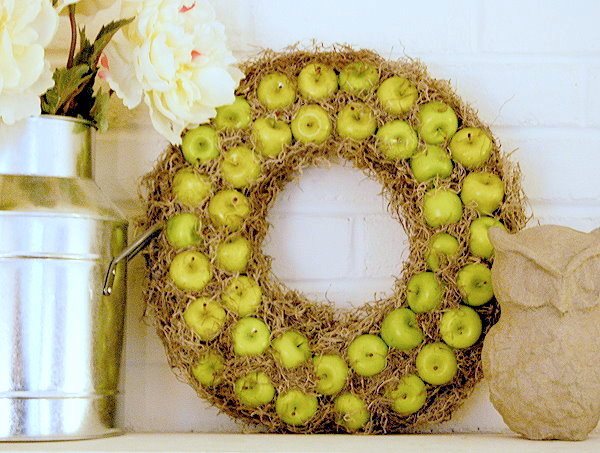
I think shops would probably try selling something like this for way over the $19 I spent on the supplies. I now have a lovely wreath that matches my colors well!
Enjoy!

Want more details about this and other DIY projects? Check out my blog post!
Comments
Join the conversation
2 of 27 comments
-
Just a nice burlap bow and it's a REAL beauty!! Looks good enough to eat...:))

-
Beautiful! I'm heading to your blog, hoping to see your entire room. Also, I'd love to know where exactly you purchased the faux apples. Needing them at that price!


Frequently asked questions
Have a question about this project?