


How to Carve a Design Into a Table Top
I made another wine barrel table, but I don't like to do the same one twice. For this table I wanted to try and engrave a design into the top of the table. I have never done this before so I went with a straight line design which I felt would be easier to start with. I googled straight line designs and the Greek key design was the one that I chose.
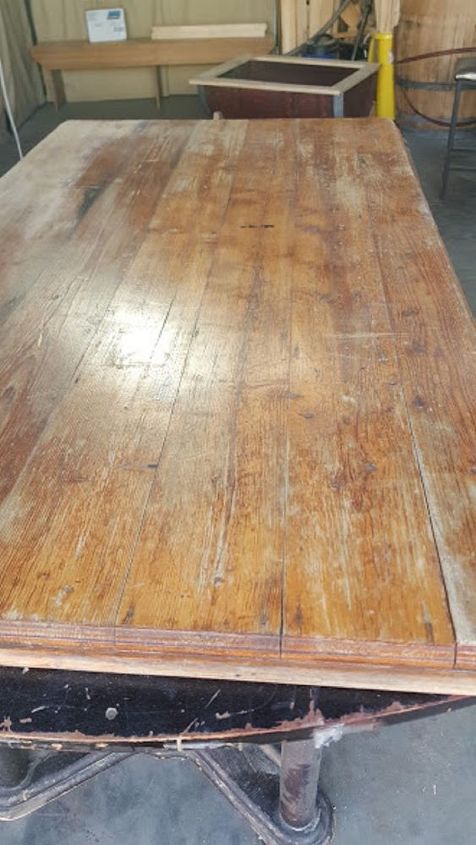
Once I had built my wine barrel table I sanded down the table top and added dark mahogany stain. I chose to do the design as a two toned colour in my opinion it would look better.
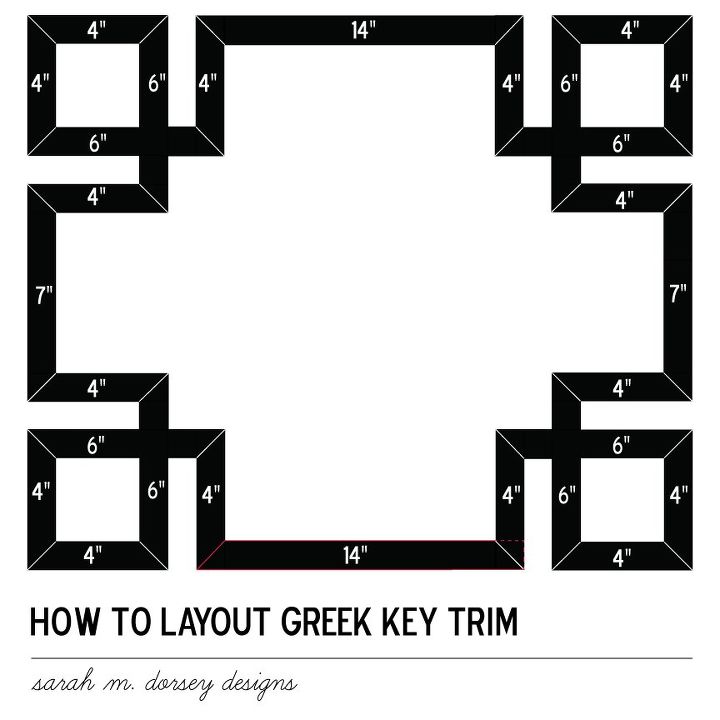
I found this image in the internet from Dorsey designs which I used as a guide for my design.
I changed the measurements to suit my table, making the 14″ one longer according to the length of my table. The squares I kept them in proportion. I cut a piece of thick Kraft paper to the size of my top 129cm x 82cm which leaves a 5cm border all the way around the edge. The design is very easy to draw because it is all straight lines. So all you need is a long straight piece of wood ( I don’t have a ruler long enough).
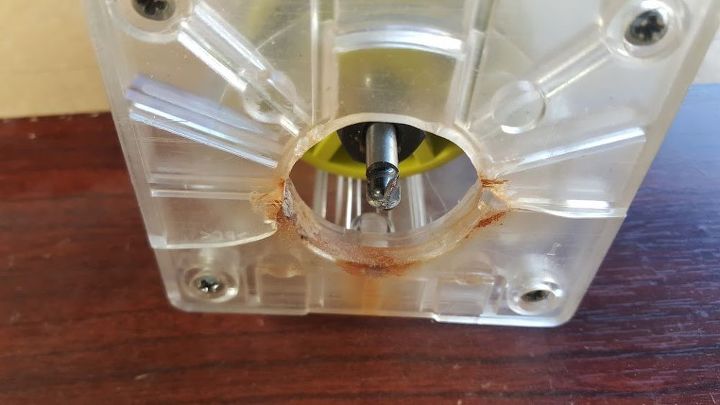
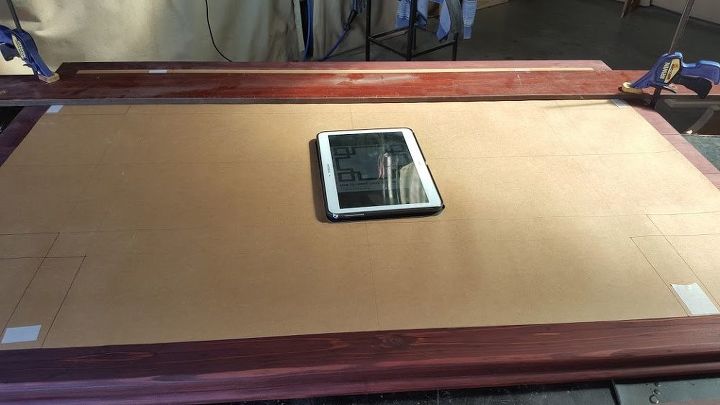
Once the design was all drawn up on the paper. I centred the design on the table and taped it to the surface to make sure the paper did not move. Because the design was all straight lines I set up a fence which was a straight piece of wood. I used clamps to hold the wood in place so I could push the router along the fence and have nice straight lines. I used a grooved bit in the router.
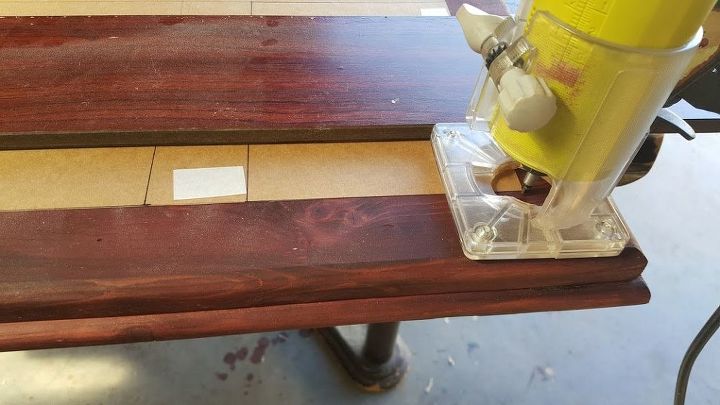
Just to be sure I did not cut out the wrong sections I added a piece of masking tape to the sections that needed to stay. And it would help to do your cut lines in marker pen so they stand out.

I do not have much experience using a router in this way and I don’t have a steady hand. So the fence allowed me easily cut all the straight lines. I lined the router bit up with the start of the first line and clamped my wood down on both sides. I used the fence to guide the router along the lines and they came out great.
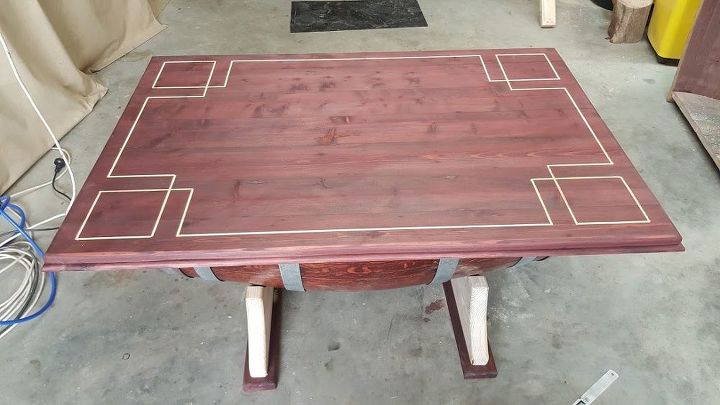
Once all my lines were cut I used a chisel to tidy up the corners. I folded a sheet of sand paper in half and used it to sand out the grooves for a smooth finish.
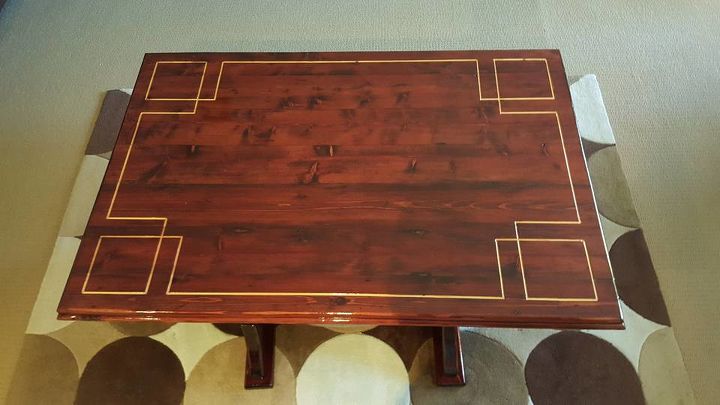
I sealed the table with varnish and the colours looked awesome. This project did not cost me much because I build all my projects out of recycled materials and have most of what I need already at home. So your cost will be different to mine.
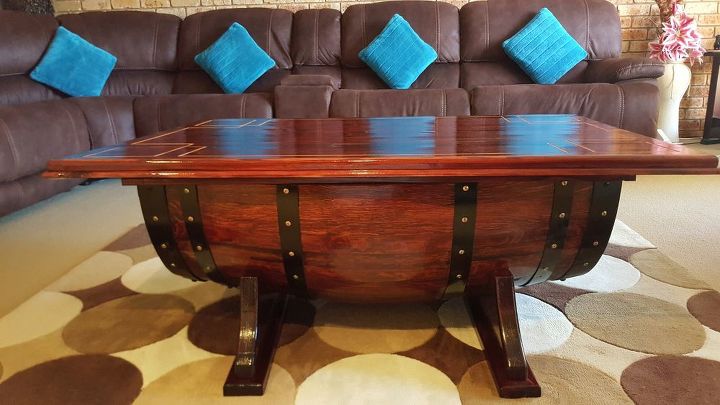
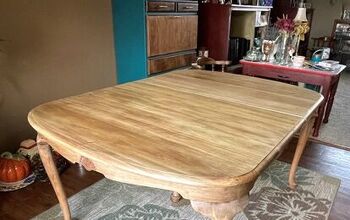
This was the finished table it really does look great the pictures don't do it justice. If you liked this project be sure to check out my other wine barrel tables with built in wine/ice buckets. or if you are looking for a quick simple projects try this painted glass planter.
Resources for this project:
See all materials


Comments
Join the conversation
-
This is just gorgeous!
-
It's truly beautiful! I'd love to have one, but I don't know where you get a wine barrel in a place that doesn't make wine.


Frequently asked questions
Have a question about this project?
Did you leave the rostered lines empty???
Where would someone get a wine barrel?
Where do you get a wine barrel? As far as I know there's no place here that makes wine.