


Adding Height and Color To Furniture

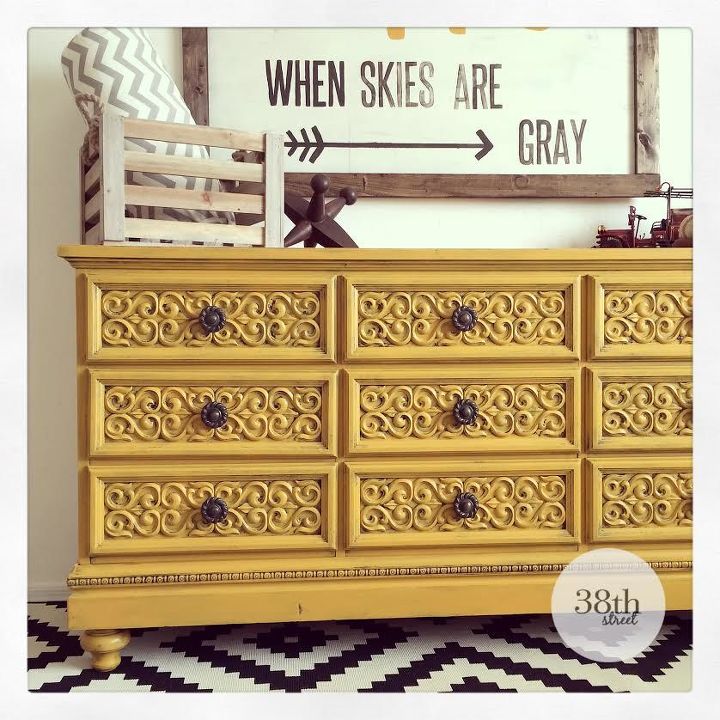
Looking to add some definition and color to your next project? Come see this stunning, detailed dresser in Fresh Mustard by Carrie from Thirty Eighth Street!
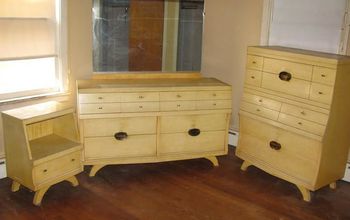
I’m so glad to be back to share another furniture makeover with you! My latest craze involves a little surgery and some BOLD color and a little lesson in alterations. I found this gem of a dresser at my local thrift store and instantly fell in love with its curvy drawer details.
I’m so glad to be back to share another furniture makeover with you! My latest craze involves a little surgery and some BOLD color and a little lesson in alterations. I found this gem of a dresser at my local thrift store and instantly fell in love with its curvy drawer details.
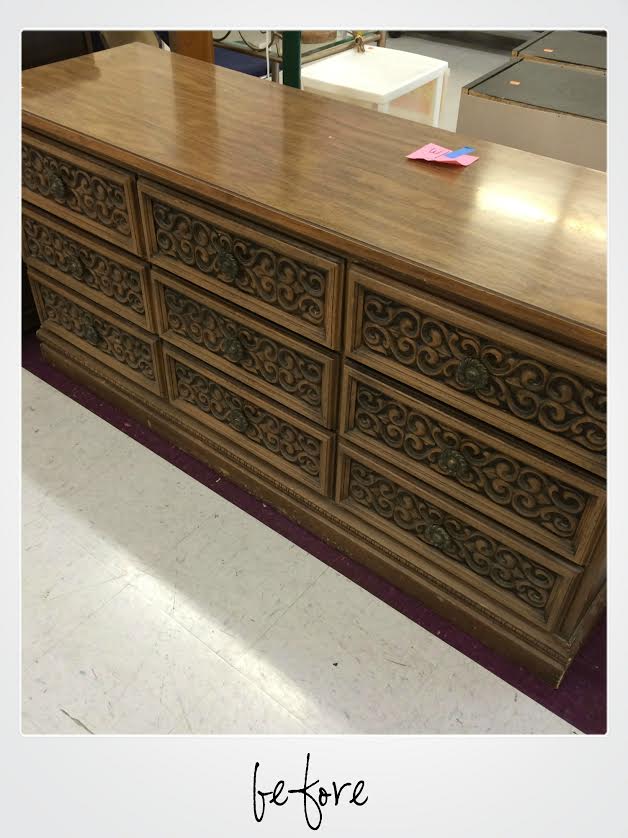
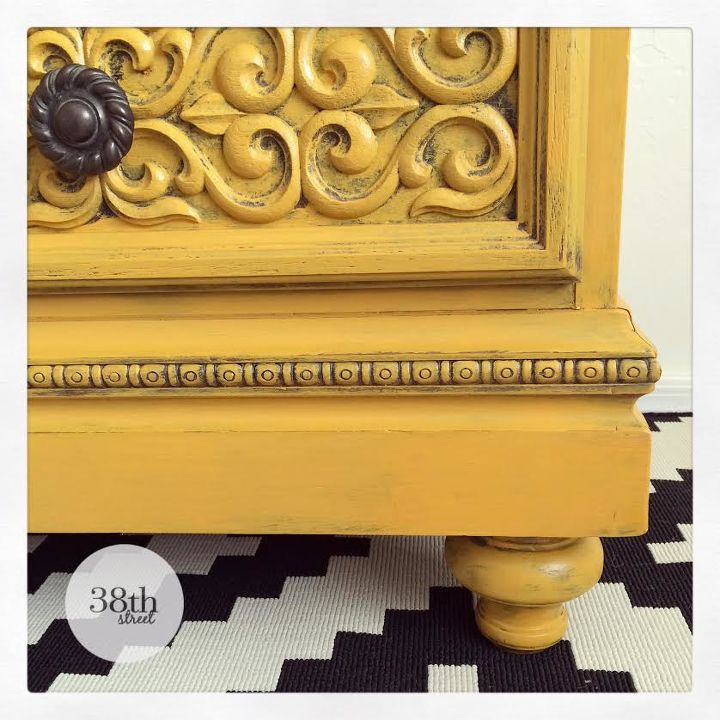
Since it had nine drawers its obvious purpose was a dresser. But, the more I looked at it the more I thought, "it didn’t have to be just a dresser". It could be that and more! To give this dresser a few more options so I decided to add some bun legs the bottom of it. The added height turned this from dresser into a statement piece and could now be used as a changing table in a nursery or a stylish storage solution for an entry way, sofa table or TV console. When you add legs, the possibilities are endless!
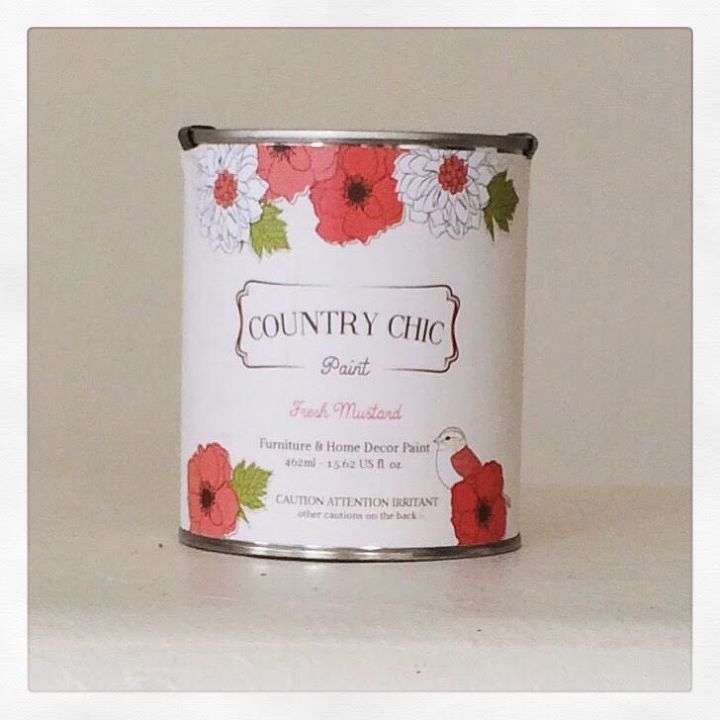
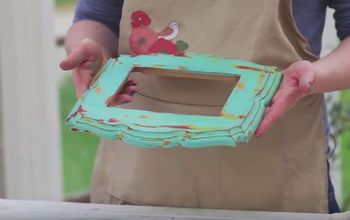
I need to stop here for a moment to tell you how much I appreciate the type of coverage Country Chic Paint provides. You’re not going to believe this, but by painting this dresser with a reverse distressing technique, I was able to give this piece a full makeover with just (1) pint of paint. That’s it! And if that wasn’t unbelievable enough, I had a little left over to create some *DIY art work!
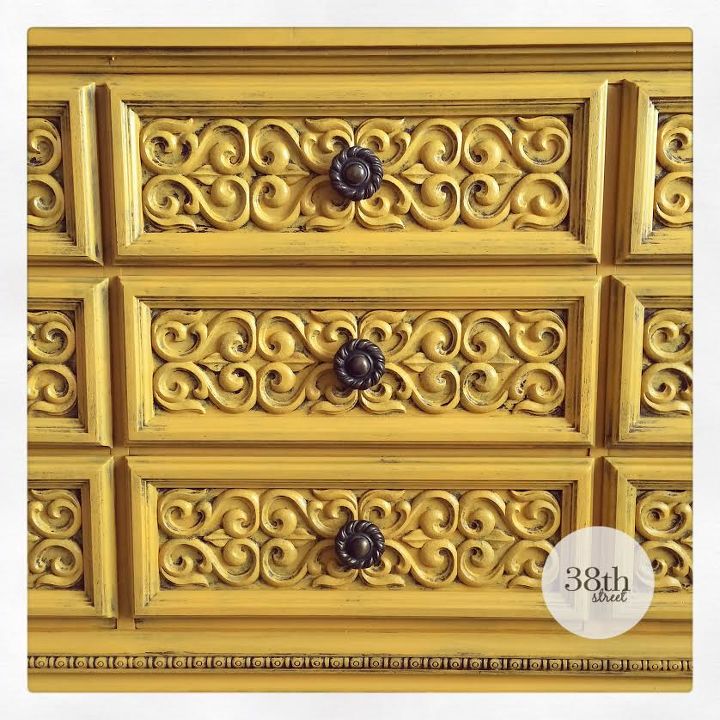
And here’s a close up of the reverse distressing technique. If you look closely it's hard to tell that they've never been wet distressed or had sand paper taken to it. All of that yummy distressed look was achieved by simply not painting those areas.

*Interested in learning more about this matching DIY painted sign? Hop on to Thirty Eighth Street for more information and a full tutorial!
Comments
Join the conversation
4 of 7 comments
-
Loveee this!
-
This piece is just beautiful! I only wish I had a sliver of talent that most of you folks that post your transformations here do! Kudos to you, you have turned an old dresser into a masterpiece😀


Frequently asked questions
Have a question about this project?
Do you have any info on that dresser? I’m looking to buy the set but are they real solid wood? Are they antiques? Any info would be much appreciated🙂