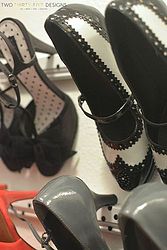
High Heel Shoe Storage #Closettips
I had already found a great alternative for storing the majority of my shoes, but still needed an option for my high heels, since they didn't quite fit into my boxes.
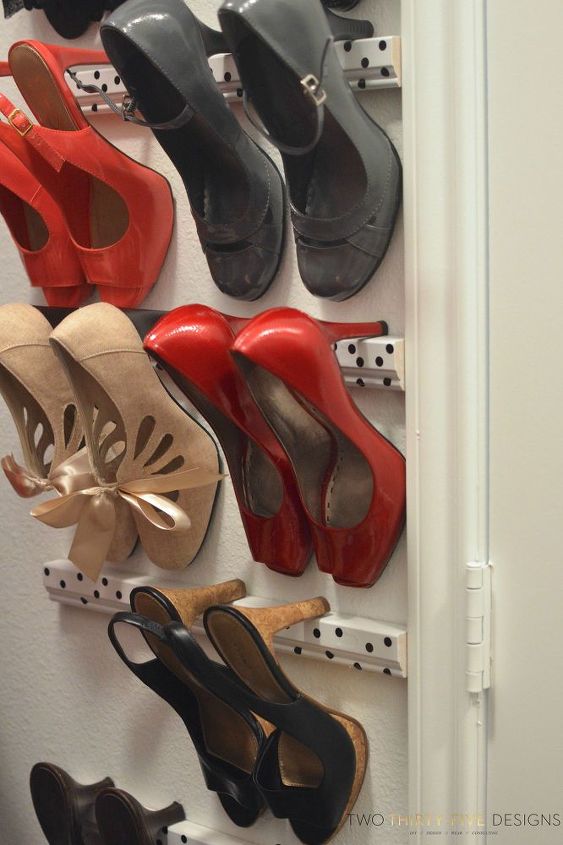
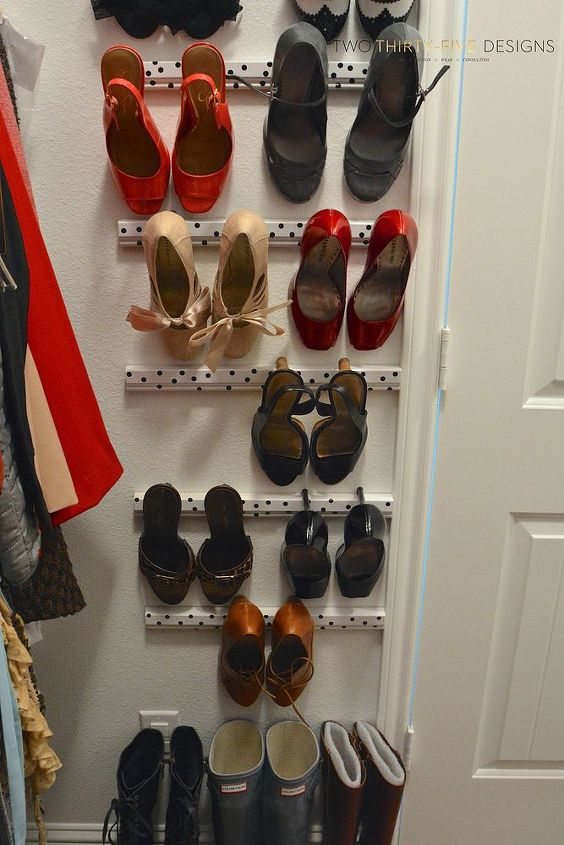
I wanted to get the majority of my heels off of the ground and had a bit of wall space behind the door to the closet.
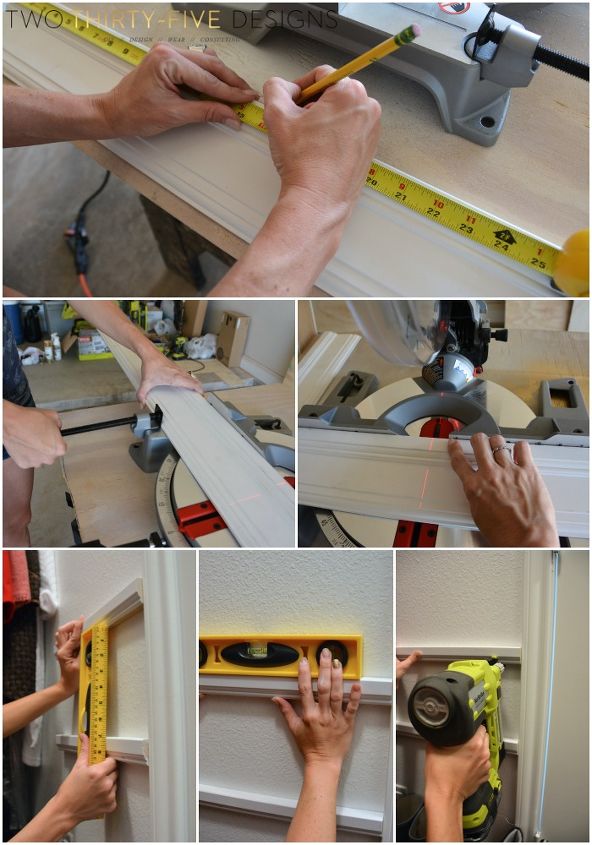
I did a quick count of shoes and measured off the area and headed out.
Materials:
Primed Moulding (I bought one long 7 foot piece)
Spray Paint, color of choice
Miter Saw
Air Strike Crown Stapler
1. Measure and mark on trim where it needs to be cut at.
2. Secure trim with clamp.
3. Line up your marks with laser.
4. Paint all pieces.
5. Take your largest pair of heels and make enough room between each piece of moulding.
6. Make sure each piece of moulding is level before attaching. It helps a ton to line one side up to a wall, door frame, etc.
7. Attach each piece of moulding. I used my Airstrike and had it all up in less than five minutes. You don't have to find a stud for this.
Instead of covering the staples, sanding, painting and all that junk, I opted to quickly cut out vinyl dots and cover the staples and added just a few more.
Here and there.
And I can peel off when the mood strikes.
Head on over to the blog for more detailed instructions!
Top Hometalk Projects
Popular Project Book
Join the conversation
2 of 27 comments
- L. Creativeon Sep 6, 2018
We did this but with bulked up 4 inch crown, so they stayed on better.
Your comment...
Have a question about this project?
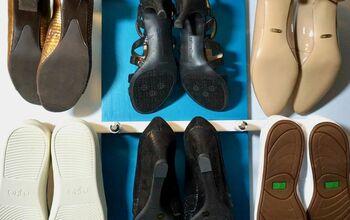
This is great for shoes with high heels, but what about flats and such?
Use 2" hooks on wall for tennys?
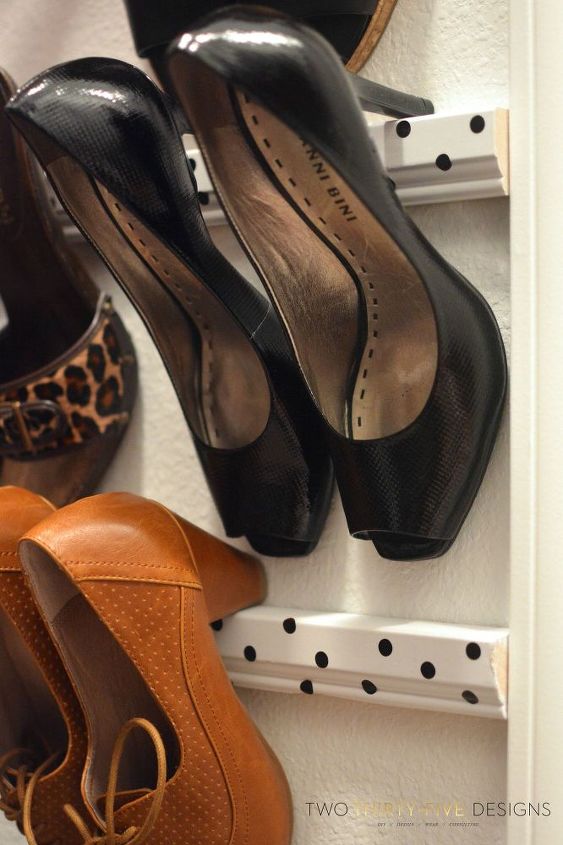
What keeps the shoes from falling forward off the trim piece?