


DIY Refrigerator Enclosure
Yesterday, I posted our DIY Coastal Kitchen Makeover and I can't believe the responses. Thanks for the sweet words everyone! Today I am going to show details on our refrigerator enclosure. The cabinets in our house are custom but they are 1980's, vacation home custom. They fit the space well, are solid wood, and are in amazing condition but they are very basic. I knew that I wanted the final product to look custom and expensive. One way to do that is have everything built in or look like it was built in. We built a custom refrigerator enclosure at the end of our cabinets where the previous refrigerator was. You would never know it wasn't built with the rest of the cabinets unless you see the before pictures.
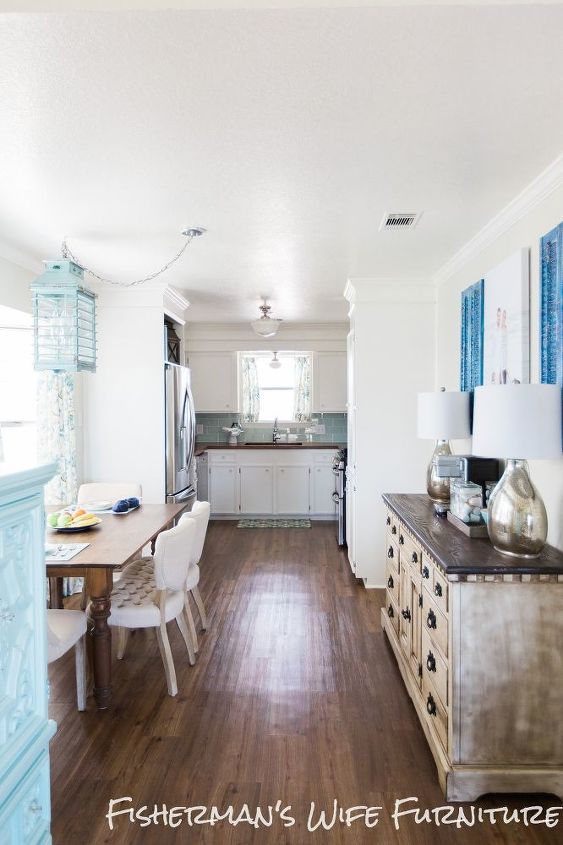
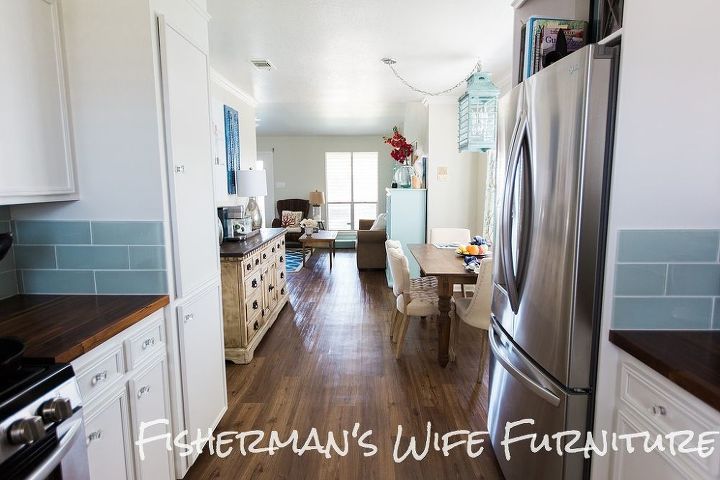
My coastal dining room and kitchen.
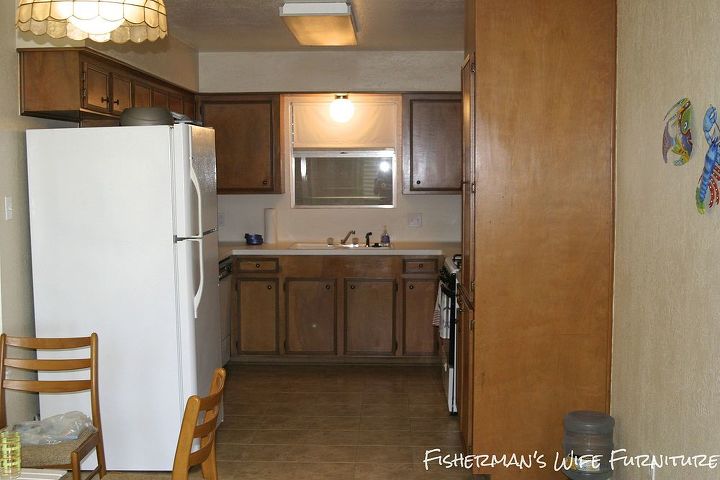
You can see that the fridge before was white and bulky and definitely caught your eye when you walked into the space.
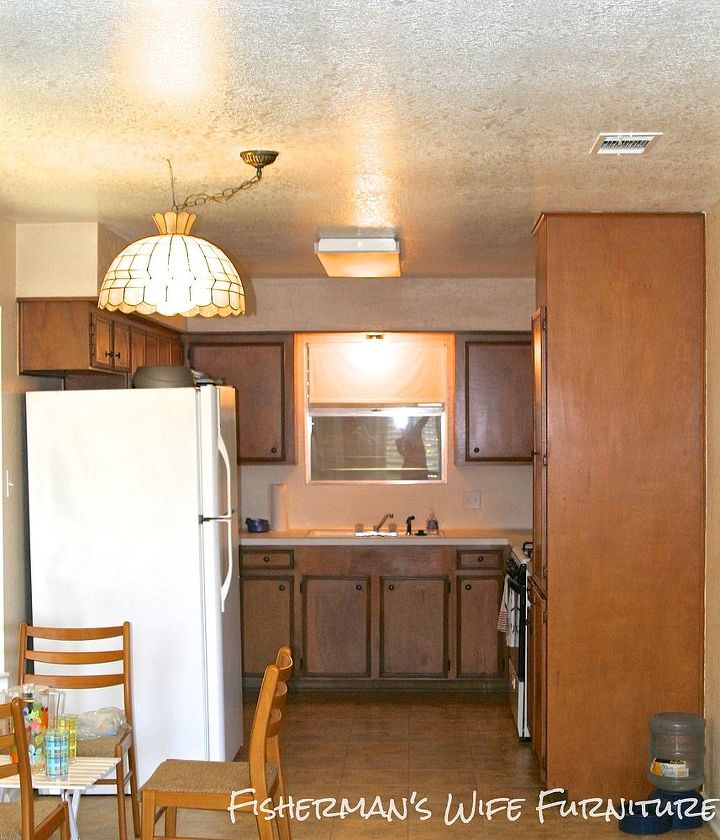
There was cabinets above the fridge but nothing else defining the space. The fridge was just placed at the end of the cabinets. This is where we added the enclosure. To save space and give us about 6 more inches of width in the kitchen, we purchased a counter depth fridge.
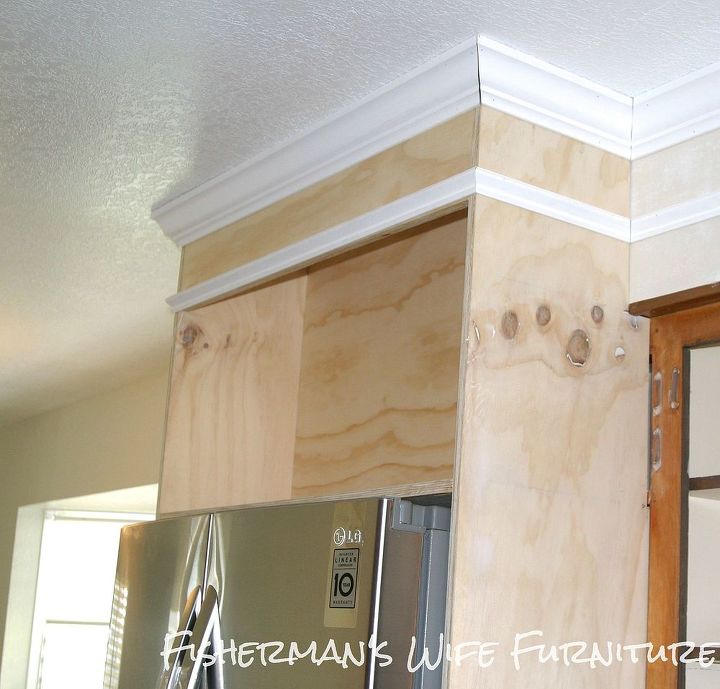
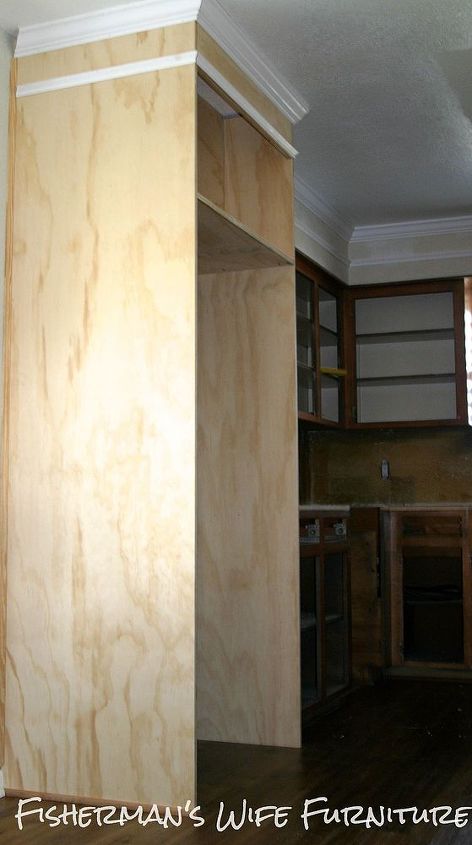
We used 3/4" higher grade plywood to build an enclosure that includes a shelf over the fridge for cookbooks and other things. We tried to remove the existing cabinets over the fridge to reuse in the enclosure and they would not budge. Those custom cabinets were built to last! So we did the shelf instead which I think is more functional anyway. Also, we extended the same molding from the fur down to make it all match and be cohesive.
Trim and filler were used to give everything a soft edge and a nice finished look.
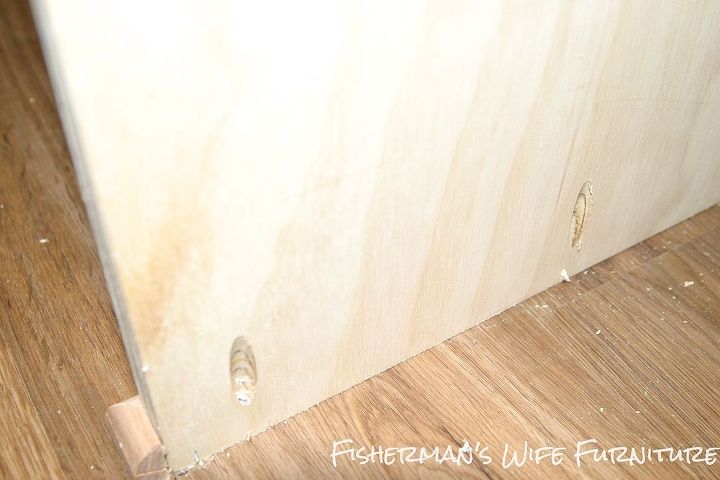
A Kreg Jig or similar picket screw tool is a must for any project like this. We used pocket screws to secure the outer side to the floor.
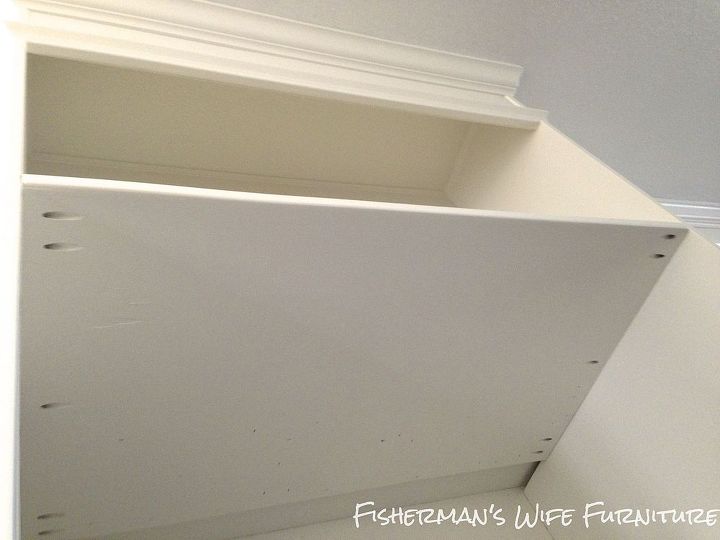
Pocket screws were also used for the braces along the back of the enclosure to secure it to the wall and to install the shelf.
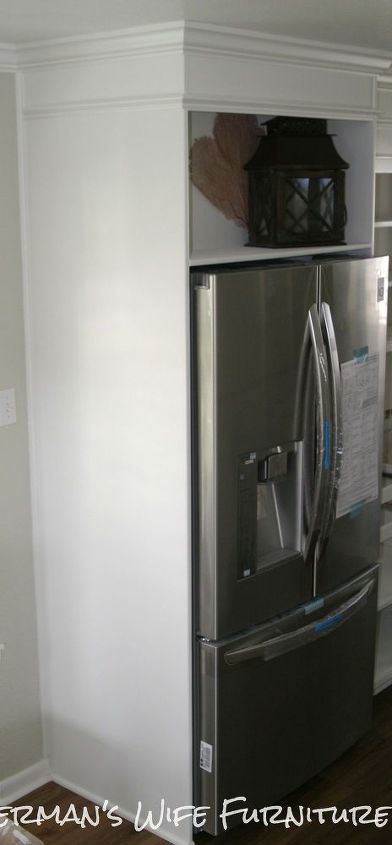
The fridge pushes back into the space perfectly!
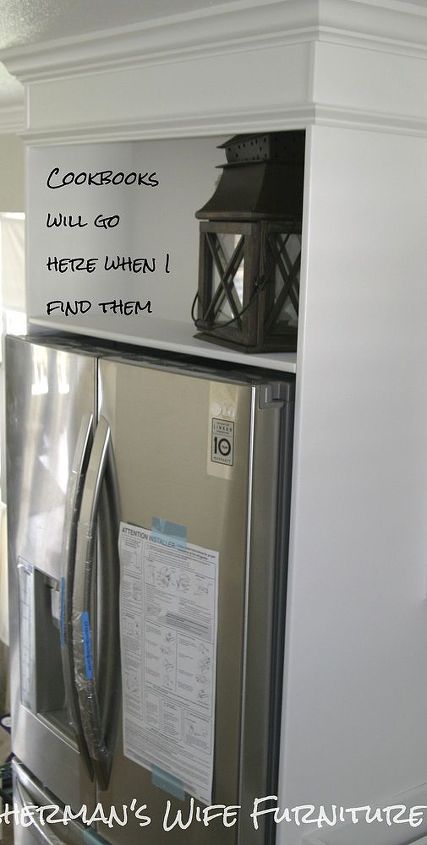
I am so glad we went with the shelf and I have a space for my cookbooks. The refrigerator hides the pocket screws that are underneath the shelf.
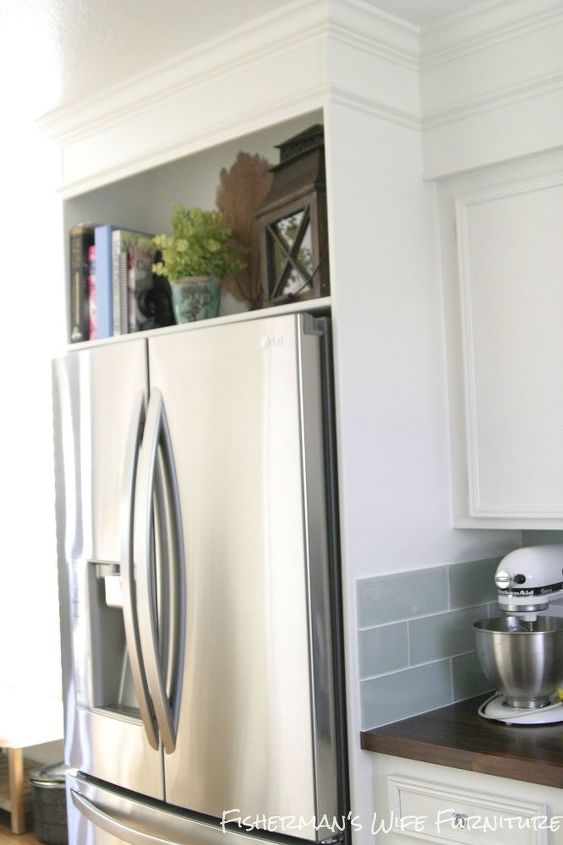
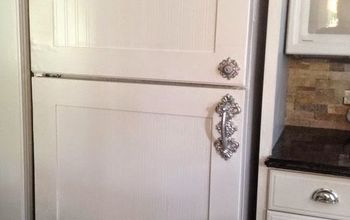
This picture shows where we connected the old cabinets to the new enclosure. You can't tell that the cabinets are 30 years old and the enclosure is new.
We wrapped the backsplash around on the pantry and on the enclosure.
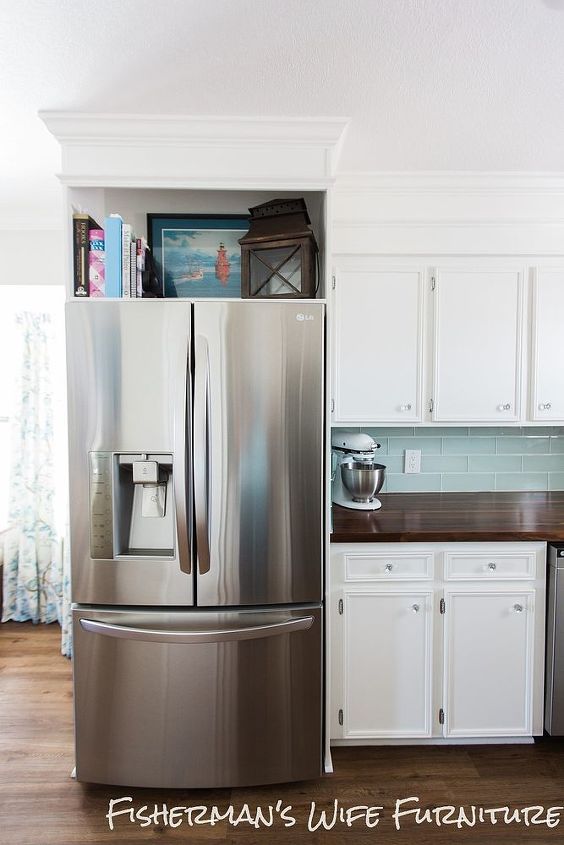
View looking straight on.
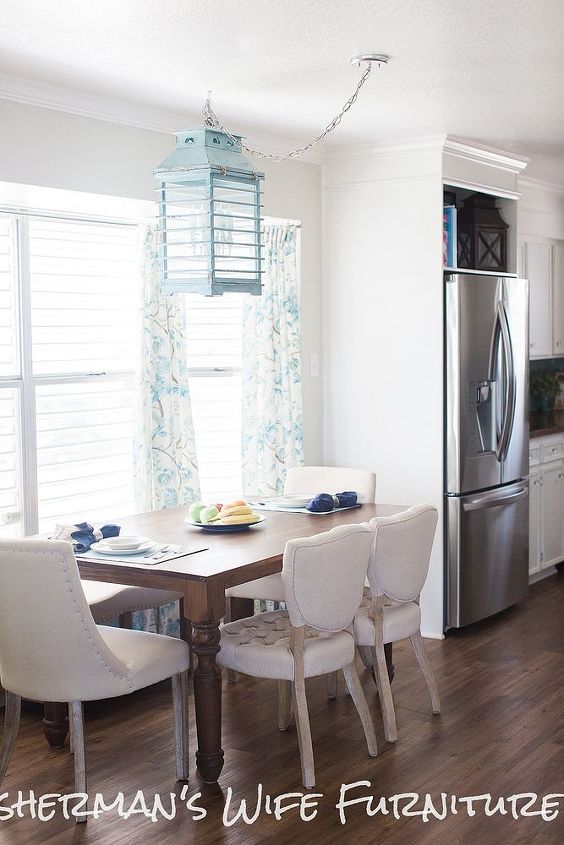
The fridge borders the dining area and the pretty white enclosure is a much better view than the bulky fridge that was there before.

I promise the enclosure is worth the money and effort. The cost was minimal and the payoff was huge! It only took 2 sheets of plywood, trim and moldings, filler and pocket screws.
See the entire kitchen makeover details and pictures here---> http://fishermanswifefurniture.blogspot.com/2014/05/kitchen-reveal-update.html
See more pictures and explanation on the refrigerator here---> http://fishermanswifefurniture.blogspot.com/2013/08/diy-refrigerator-enclosure.html
Resources for this project:
See all materials


Comments
Join the conversation
-
This is so beautiful and the old room look 30 years older than the remolded (DIY part). My kitchen looks like your old one except my fridge is 8 inches deeper than the counter, so I don't know if it would work for me.
Heat goes up so I think a few vents cut in the shelf above would keep the fridge from over heating. You did a great job crown molding and all.
-
WOW... what a beautiful transformation!!! Kudos to all. 💞💕💞


Frequently asked questions
Have a question about this project?
Did y'all leave enough room for ur refrigerator to breath ? It can get really hot back there.
Would this be proper ventilation for the fridge?? I have a spot just like this.
Really like the backsplash, is it peel and stick? Did you do a diy on that?