


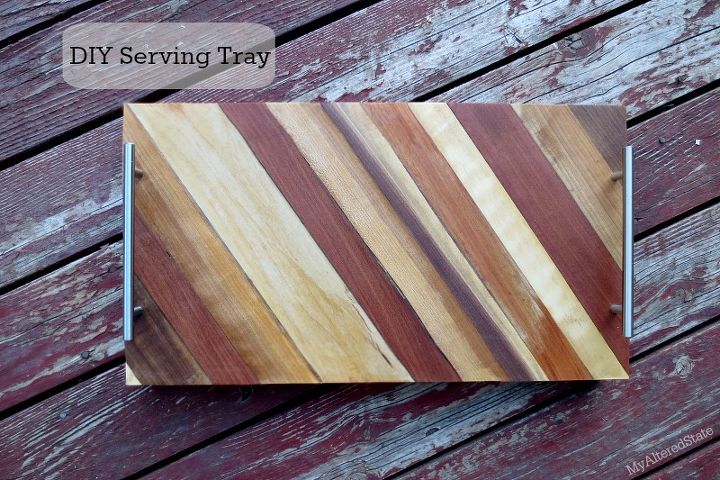
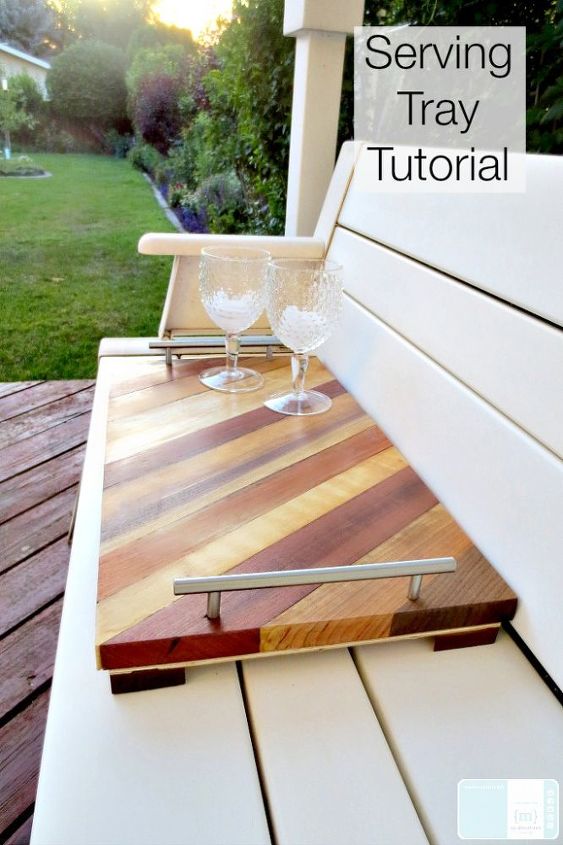
Serving Tray Tutorial
Sometimes, I build a random serving tray. It’s my go-to item of choice when I want to whip up something quick; plus, they make a great gift. So lets focus on that and not how I was avoiding installing a lighting fixture.
I have a ton of scraps from a local high-end woodworking shop. (I highly recommend finding a woodworking or furniture shop in your area, if you’re into this sort of thing. A lot of businesses will gladly leave scraps for anyone who will pick them up, and it keeps some disposal costs down for them. Not to mention it’s saving the life of some really good wood.)
I have a ton of scraps from a local high-end woodworking shop. (I highly recommend finding a woodworking or furniture shop in your area, if you’re into this sort of thing. A lot of businesses will gladly leave scraps for anyone who will pick them up, and it keeps some disposal costs down for them. Not to mention it’s saving the life of some really good wood.)
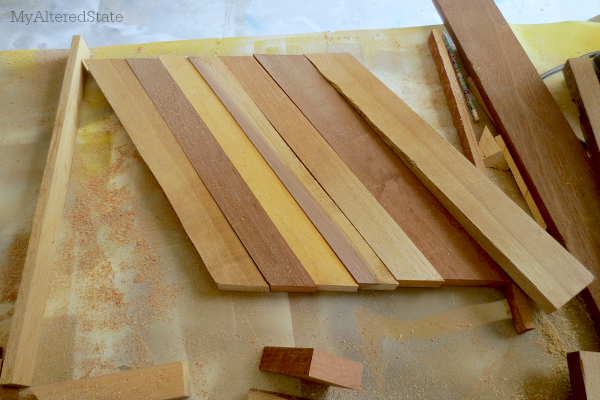
This is only a fraction of what I picked up recently.

First off, I lined up several strips that were the same thickness, but varying widths and colors.
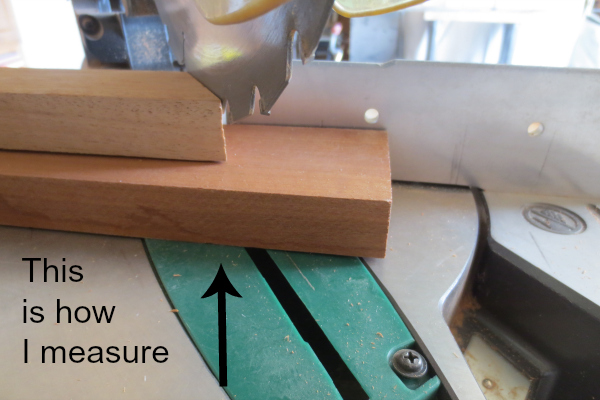
I eyeballed it, just like you see above, and I measured where to cut by stacking and lining up on the saw like this:
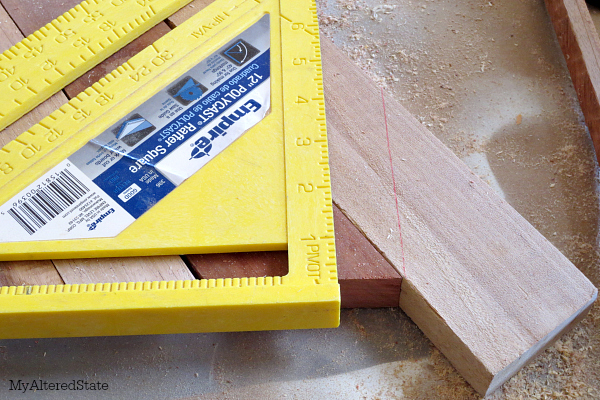
When I got to the point where I wanted to make a corner, I used a square, drew a line, then lined up my saw blade to that line.
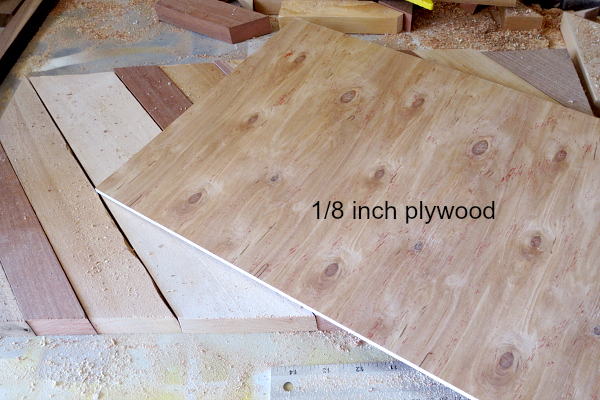
After I found one, I measured the rectangle of slanted strips so I could cut a piece of thin plywood to mount the strips onto.
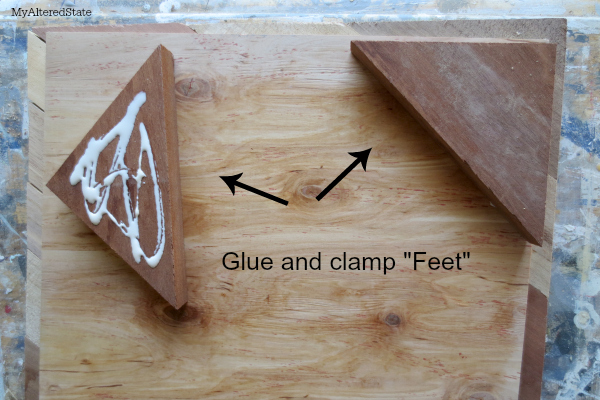
After gluing and clamping the strips to the plywood, I waited 30 minutes for the glue to dry.

Finished

Want more details about this and other DIY projects? Check out my blog post!
Comments
Join the conversation
2 of 7 comments
-
Beautiful
-
Beautiful… I mean really really beautiful. And thank you for the tip on finding a local woodworking shop for scrap pieces of wood. I’ll be on the hunt!


Frequently asked questions
Have a question about this project?
At what point did you pick the handles on?