How do I deal with the beautiful wide real wood baseboard?

by
Cindy Rubin
+7
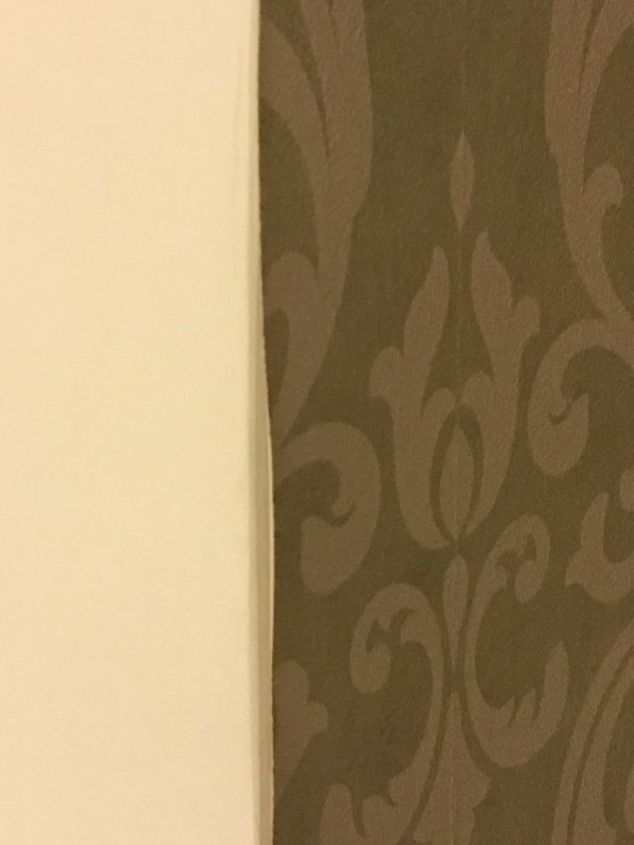
The gorgeous baseboard around the room has a gap of about 1/4 inch between it and the wall. It is uniform around the room as if intentional but I think it looks strange. Should I caulk it or is there something else. I'm afraid I just have to live with it . Doesn't it give bugs a way in and out... or a place to hide??


I would add a bull nose possibly to the top or another decorative trim piece that you like
Agree with BB; 1/4” is too big of a gap for the caulk to fill.
Is it possible that not enough finishing nails or brads were put in in the first place and the boards have pulled away a little? Try this first but be careful not to split the wood by drilling tiny holes first if you use finishing nails. A nail gun does a much better job and easier to work with. Other than that, another piece of moulding on top could make it a little wider and more decorative if you select the correct trim.
Looks like a pre-fifties house. It appears the trim piece raised up from expansion and contraction (may be a lack of insulation behind the wall if it is an exterior wall. You might be able to use a small piece of 2 x 4 and tap on the top of it with a hammer and push it down a bit. Otherwise you need to use a nail punch and hammer in the nails (you can see the wood putty covering the hole) then you can remove the trim. Trying to pull this old brittle wood out with a hammer claw or pry bar will just guaranty splitting and damaging the wood!
I wouldn't caulk such a big gap. A narrow piece of decorative trim along the top would finish it off nicely.
More trim (small quarter round, etc.) can be added to top, but you will need to match the stain. A 1/4" gap can be caulked if desired.
Beautiful Woodwork! I have same all around my home. In 1908 it was hauled here from Wales by my Grest Grandfather. In 1953 my grandfather had same problem as you. In 2008 I had same problem as you.
This occurs due to expanse and contract of the wood over time. That Bends the Nails. This can result warpage if you let those nails in as they are.
The Real solution is not altering the wood in any way, nor letting the nails Damage the wood further, but rather: Securing the Nails do not Damage the Wood worst than the bent nails already has.
DO NOT, I repeat, DO NOT use a Hammer on this Job.
You just can't.
So what you do is: you have to get a Putty Knife, a Goid Sturdy One, and Tape it ALOT to create a Soft Pry Tool.
You use this to: Very Very Gingerly pry and remove the Top Trim from the baseboard.
Once you remove that Trim you are enabled to much more easily examine the Damage.
To remove the Rusty Bent Nails you cannot Pull These but Instead very Gently Push the Old Rusty Bent Nails Out from the Backside with a Piece of 3" Oak.
After you get all the Nails Out, then you can easily Putty the Damaged Areas few ever see, and Place it All Back where it Belongs by: Use of the Preexistent Holes as a Guide for Predrilling through the Preexistent Holes and using your Oak Board as a Substitute for a Hammer to Push the Nails into the Predrilled Holes.
If you can, get some Welsh Glue to Dip the Nails into, so these are Good and Sticky before you push these into place through the Predrilled Holes.
Using the Glue will make the Next Job in 44 Years or Less be Much easier because the Glue will more easily give than the Wood.
Take your time. Be Patient. Do it Right, like a Pro. And as anything else in a Home: By the time you're done these unending jobs of homeownership you will be ready to either Die or Sell the Home.
run a thin long knife , bent at an "L" angle , this will let you find the nails that originally were used. i would use a brad nailer ,pushing the wood back in place and nailing it back in to place, some of the old nails may pop or show on surface, you can the use a punch to push back in
or an easier way would be to add a trim on top, my choice would be a 2" high straight trim piece stained first to match and then attached w/ brad nailer, could get a similar look