


Old Hutch Top Makeover - Flip It Upside Down!
As many of ya’ll probably already know, I LOVE saving old hutch and buffet tops! They are my favorite pieces to repurpose because they always get overlooked and thrown away. Most of the time, you can find these for dirt cheap and even free because others do not see the potential these pieces have. Which is a plus if you’re a furniture flipper!
A few months ago, I recently completed one, and by my surprise the pin went viral on Pinterest! ( See it here).
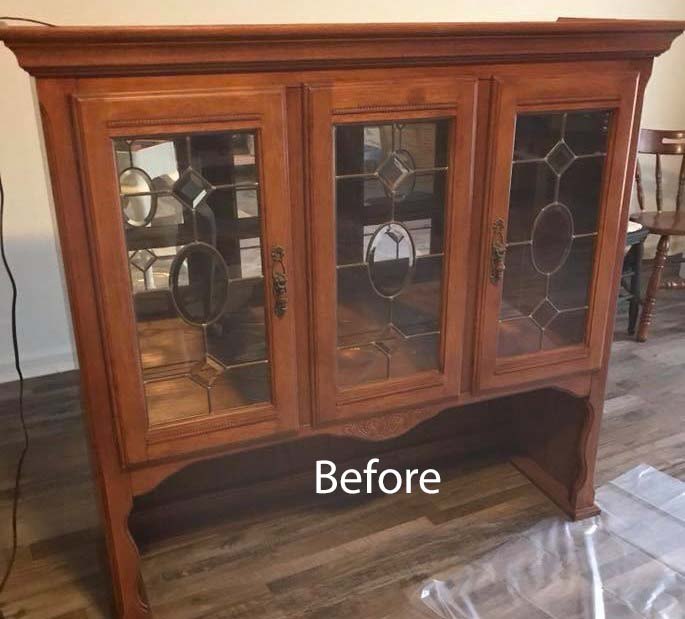
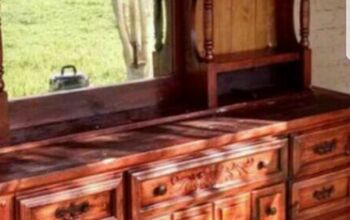
I was so excited! I did, however, receive some criticism about flipping it upside down. The comments were criticizing the fact that I left the arch on the doors on the bottom, instead of turning the doors up so the arch would be on top. My husband noticed this before I started painting, but my feelings were strong about leaving them on the bottom. So, he complied. Here is the hutch top before I flipped it upside down.
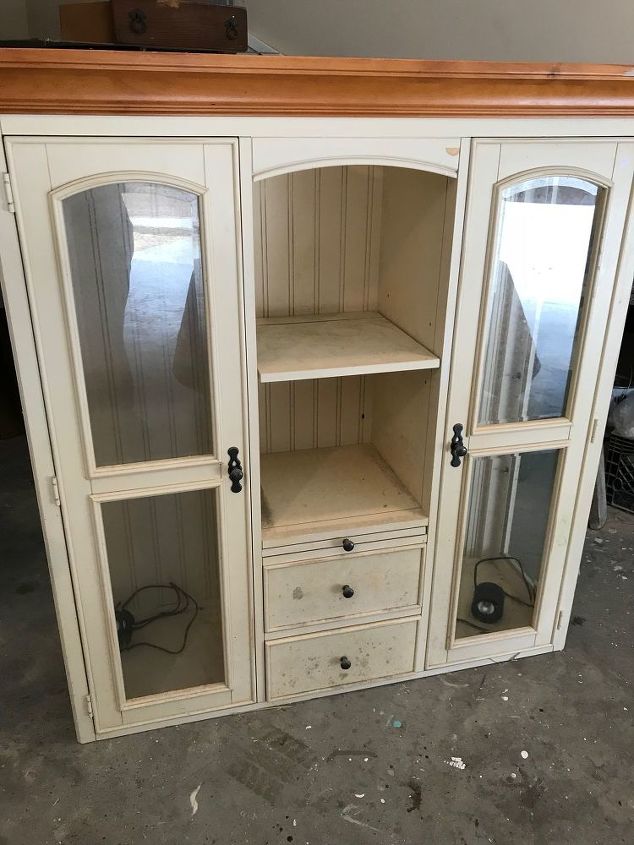
I wanted this piece to have a unique feel. I wanted it, to well, be different, stand out in a crowd so to speak. And after staring at it for a couple of days, I felt it “flowed” better with the arches left on the bottom.
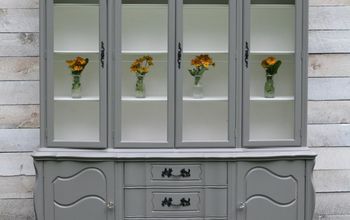
Here is a picture with the arches left on the bottom:
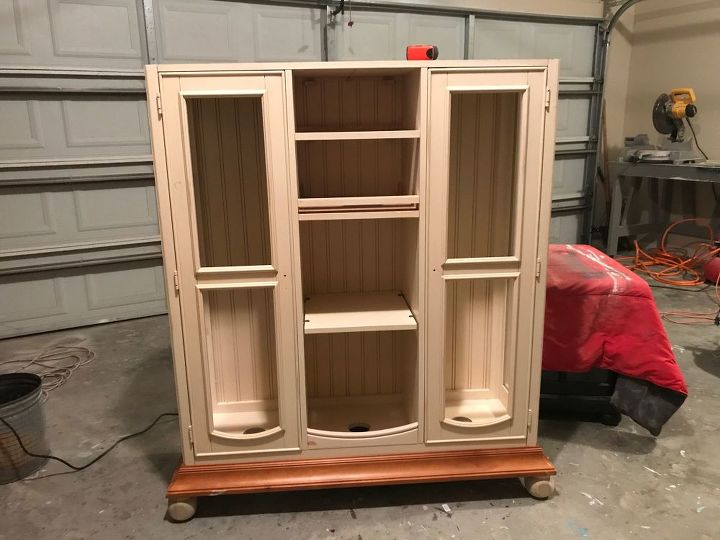
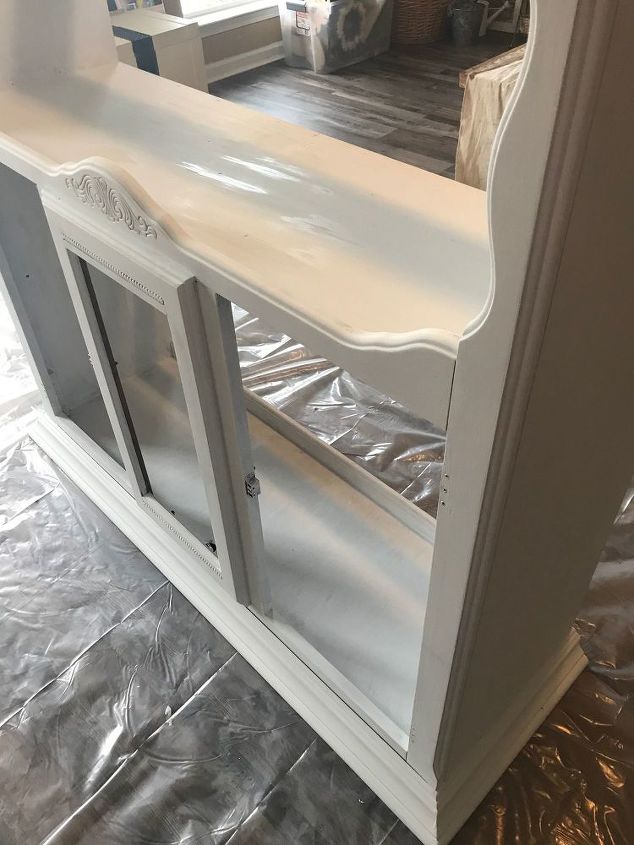
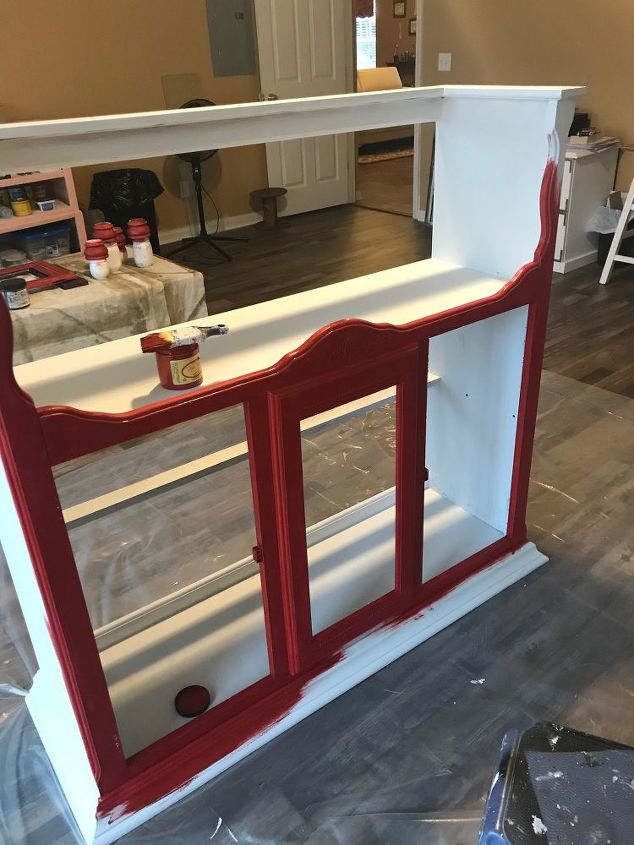
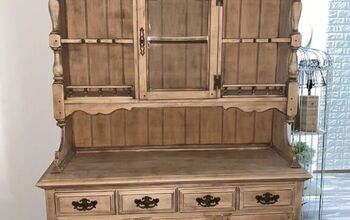
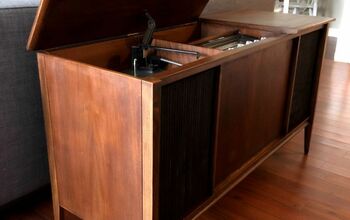
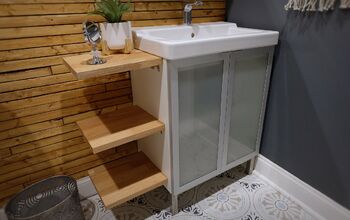
I decided with this top to flip it upside down as well because it’s what I do! I did not have to worry about the door trim, because both doors were the same. Let me explain why I like to flip them upside down. It places the molding on the bottom and allows for an open shelf on top. Here is the top before I flipped it upside down:
Here is it flipped upside down:
Now onto the flip!
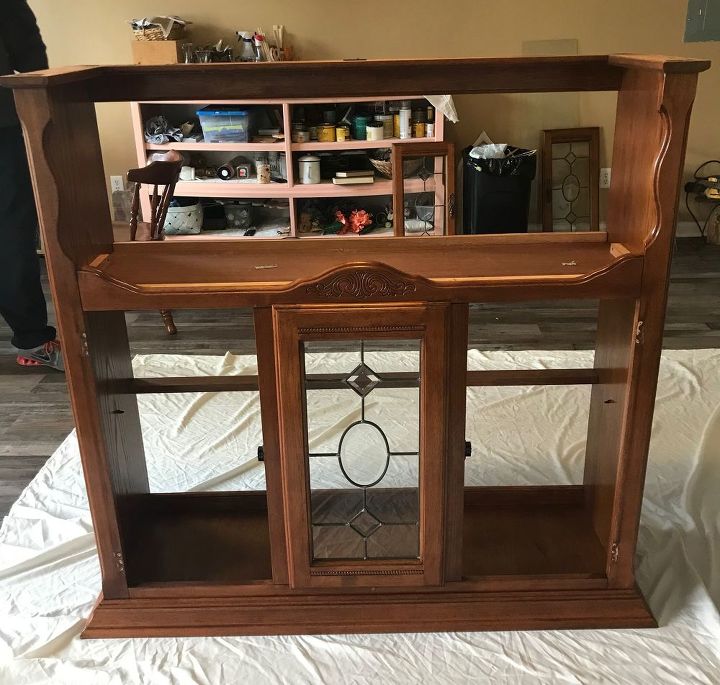
The back was part mirror and part wood. I decided to remove the back and replace the entire piece. I could repurpose the mirrors which were a plus. There were two mirrors total and the length would make perfect full length, floor mirrors! (Look for a blog post about this soon)! I always save and repurpose what I can 😊.
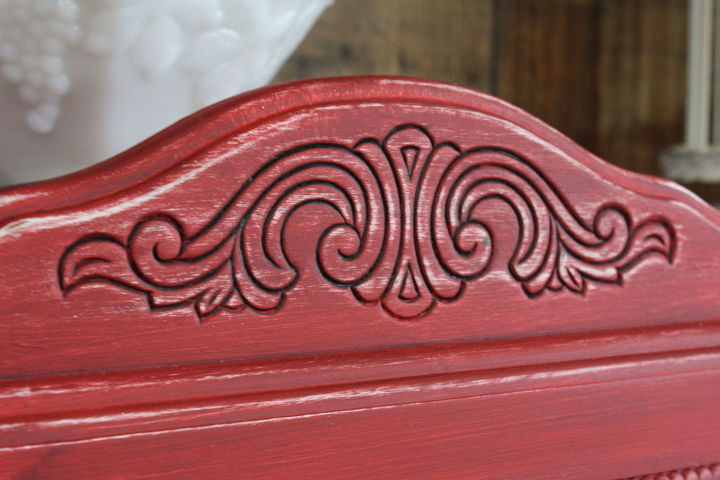
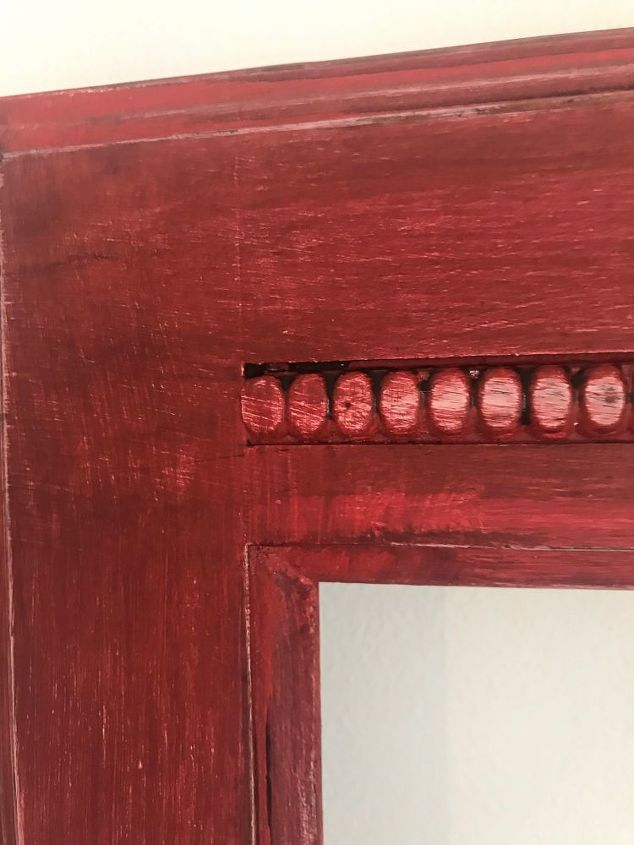
I decided to use Dixie Belle Barn Red ( the color I used on my dining room chairs you can see here) with Cotton as the base color. I saw this gorgeous piece on Pinterest which gave me my inspiration for the red and white colors.
For the back we visited our local Lowe’s. I found several paneling pieces, but they were just too, well, panel looking for lack of a better word. Then the nice salesman asked me if I needed help, so I explained my project and what I was looking for. He took me and showed me the perfect wood panel piece! It cost around $18 bucks. It’s like he read my mind! He even cut it to the size I needed, which saved the Hubs time.
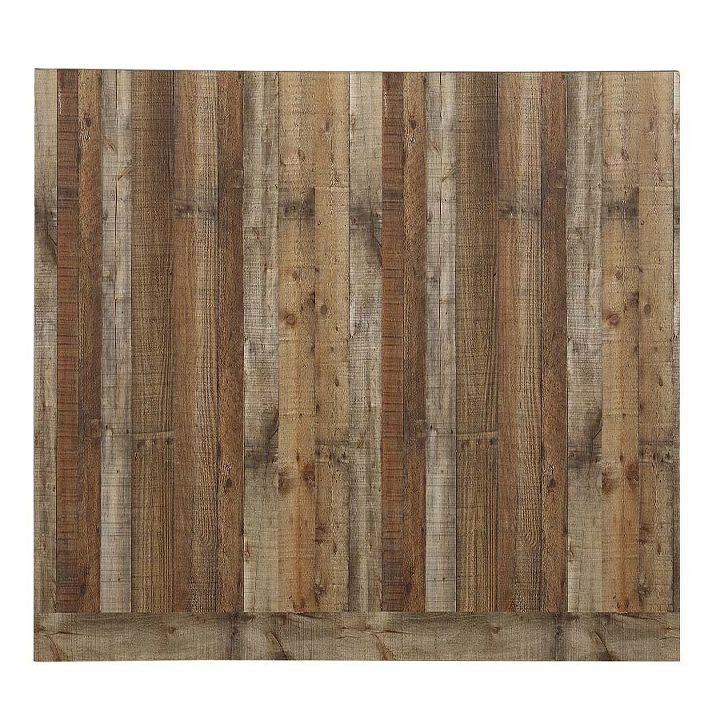
With the back purchased, it was time to head home and get started.
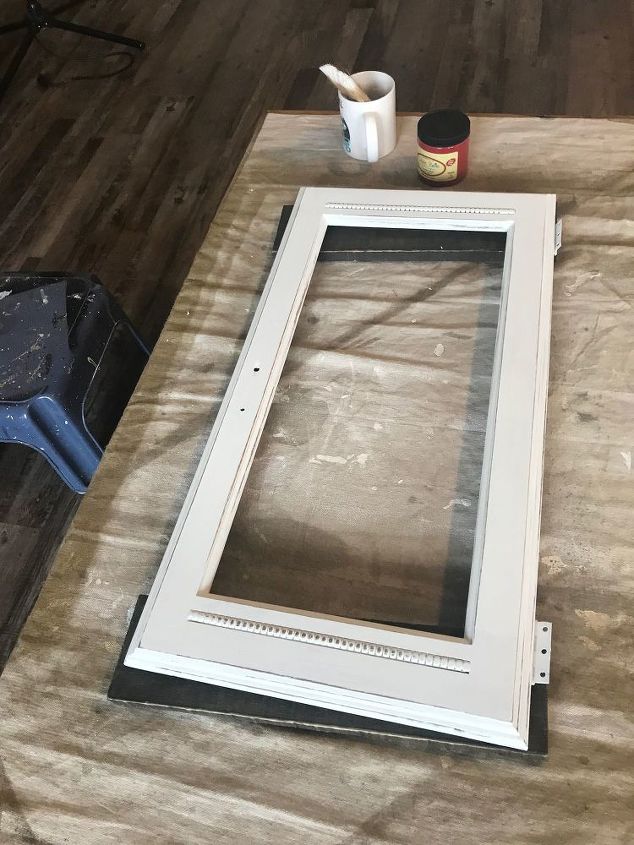
The first step was to remove all the doors and hardware. The middle door was not actually a door. It was part of the top so I left that in place and just removed its glass. I removed the glass from the other two door fronts because I wanted to use chicken wire. I felt the piece needed some height, so I found four bunt feet that I salvaged off another project in my stash.

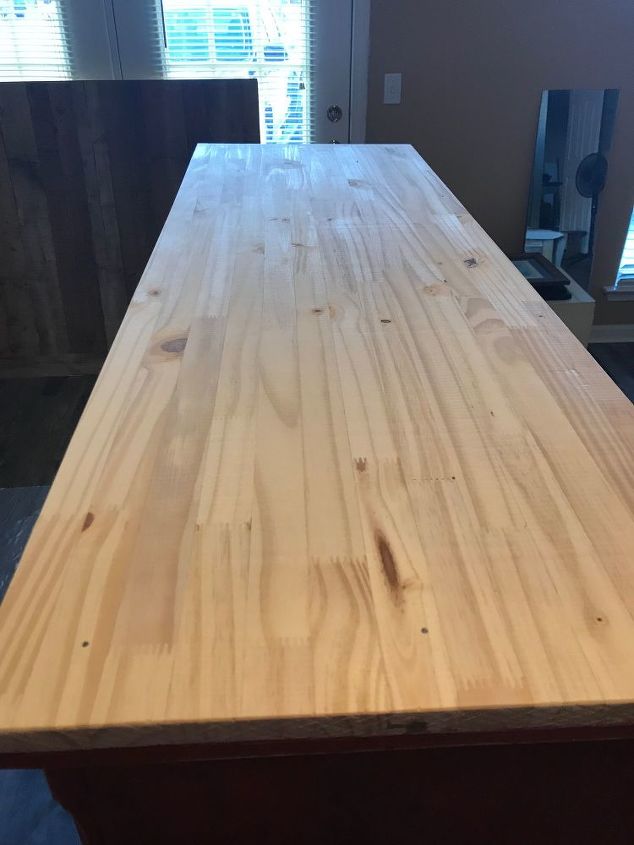
The Hubs then added the top. We purchased a 6’ spruce pine board. These come already cut and with a smooth, sanded finish. They also stain very well too. The Hubs cut the board down to a 4’ piece which is what we needed for the top.
I sanded the entire hutch top very lightly, just enough to “rough up” so the paint would adhere. I then cleaned the piece with TSP cleaner.
I applied Dixie Belle Cotton in two coats to the entire piece inside and out as well as the doors and the new top. I allowed the first coat to dry for about 2 hours, and then applied the second.
After letting the piece dry overnight, I then started adding the Barn Red. It took two coats of the Barn Red. Note: I applied the Barn Red to the doors first, so they would be ready for the Hubs to add the chicken wire while I finished up the rest of the top.
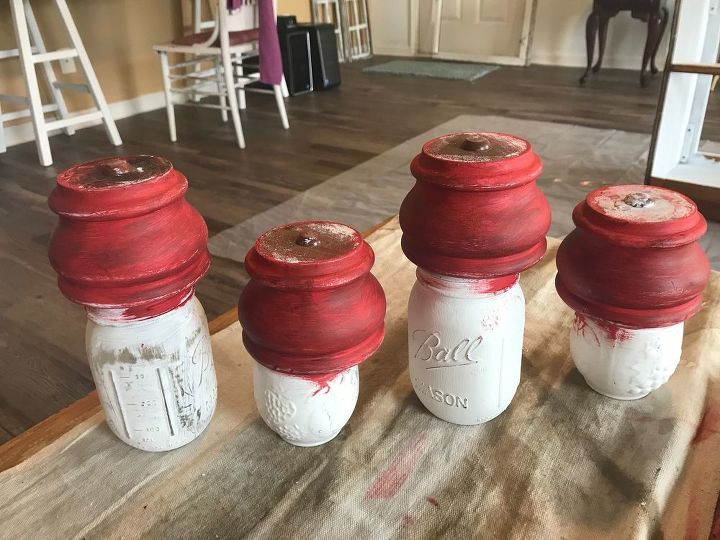
I painted my furniture feet using the same technique as well. I used mason jars to hold the feet while I painted them. See how they fit nicely on top of the jars? This allowed me to spin the jar to paint the entire foot without ever touching them. Pretty neat huh?
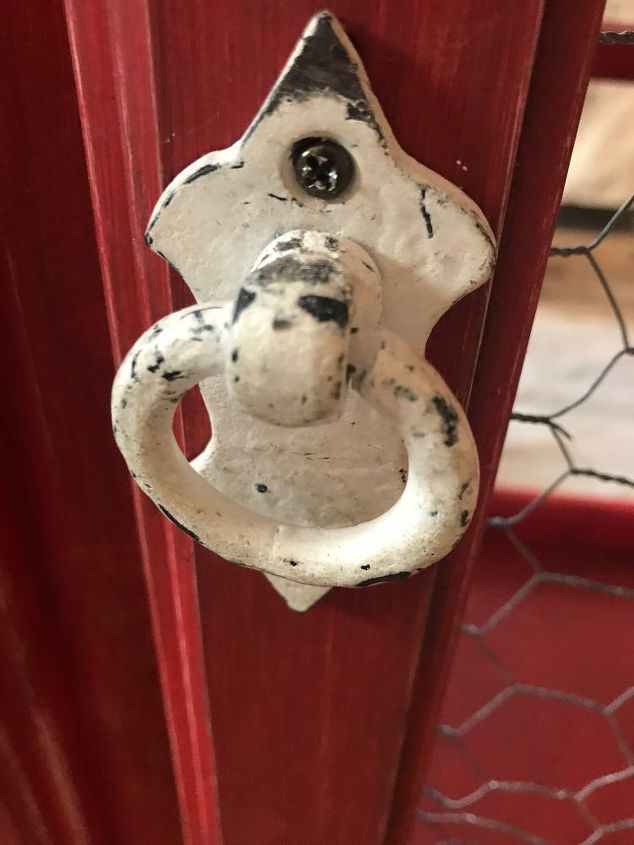
I had three white hardware pulls. All I did to these was paint them with the Barn Red, because they were already white. I got these pulls at Hobby Lobby for 50% off.
The Hubs added the back and the feet for me. He also added the chicken wire to the doors.
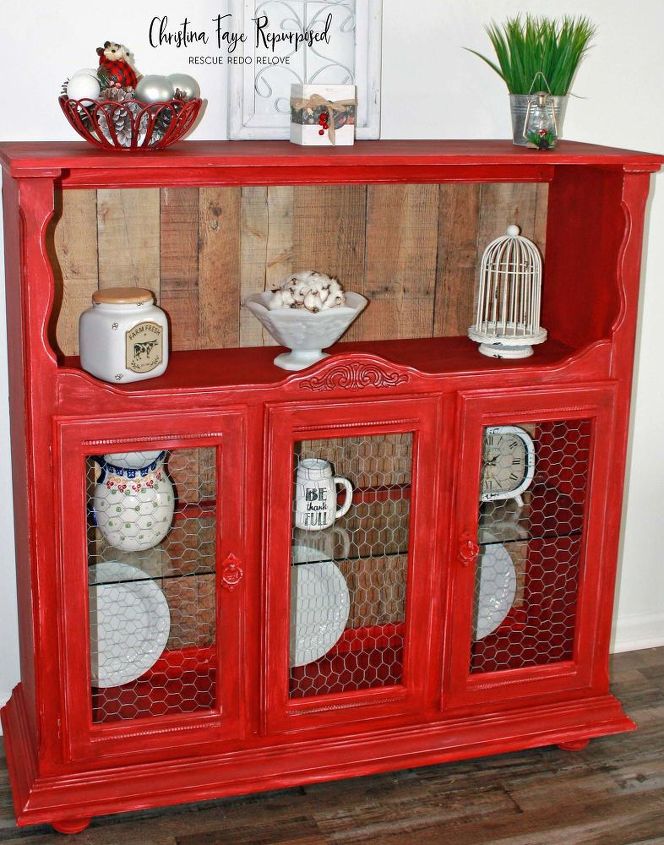
Here is the finished hutch top! It's absolutely perfect and the great thing is it can be used just about in any room of your home 😊
Resources for this project:
See all materials


Comments
Join the conversation
-
Good job! I would have painted the hardware a different color rather than have it match.
-
Very inspired. Love the idea of flipping upside down.
I am not a Shabby Chic fan, so I would love to do this and paint a solid color and leave the top wood.


Frequently asked questions
Have a question about this project?
It’s a great job. I just don’t understand the paint job. Why not smoother and covered. I just think it would look better. Just my opinion.
What in the world did you do with the glorious leaded glass in the original doors??? I can't imagine doing away with that for ANY reason. I hope at least that you have saved it for another project. (Or, you could send it to me...) The color, however, is to die for. Nice job...except for the leaded glass.
Shari
What happened to the cabinet with the arch in the doors and the drawers?