


How To Upcycle a Wooden Table With The Tree of Life Mandala Stencil

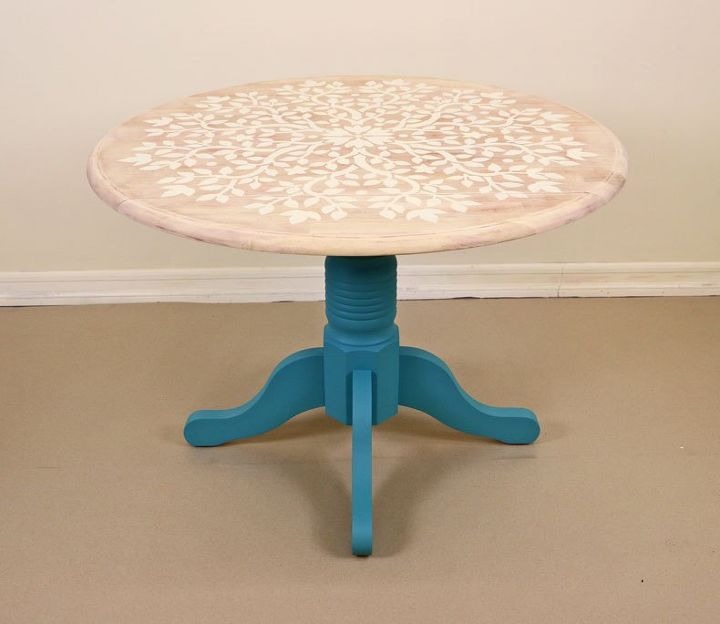
Welcome back, Cutting Edge Stencils fam! You all LOVED the final outcome of this stenciled wooden table so we decided to show you how to do it! Think twice before throwing away your old wooden furniture! Using our antiquing techniques and trendy mandala stencils, you can create a brand new wooden table for your DIY home decor! This step by step tutorial is super easy and you can choose from our large list of stencil designs to make it your own, but today is about our !
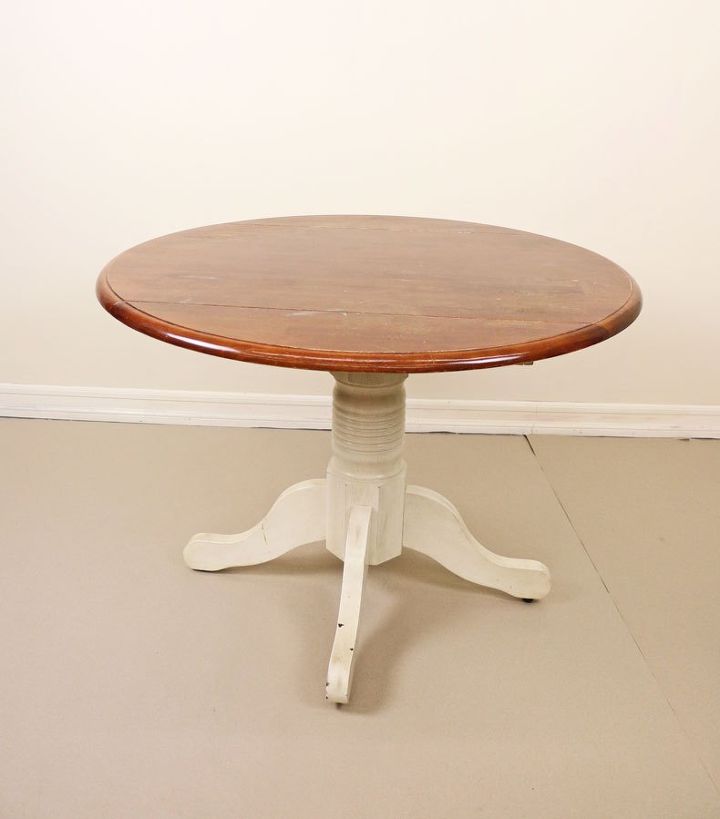
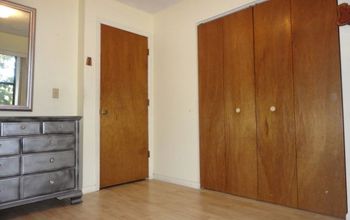
BEFORE!!
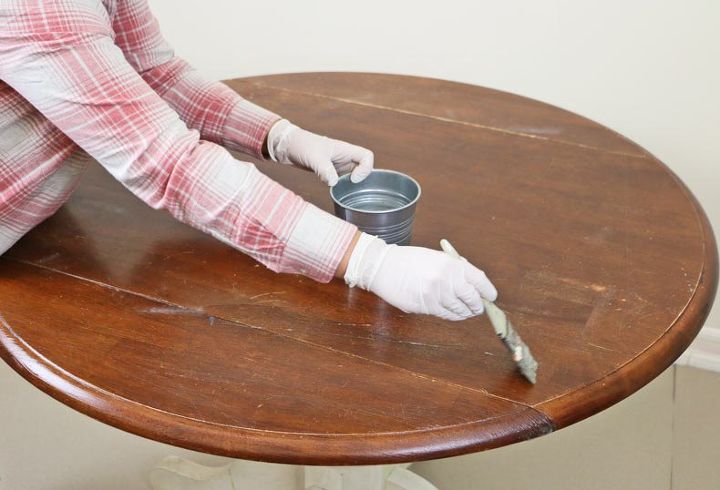
There are a few steps we have to take before stenciling on the natural wood top. This would be stripping away the current clear coat thats on the table. Here we are using Klean Strip Premium stripper. But, any brand will work just fine and you can find them at any local hardware store.
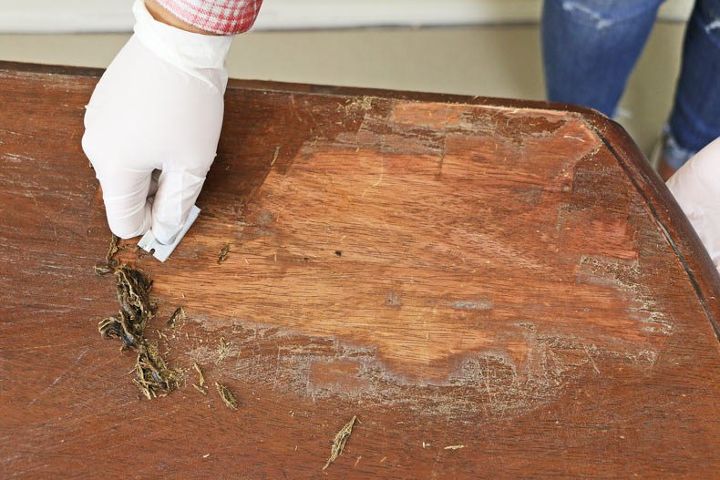
After waiting 15 minutes like the directions said, we are going to scrape off the top layer. You can scrape it using any sharp object such as a small razor blade we have used below! Just be sure not to scrape the top of your wood!
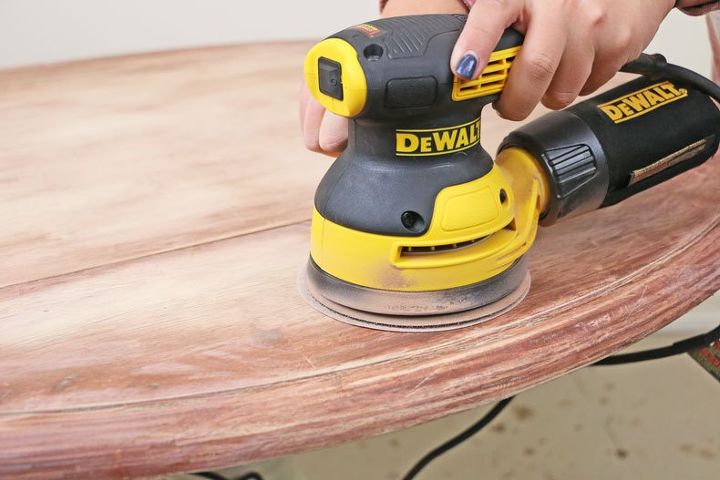
Next, we want to remove that brown stain that was sitting under the top coat. Using 120 to 220 grit sand paper, we will sand it off so we can stencil on the original wood. An important part of refurbishing your old wood is keeping the existing details.
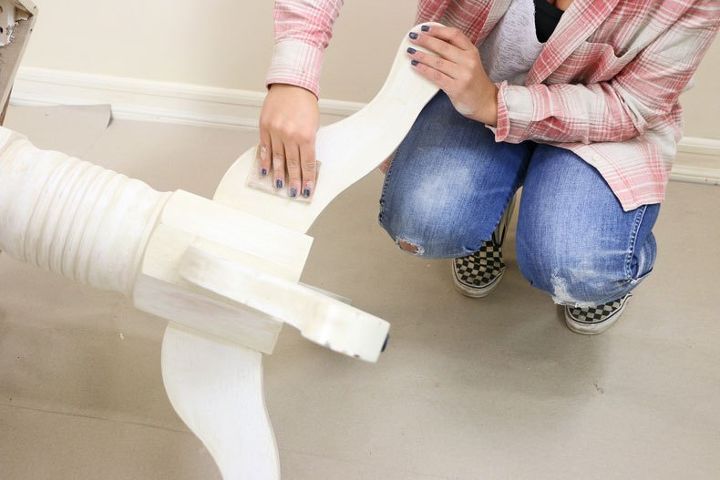
Now, let’s prep the legs. We are going to create some adhesion by sanding the legs with 120 grit sand paper.
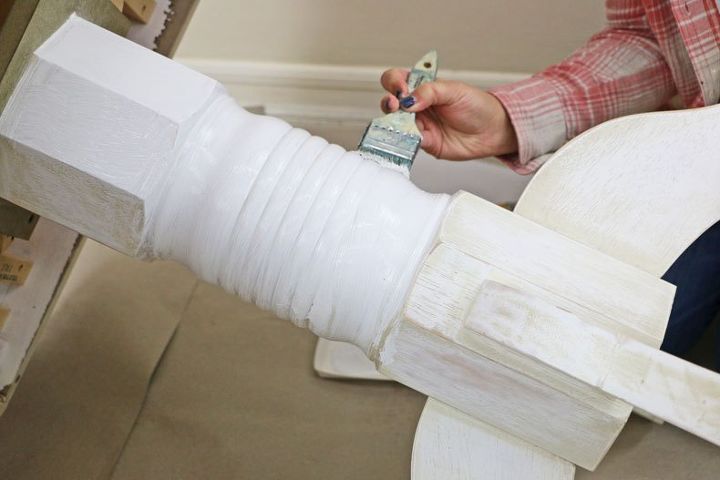
Then, we are going to prime them using STIX Bonding Primer. We find that STIX primer creates the best adhesion!

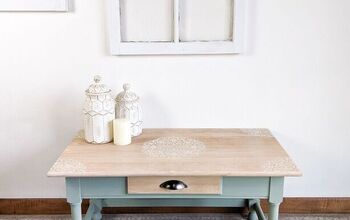
Then, we are going to paint the legs with a teal color! This specific color is Benjamin Moore’s “Poseidon” in a semi-gloss finish. We want to paint in a semi-gloss finish because we will be antiquing this with a glazing medium. The reason behind choosing a semi-gloss finish for the legs, is because the flat paint does not take glaze well!
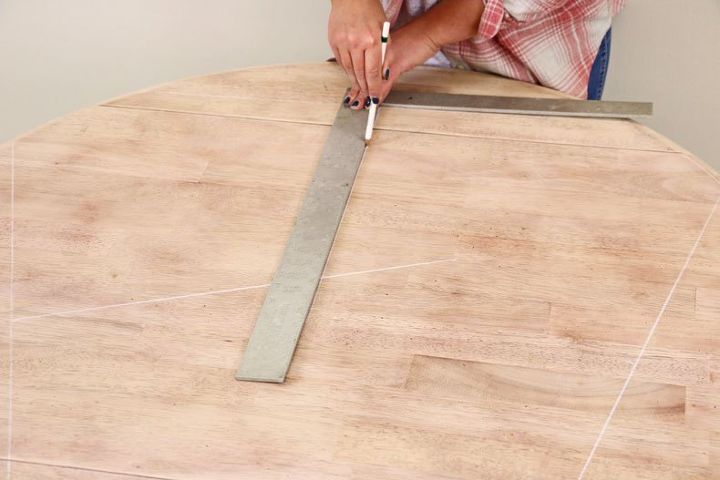
We want our mandala stencil directly in the center of the table. We are going to be drawing three chords on our circular table top using a chalk pencil! A chord is basically a drawing between two edges of a circle. We chose chord lengths that are easy to divide in half. So our first chord is going to be 26 inches. Then you will put a mark at 13 inches (which is half).
We are going to take our square and draw 90 degree angles from each of the three midpoints. When the lines start to cross each other, you will see the center of your table!
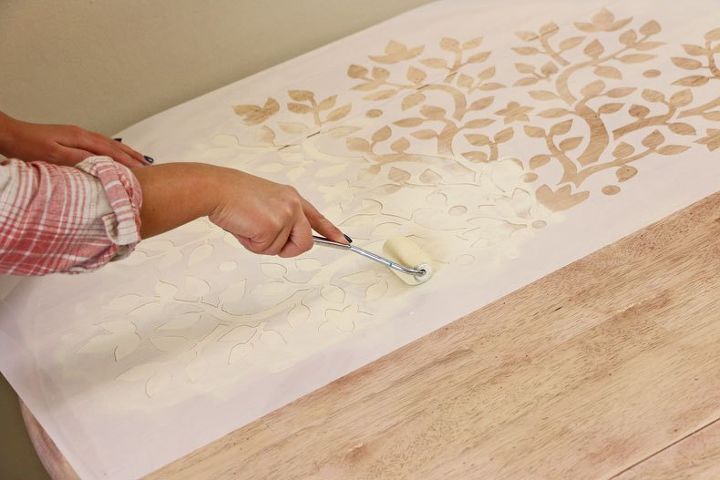
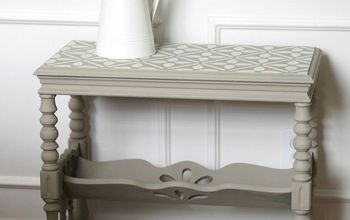
Stenciling on wood is tough because if might not stick right away. But remember to roll gently or you will get bleed! take your time and remember how amazing your furniture will look once its complete! Because wood is very porous, take a professional stencil brush and pounce the areas the roller could not reach.

When it is completely dry after a few minutes, you can do the next side. Easily align your Tree of Life Mandala stencil with the previously painted area and REPEAT!
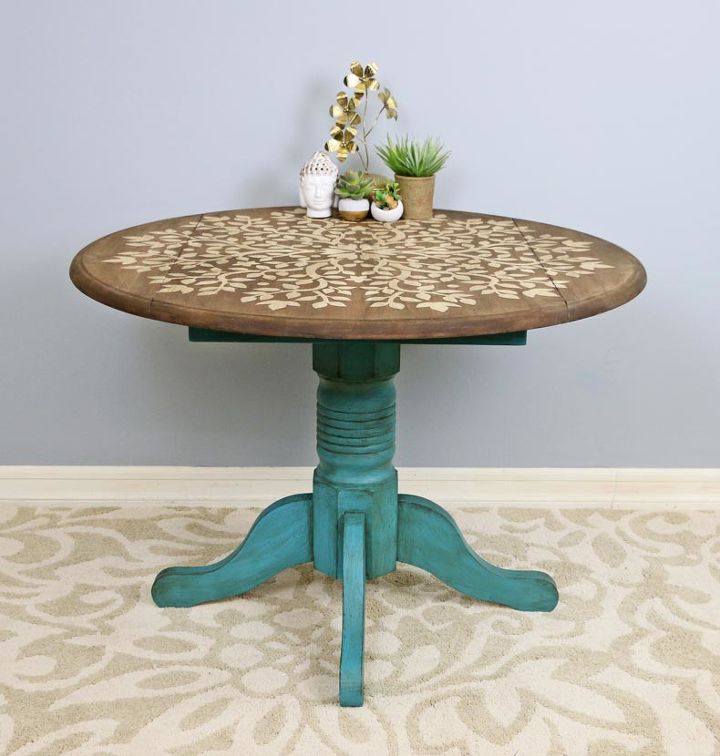
You can choose to leave it as it is but we feel a fresh new stain will bring the table together!

For this table, we used brown water based wood stain. We recommend water based because it adheres to the wood a lot better AND the clean up is much easier!
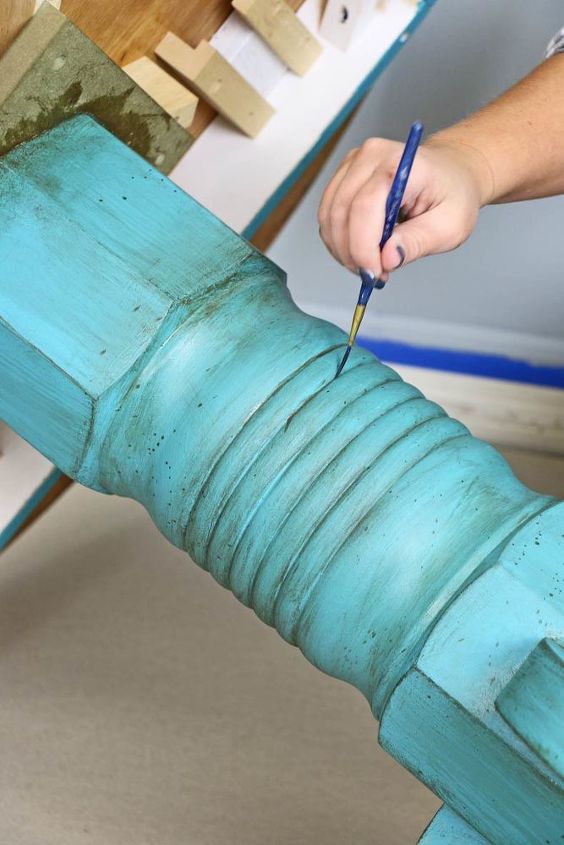
Now it’s time to antique your legs! You can use brown glaze or make your own. Making your own is super easy. You mix one part Raw Umber acrylic paint and three parts clear glazing medium! Raw Umber is the perfect color for antiquing and the medium will give it the translucency it needs! Be sure to get the glaze in ALL corners and edges.
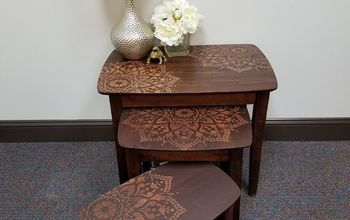
Stenciling ALL types of furniture is SUPER easy! Check out our website too see other stencil designs. Who knows, you might even stumble across the perfect stencil design for you furniture stencil that can help you transform your space!
FOR THE ENTIRE DETAILED TUTORIAL AND ALL PRODUCTS TO USE CHECK THE FULL BLOG HERE: https://www.cuttingedgestencils.com/blog/how-to-upcycle-a-wooden-table-with-the-tree-of-life-mandala-stencil.html
Resources for this project:
See all materials


Comments
Join the conversation
-
Gorgeous! I love it!
-
Just beautiful!


Frequently asked questions
Have a question about this project?
Just curious...why do you stencil first, then stain the wood? Could you do it the other way, then put your sealer on it?
I have a 5’ metal leaf that i want use as a stencil on wall. Any ideas??
I’m thinking about using this method on an unfinished guitar body, from a finished texture standpoint do you feel the stenciled mandala as a different texture from the wood, or does it all feel smooth?