


Bread Rack Makeover

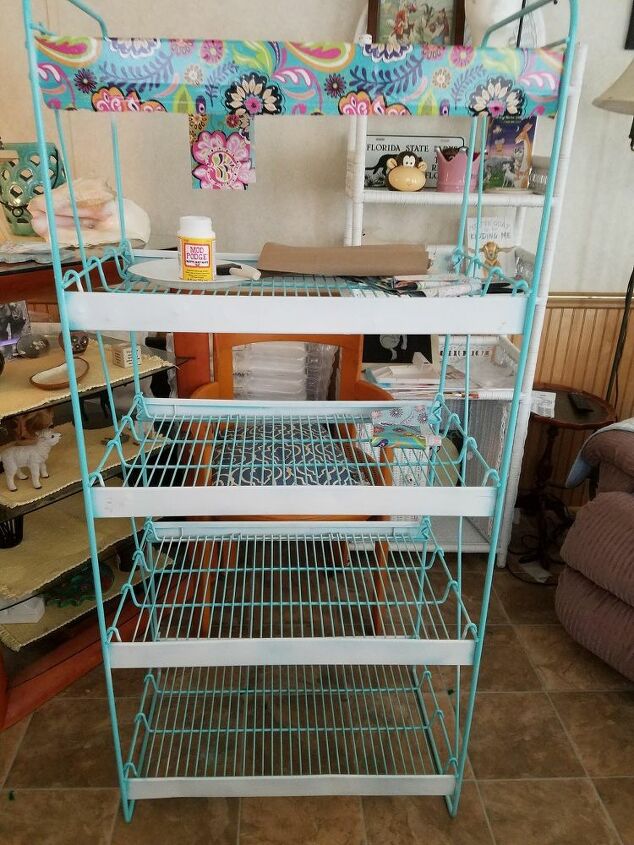
Hi! This is my first post and my first attempt to decoupage...wish me (or you well!) I found a vintage 5 shelf wire bread rack covered in spiderwebs, rust, some dents and flaking paint in the back of a garage sale covered with yes, you guessed it! More spiderwebs! But the bones of it were still good and I needed a storage rack. Win-win!

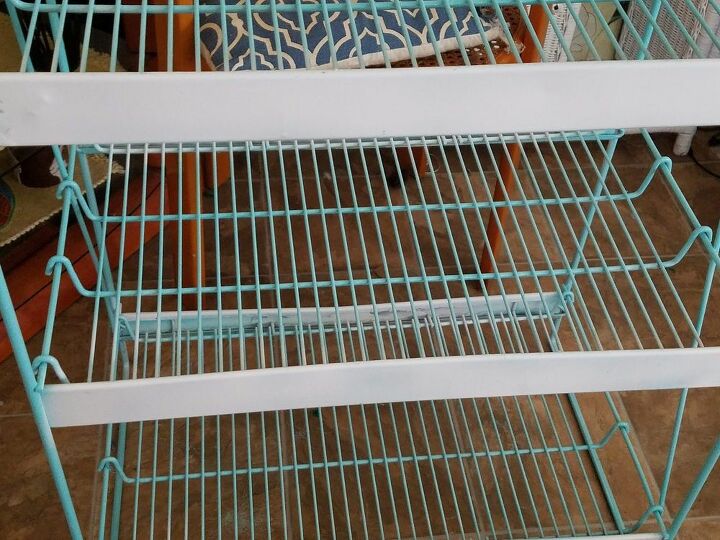
I was so excited to get started, I didn't get the whole rack before taking a picture but here are the bottom two shelves as I was de-webbing. I used a wire brush to get the rust off the racks. For the metal plates, I just used good old fashioned sandpaper grit (It's what I had on hand.  Bad pun, I know!) After I sanded, I wiped it down really well with a damp rag to get the loose dust off and to check on any rust areas. Time to spray paint! Side note...I left the shelves in place but next time, I would remove them for better coverage.
Here are the same shelves having been spray painted (outside, of course.) I used Rustoleum white and Rustoleum Light Turquoise ( one of their new colors.) It took one full can of the Light Turquoise and about half a can of the white. The dry time took about two hours. After inspecting for rust areas, I found the paint was not adhering to some unknown substance that I couldn't see or feel but the paint wouldn't stay put. This is when I decided that it needed something different done! It was time for me to try decoupage!
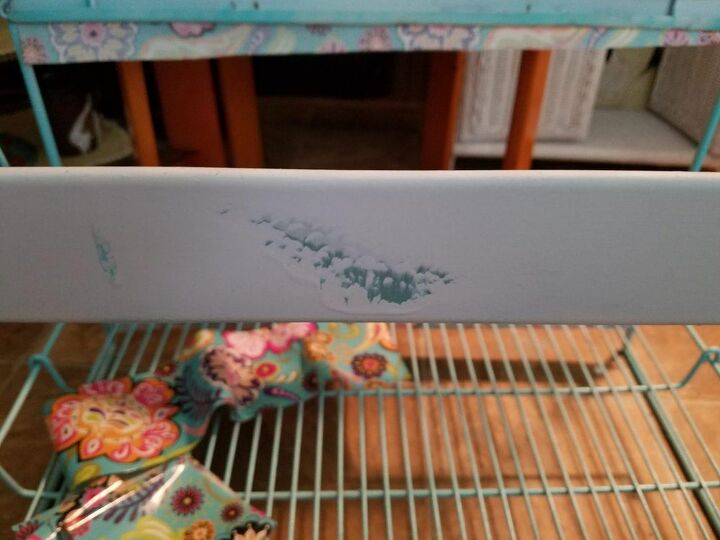
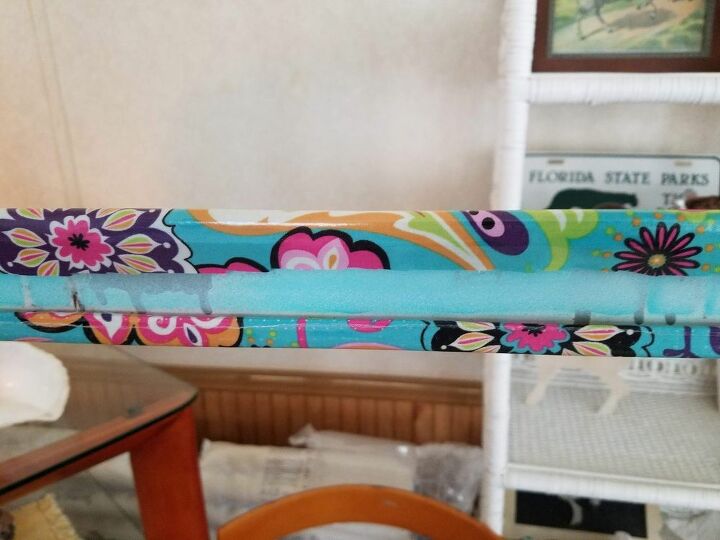
The offending paint runs! 
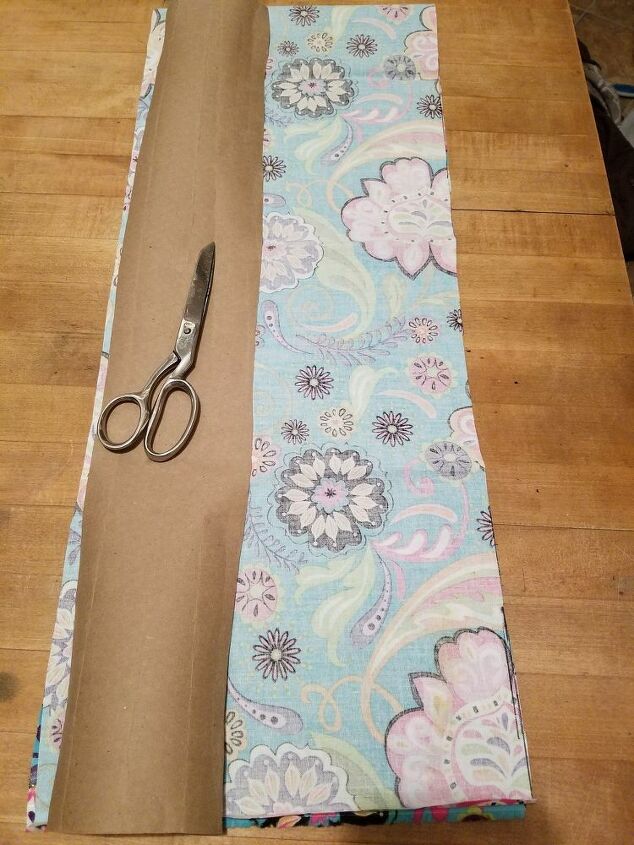
I decided to use this paisley print oilcloth because I had it from another project (I found 8 large pieces originally at a thrift shop for $2.00!) and I love the colors! I made a template from scrap lightweight cardboard (it was a Christmas paper tube I saved... just knowing I would need it for something...as husband shakes his head! lol) I measured the length of the metal face plate and the width with enough to wrap around the back part of the plate. I did this to create a challenge for myself, I guess! But really I wanted to try to have a more finished look.

I had to cut ten strips but wanted to show the material edge. It doesn't matter that it isn't a perfect edge or cut as it will be tucked under the backside of the plate lip (where the racks hook into the plate.) If I wasn't wrapping around, I would have let me perfectionist self cut it perfectly straight until I wouldn't have had anything left! lol
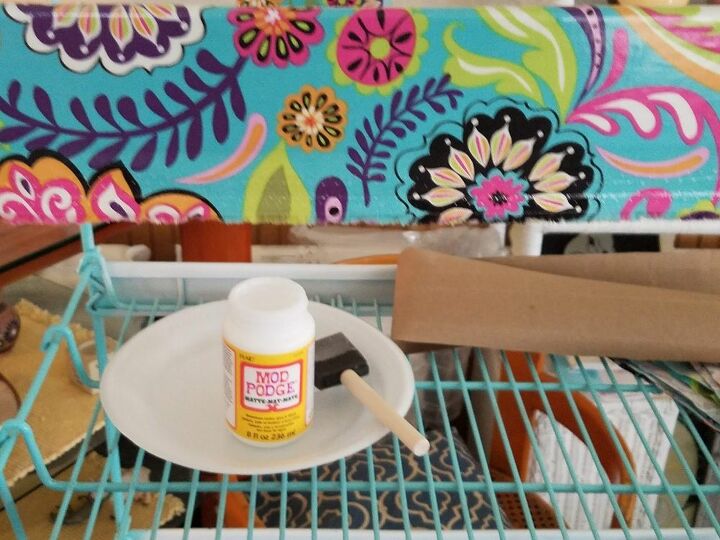
Tah-dah! Mod Podge and a foam brush! The go-to of decoupage crafters, so I have been told! I spread a generous amount (but not dripping) on the back of the oilskin and on the metal plate. Remember, this is my first decoupage project so as I did each shelf, I learned a few tricks for this project...1) remove one shelf at a time... it keeps the rack sturdy, the shelves hold your tools so you don't need to reach for your stuff. 2) Put Mod Podge on both the oilskin and metal plate not just one. It bonds better. 3) Wait until the Mod Podge becomes a little tacky but still able to slide the material around for placement and to get air bubbles out. 4) Work one direction to get air bubbles out and not just pushing them one way then the other. 5) Don't plan on your hands staying Mod Podge-free! As you tuck the material into the back, my fingers were my best tool for pushing the fabric into the lip where the rack hooks. (Yes, I tried gloves but they either tore or were too cumbersome. I did try other items like scissors, old ball point pen, etc to tuck the material but fingers were best to feel the "seal.")
One shelf at a time...I didn't need to keep bending down or reaching for the Mod Podge...great for my back! I would recommend doing this outside but it was a rainy day and there was a good game on!
The back of the metal plate where I started tucking the fabric into the lip. If it was a little too much material, I would trim it as I went so it would fit in the lip better. Yes, I missed a few spots with the paint...I decided if I can't live with it, I will make a cover but will need to work around the rack hangers. Another challenge...maybe! 
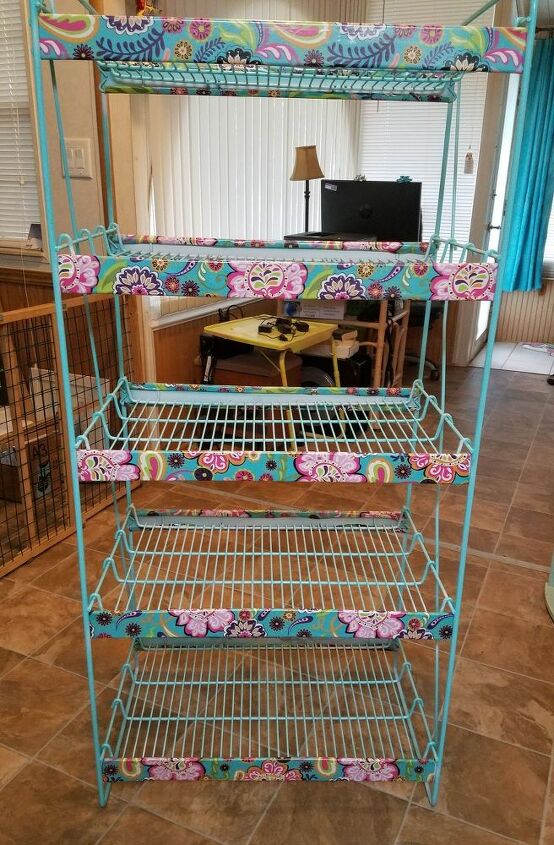
The finished product! The picture doesn't show all five shelves and the rack isn't perfect but I am very pleased with my first try! As it gets used, I will watch the hold on the back side and reapply Mod Podge if needed. The cost for the project was less than if I had to buy everything new but I had several items from previous projects. It took me a little longer as I learned and the total time for the project doesn't include the 24 hours dry time for the Mod Podge to dry completely. Thank you all for the ideas from your posts...I have a few hundred more projects to do now!
Comments
Join the conversation
-
It's so lovely! I'm looking out for your next project- cant wait!


Frequently asked questions
Have a question about this project?