


How to Get the Chippy Painted Look on Painted Furniture

So you love the look of chippy paint. But you're not sure how to get the look? I'm going to break down what exact paint to use, what not to use, and how to use the paint correctly to get a chippy old world paint job.
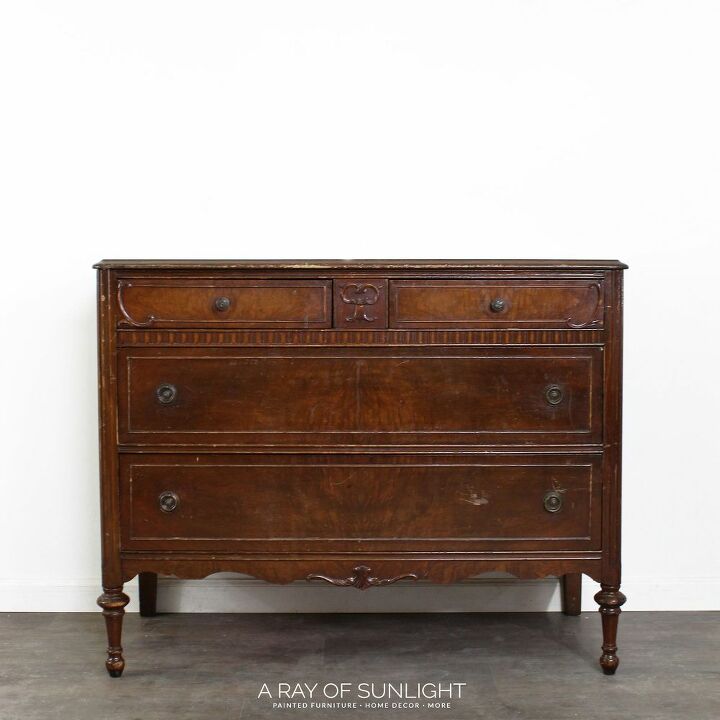
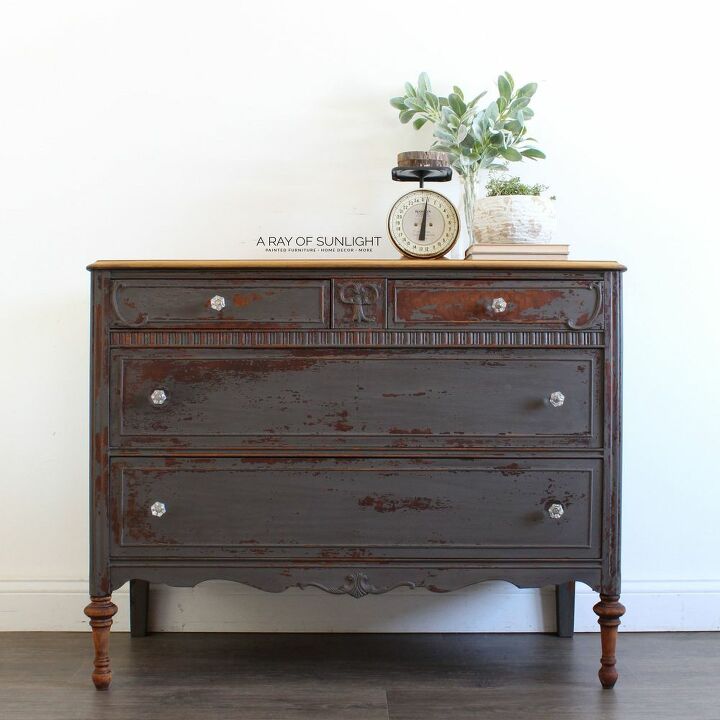
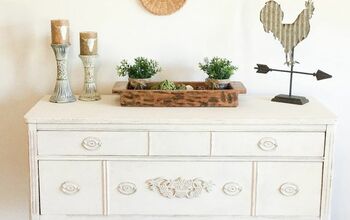
This is the dresser that I started out with.
The Secret Ingredient for Chippy
For a true chippy paint finish, there is no substitute for milk paint.
You have to make sure you're using the POWDERED milk paint. There are some companies that sell "milk paint", but they sell it in a liquid form. That milk paint isn't the same at all, (it's great paint, but it's not going to give you a chippy painted look).
Some of the companies that sell real milk paint are Shackteau Interior Milk Paint (the brand I used for this makeover), Old Barn Milk Paint, Miss Mustard Seed, Sweet Pickins, and Real Milk Paint. They all come in a powdered form and work pretty much the same.
Yeah, you could probably figure out how to get a chippy painted look with other paint, but it's not going to be as easy as using powdered milk paint.
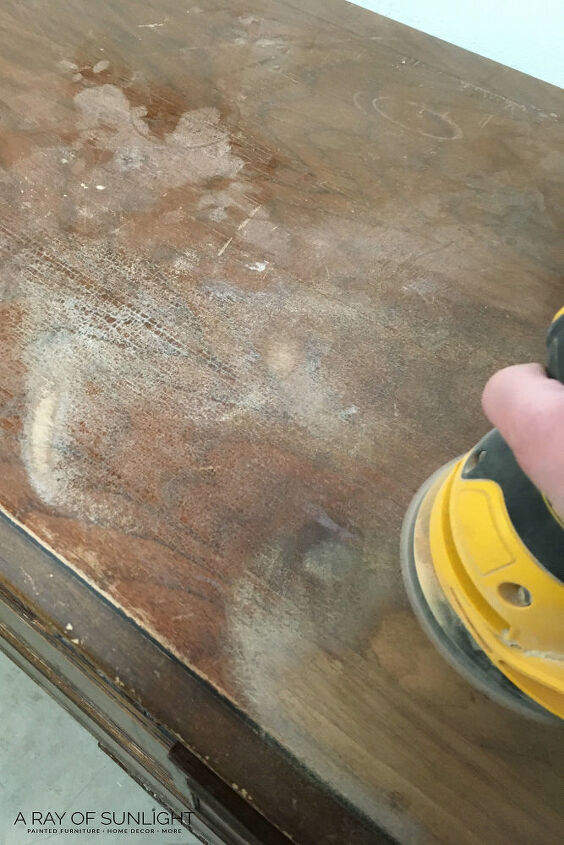
The Legs and the Top
The first thing I knew for sure was that I wanted the legs to have a farmhouse worn look. The top was in pretty rough shape too, so I opted to sand both the legs and the top down.
I first used 80 grit sandpaper, and then I smoothed down the wood with 220 grit sandpaper.
The legs were sanded by hand, but the top was sanded with my orbital sander.
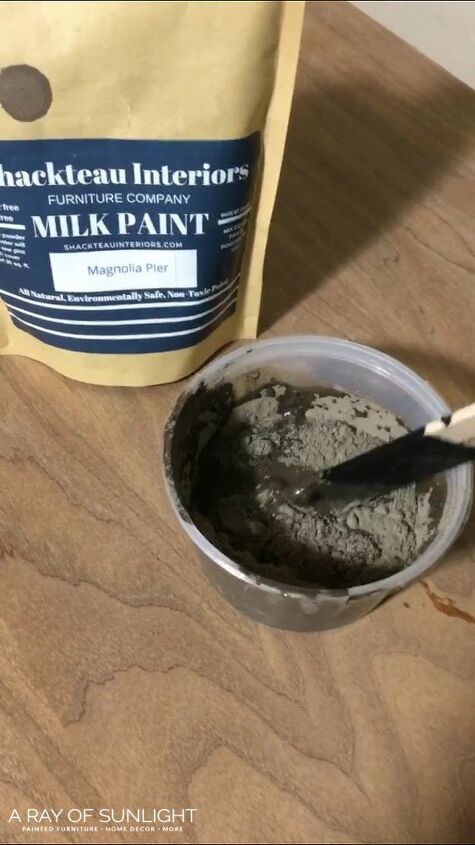
Mix Up the Milk Paint
Before I start to prep the furniture, I mix up a small batch of milk paint
This milk paint comes in a powdered form, so you have to mix it with water to create a paint. That’s one thing that makes it so unique and fun to work with.
Milk paint doesn’t last long once it’s mixed up, but has a very long shelf life in the powdered form. So you’ll want to mix up small batches, and only what you will use for the day.
The recipe calls for a 1:1 ratio of paint powder to water.
I measure out the amount of milk paint that I need into a clean container, and then mix in the same amount of warm water.
Once the paint is mixed up, I cover it and let it sit for at least 10 minutes. That extra time will create a smoother consistency and thickens up the paint a bit.
After I let it sit, if it’s took thick for my liking, I add a little bit of water to the paint.
There is nothing wrong with thickening it up or thinning it out to create the thickness that you like! Just add more powder to thicken it up, or add more water to thin it out.
Prep
While the milk paint sits for a bit, it’s time to prep the furniture.
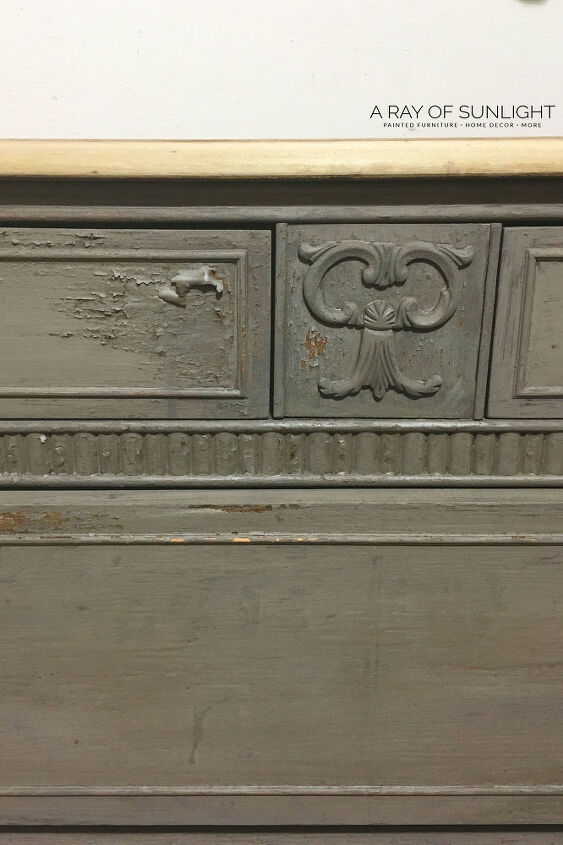
For this dresser I wanted to create a chippy look, not too much chipping, but I also didn’t want the paint to completely stick and not create any chipping.
In theory (milk paint really has a mind of it’s own though), milk paint will soak into raw wood. When it soaks in, it will bond to the wood and create a full coverage finish.
If the milk paint doesn’t have much to stick to, it will start chipping off once it dries.
So if you want it to stick to your furniture (and not chip), it’s best to scuff sand it really well with 220 grit sandpaper and mix some Extra Bond into the first coat of paint.
If you want it to really chip, it might be best to not scuff sand it. That’s not always a guarantee though, depending on how glossy or dry your wood furniture is to begin with.
Glossy surfaces will always resist paint (that’s why we always scuff sand on our usual prep). Dry wood is ready to soak in anything that it comes across, just like raw wood, so scuff sanding isn’t as important.
I hesitate to say that because with normal paint, I always scuff sand, even if the paint says it will adhere without sanding. But milk paint seems to be in a category of it’s own.
Since I wanted something right in the middle, (the wood on this piece was dry in some places, shiny in others, and rough in others) I decided to try using the Sander Deglosser, hoping that it would create some areas where the paint would stick, and others where it wouldn’t.
I put on plastic gloves, poured a little bit on my old rag and then wiped it onto the dresser. Then I let it dry completely.
How to Paint Milk Paint
I painted on two coats with a good quality paint brush, letting the first coat dry completely before I painted the second coat.
It's really tempting to sand and chip off the paint after the first coat dries, BUT if you chip it off now, and sand the wood under the chipped off paint, your next coat of paint will stick to the wood, making you lose the chippyness.
You'll also have to do a 3rd coat in those areas. Sooo it's best to just move onto painting a second coat before chipping off any paint.
When the second coat was drying I took my hair dryer (on it’s hottest highest setting) and tried to quickly dry certain areas, creating more chipping in that area.
Some places it worked really well, others the paint wouldn’t chip at all!
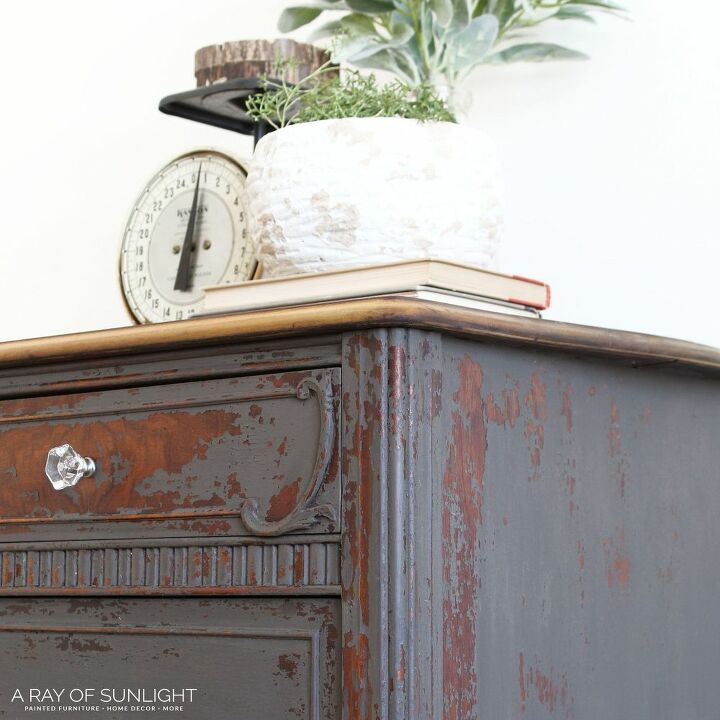
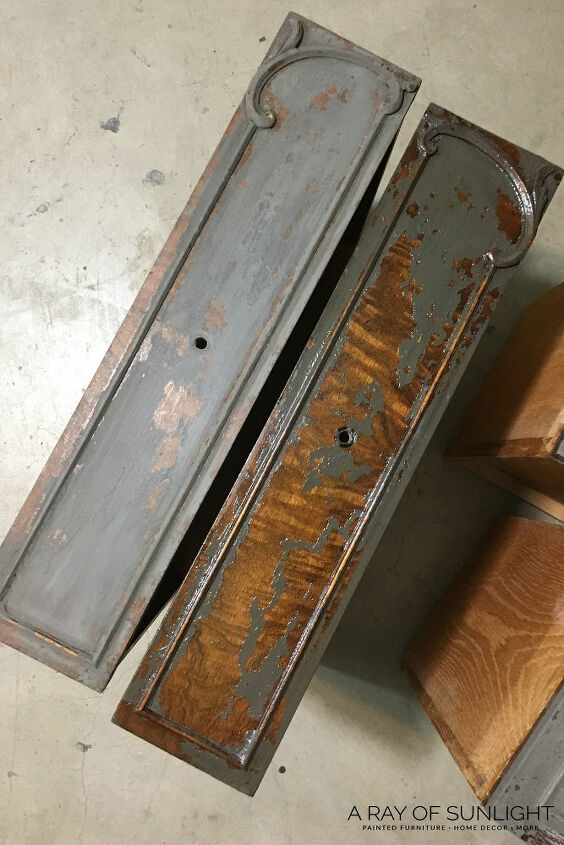
Chippy Goodness
When all the milk paint was dry, I rubbed off the chipping paint, sanded the finish down a bit more smooth, and wiped off all the chipping and dust with a Tack Cloth.
How to Seal Milk Paint
On this dresser I used Hemp Oil allllll over it. On the top, the legs, and over the milk paint.
Hemp oil is a little different than what I usually use for a topcoat.
I brushed it on and walked away for about 6 hours. Then I wiped off all of the excess that didn’t sink into the wood and paint. Then I put another coat of hemp oil on, and repeated the process of waiting for it to soak in, and then wiping off the excess.
Since it was the weekend, I let the hemp oil dry for a couple of days until I got back to work.
I hope you'll give milk paint a try! It's so fun to let the paint decide what it wants to do!
If you're not a fan of so much chipping paint, but you like how milk paint looks, you can add Extra Bond into the first coat of milk paint. The extra bond helps make the paint stick and not chip off!
Comments
Join the conversation
-
It was pretty book-matched mahogany or walnut painted over there. Someday someone will be able to take the paint off, though.
-
It came out stunningly beautiful!!!


Frequently asked questions
Have a question about this project?
Can you uses milk paint on leather
What did you do to the top? Is there no photo of that??
It says Don’t sand! But you use sand paper and an orbital sander. Am I missing something here?