


Thrift Store Makeover: DIY Wall Decor

by
Maura White
6 Materials
$15
2 Hours
Easy
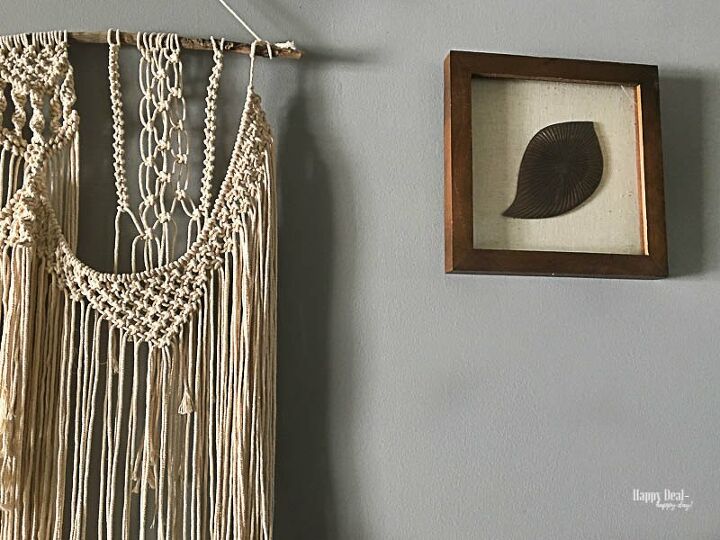
I recently completed a new DIY wall decor project that turned out to be a thrift store makeover. I found these nice solid wood frames with these plastic leaves in the center at a thrift store for just 25 cents each! I actually liked them the way they were when I first saw them.
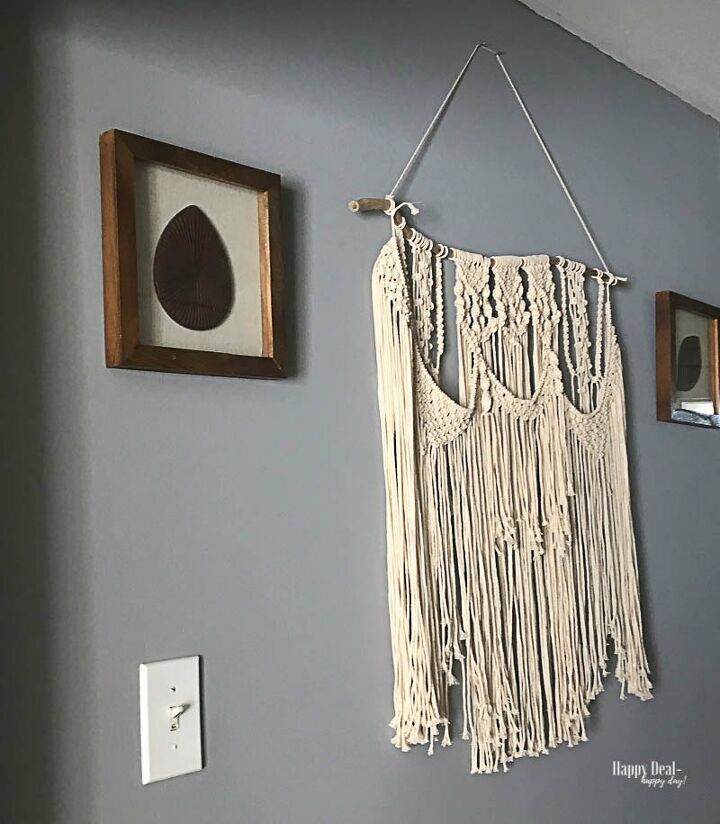
But I came home and hung them up next to this macrame wall hanging I made, and they just didn't do it for me. It kinda screamed the 90's to me after awhile and I decided they needed to be brighter with a pop of color. One of them also had a small crack in the glass in the corner. So check out the full tutorial below and see how I made completed this thrift store makeover into new DIY wall art!
Materials needed for your thrift store makeover wall decor:
- a picture frame that needs updating
- Antique White Spray Paint
- Dremel Multi-Max Tool - with sanding attachment
- (2) 6 inch Boxwood Wreaths
- White Organza Sheer Ribbon
- Staple Gun
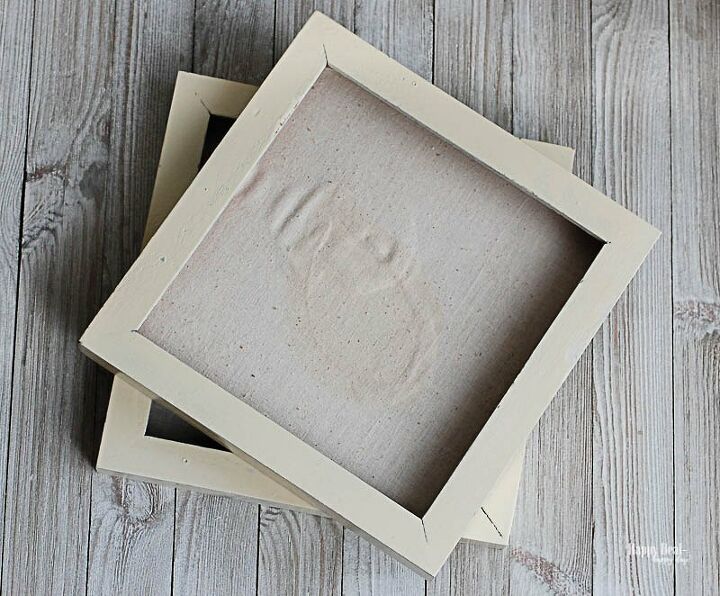
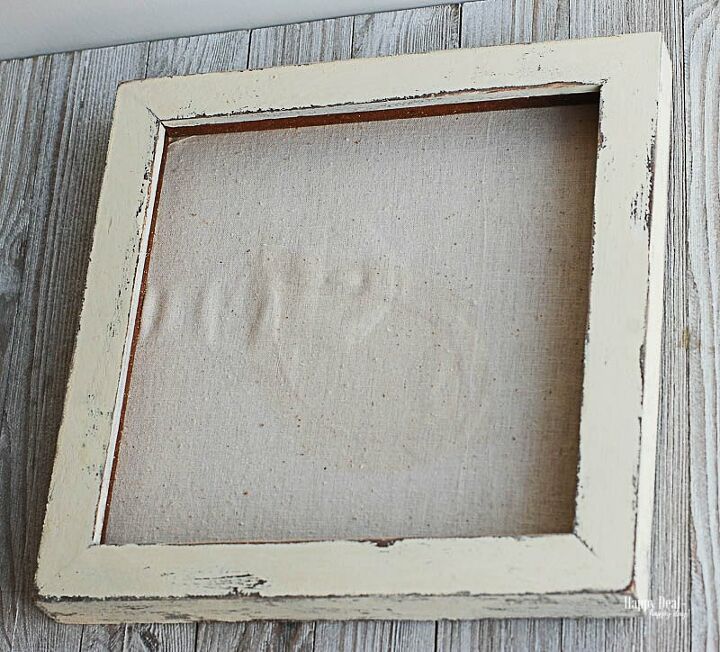
First I took out the glass and peeled off the plastic leaves. Then I spray painted the frames in an antique white spray paint.When spray painting, its always a good idea to spray 2 or 3 thin coats vs. one thick coat. A thick coat of spray paint always drips and won't come out evenly.Now because I knew I was going to do the distressed look on these frames, I knew they didn't have to be painted perfectly even, which meant I quickly sprayed on two coats instead of meticulously spraying on three, very even coats.
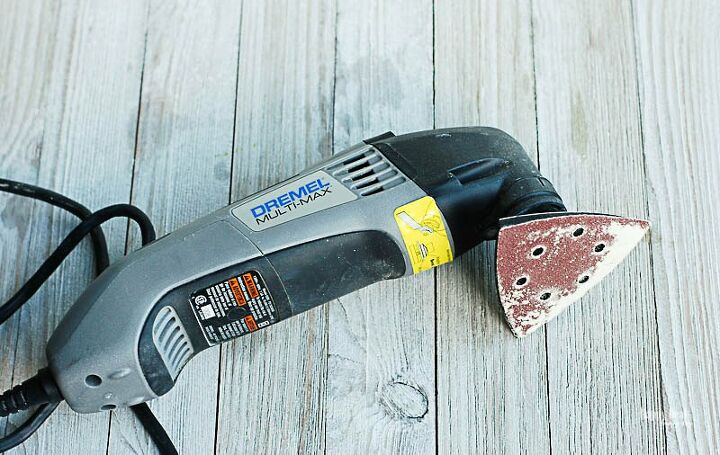
My favorite way to get the distressed look on anything wood is to use a Dremel Multi-Max tool with the sanding attachment. I used this when I updated a bunch of furniture in my guest room.
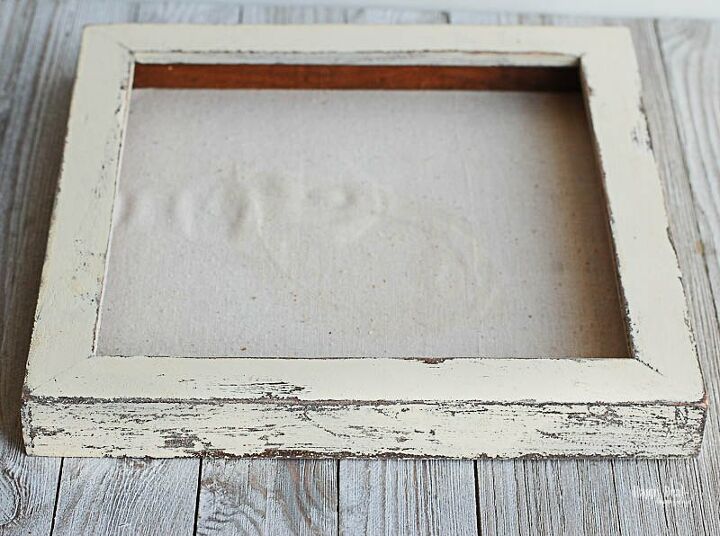
After I let my spray paint dry for a few hours (ideally overnight), then I turned on the Dremel and let it do a very quick sanding job on the edges where I wanted distress marks to show through. It's super fast and took me probably less than 5 minutes per frame to complete.
I do recommend doing the sanding outside or in a well ventilated area since paint dust will be flying!
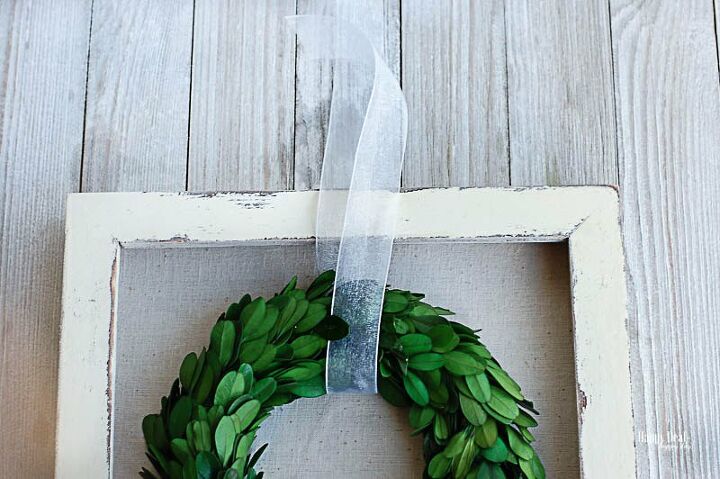
After the frame was painted and distressed, I hung this 6" Boxwood wreath on the frame using sheer organza white ribbon.
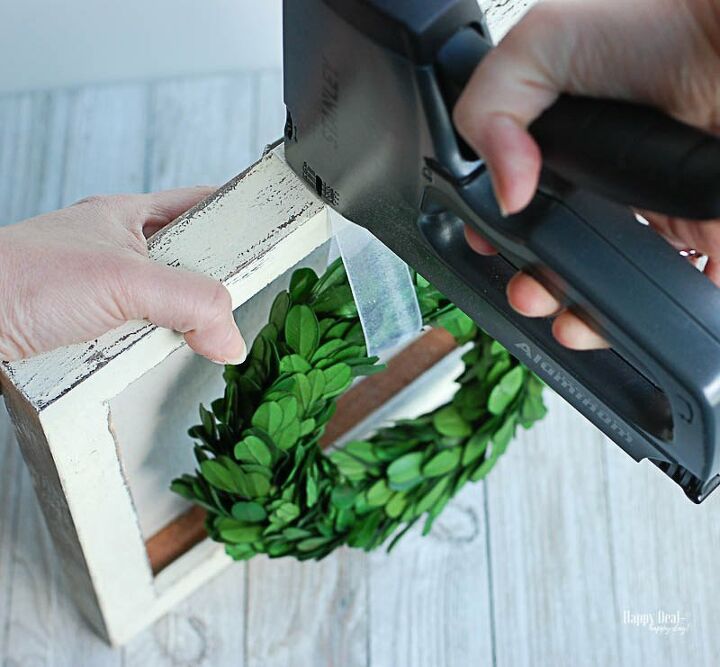
To hold the ribbon, I used my staple gun and stapled the ribbon to the top of the frame.
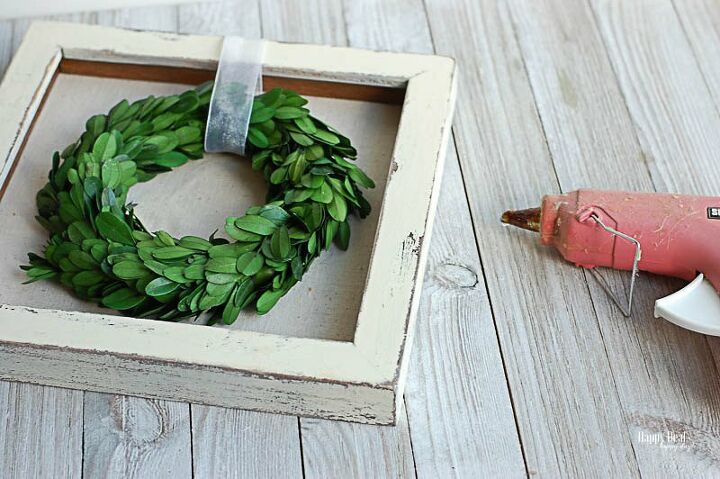
After the ribbon was stapled in place, I also glued down the boxwood wreath to the back of the frame using a generous amount of hot glue. Otherwise the wreath would have not sat flat against the back of the frame if I let it hang with just the ribbon.
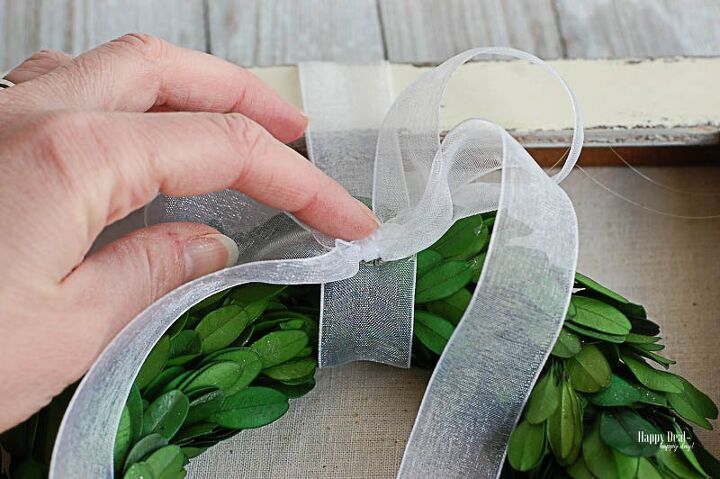
I also tied a bow with the same sheer white ribbon and hot glued that to the top of the wreath, onto the hanging ribbon wrapped around the wreath.
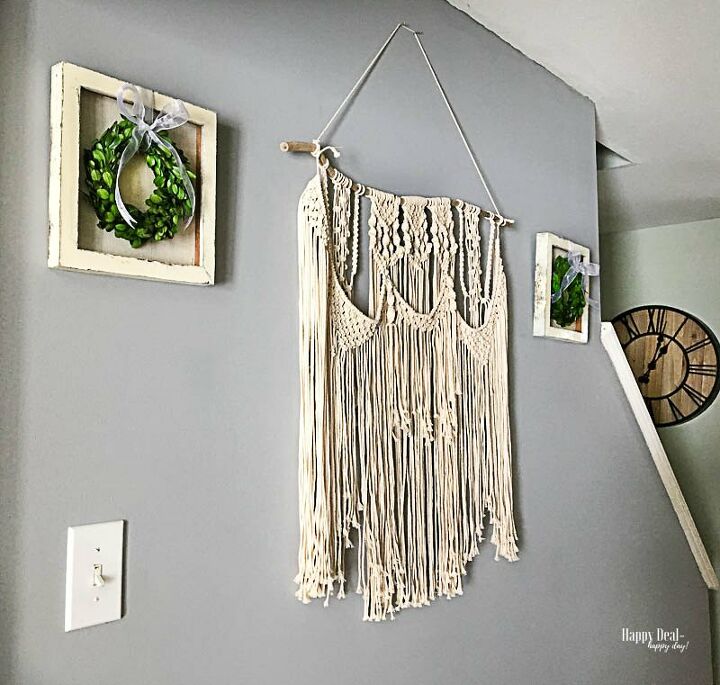
I hung it back up next to the macrame wall hanging and loved how they turned out! I like these so much better with a lighter frame. I love the farmhouse feel to it with the distressed wood and pop of green color from the boxwood wreaths.

This was a very cheap project for me to make. The frames were 25 cents each. I already had the spray paint and ribbon on hand, so I only had to pay for the boxwood wreaths which were $13 each on Amazon. I bet you could find something even cheaper at Michaels with a coupon! I know that if I were to buy something similar to this at Joann Fabrics or Michaels, I'd pay $20-$30 easily! Not only is this a cheaper way to decorate by completing a thrift store makeover, its also a lot of fun creating DIY wall art that I know I made myself!Looking for moreThrifted Home Decor? Check this out: Frugal Decoration Ideas | Farmhouse Display Shelf Makeover
Want more details about this and other DIY projects? Check out my blog post!


Frequently asked questions
Have a question about this project?