


An Experiment With Sunnyscopa Film-Free Waterslide Laser Paper Type A

I love using image transfers on furniture and jewelry boxes I paint and am always on the lookout to find ways to transfer images. The waterslide method is proving to be a big hit with me.
I have tried Sunnyscopa’s laser decal waterslide laser print paper (the kind with film) before and like it very much. I love that you can use images you choose to transfer. In fact, follow my link below to my blog to see how beautiful my latest jewelry box turned out using this type of waterslide transfer.
I was very curious, then, to see what the film-free was like. With the film-free you remove the film and are left with only the ink.
I must say, it worked beautifully.
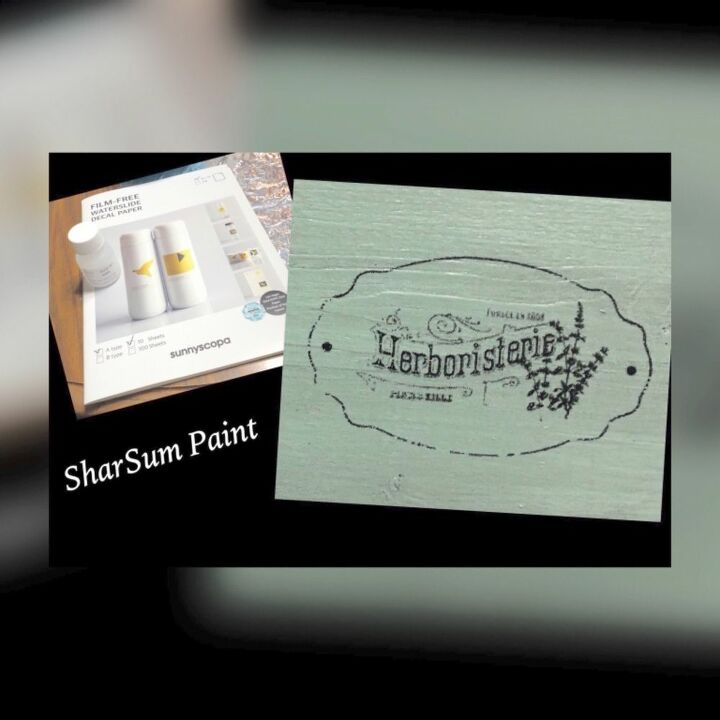
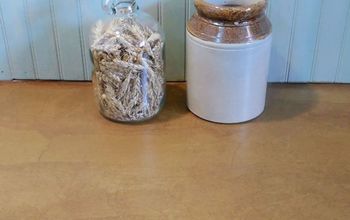
These are pretty much the materials I used in my experiment. I did also have a bottle of alcohol ready for cleaning any left over glue.
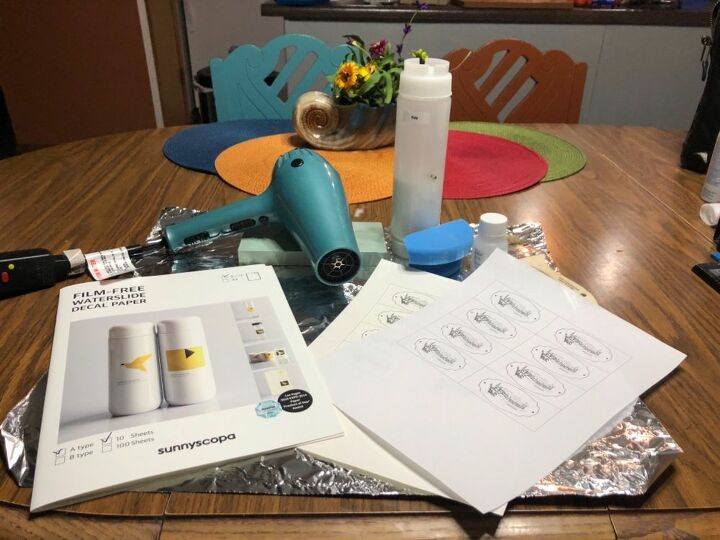
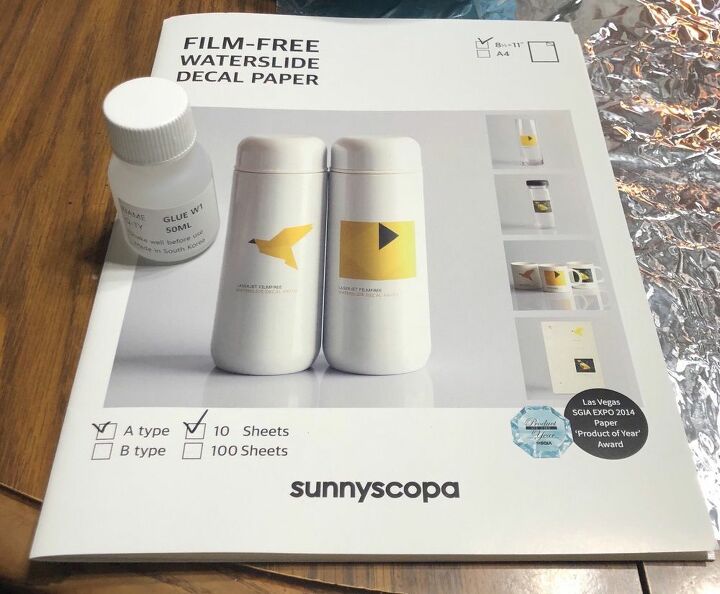
The film-free laser paper comes with a small bottle of glue. I also wanted to see how it would work if I used Varathane water-based Polyurethane instead of glue.
Both methods worked well, but I think the method of using the glue that comes in the package won out. The alcohol did an awesome job of cleaning up the left over glue. I’m not sure what kind of glue it is, but it is not gooey at all. It was actually rather thin and painted on easily.
The Type A paper needs to be heat set either with a hair dryer, a microwave, or the oven. That was fine with me. I use a hair dryer a lot to speed up the drying process and it worked fine in my experiment. I used a board I had painted, glazed and had sealed with poly just as I would have on a jewelry box or piece of furniture.
*****
Experiment #1 - Using the Glue that Came With the Paper
The first thing I did was print out just a paper copy to make sure I had my sizes right and that I printed a reverse image as with this process the printed side goes face down. Then I printed my image on the glossy side of the paper.
I then followed the directions on the package.
1. I cut out my image to transfer leaving a little margin so I could peel away the film later. This image, and the bird images I used on my jewelry box are copyright free and can be found on The Graphics Fairy website. https://thegraphicsfairy.com/
2. I then soaked the cut out in warm water for 5 seconds, took it out and let it sit for 60 seconds.
3. While it was sitting for 60 seconds I painted a layer of glue on the area I wanted the transfer to go. I learned that next time I should apply it a little heavier than I did on this one.
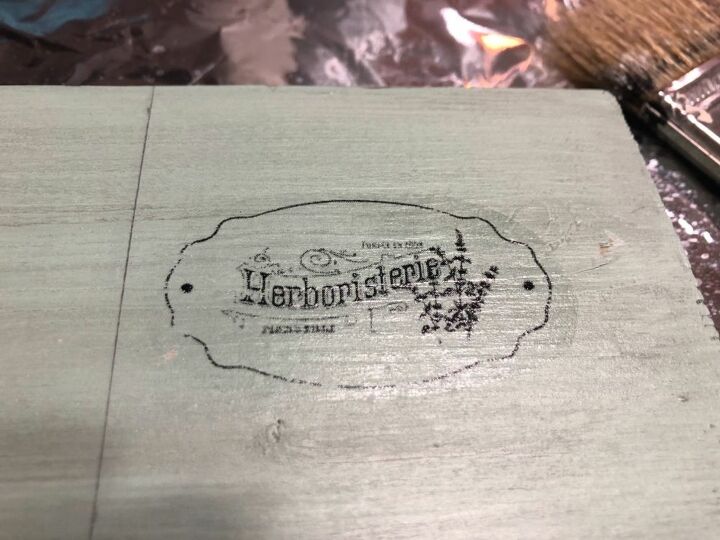
4. Then I turned the transfer over and put it where I wanted on my board and slid it off. I started drying it right away, first with cool heat and then high heat, pressing down any bubbles that formed. I heat set it for about 3 minutes.
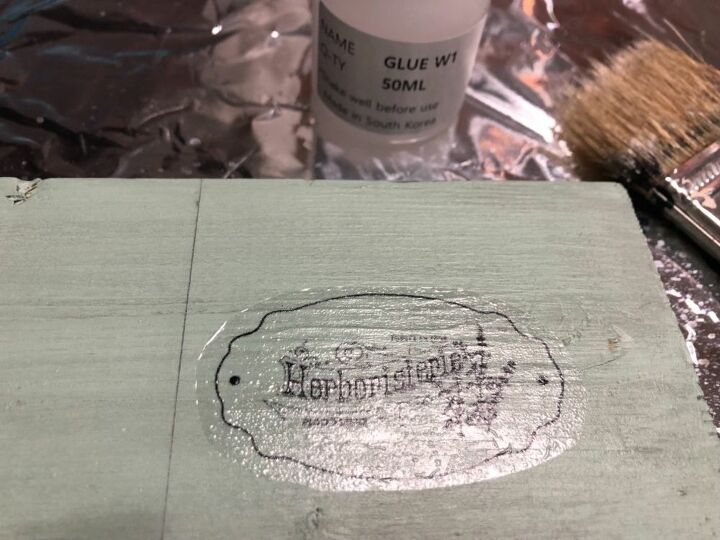
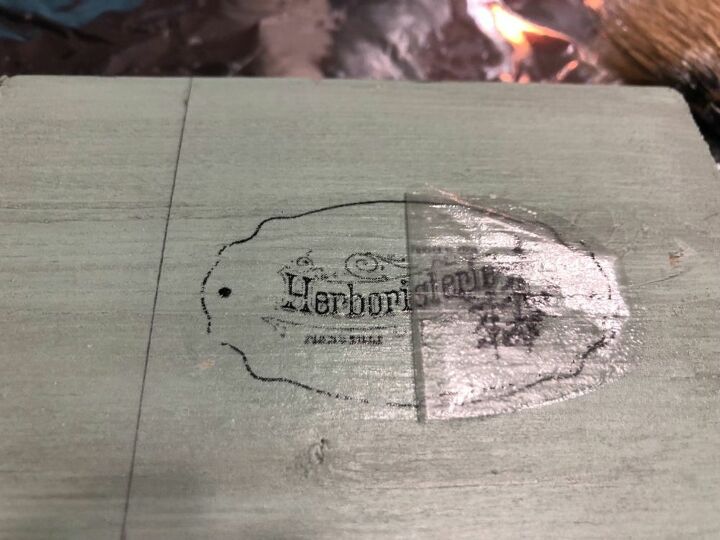
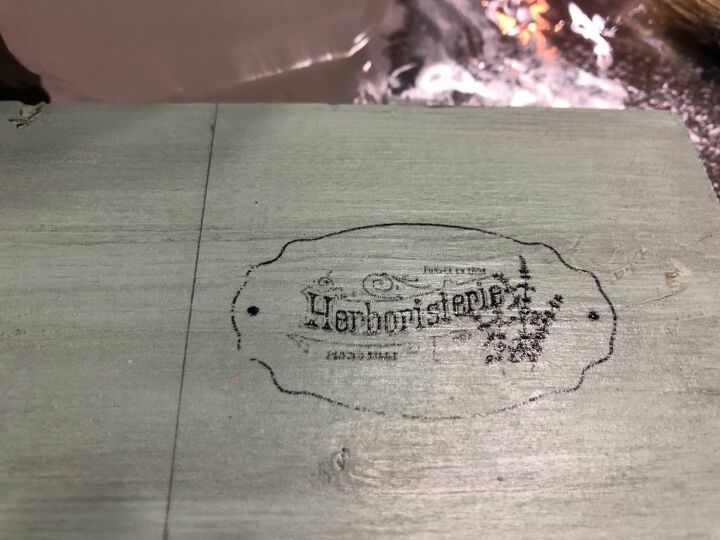
You can see the film is still on it in the above pic. I then peeled away the film. You can see the start of the peel in the photo below.
At this point you can see a little glue residue.
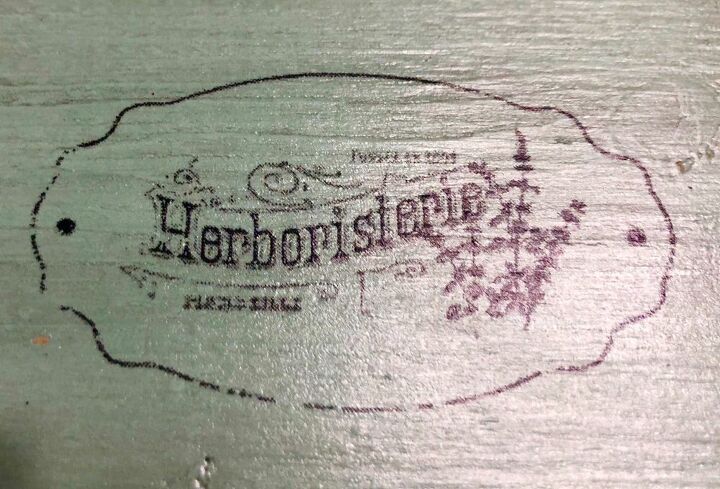
Using a soft cloth dipped in the alcohol and dabbing the area, the glue came right off. The ink was not affected.
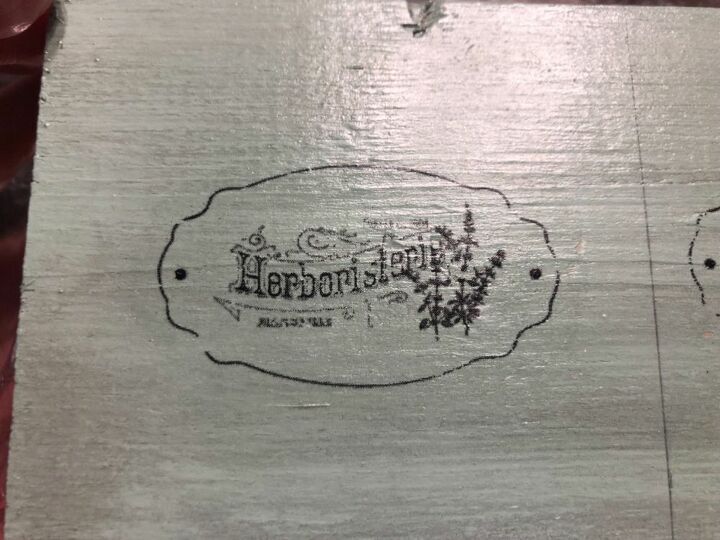
And there you have it! A beautiful transfer of ink onto a painted, glazed, and sealed board. I added a couple of coats of poly over it to seal it in.
***** Experiment #2 - Using Varathane Crystal Clear Water-based Polyurethane Satin Finish
Next, I used the water-based Polyurethane method and it worked well, too. If I run out of glue, I wouldn’t hesitate to use it. Again, I would be a little more generous when applying it. I did apply it in the same way as above.
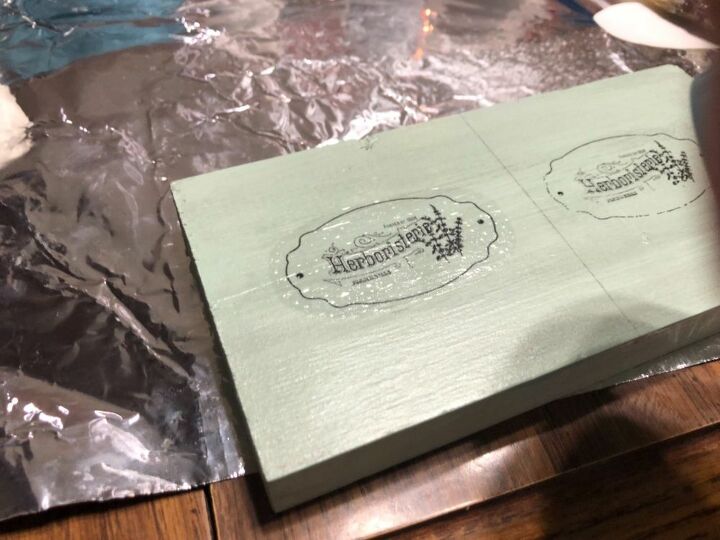
I did find out that the film was a little harder to remove and you could see the outline of the film a little even after it was removed. After a couple of coats more of poly to seal, you could no longer see it.
My experiments were a success and this will be a transfer method I will use again. I am very pleased with the results.


Frequently asked questions
Have a question about this project?