


My New Workshop Reveal – Organized Makeover!
Well I finally made it – here is my finished brand new workshop reveal! This was a LONG time coming: My first post about moving my workshop out of my basement came out in MAY OF LAST YEAR. I lived in a constant state of digging through boxes, looking for one tool or another, and going absolutely crazy lol. But it was worth it! I was really able to take my time, brain storm, and build myself a workshop that I am so totally in love with! First though, I have to show you guys the before pictures of what this room looked like when I started the renovation and during!
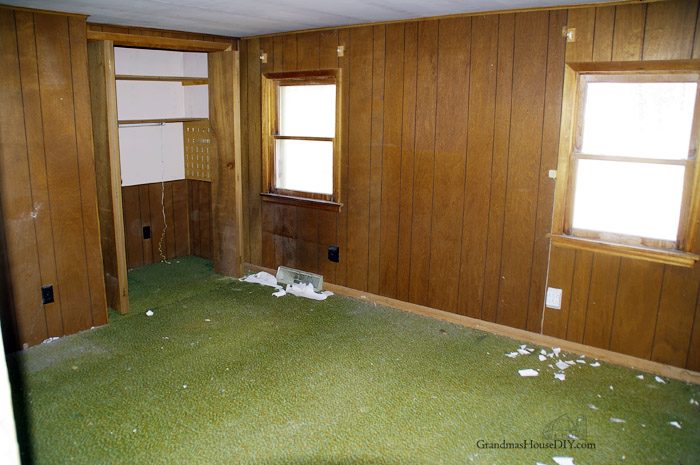
My main home was built in 1915 and then they added the wrap around screened in porch in 1925. Over the years portions of the screened in porch were enclosed until I enclosed the last portion in my renovation in 2015.
My grandparents enclosed this room from screened in porch back in the late 1950s so they would have a bedroom on the main floor (before they were sleeping upstairs in what is now my master bedroom).
Because of the structure of everything I knew any of the rooms that were once screened in porch when I started renovating could have vaulted ceilings without affecting the structural integrity.
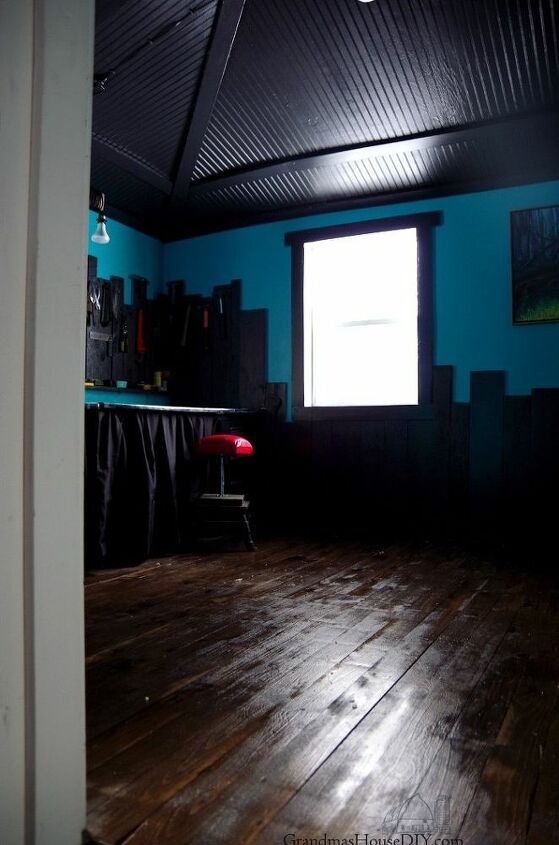
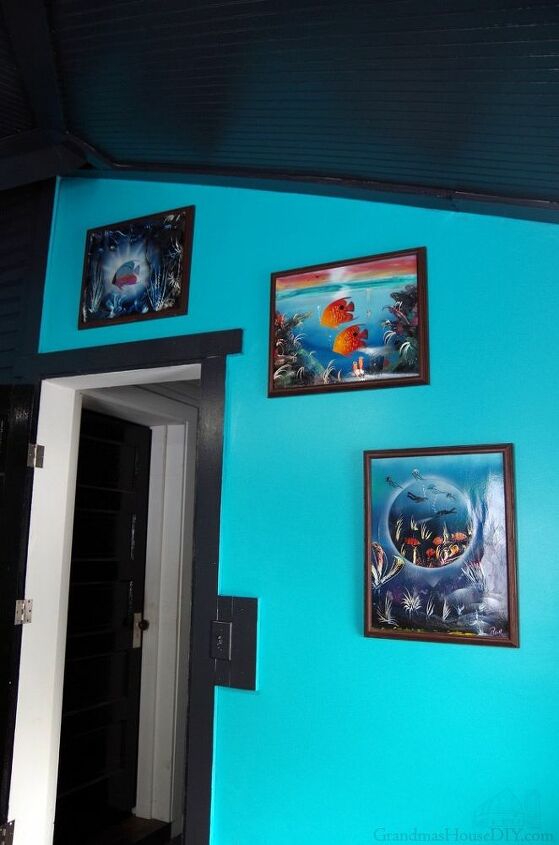
So, OF COURSE, I went for vaulted ceilings!!
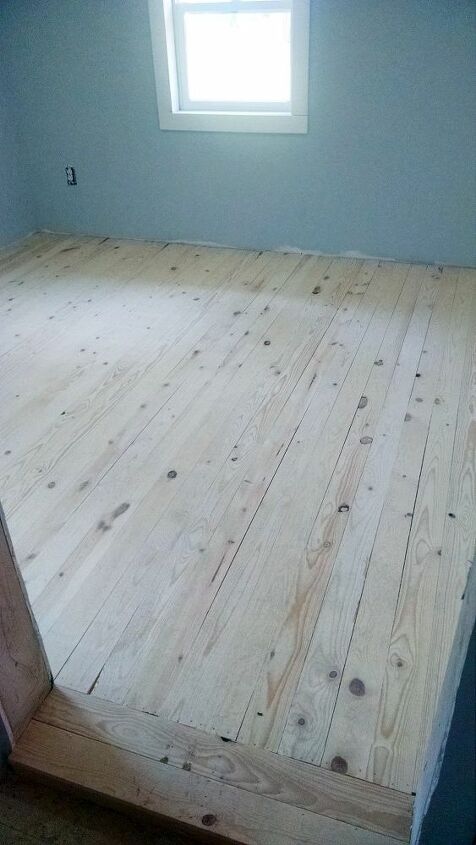
I "built" my own wood floors out of 1x4 pine. I stained them and sealed them and really absolutely love them still!
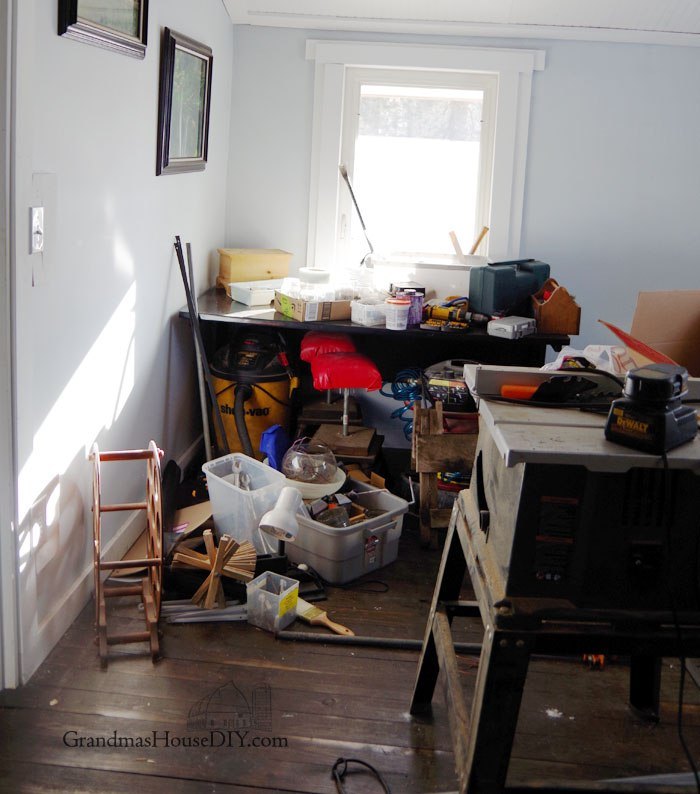
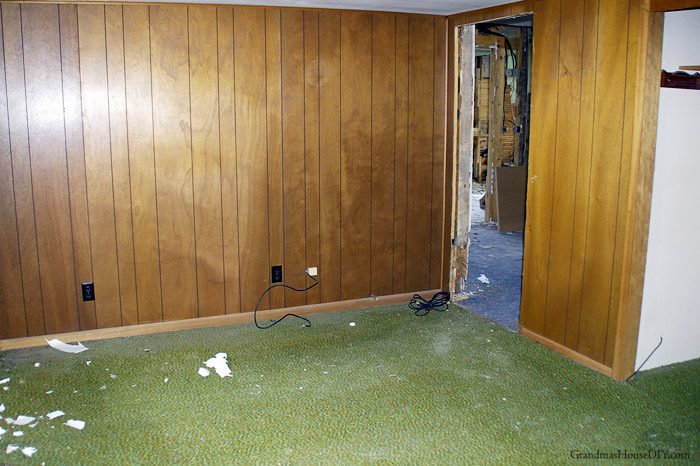
The state of this room looked like this throughout the summer and fall of 2018. IT DROVE ME CRAZY. All of my workshop I just dumped here and then spent the next several months not able to find anything!
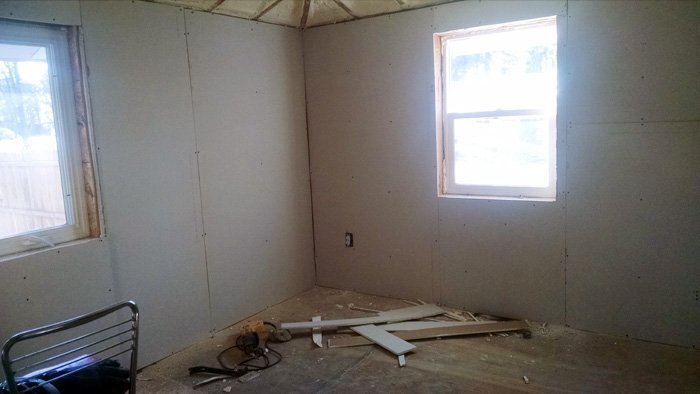
Finally, I couldn't take it anymore and I got to work!
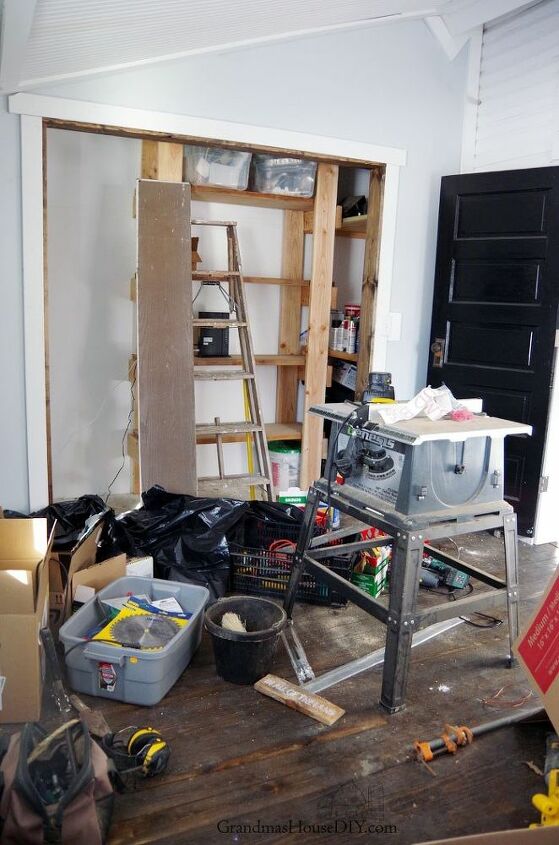
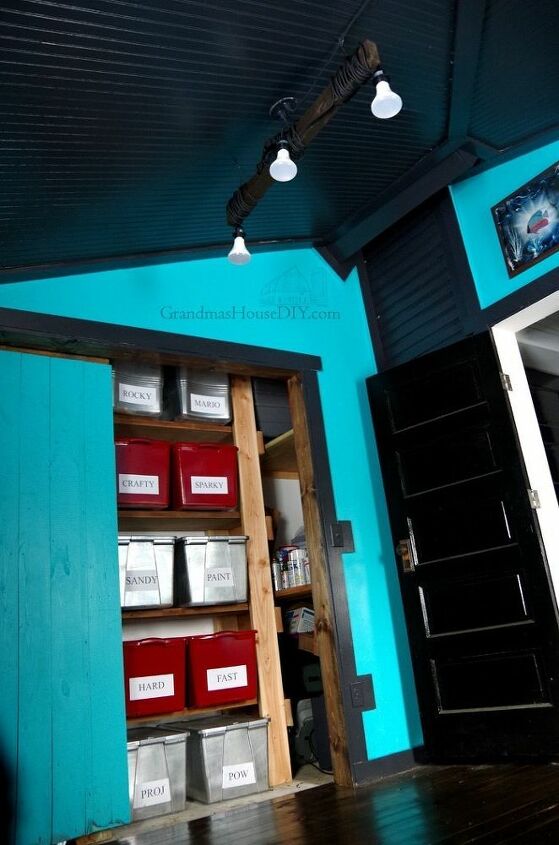
The enormous closet in this room took care of all of my storage needs even with fitting my table saw and ladders in there too.I had already built a basic rolling barn door in my basement so I brought it up stairs and now it covers half my closet at a time. (Which is perfect for me as I don’t need this closet totally covered – this is my workshop and I’m not hiding it lol)
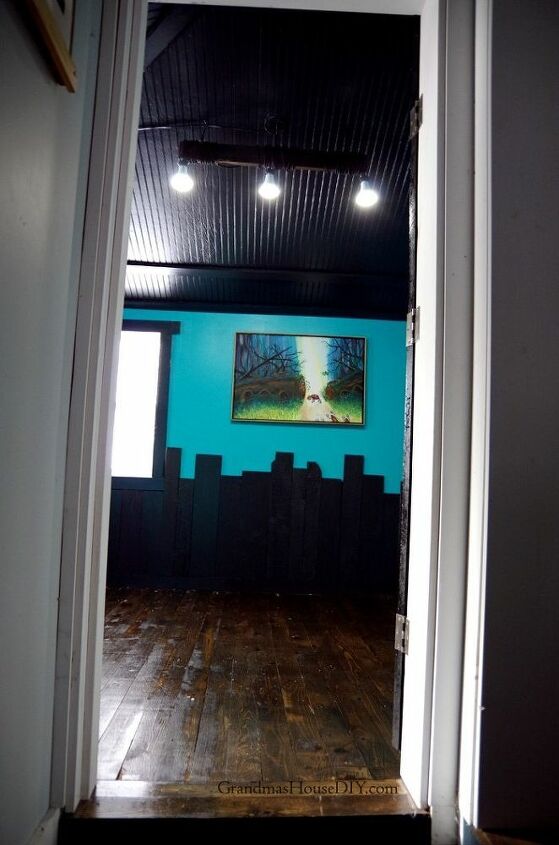
Painting the ceilings in here black felt like a major risk and, honestly, I kinda held my breath about it. I half expected it to feel claustrophobic and small in here, but, ya kow what? The black literally just makes those ceilings disappear…. especially at night!So excited!Moving everything out of the basement and giving it a new home here meant that I had the opportunity to go through everything too and, not to mention, combine paints!
(I had FOUR cans of half empty black Rustoelum for goodness sake.)
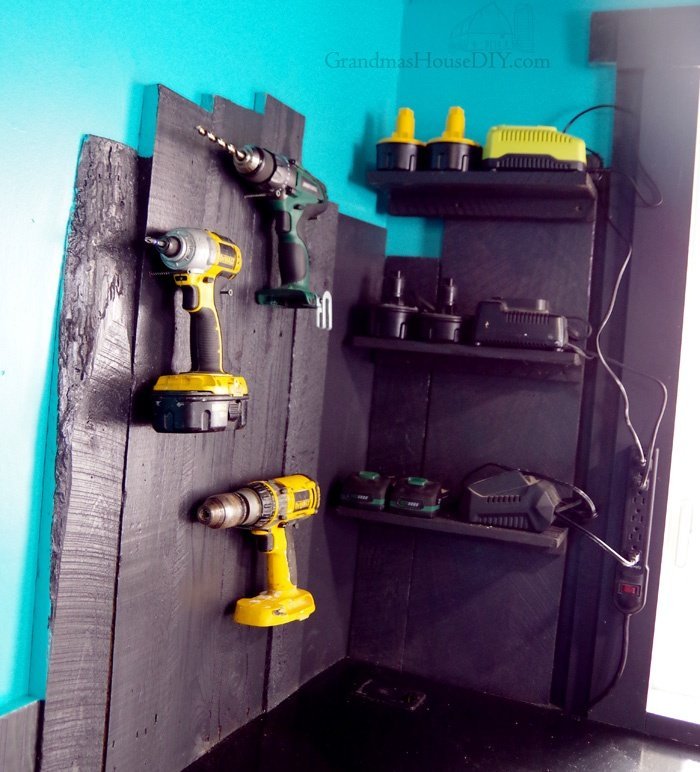
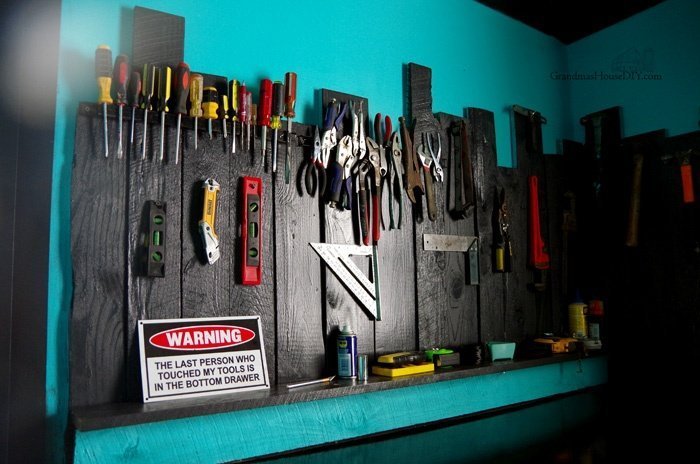
Besides my magnet hangers for screw drivers etc. I did build some shelves for my chargers and hung up my drill and drivers. I absolutely LOVE my “charging station”. I just turn the power strip on and I’m in business. Its amazing!The last piece was the sign I purchased off of amazon just for this space. The Last person who touched my tools is in the bottom drawer!
Under the tables I discovered I had far more storage than I could have hoped for. I had these two really nice file cabinets (on wheels none of the less!) that I was using with my desk in my office but in here they served a much more practical use for me!Besides them I also fit my miter saw, air compressor and shop vac!I know, I mentioned earlier on how this IS a workshop and I’m cool with not hiding it however, it just felt so much cleaner to me to get the underside of my tables covered.I purchased a black shower curtain and used velcro to put it up.(In the future I may take it further and replace the curtain with doors to make my tables look like built-ins but, for now, I’m really happy with this!)
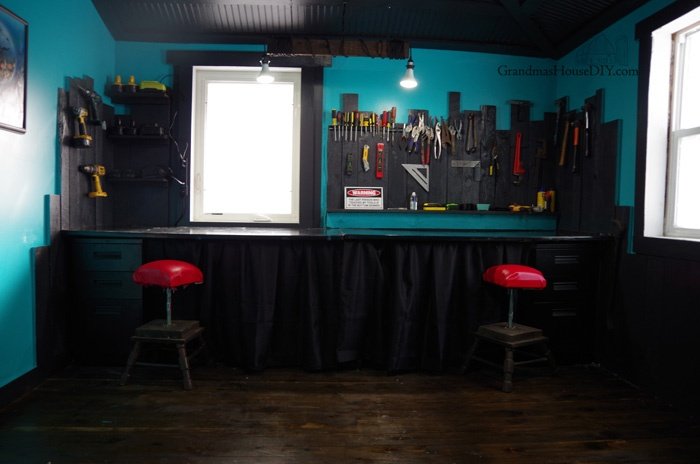
Moving on to my favorite part of the room, my work bench! These two tables were actually a gift to me YEARS ago from my mom that I used for desks in my office but with the relocation of my office to my entry they were just too big for the space.Fortunately, I had already painted them out in rustoleum so they’re tough enough for this job and, by some kind of miracle, they fit along the back wall like a glove!My “tools I want on hand” was my biggest dilemma.With my basement now empty I had literally three walls of barn and pallet wood to come down (so I can finish it off with sheet rock later) so I used a bunch of it here as wainscoting as well as a “backsplash” around my tables.I hung my magnet strips for my screw drivers and wrenches. Then I hung all of my hammers too.
Some might disagree with me and say that I “downgraded” because I no longer have my entire basement as a workshop – I went from 500 square feet to less than 200 square feet! But there are SO many great things about this. NUMBER ONE: I have gone up and down those basement stairs enough times now that I never want to do it again lol.Now, when I need a tool, its on my main floor! It is incredible! And now my basement can finally someday become what I always planned it to be: A rental suite!I am absolutely THRILLED
I know its wonky, I know the color scheme is CRAZY but I love it in here. The real awesome thing though is one absolutely priceless truth: I know where everything is and I’ll never need to search for a tool again!

Comments
Join the conversation
-
I love how you used a wood fence look for your “peg board” to have your tools. I also love the long work bench with the stools, it looks like a coffee bar or something. I have a work shop and I absolutely love hanging out in there letting the ideas flow through. You are level up though girl because I came over to your profile and seen how truly talented you are!


Frequently asked questions
Have a question about this project?