


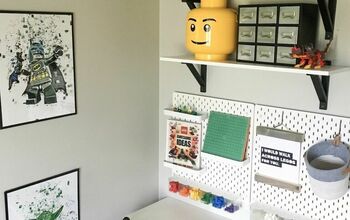
Easy DIY LEGO Brick Organization
Here's my (super) quick trick for how to organize the LEGO bricks in your house. This is obviously on a relatively small scale, but you can easily scale up as needed! If you love this project, check out more DIY projects and ideas on my blog, Love & Renovations.
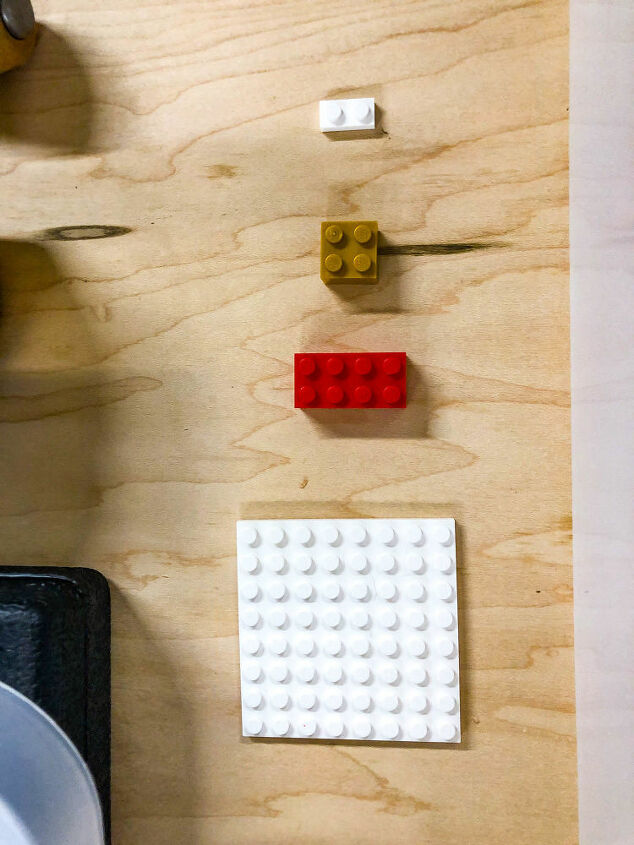
Start by determining the general sizes of your LEGO bricks. We were using four containers, so we have four sizes, ranging from the biggest to the smallest.
You don't have to be super detailed here, just grab four LEGOs of notably different sizes.
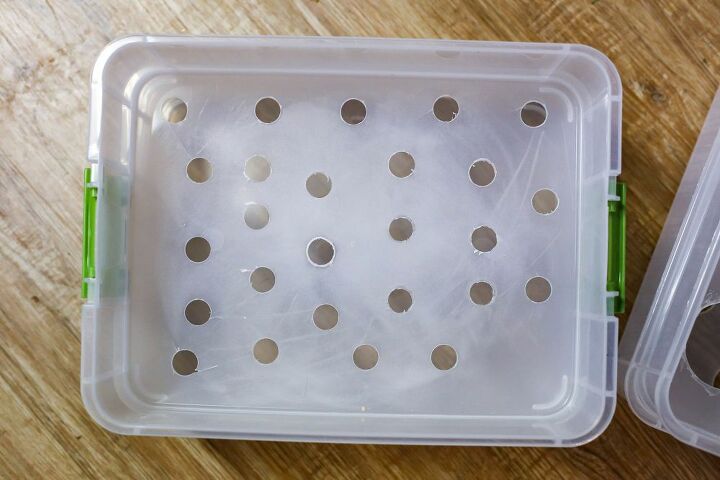
Now, grab your plastic containers and drill holes in the bottom of 3 of them (leave the bottom one alone!) that decrease in size. Your top container will have the biggest holes so that all but the biggest LEGOs will fall through, the next one will be smaller, and the third will be small enough that only the tiny LEGOs can fall through. Read more on this process in the blog post.
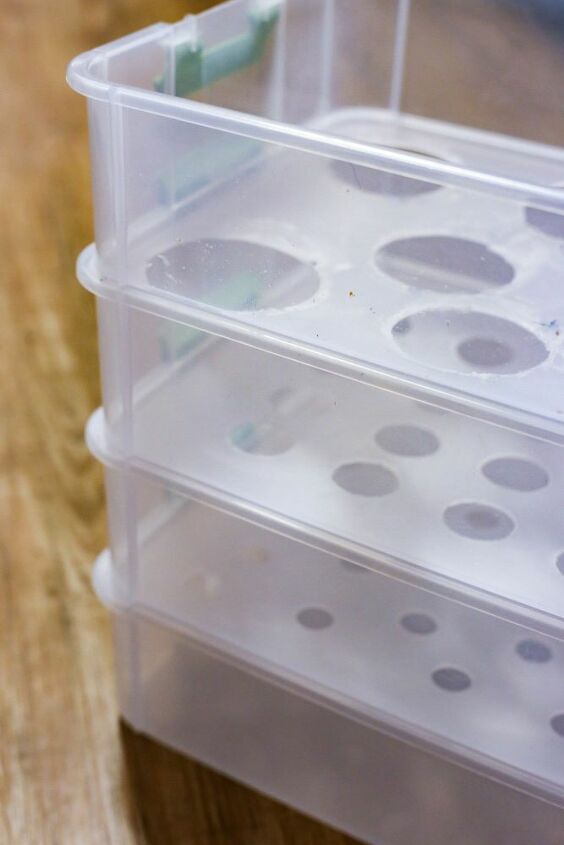
Here's a look at what your containers should look like once the holes have been drilled and they're stacked together.
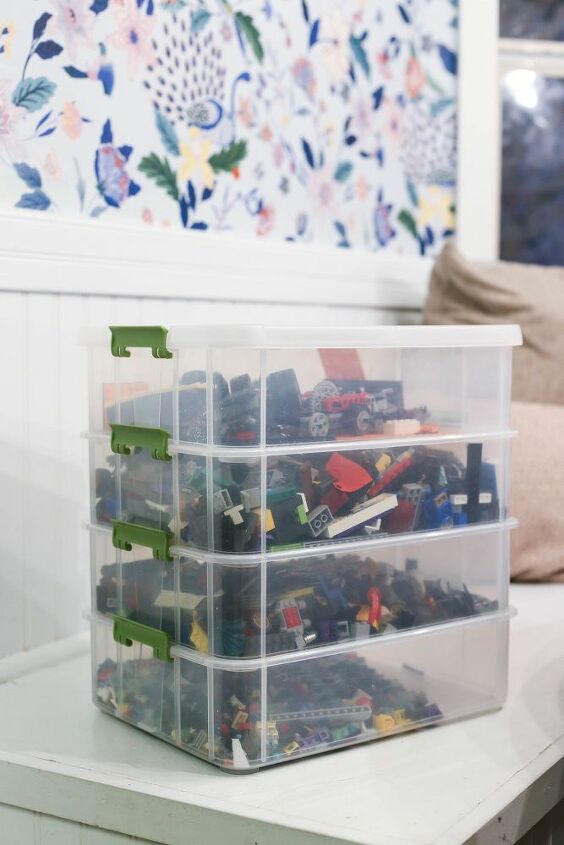
Finally, attach the containers together and pour your LEGO bricks into the top container. You'll need to pause regularly and shake the containers so that the LEGOs fall to the appropriate section. I also found it to be helpful to open each container and mix them with my hands a bit to encourage the remaining LEGOs to fall.
Now, your child's LEGO bricks are much easier to store and use, and it's easy for them to clean them up alone!


Frequently asked questions
Have a question about this project?