11 Gorgeous Twists on the Classic Planked Wall Look
Bringing the outside inside and adding texture to your wall doesn’t have to be tricky. By consulting the projects created by our community, you can install a planked wall in a way that suits you.
By scrolling through our top picks, you’ll find wall plank ideas for every area in your home. What’s more, with a myriad materials, styles and fixings to choose from, you’ll be able to give any plain wall a striking new look.
Wicked Wood Wall Planks
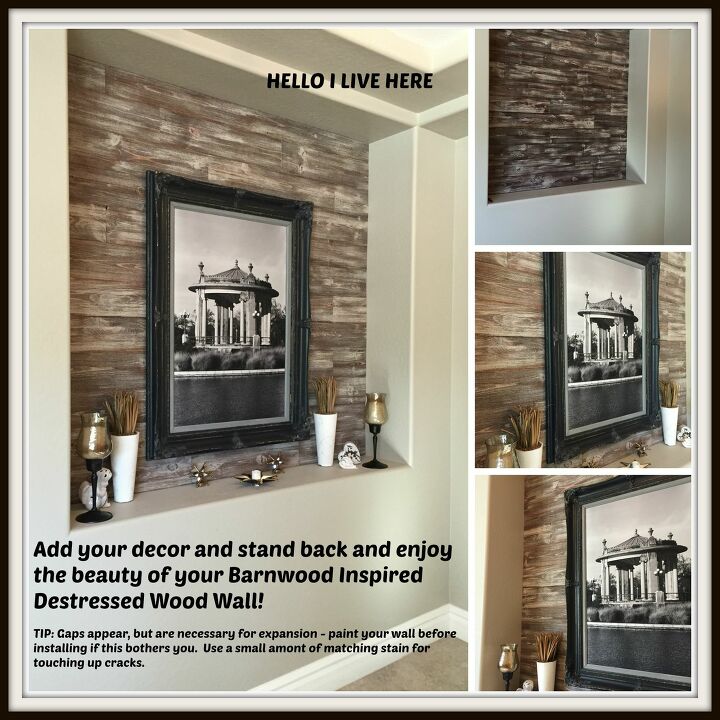
Planked walls lend themselves to a variety of looks, but those that stick closest to their country roots really do impress. Adding some pop to her plain entrance hall, Linda Crandall took inspiration from images of an old barn door. To achieve the weathered look she wanted, Linda got a local wood artisan shop to distress each board. The end result creates an eye-catching contrast to the smooth cream walls in Linda’s home. Get tutorial here
The Easiest DIY Plank Wall Design
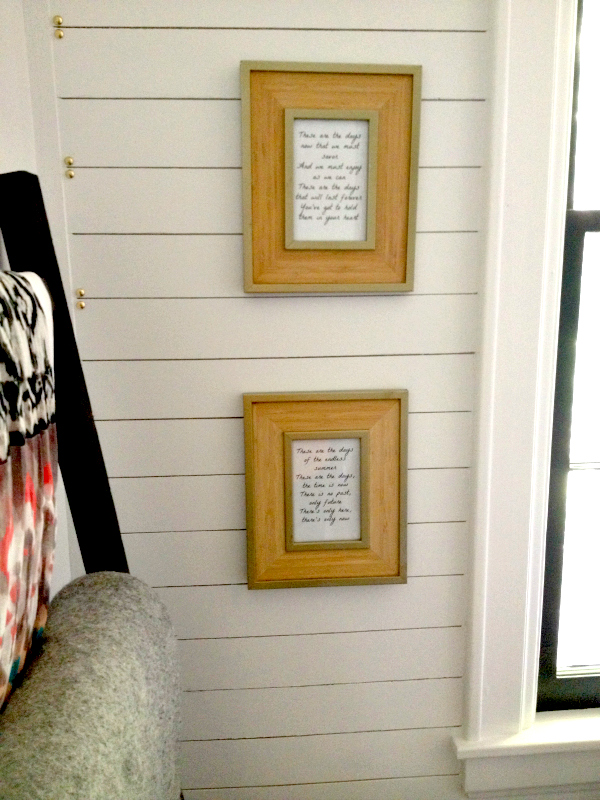
Sometimes, the smallest details can make your DIY plank wall shine. Although it’s nice to experiment with different paints and textures, Leigh Anne found a way to combine rustic and glam. After installing and painting her planked wall in white, Leigh added gold studs above and below each joint for a simple yet effective upgrade. Her top tip is using finishing nails to make the initial holes before inserting the gold studs. Get tutorial here
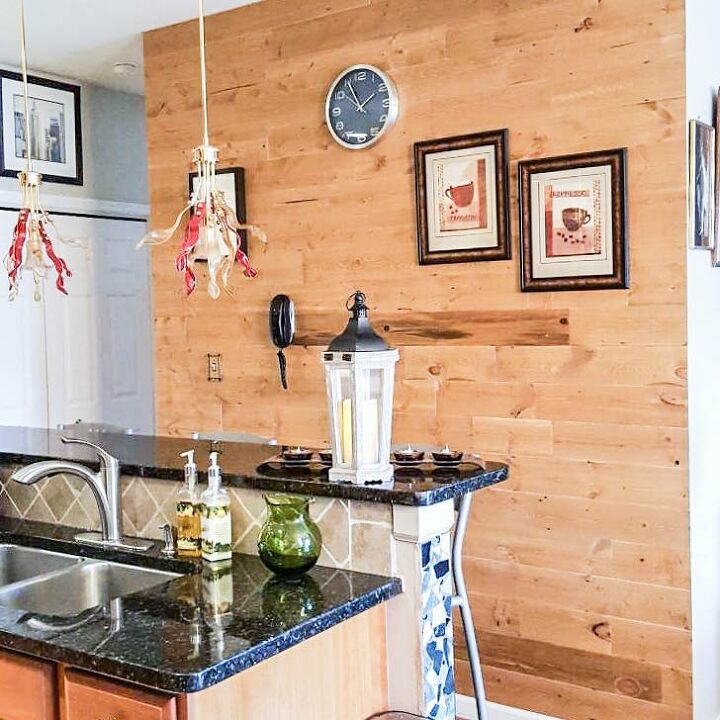
Interesting Interior Wood Plank Wall
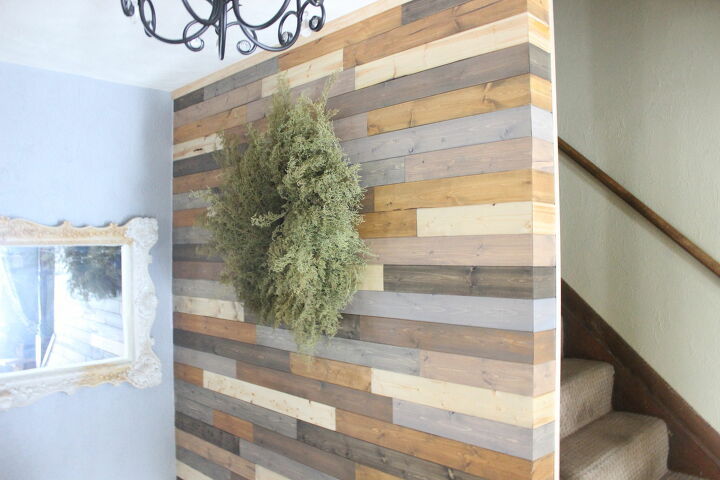
The natural look is perfect for any planked wall project, but don’t be afraid to get creative! As you can see, Hometalker Cyndi wanted to make her interior wood plank wall stand out from the crowd. With the individual structure of planked walls set up perfectly for contrasting colors, Cyndi used different paints to achieve this patchwork design. Her top tip is to add water to the paints and wipe over the top coat with a cloth to get a stained effect. Get tutorial here
Creative Wood Plank Wall Art
The natural look is perfect for any planked wall project, but don’t be afraid to get creative! As you can see, Hometalker Cyndi wanted to make her interior wood plank wall stand out from the crowd. With the individual structure of planked walls set up perfectly for contrasting colors, Cyndi used different paints to achieve this patchwork design. Her top tip is to add water to the paints and wipe over the top coat with a cloth to get a stained effect. Get tutorial here
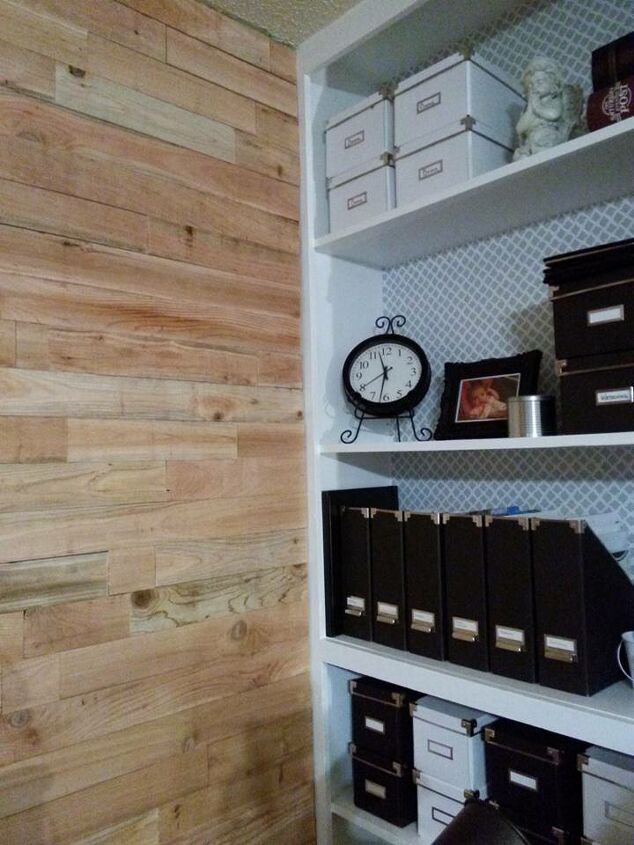
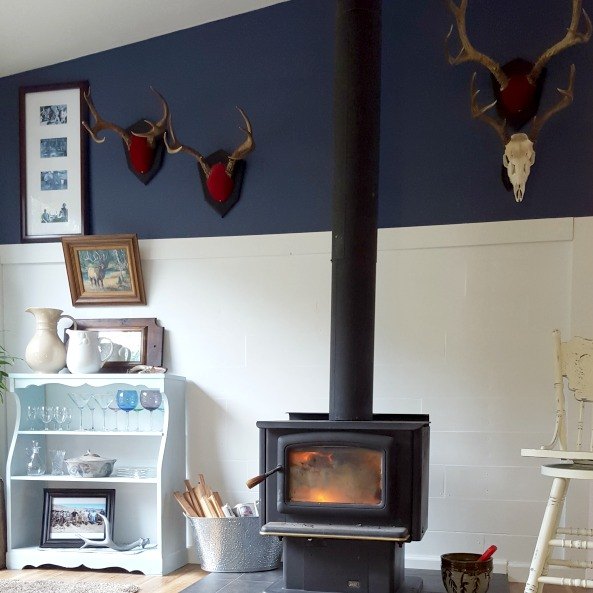
The Best Cedar Wall Planks for the Indecisive DIY Fan
Cedar’s robust structure yet soft appearance makes it perfect for planked wall projects that evolve over time. After redoing her shelving unit, Ragne spent $80 on a batch of cedarwood planks. Doing nothing more than nailing them to the wall, she was able to create a fantastic focal point that drew even more attention to her shelves. Ragne’s top tip is to nail the planks rather than glue, so you can remove them at will. Get tutorial here
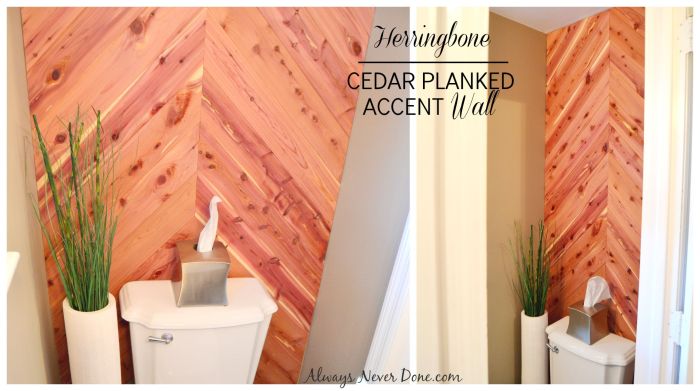
Beautiful Bathroom Plank Wall
Complete coverage can give your bathroom a coastal look. However, we love the way Amy used cedar to create a single focal point. Adding an angled backdrop for the wall behind her toilet, Amy chose Red Cedar tongue and groove to eliminate the need for painting. To ensure the small wall has a big impact, the planks were angled. Amy’s top tip is to mark the center of the wall and measure the angles from that point to ensure even coverage. Get tutorial here
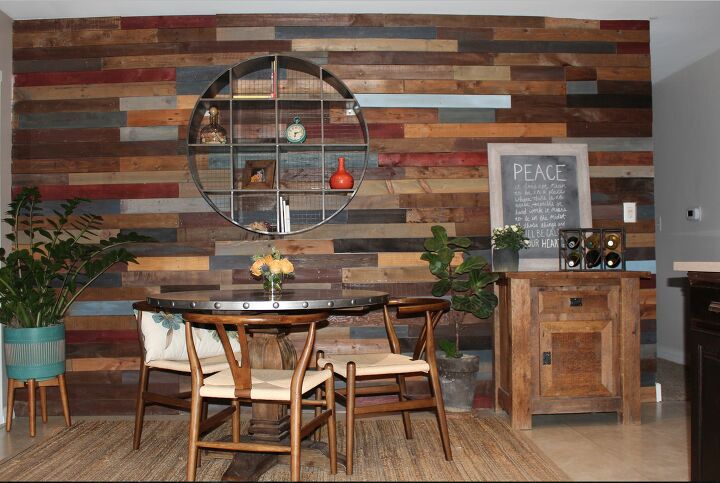
Perfect Pallet Planked Wall: Embrace the Reclaimed Retro Look
Take some old pallets and arrange in a seemingly haphazard way to achieve this rustic look from Libbie B. The beauty of using pallets is that they come in a variety of shades, shapes and sizes. Although it may take some time to get the best arrangement, the end result is truly impressive. Libbie’s top tip is to paint the wall in a bold color so that it shines through any natural gaps in the wood. Get tutorial here
Brilliant Budget Plank Wall
A planked wall fashioned out of pine or oak will look fantastic. However, with costs high, it’s worth considering cheaper alternatives. Thanks to this project from Kelli, you can get the country look without the cost. Using some leftover Allure kitchen flooring, Kelli used Hard as Nails adhesive and stud nails to hold each plank in place. To make her planked wall look authentic, she went over the seams with wood filler and sanded to add some texture. Get tutorial here
Simple Peel and Stick Wood Wall Planks
Another budget planked wall solution we love are peel and stick products. Aside from being a cheap alternative to solid timber, peel and stick wall planks are super simple to install. Cuts can be made using a sharp stanley knife (or similar) and the sticky backing means you don’t need nails or glue. If you’re worried peel and stick planked walls won’t look authentic, just look at the detail Sassy Townhouse Living got with her Stikwood boards. Get tutorial here
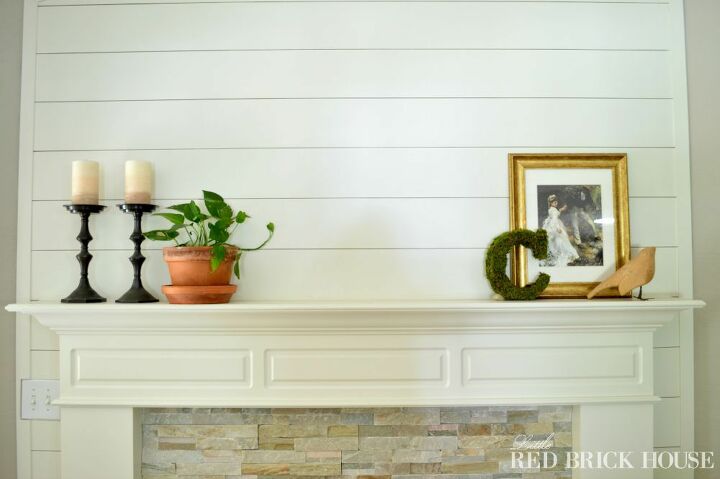
Fierce Planked Wall Fireplace Makeover
Adding some extra sizzle to your fireplace is easy when you install a planked wall. Instead of paying for pine, Sarah Cook enhanced her fireplace with ¼” hardwood floor underlayment. Cut to length, she used a penny to create an even space between each board. Lattice was used to trim the sides and the look was finished with Sherwin Williams paint in Alabaster. Sarah’s top tip is to angle your nail gun in order to avoid slippage. Get tutorial here
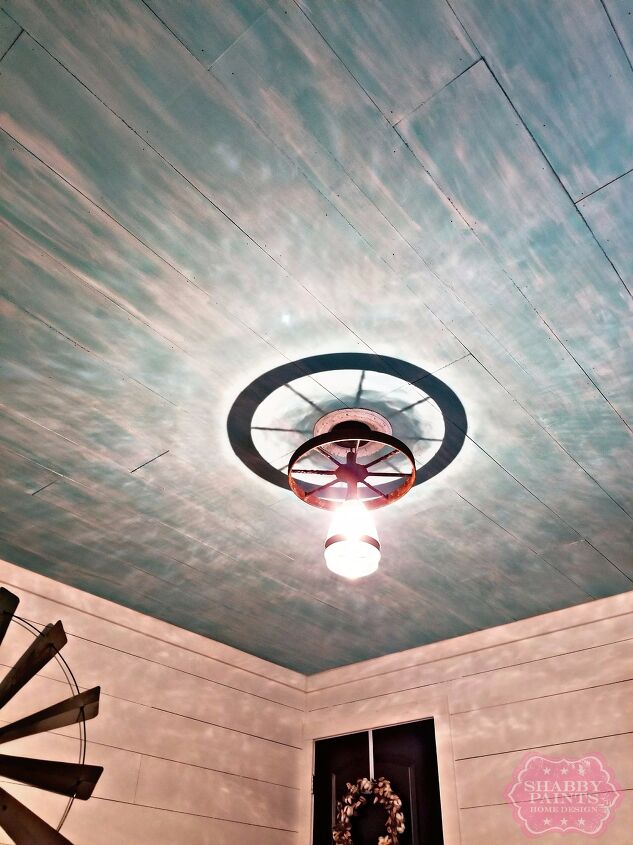
Classy Ceiling Idea Using Planked Walls
Our favorite planked wall projects will upgrade any partition in your home. However, if you want to get really creative, why not add some texture to your ceiling? In creating this look, Shabby Paints had the hardware store cut underlayment boards to size. To ensure a snug fit, the ceiling was scraped and the rafters were marked with a pencil. Using those lines as a starting point, the planks were secured in place with a nail gun before it was all painted. Get tutorial here