


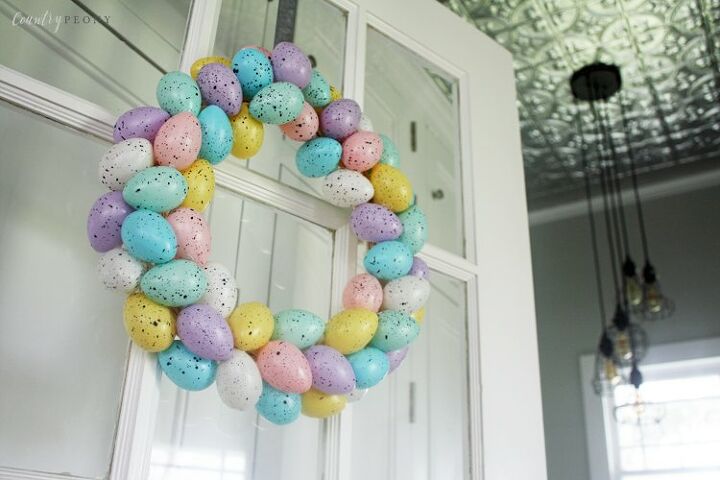
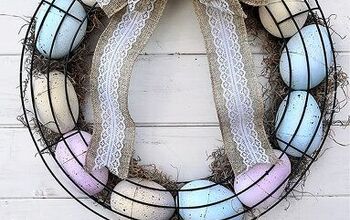
DIY Speckled Egg Dollar Store Easter Wreath
For $10 you can create a beautiful, pastel speckled Easter egg wreath using items from the Dollar store.
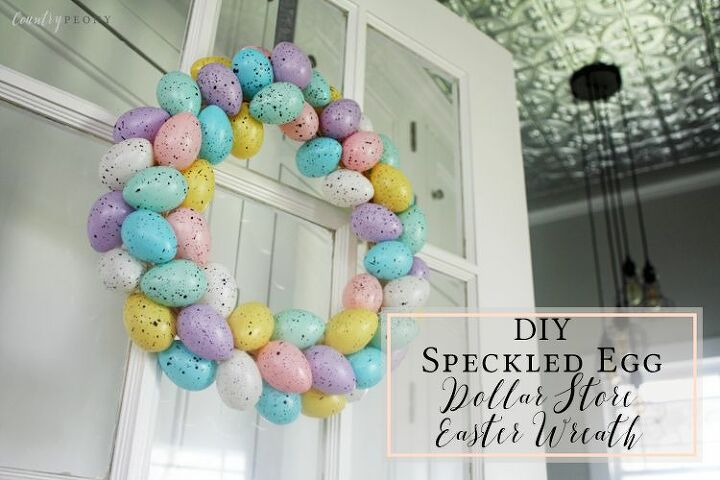
On my last visit to Dollar Tree with my children I was thrilled to find pastel, speckled eggs and a 12 inch willow wreath. With Easter around the corner I thought I would combine the two and make a very simple wreath perfect for the Spring season. At about $10 you can have a cute and high impact wreath compared to similar wreaths that will cost you upward of $50.
Like most of my projects this one is very customizable, simple and inexpensive. Please keep in mind that as you make this wreath you should have fun and not focus on getting it perfect! The end result will be great either way! I hope you enjoy making your own speckled egg Easter wreath.
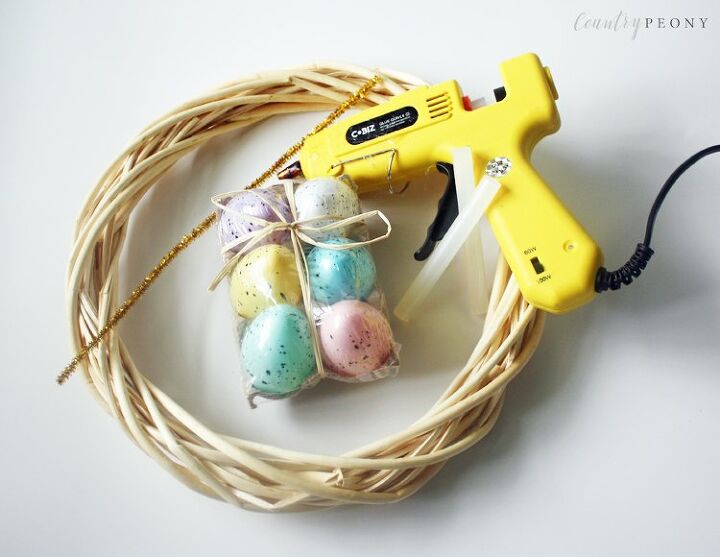
To make your own speckled Easter egg wreath, you will need:
- (affiliate link) Plastic Speckled Easter Eggs. I purchased mine at Dollar Tree, but you can also find similar ones on Amazon.
- (affiliate link) Willow Wreath. I purchased mine at Dollar Tree, but you can also find similar ones on Amazon.
- Ribbon or Pipe Cleaner to serve as the wreath hanger
- Hot Glue Gun with Glue Sticks
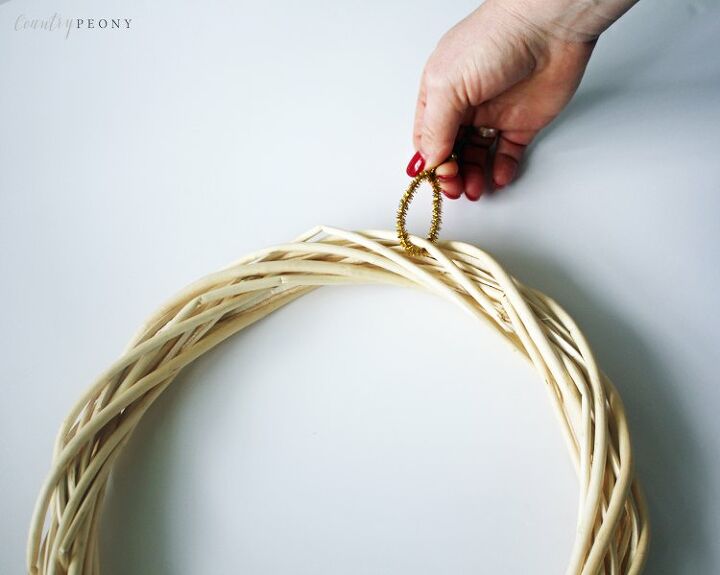
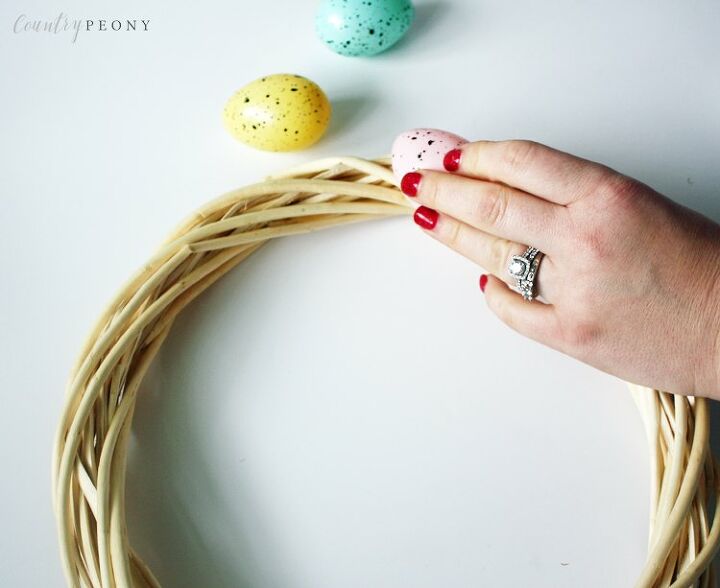
Step 1: Find the part of the wreath that will be the top. Then tie a ribbon or pipe cleaner knot around the back of the wreath at the top of the wreath. Ensure your ribbon or pipe cleaner loop is large enough to go onto a wreath hanger.
*Skip this step if you plan to lay the wreath flat on top of the table as part of an Easter tablescape.
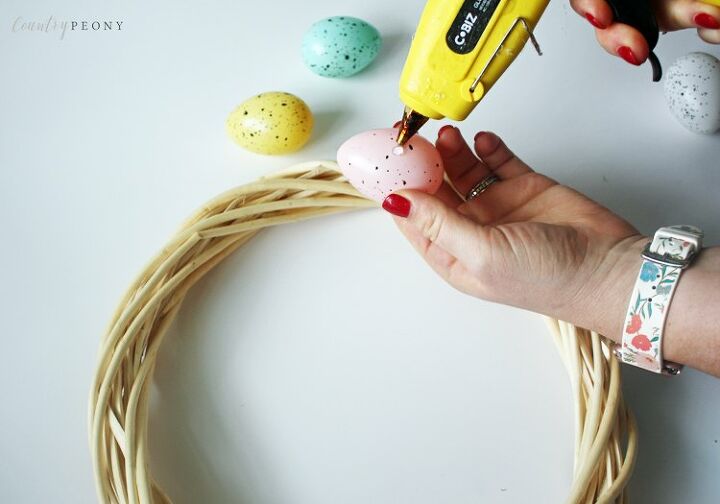
Step 2: Place your hot glue gun on a low heat setting and start to attach the speckled Easter eggs to the willow wreath one at a time. Ensure there is plenty of glue attaching each egg to the wreath.
*Don’t worry if you make a mess with the hot glue. We will clean that up later.
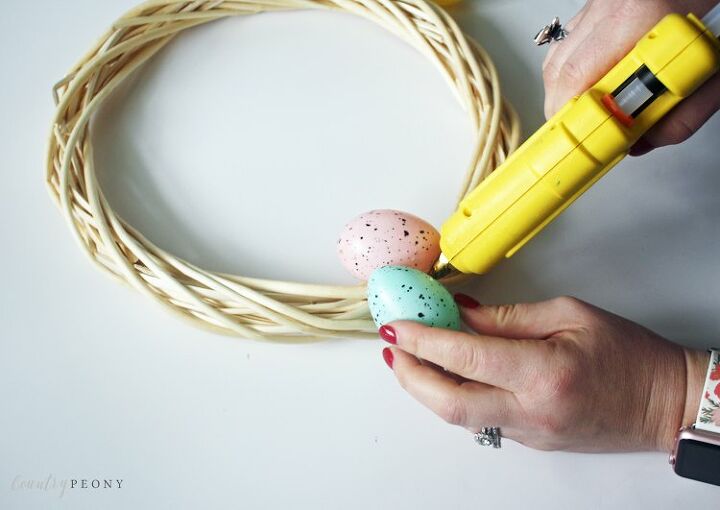
Step 3: Add another Easter egg nestled up against the first egg. Use hot glue to connect the two eggs together and to the wreath. It helps to keep all of the eggs secure to the wreath if you connect them to each other.
*Take your time gluing each egg. Make sure that your hot glue has dried before you start to glue the next cluster of eggs. Gravity will start to pull your eggs down if you don’t hold the eggs in place and wait for the glue to dry.
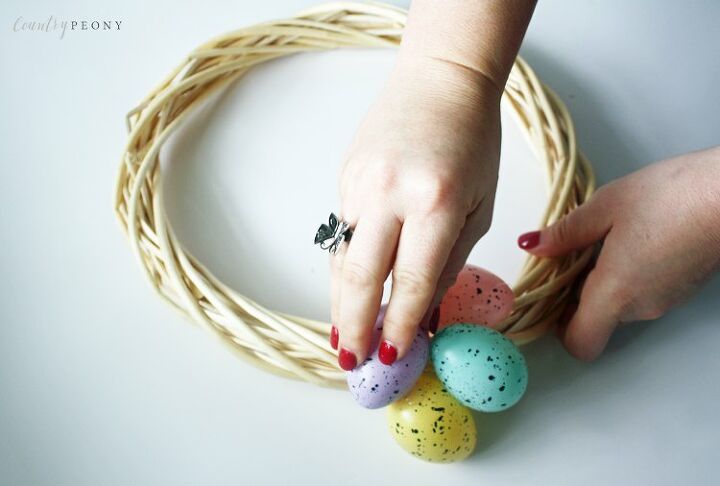
Step 4: Continue to hot glue eggs one at a time to the wreath and to each other. You can create your own pattern and change the direction of the eggs to help cover the wreath and to add interest.

Step 5: Once you hot glued all of your eggs to the wreath, remove the extra hot glue pieces.
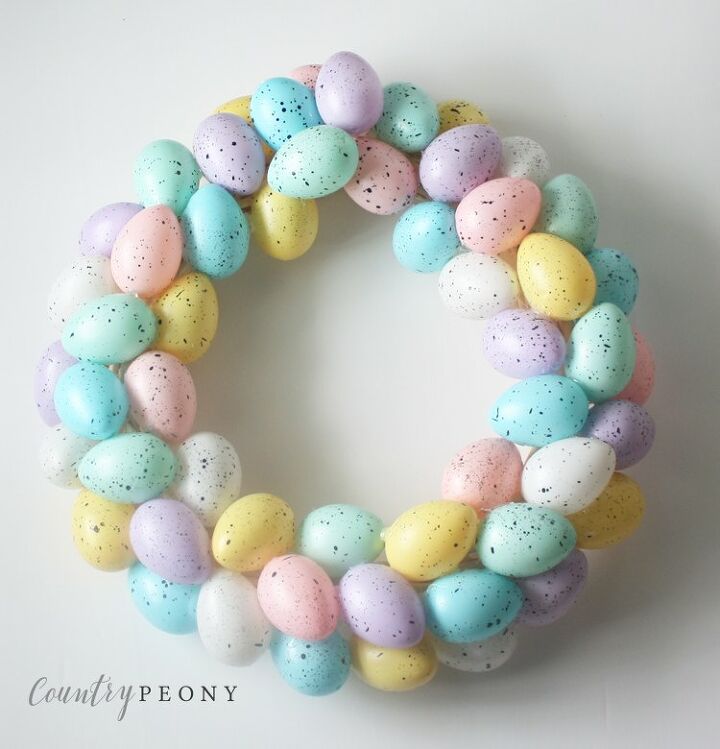
Step 6: Enjoy your beautiful new wreath! Perfect for your Spring door or as part of your Easter tablescape!
Resources for this project:
See all materials


Comments
Join the conversation
-
Gorgeous project! So festive and easy to do!
-
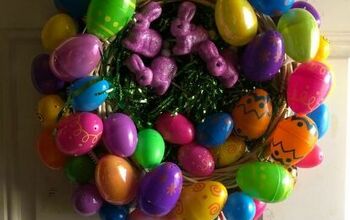
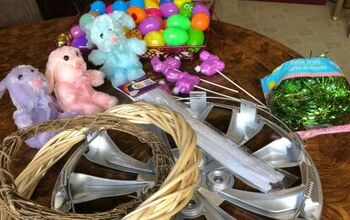
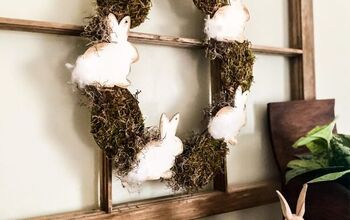
Made a dash to Dollar Tree. No speckled eggs but lots of others. So here’s what my 4 year old granddaughter did ( with a bit of help from grandma)!! I got the fun job of the hot glue gun. Lol. One pic is what we started with. I decided it didn’t need the little stuffed bunnies. See that silver ring in there? It was a hubcap. I spray painted it silver. We’re very proud of the finished project.


Frequently asked questions
Have a question about this project?
Approximately how many eggs do you need to use. Thank You