


A Trunk for Dolly

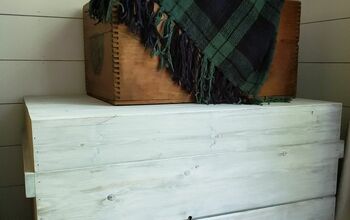
I came across this little trunk while making my lunch hour thrift store run. My co-workers go to lunch...I visit the local thrift shops. She was in pretty rough shape and reeking of 90's home decor. Still, I was drawn th her size and simple lines. I wasn't sure what she would become until I was cleaning out some boxes in my basement and found several old dolls. I had my a-ha moment and decided a doll trunk would suit my thrift shop find perfectly.
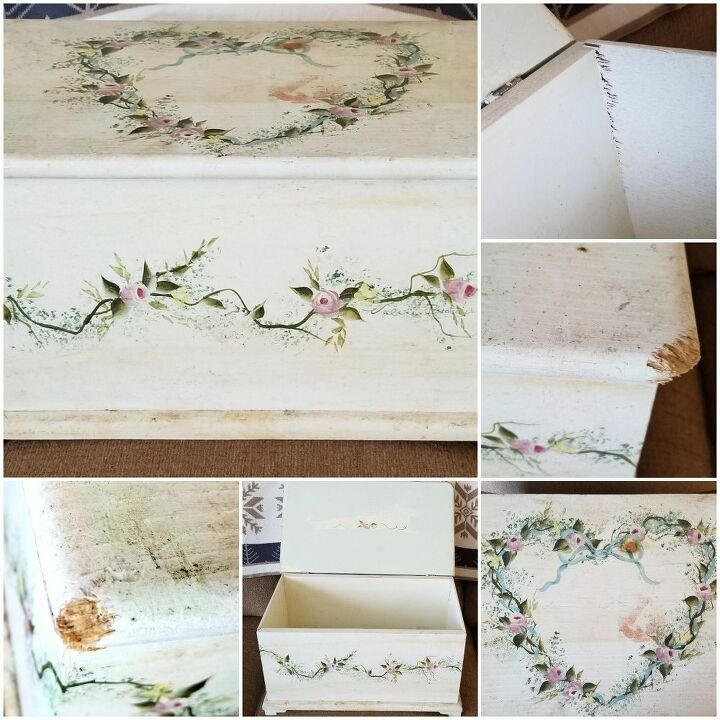
You will note the 90's paint motif, ragged inside corners, and the dog-chewed lid corners.
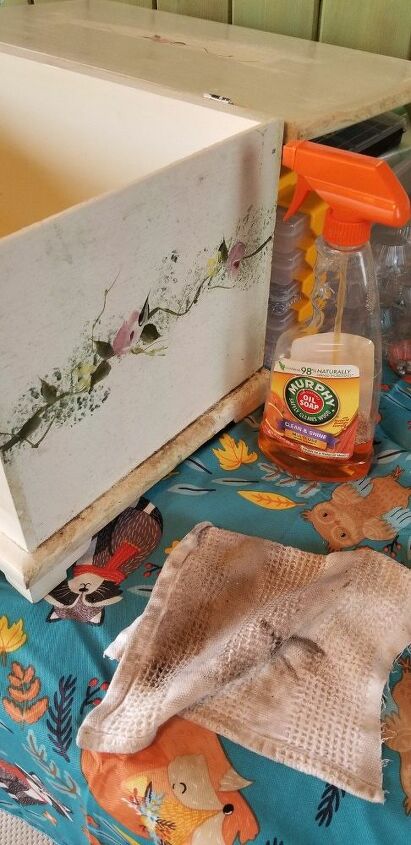
My first step, as always was to clean, clean, clean!!! This little girl was as dirty as could be. Because of that, I gave it an overall clean and then went over it again.
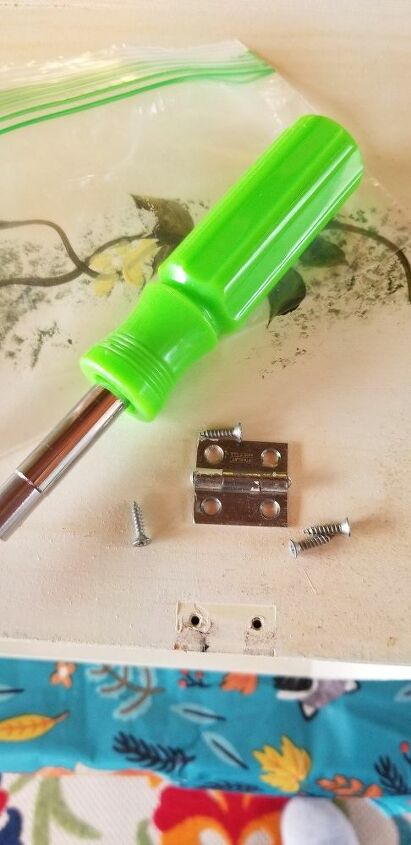
Next, I removed the hinges and put them safely in a small plastic bag.
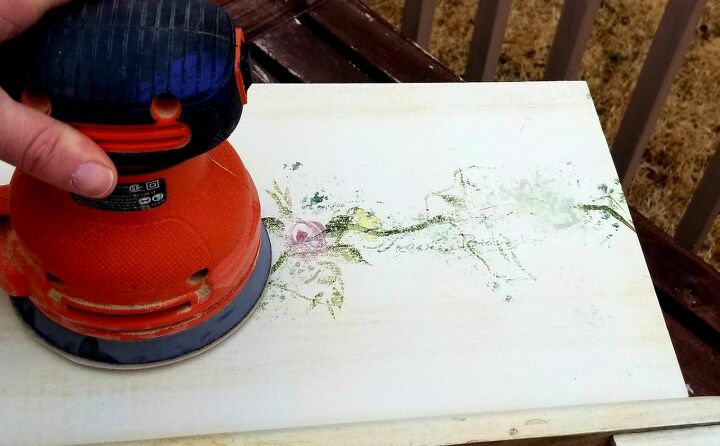
Sanding is not something I typically bother with when am going to use chalk paint, but the hand painting was a bit textural and I wanted a smooth surface. I only had to sand it lightly to get it ready for painting.
This girl was not going to let me just slap on a coat of paint! While prepping, I noticed that some coloring in the natural wood was bleeding through the old paint- especially in the knotty areas. This is not something to be ignored because that discoloration will bleed through the new paint too! Before beginning to use the chalk paint, I had to apply a coat of Kilz primer. But wait! I'm getting ahead of myself!!!
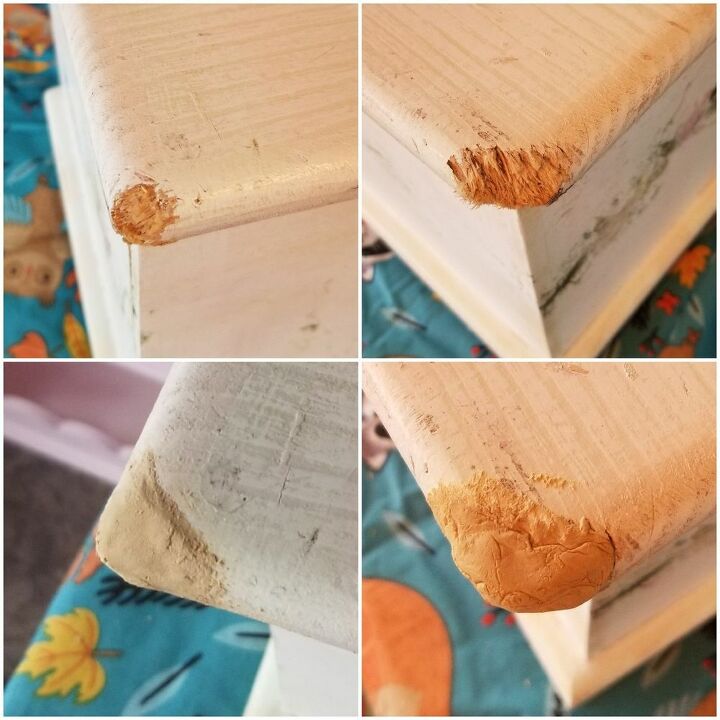
Remember those dog-chewed corners on the lid? Plastic wood to the rescue! After the initial application shown above, a good sanding and then more plastic wood the get the right shape. One last sanding to feather it into the existing wood before applying the primer.
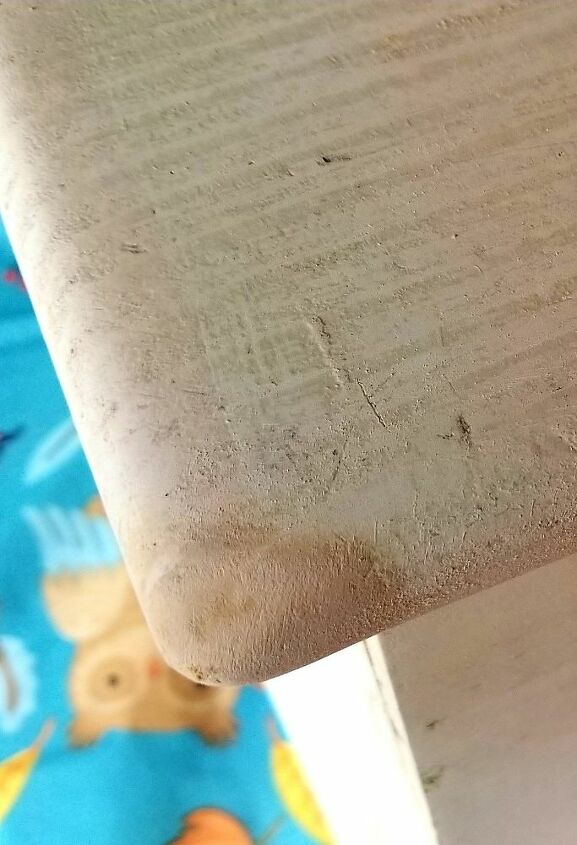
Here's a reconstructed corner.
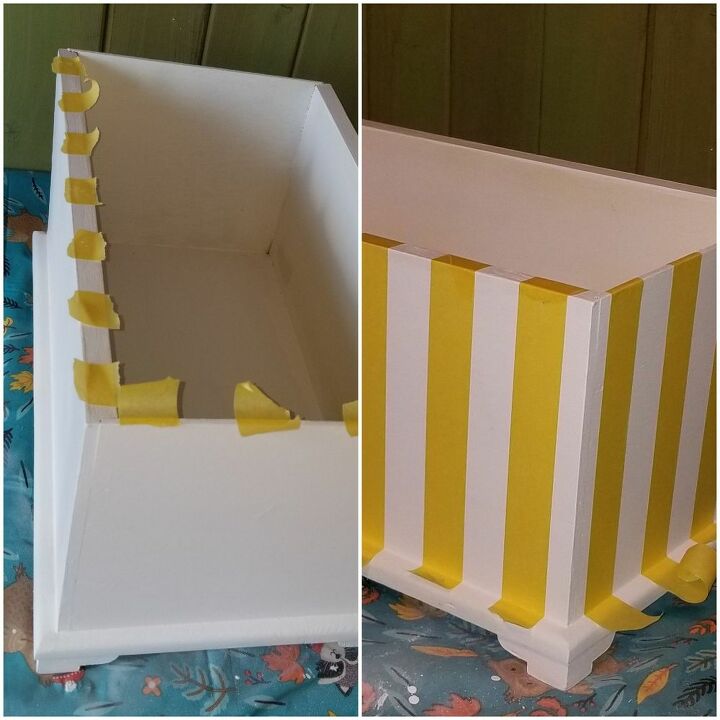
As mentioned earlier, I put on several coats of Kilz primer to protect the final paint finish from bleed through. Next, I applied a coat of white chalk paint. Once that was dry, I determined where my stripes would fall by laying down small pieces of tape. I then applied the tape and trimmed the bottom at the base.
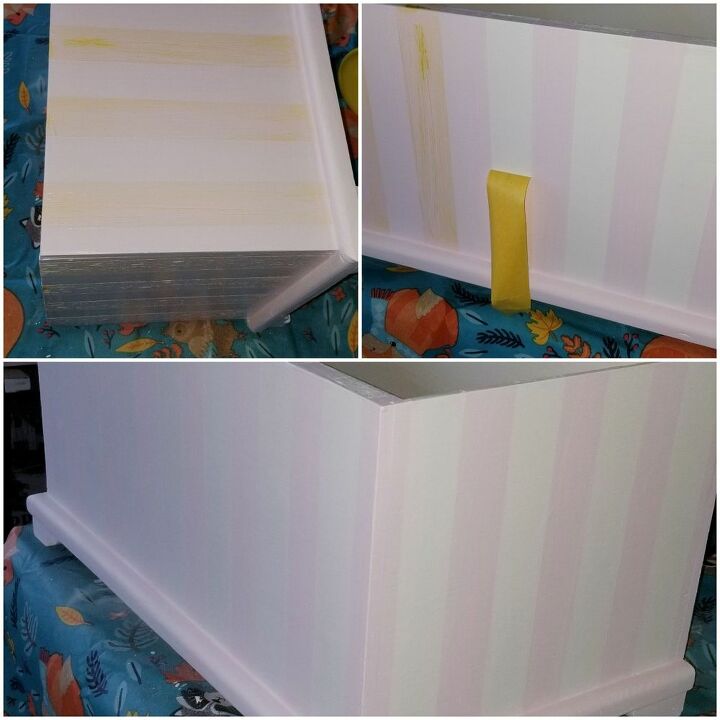
There was already enough paint coats on the trunk so I only applied one coat of pink all over. I also painted the trunk lid with a coat of pink. I let it completely dry before removing the tape.
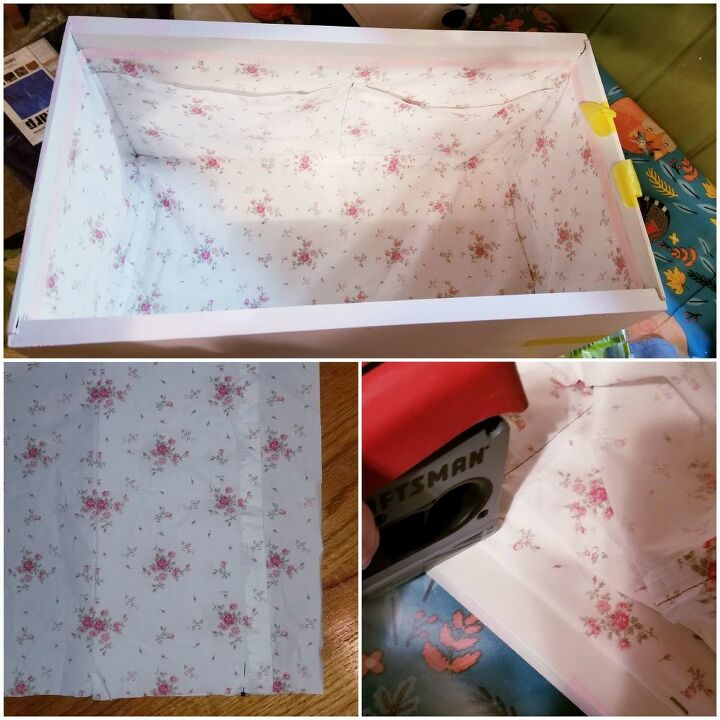
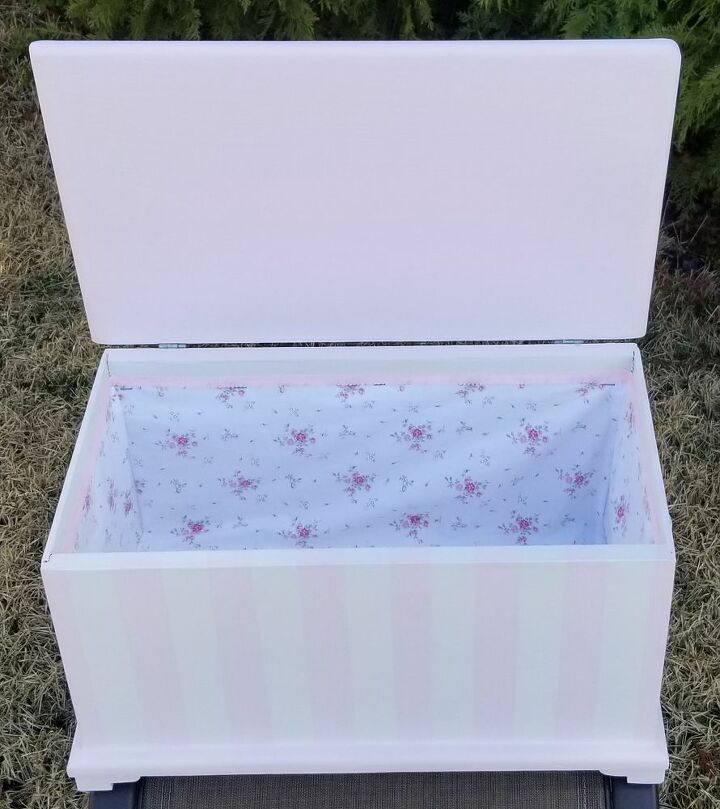
I chose to sew a lining for the trunk. I would not suggest this unless you have some experience. I wouldn't do it again so I'm not going to go into how it was done. Pretty wallpaper for scrapbook paper would work really nicely.
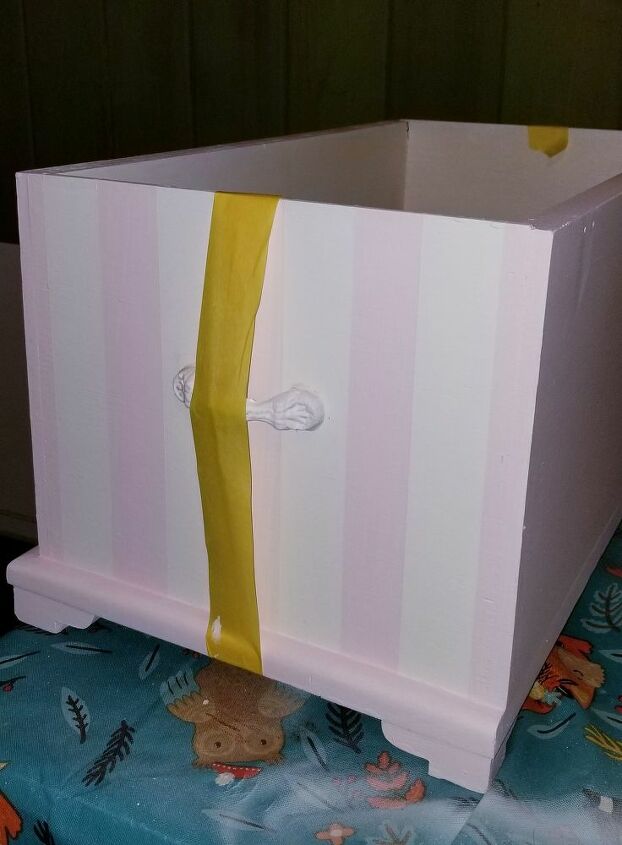
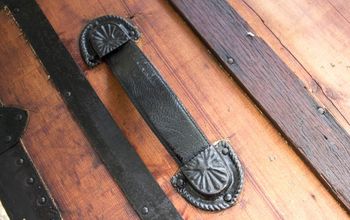
I purchased two iron decorative handles for the trunk sides. The trunk walls were not thick enough for the screws so I used Gorilla Glue to attach them. I taped them in place so that the glue could cure overnight.
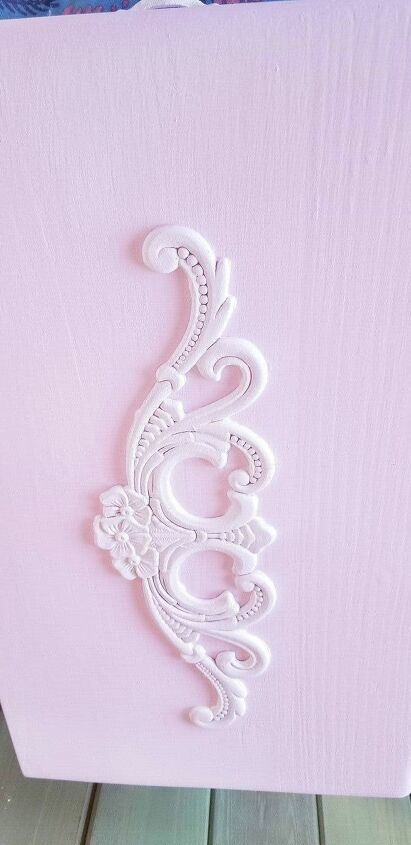
After painting the lovely wooden applique white (and letting it dry), I used the Gorilla glue to apply it to the top of the trunk, which was painted a solid pink.
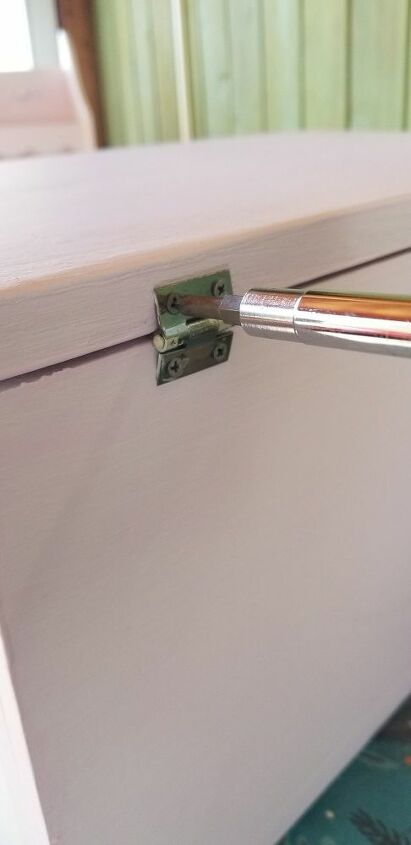
Lastly, I put the hinges back in place, making sure that they closed in the right direction.
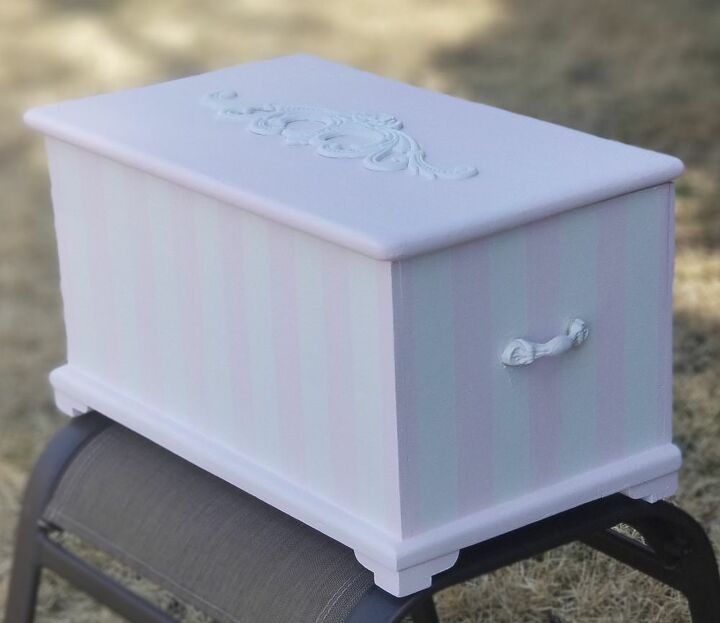
And here she is! All pink and girly. Perfect for keeping Dolly and all her accessories.
Resources for this project:
See all materials


Comments
Join the conversation
-
What a transformation! Sweet!
-
Lovely transformation. Beautiful. Great job.


Frequently asked questions
Have a question about this project?