


No Sew Stuffed Bunny

Buffalo check has been trending, so I decided to incorporate it in my Easter decor. I made an adorable stuffed bunny for my display.
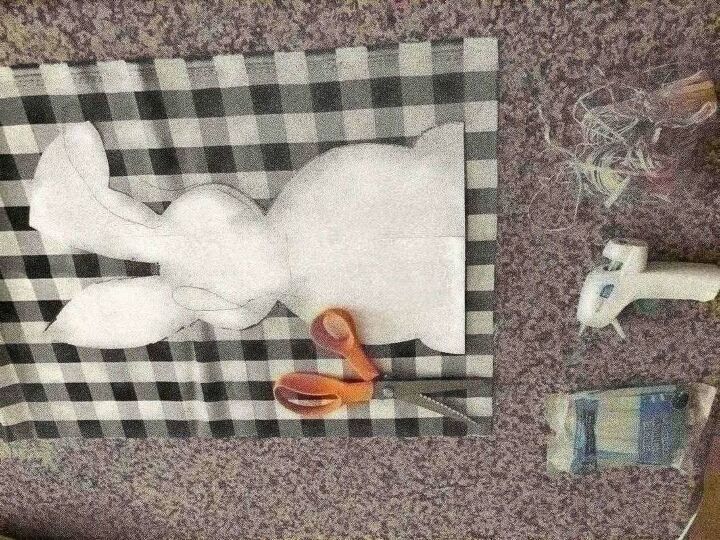
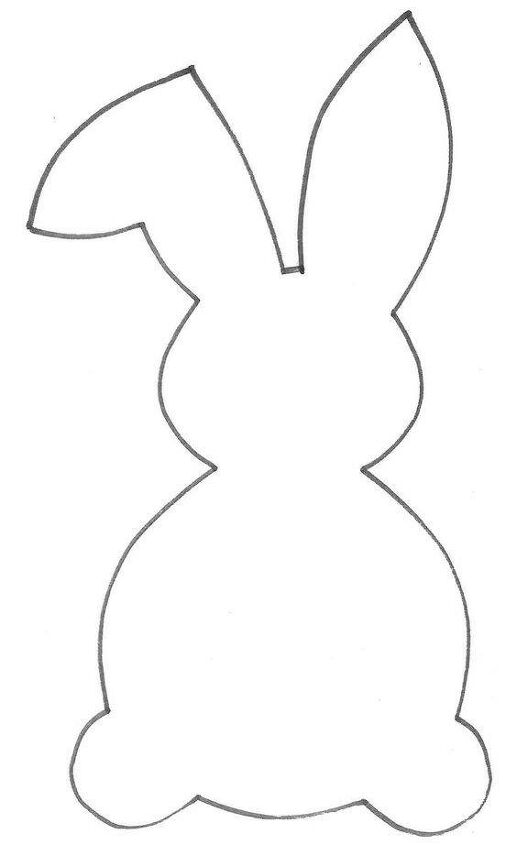
I printed out this bunny shape from the internet (and I attached it below).
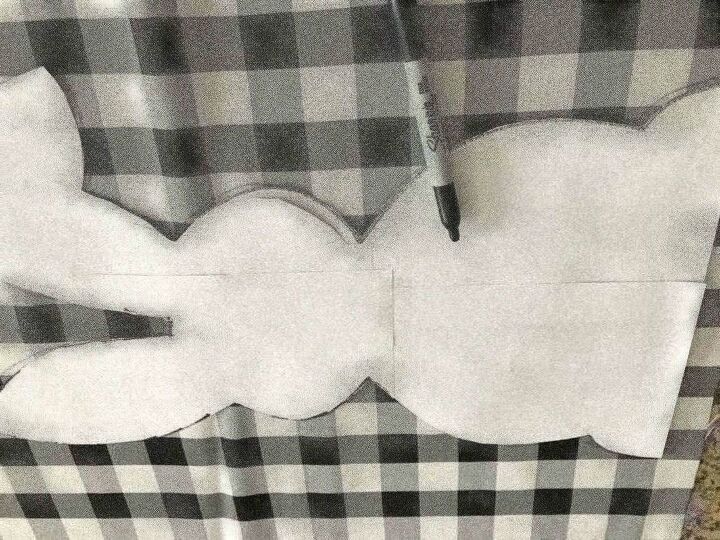
Fold the buffalo check fabric in half, and then trace the bunny shape on it.
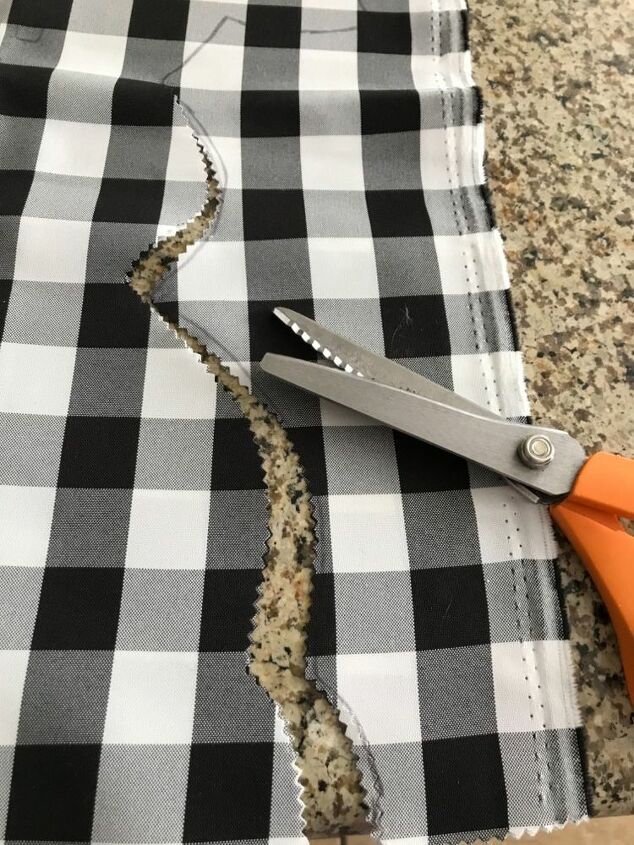
Since the fabric is folded in half, when I cut it out, it created two pieces. I cut just inside the line, and once it is all cut out begin gluing together!
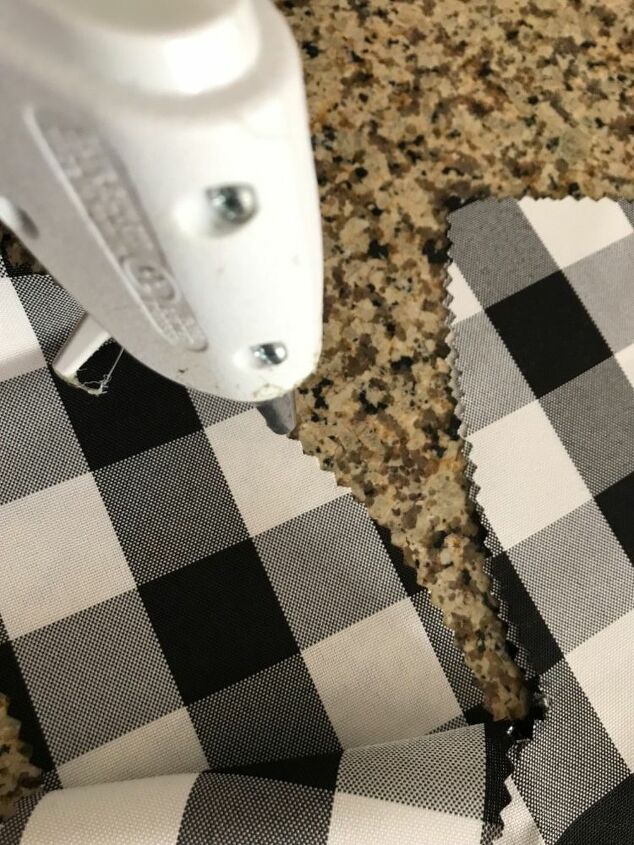
I started at the ears and glued around the edge of the ears.
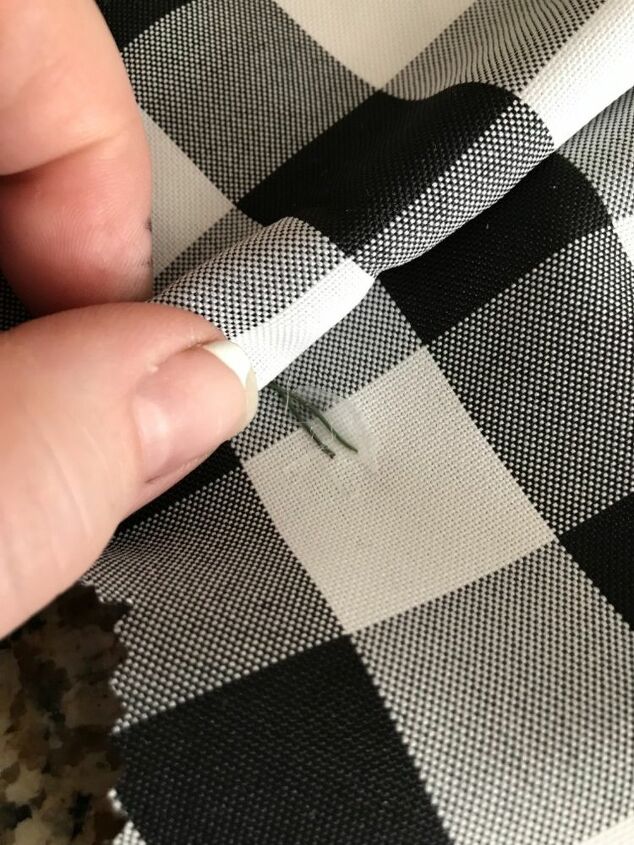
I then took my floral wire and made a loop to fit in the ear and glued it to the back of fabric only. This will keep the ears up and you can bend and shape them.
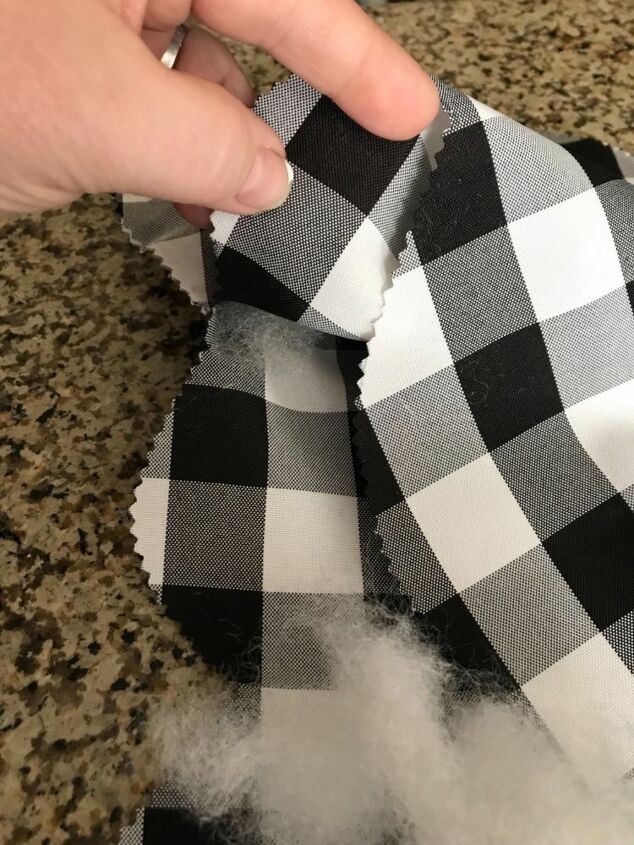
Then I filled it with my fiber fill. Then I continued to glue the rest of the edges but left the bottom open.
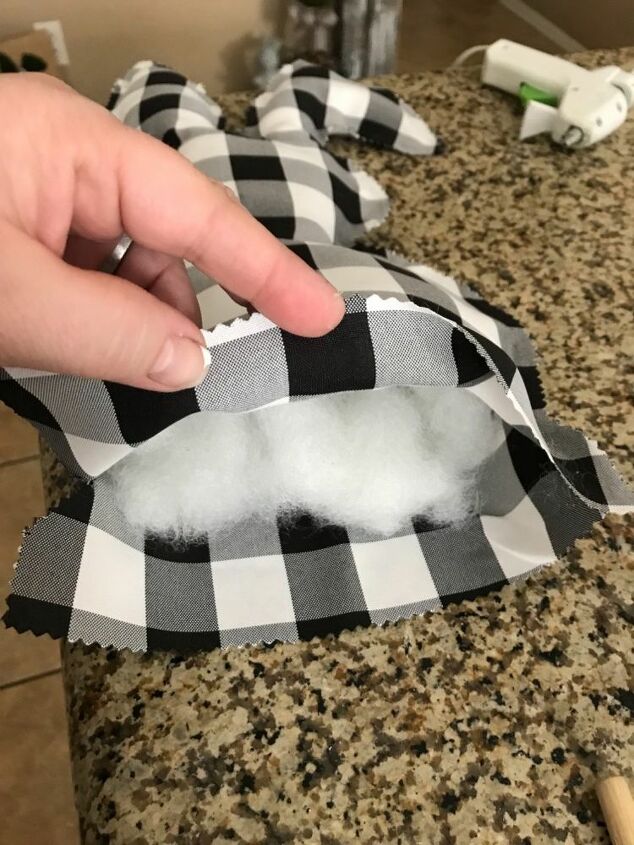
I then filled the rest of the body with the fiber fill. Finally I glued the rest and just left a small opening.
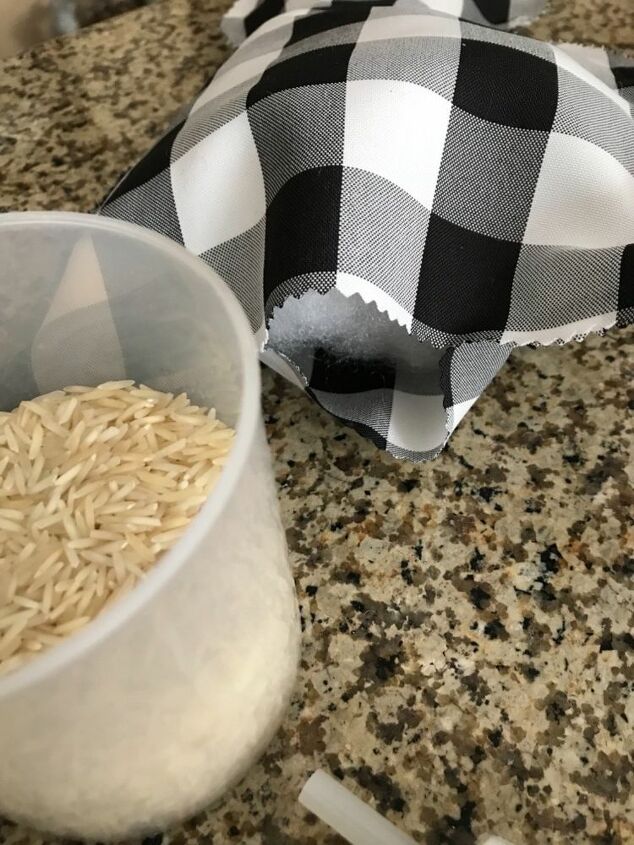
I then took about 1 cup of my white rice and filled the bottom and sealed the bunny up! Now it will stand on its own because of the weight. I added my raffia around the neck and made a bow.
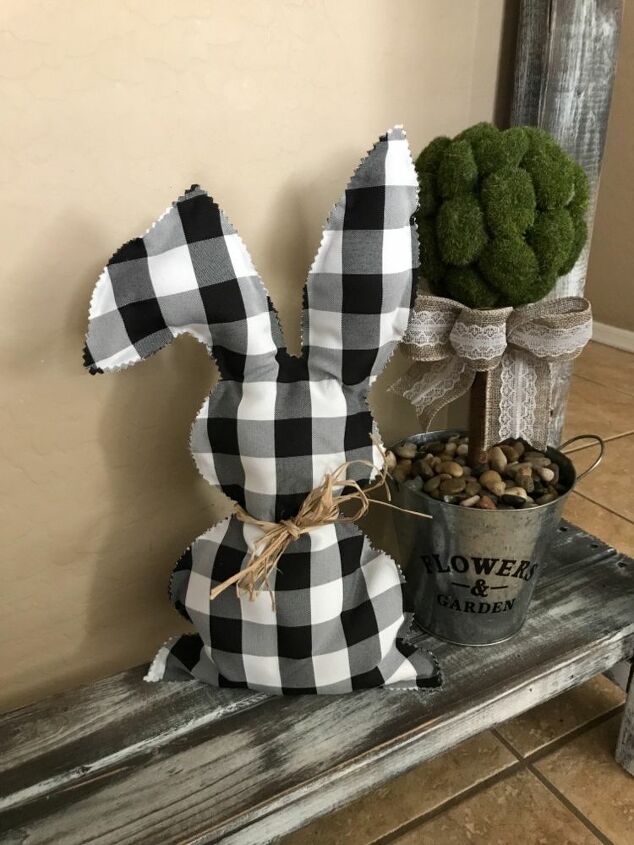
I love the bunny! It looks super cute next to the topiary I posted a tutorial on http://www.hometalk.com/diy/decorate/rooms/do...
Feel free to use this image! See more at my Facebook page Gilbert Marketplace
Resources for this project:
See all materials


Comments
Join the conversation
-
Super cute and doesn’t seem too hard to make. I’ll be trying this! Thanks

-
Very cute! Love the fabric! Thanks for sharing!!


Frequently asked questions
Have a question about this project?
How tall is the bunny?
how do you print the template
How much fabric did you use? Also did you have to piece together the bunny pattern? In the second the pattern looks a little different than the one to print out.
Thank you,
Melinda