


Easy Spring Wreath

Every year when spring comes around, I love putting a happy new wreath on my front door for our visitors, the colors of spring are so great because you can choose bold, bright colors, understated soft colors, you can decorate farmhouse or Easter-chic...the ideas are endless. Let's do a quick walkthrough of how to make your own DIY Spring Embroidery Hoop wreath and how you can customize it with a frame or photo as an ode to your family for that time of the year!
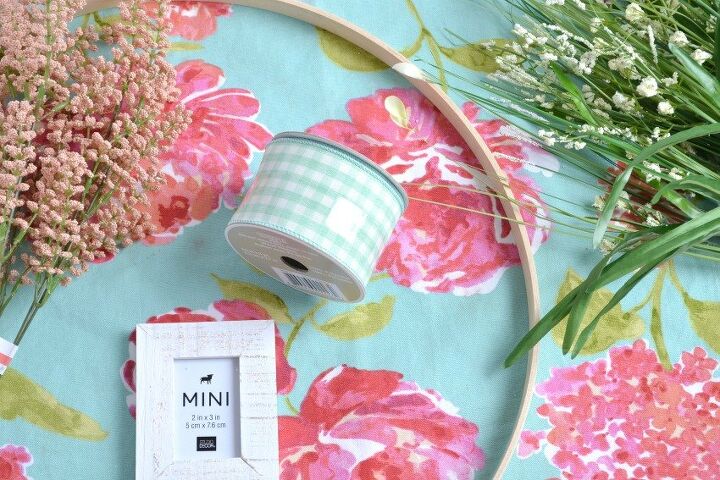
What you need for this project:
Embroidery Hoop
Hot Glue
Statement Ribbon
Scissors
2-3 different faux flower bundles
Mini frame with family photo
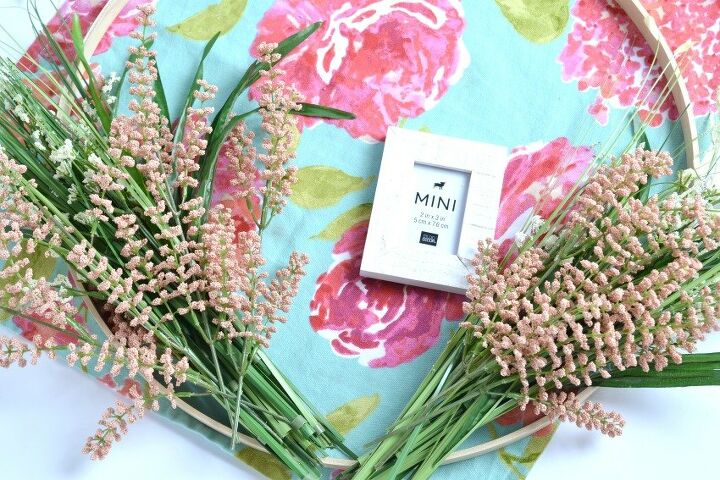
How to choose faux flowers for a wreath
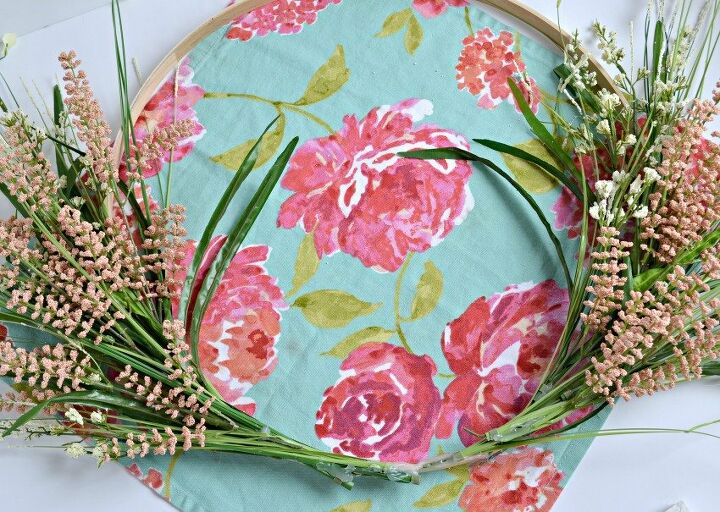
Choosing spring flowers for your wreath can be the hardest choice! Look over spring color palettes and patterns online or on Pinterest to get a good idea of the colors you want to use and then choose at least 23 different styles of stems. I like to choose one more floral stem and then another stem that has more greenery to it. I also tend to stay away from large obtrusive flowers for this style of wreath, but to each their own.
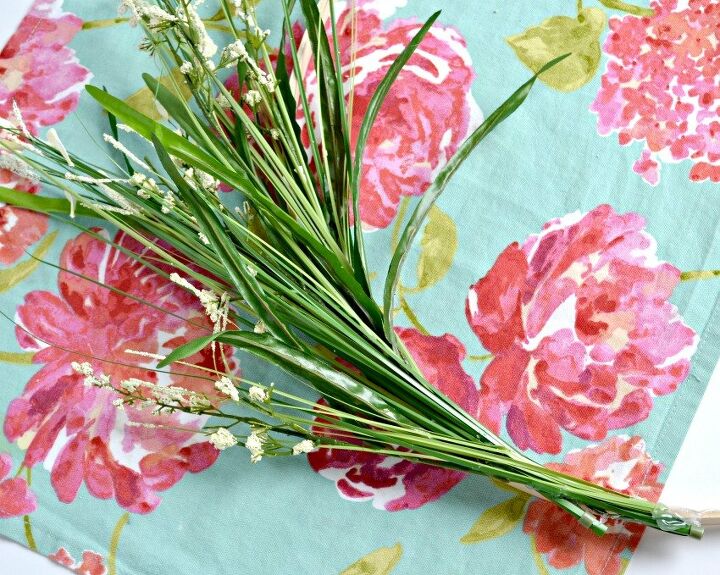
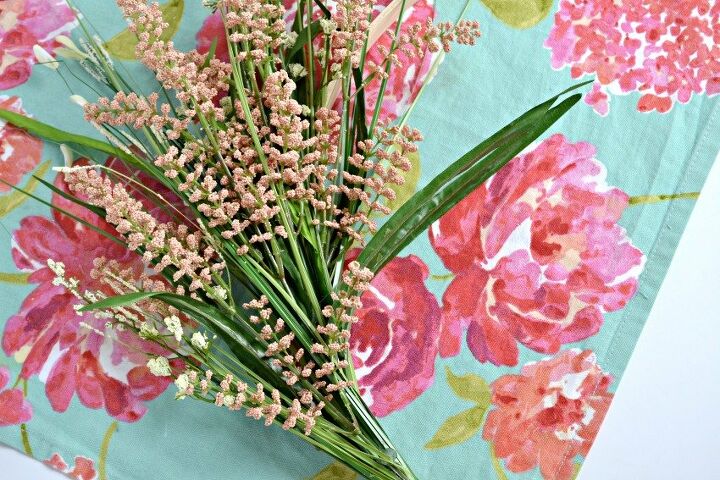
Once you've selected the flowers you wish to use, disconnect them from their stems at the base and divide them up into two even bouquets, one for each side of the wreath.
I also take the chance to unscrew the screw at the top of the embroidery hoop and pull the inner hoop out. The nice thing about using these hoops is that you get TWO hoops so you can essentially make two different wreathes using them!
I start with the greenery first and start about 1/4 of the way up on each side of the wreath and start hot gluing the greenery in place. I layer the greenery all the way down each side until they meet in the center of the hoop. Repeat for both sides.
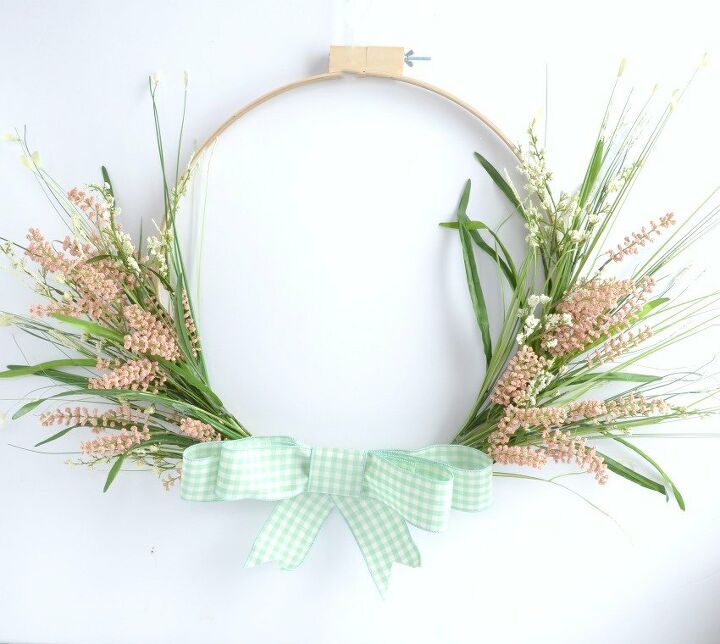
After the greenery is added, I start by layering in my flowers. I dab the ends of the flowers with glue and then slide them into the greenery already secured to the wreath to create little flower pockets. I repeat this on both sides of the wreath until everything looks even and is secure.
If you have extra flowers or greenery leftover. Take the opportunity to fill in any empty spots and fluff up the greenery so that it looks even on each side of the wreath. Once you're finished, make a cute bow with your favorite ribbon and display on your front door!
Resources for this project:
See all materials


Comments
Join the conversation
-
Very cute. I too would have found some way to include that pretty printed fabric
-
I think you forgot the step about adding the mini frame to hide the screw/hardware at the top? Perhaps that was an obvious last step for the readers. Very pretty wreath!


Frequently asked questions
Have a question about this project?
I too would like to see what you were originally planning with he mini photo frame. Also wouldn't you put flowers and bow over the screw part of the ring so you don't see that?
Where do you put the frame
Ok but how do you add the family photo? Hang from a ribbon? Tuck or glue into the bottom bow?