13 Pumpkin Carving Ideas for Spine-Tingling Halloween Curb Appeal
If you struggle for creative flair and inspiration when preparing your home’s pumpkins for Halloween, these 13 easy pumpkin carving ideas can help you create a DIY jack-o’-lantern that really hits the spot with family and friends this season. Have you been making the same tired jack-o’-lantern year in, year out? These 13 Hometalkers are full of new, exciting ideas to pimp up your pumpkin faces and step up your game for your next Halloween festivities.
More Haunting Halloween Decorating Ideas!
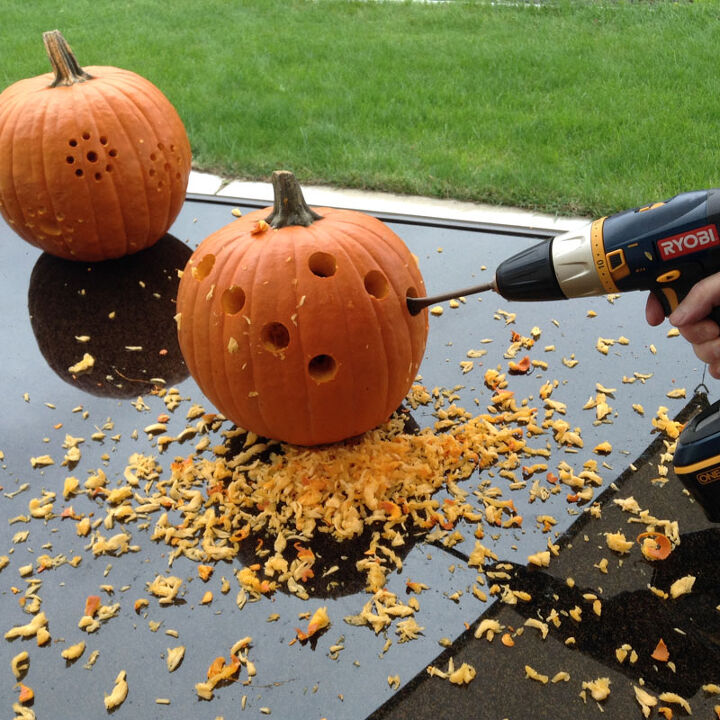
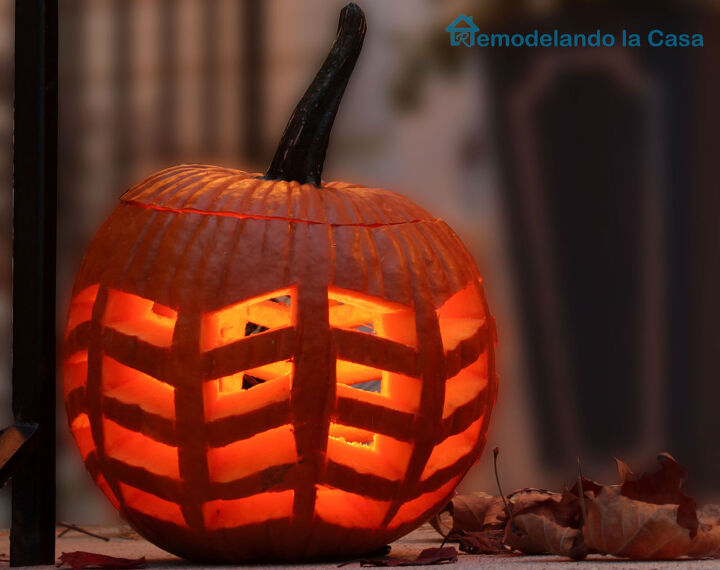
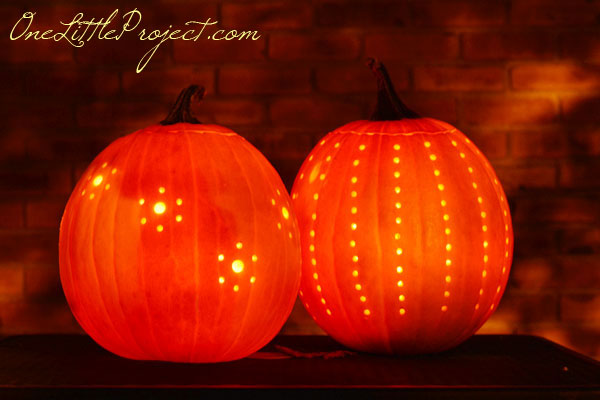
Pumpkin Drilling Can Create Spectacular Visual Displays
Are you confident with a power tool? DIY pumpkin drilling can carve pumpkin designs in seconds! If you want a pumpkin carving project that is not only simple but can double up as effective outdoor décor in the fall, pumpkin drilling is for you. Hometalker Kathy Woodard believes using power tools is safer than using knives to carve pumpkin faces. Kathy drilled the necessary holes in her pumpkins first before scooping them out, giving the pumpkin stability for the drilling. Get tutorial here
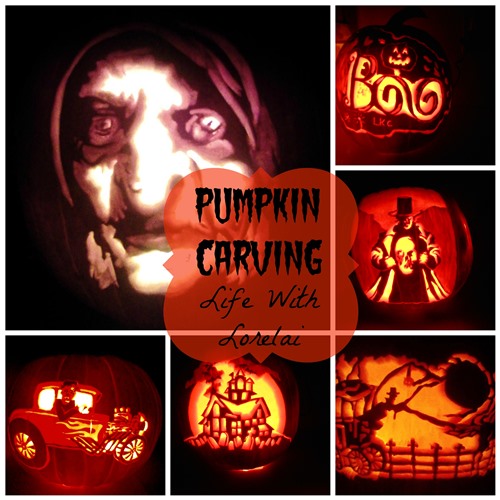
Carve an Actual Halloween Scene into Your Pumpkins
Hometalker Life With Lorelai has been busy carving classic scenes from Halloween stores into her pumpkins. Inspired by the “bubble, bubble toil and trouble” witch scene from Hocus Pocus, Lorelai carved the witch stirring her cauldron into the front of her Halloween pumpkin. She uses different carving depths to create the necessary textures to replicate the scene, displayed with a tea light behind it. Get tutorial here
Transfer Design Patterns onto Your Pumpkin for Intricate Carving
If you have always struggled to transfer your pumpkin carving ideas onto your pumpkin, here’s a little tip. Hometalker Lorelai uses transfer paper for all her pumpkin carving designs, ensuring precision tracing onto any surface – including pumpkin skin! Lorelai recommends using blue-colored transfer paper as it shows up best on the pumpkin. Using pins to hold the stencil on the transfer paper to the pumpkin, Lorelai then traces the design on using a medium point pen before carving. Get tutorial here

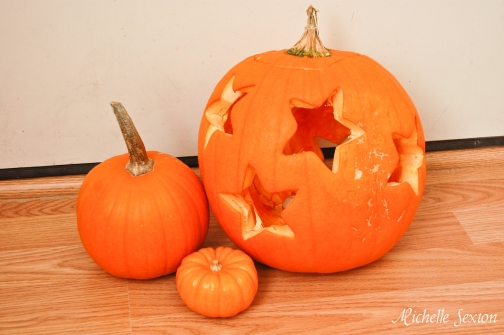
Easy Pumpkin Carving Ideas Using Only a Cookie Cutter
A kid-friendly tip for simple carving ideas in just 15 minutes is to use a few common household items. Hometalker Michelle Sexton recommends using a cookie cutter to create clean, consistent shapes in your pumpkin skin. If you want to carve basic pumpkins with your kids, cookie cutters are a safer alternative to sharp knives. It’s a good idea to cut out your shapes first before fleshing out the pumpkin so that it maintains its structural integrity. Get tutorial here
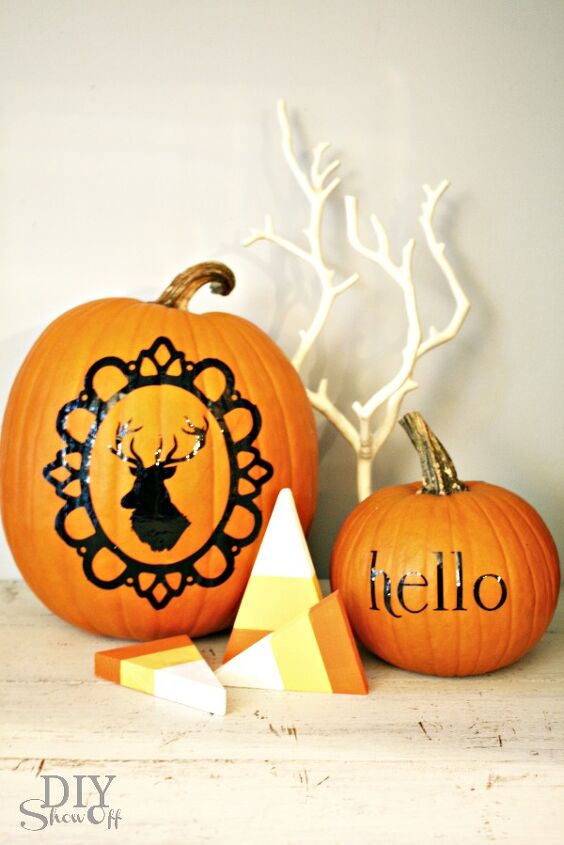
No-Carve, No-Mess Pumpkin Faces Using Black Vinyl Decals
If you can’t be bothered to carve your pumpkins, or you don’t have the skills, try these black vinyl decals for size. After buying some silhouettes and stencils online, Hometalker DIY Show Off then sent her decals to “cut”. She peeled away the negative part of the printed designs before placing the design onto transfer paper. The transfer paper is lightly positioned onto the pumpkin and the decals are rubbed before the transfer paper is lifted off the pumpkin skin. Get tutorial here
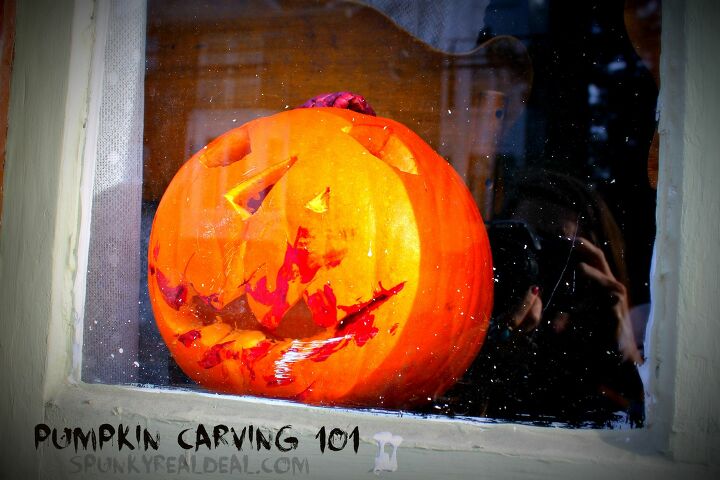
Zombified Pumpkin Faces Are Very On-Trend Right Now
Are you looking for easy pumpkin carving ideas that are more exciting than the norm? Go down the zombie route. Hometalker Heather Paulding rolled up her sleeves for Halloween to create a zombified pumpkin face. She carved a jagged pair of eyes and a nose and a fearsome mouth, complete with paint to create a blood-splattered effect. If that’s not spooky enough, Heather replaced the top of her pumpkin with faux brains for the perfect “shock factor”. Get tutorial here
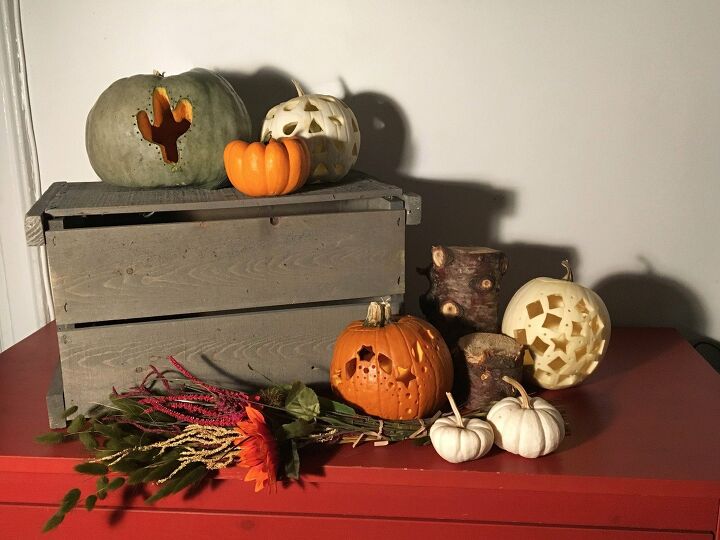
Incorporating White Pumpkin Ideas Into Your Carving Designs
One way to change-up your pumpkin faces this Halloween is to incorporate white pumpkins into your designs. Hometalker Kelly Bisciotti was inspired to try white pumpkins last year during Halloween. The white-colored pumpkins create an almost ghostly effect. The leaves pictured were cut out using metal cookie cutters and a hammer. The small orange pumpkin in the mouth of the ghostly white pumpkin was a pie pumpkin, which was tough to carve due to its tough skin. Get tutorial here

Feathered Pumpkin Carving Ideas Using an Oscillating Tool
Instead of using small carving knife sets, this Hometalker opted to use an oscillating tool to do the hard work. When carving her pumpkin faces using her carving knife set, Cristina kept her decorating to a minimum due to the physical effort required. However, this oscillating tool made it easy for her to carve a feathered design onto a large pumpkin for Halloween. All she needed to do was trace the geometric feather design all around the pumpkin and let the tool do its thing! Get tutorial here
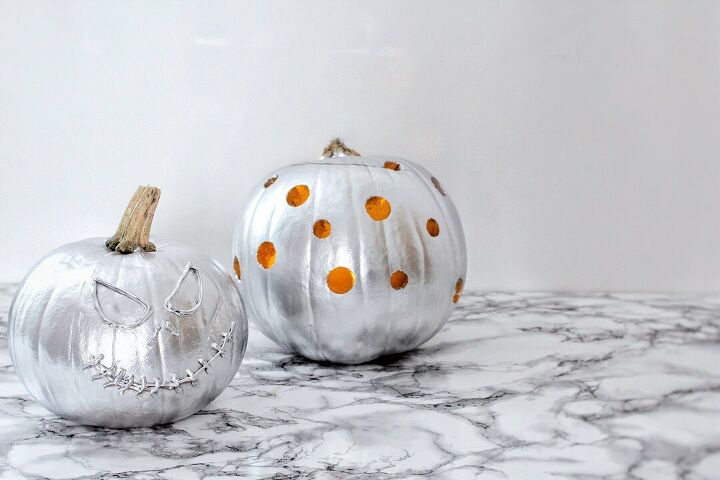
Alternative Easy Pumpkin Faces Using Hot Glue and Spray Paint
Hometalker Hester is not normally big on pumpkin carving ideas but last year she was set a power tool challenge. A firm challenged her to use one of their power tools to carve a pumpkin. After drilling lots of holes of varying sizes, Hester covered her pumpkins in metallic Rustoleum spray paint. She then added facial features by stencilling on the eyes, nose and mouth and adding texture using a hot glue gun. The end result is an icy jack-o’-lantern! Get tutorial here
30-Minute Drilling Idea for Those Short on Time for Pumpkin Carving
If you’re like Hometalker HomeSpot HQ and you leave pumpkin decorating to the last minute, try this technique. They recommend using a drill bit to pierce the pumpkin skin with ease, creating a spooky Halloween accessory in half-an-hour. Rather than drilling her pumpkin holes in varieties of designs and sizes first, HomeSpot HQ scooped out the flesh, but this didn’t appear to affect the structural integrity of the pumpkin, which is worth bearing in mind for the future. Get tutorial here
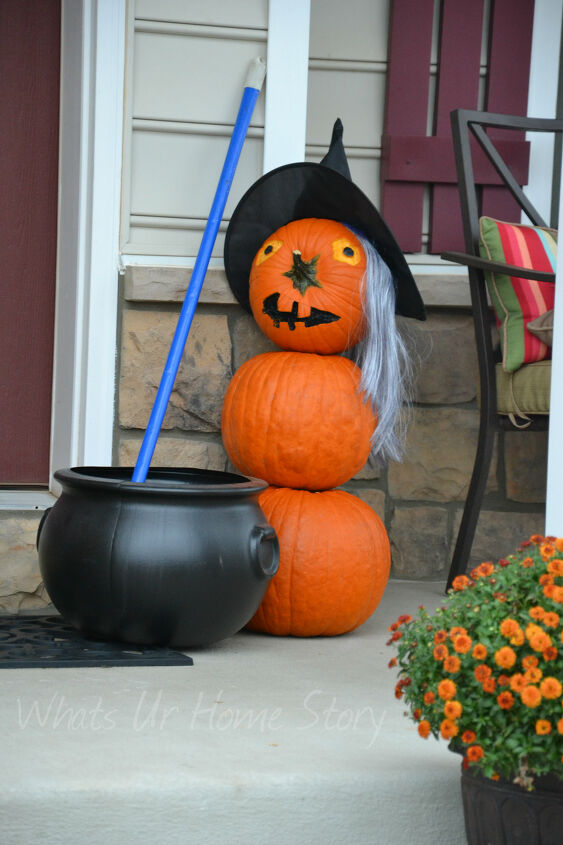
Making a Front Yard Witch Using Carved Pumpkins
This pumpkin witch was a Halloween design inspired by Hometalker Vidya’s own kids. For once, Vidya’s kids weren’t intent on creating the meanest or scariest-looking pumpkin designs. Instead, they wanted to see if they could create a witch out of three pumpkins. Using the bottom two pumpkins as the base, they carved the eyes and mouth on the top pumpkin, using the stalk as her spikey nose. They even placed a plastic cauldron next to her for good measure! Get tutorial here
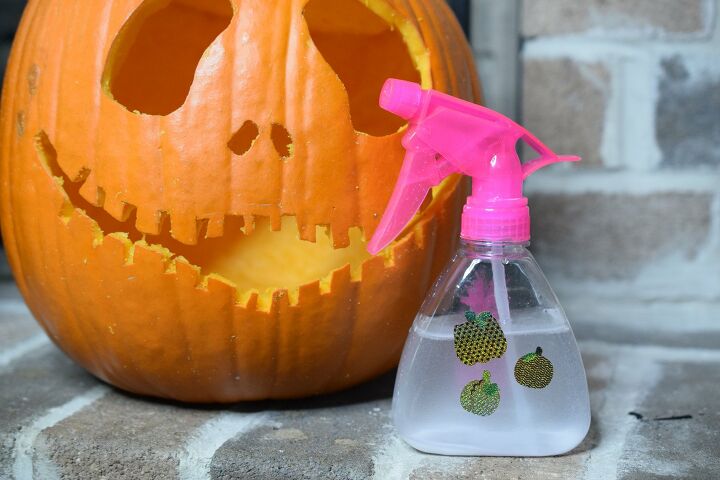
This Non-Bleach Spray is Ideal for Preserving Simple Pumpkin Carving Ideas
If you love pumpkin carving ideas at Halloween, this natural spray will preserve your designs for longer! Hometalker Alexis was keen to find a preserving spray for her family’s Halloween pumpkins that did not contain bleach and was safe for the asthma sufferers in her family. Using a spray bottle, Alexis added one cup of water, two tablespoons of borax, 20 drops of peppermint essential oil and 20 drops of tea tree essential oil and covered the flesh to prevent mold developing. Get tutorial here
20-Minute Cookie Cutter Pumpkin Carving Ideas
Don’t trust yourself with carving knives for pumpkins? These cookie cutters create unique designs in no time. Hometalker Amanda C created this stunning Halloween landscape using only a hammer, a scooper, a small knife and cookie cutters. All of the flesh and seeds were scooped out before Amanda pushed the cookie cutter into the pumpkin skin and used a hammer to hit the cutter through the pumpkin. The drill was used to create the effective “spikey” texture on the cactus pumpkin. Get tutorial here